Nexus Firearms
Nexus Firearms Kuna Charging Handle
Fixed-length Kuna charging handle in three sizes, knurled or slotted, mounts left, right, or both sides. Stainless steel with black nitride coating.
Quick Specs
- Price
- $40
- Weight
- N/A
- Brand
- Nexus Firearms
- Category
- charging-handle
Features
- •Stainless steel, black nitride coated
- •Fixed-length (replaces factory folding handle)
- •Three size options
- •Knurled or slotted finish
- •Mounts left, right, or both sides simultaneously
Compatibility Tags
Overview
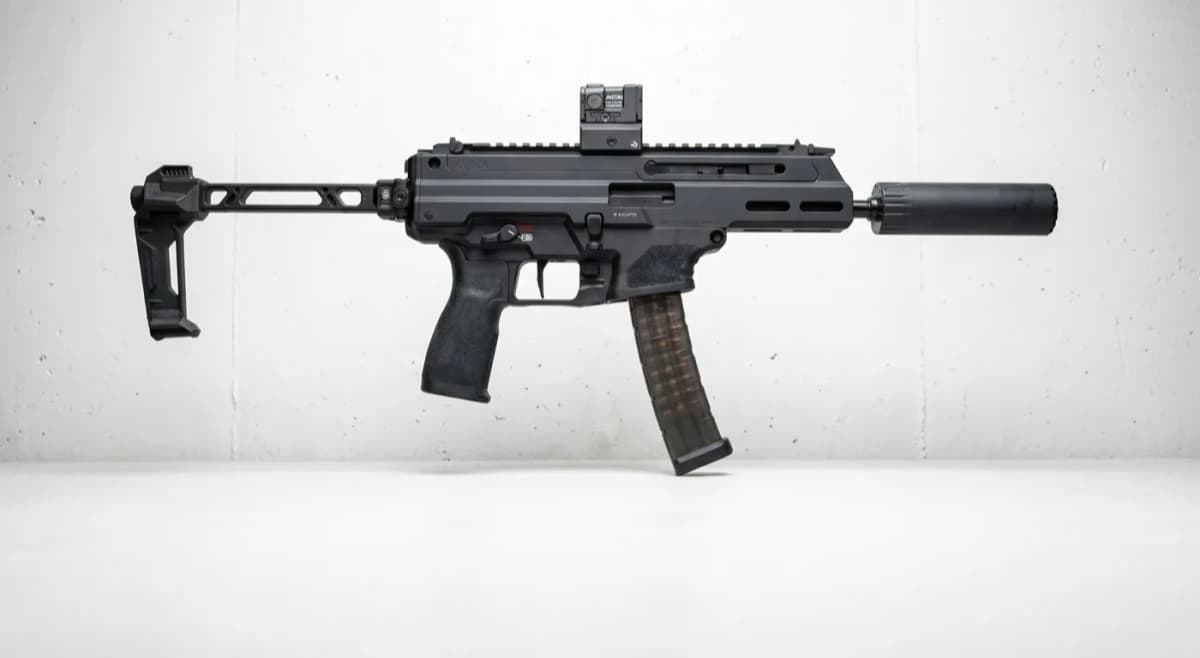
The Nexus Firearms Kuna Charging Handle swaps the factory fold-down handle for a fixed-length unit. Three size options are offered, each in knurled or slotted finish. Unlike the factory handle, the Nexus version can be attached to either the left, the right, or both sides of the receiver simultaneously.
At $39.99 this is an ergonomic-preference upgrade rather than a performance one. The factory handle is functional; Nexus provides a fixed, always-deployed alternative for shooters who prefer that feel or want matching handles on both sides.
Key Features
- Fixed-length charging handle (replaces factory folding handle)
- Three size options
- Knurled or slotted finish
- Mounts left, right, or both sides simultaneously
Pros
- +Sized to preference, not a one-size-fits-all handle
- +Can be run on both sides at once for true ambi manipulation
- +Texture options for gloves versus bare hands
Cons
- −Fixed-length does not fold out of the way like the factory handle
- −Ergonomic preference upgrade rather than performance
Setup & Operation
Step-by-step procedures for setting up, operating, and maintaining the Nexus Firearms Kuna Charging Handle.
Swap the Factory Charging Handle for the Nexus Handle
The Kuna ships with a reversible factory charging handle that lives in the cocking handle support on the upper receiver. The Nexus handle drops into that same support, so the install is a parts swap rather than a fitting job. No upper receiver disassembly or gunsmithing is required, and the cocking handle support itself stays in the gun.
The factory handle and the Nexus handle both seat by indexing the handle post to the disassembly feature in the receiver, then pulling the handle out the front of the support. Springfield Armory's manual is explicit that the handle is removed from the front and never from the rear. Forcing it out the rear can damage the part and render the pistol inoperable.
- • No tools required; the disassembly pins and handle are removed by hand
- 01
Clear the pistol
Point the muzzle in a safe direction, keep your finger off the trigger, remove the magazine, and visually and physically confirm the chamber is empty. Fully retract the charging handle and release it to close the bolt, then rotate the safety selector to SAFE.
- 02
Separate the lower receiver
Push the rear disassembly pin outward from right to left to its maximum travel, grasp the pistol grip, and rotate the lower receiver downward. Push the front disassembly pin outward from right to left to its maximum travel and remove the lower receiver from the upper.
- 03
Remove the end cap and bolt group
Grasp the upper receiver end cap, pull it downward to unlock it, then rearward to remove it. Pull the charging handle rearward to expose the recoil spring assembly and lift the recoil spring out of the upper. Cup your hand over the rear of the receiver, rotate the rear downward, and catch the bolt and carrier as they drop free.
- 04
Extract the factory charging handle
Retract the charging handle all the way to the rear so the handle post, visible from the opposite side of the receiver, sits concentric to the disassembly feature in the receiver. With the post aligned, pull the handle outward from the front of the cocking handle support. Do not attempt to pull it from the rear.
- 05
Insert the Nexus handle and reassemble
Insert the Nexus handle into the cocking handle support from the front on your chosen side, indexing it to the disassembly feature the same way. Slide the bolt back into the receiver, insert the recoil spring assembly into the rear of the bolt, install the end cap and press it upward to lock, then reattach the lower receiver and seat both disassembly pins. Cycle the action and dry fire on an empty chamber to confirm function.
The charging handle must come out the front of the cocking handle support. Springfield Armory's manual states it cannot be removed from the rear, and forcing it can damage the part and make the pistol inoperable.
Choose Your Size and Side Configuration
Nexus offers the handle in Small, Medium, and Large so the swap is also a chance to size the handle to your hand and shooting position. Larger handles give a gloved hand and a support-side grip more to catch; the smaller sizes keep the profile tight to the receiver for a slung or cased pistol.
Because the handle re-inserts into the cocking handle support from either side, you can run it left, right, or buy two and run a fixed handle on both sides at once for true ambidextrous manipulation. Unlike the factory folding handle, the fixed Nexus handle stays deployed at all times, so confirm your chosen side and length clear your optic, rail accessories, and any bag or holster you carry the Kuna in before committing.
Detailed Specifications
- sku
- K-1-0010
- type
- Fixed-length Kuna charging handle
- Material
- Stainless steel, black nitride coated
- sizes
- Three size options
- textures
- Knurled or slotted
- mounting
- Left, right, or both sides simultaneously
- msrp
- $39.99
Compatible Platforms
Similar Products
Related Guides & Articles
Guides


Build Your Custom Configuration
Add the Nexus Firearms Kuna Charging Handle to your build and see how it enhances your platform.