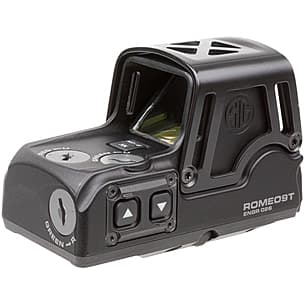
Sig Sauer Romeo 8T AMR
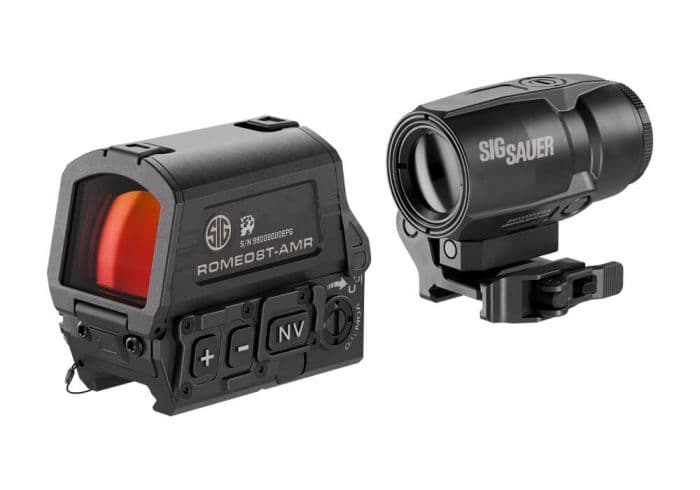
Enclosed 1x40 rifle red dot whose reticle auto-switches when an AMR magnifier swings in
- Price
- $700
- Weight
- 9.5 oz
- Brand
- Sig Sauer
- Category
- Optics
Featured in
Best EOTech for AR-15: EXPS3 HD vs EXPS3 vs XPS2
guide · gear · 11 min read
Best AR-15 Red Dots 2026: Aimpoint vs Holosun vs EOTech Compared
guide · gear · 9 min read
SIG MCX Accessories: Triggers, Suppressors & LVAW Handguards Ranked
guide · gear · 12 min read
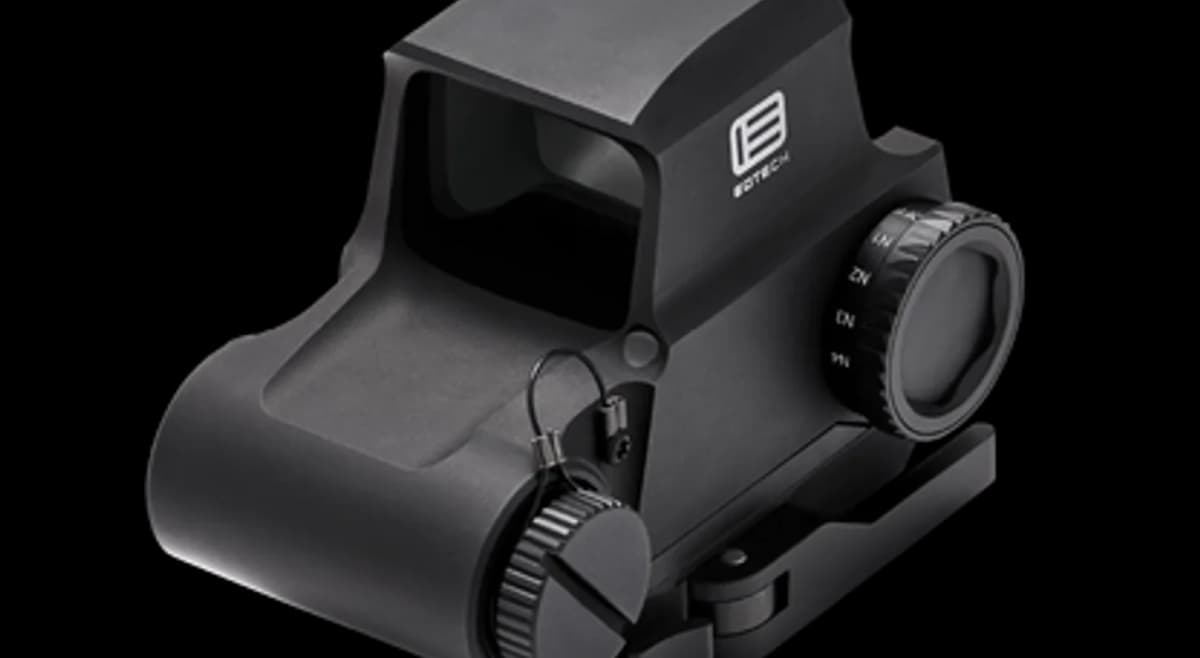
EOTech EXPS3 HD & EFLX CE at SHOT Show 2026
article · news · Jan 17, 2026
Features
- •40mm Mangin lens
- •AMR auto-switching reticle
- •9.5 oz bare / 11.3 oz shrouded
Capability Boosts
Recommended For
+24 more
Where to Buy
Compare current prices and availability from retailers we work with.
Some retailer data is older. Verify price and stock before buying.
SIG SAUER Romeo 8T-AMR Red Dot Sight 1x40mm Quad Ballistic Circle Dot 2.0 Reticle Black
Sig Sauer Romeo8T-AMR Red Dot - Ballistic Circle Dot - SOR8T101
Price History
90-day low $699.99 · at low nowMore optics guides & articles
Guides



Overview
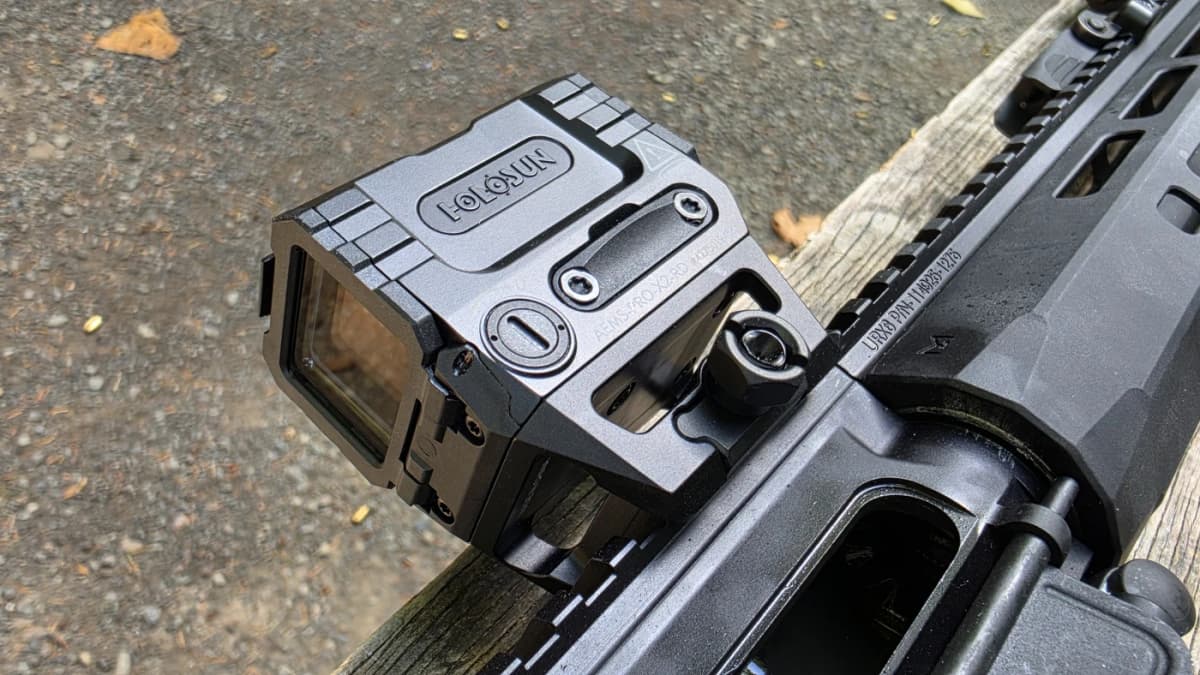
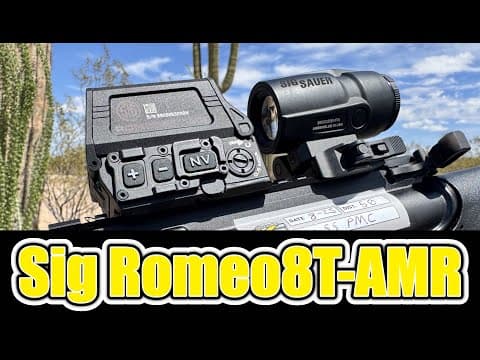
The Sig Sauer Romeo 8T AMR is a 1x40 enclosed rifle red dot built around AMR, Automatic Modified Reticle. A magnet array in an AMR-capable magnifier trips a sensor on the rear of the sight, and the reticle and brightness switch to a second stored preset the moment the magnifier swings into alignment. Flip the magnifier off and both revert to the unmagnified preset. The magnifier has to sit within three rail slots of the sight for detection to stay reliable. AMR ships enabled and can be switched off from the button menu. Sig's own combo spec sheet calls the same system MSAR, for Magnifier Sensing Adaptive Reticle, and lists it as patent pending.
The objective is a 40mm multi-coated Mangin lens: a rear-surface reflector that refracts light on the way in and again on the way out instead of collimating off a single coated face. That geometry corrects the spherical aberration a simple reflector introduces, which is how SIG holds a round dot across a window this wide and why it rates the design parallax-free. The Quad Ballistic Circle Dot 2.0 reticle offers a 2 MOA dot, a circle-dot, ballistic holds, or the combination, across 15 brightness settings, 12 for daylight and 3 for night vision. A dedicated NV button toggles to maximum brightness and back, and a long press on that same button powers the sight on at maximum from off, which is also the first recovery step the manual gives when the reticle fails to appear. Sig lists D.A.R.C as the optical treatment tuned for GEN3+ night vision devices without defining the acronym.
Select SKUs ship with a removable titanium shroud that adds 1.8 ounces, taking the sight from 9.5 to 11.3 ounces; the original Romeo 8T used an integral steel shroud, and that swap is most of the weight Sig saved. Both lens covers are clear, so the sight is usable closed, and the rear flip-back is designed to tear away under an obstruction rather than trap the shooter behind a closed cap. The sight clamps through an integral 1.41 inch absolute co-witness base with a half-inch hex nut at 65 inch-pounds, carries 100 MOA of total travel at 0.5 MOA per click, runs a CR123 with MOTAC for a rated 50,000 hours, and is IPX8 rated and built to MIL-STD-810.
Key Features
- AMR auto-switches reticle and brightness when an AMR magnifier comes into alignment
- 40mm multi-coated Mangin objective, a rear-surface reflector that corrects spherical aberration
- Quad Ballistic Circle Dot 2.0: 2 MOA dot, circle-dot, ballistic holds, or combined
- Dedicated NV button toggles max brightness and powers the sight on at max from off
- D.A.R.C optical treatment for GEN3+ night vision devices
- 15 brightness settings (12 day + 3 NV)
- 50,000 hour rated runtime on a CR123 with MOTAC (sleeps after 2 minutes)
- Removable titanium shroud on select SKUs (9.5 oz bare, 11.3 oz shrouded)
- Clear front and rear flip-backs; the rear tears away to clear an obstructed window
- 1.41 inch absolute co-witness integral mount, half-inch hex at 65 in-lbf
- 100 MOA total travel at 0.5 MOA per click
- IPX8 waterproof and fogproof, built to MIL-STD-810
- Assembled in Oregon, USA with Infinite Guarantee
Pros
- +AMR removes the menu dive when swapping between magnified and unmagnified reticles
- +Mangin objective holds a round dot across a 40mm window; SIG rates it parallax-free
- +NV button doubles as the power-on-at-max control and the reticle-failure recovery step
- +Sold with and without the titanium shroud, so the 1.8 oz of armor is a purchase choice rather than dead weight
- +Rear flip-back tears away instead of blocking the window
- +Infinite Guarantee provides lifetime coverage without receipts
Cons
- −AMR does nothing without a separately sold AMR-capable magnifier or magnifier mount
- −Integral 1.41 inch absolute co-witness base means a riser is the only way to reach 1.93, though SIG hosts with a taller receiver rail need it less
- −Heavier than micro dots at 9.5 oz bare and 11.3 oz shrouded
- −MOTAC sleeps after 2 minutes, far shorter than the 10-minute norm
- −Noticeably blue tint that some shooters dislike
Setup & Operation
Step-by-step procedures for setting up, operating, and maintaining the Sig Sauer Romeo 8T AMR.
Mount the ROMEO8T-AMR on a Picatinny Rail
The ROMEO8T-AMR uses an integral base, so there is no separate mount to buy or index. It sits at a 1.41 inch absolute co-witness and fits M1913 or STANAG rails. Eye relief is infinite, which means position on the rail is a matter of preference rather than a constraint.
One fastener does the work: a half-inch hex nut that draws the clamp against the rail slot, torqued to 65 inch-pounds. If you plan to run an AMR magnifier, decide the magnifier's position before you commit to the sight's, because the magnet only reaches across three rail slots. Clear the firearm and drop the magazine before the optic goes near it.
- • Half-inch hex socket or wrench
- • 1/4 inch torque wrench set to 65 in-lbs
- • Cleared, unloaded firearm
- 01
Set the sight at your preferred eye relief
Place the base on the top rail wherever you want it. Infinite eye relief means the sight works forward or back, so choose the position that leaves room for a magnifier within three rail slots behind it if you intend to run one.
- 02
Push the sight forward into the rail lugs
Press the sight toward the muzzle so the recoil lugs seat hard against the front wall of the rail slots. Hold that forward pressure through the next step; a clamp tightened without it can shift under recoil and walk the zero.
- 03
Torque the half-inch nut to 65 inch-pounds
Tighten the half-inch hex nut to 65 in-lbf while maintaining forward pressure. Sig calls out in the manual that failing to follow the installation instructions will result in the sight coming loose and damaging the optic.
- 04
Confirm the clamp before you trust the zero
Grab the sight and try to rock it fore and aft on the rail. Any movement means the nut is under spec. Sig's own troubleshooting for point of impact wandering between groups at a fixed distance starts with re-checking that this nut is at 65 in-lbf.
65 inch-pounds, not foot-pounds.
Install or Replace the CR123 Battery
The ROMEO8T-AMR runs a single CR123, the same cell as most weapon lights, in a threaded cap on the right side of the housing. The cap is lanyard retained, so it cannot roll away in the dirt during a field swap, and the sight does not come off the rifle to change cells.
Polarity is the step to get right: the positive end goes into the compartment first, facing inward. Sig rates runtime at 50,000 hours with MOTAC managing the duty cycle.
- • One CR123 3V lithium battery
- • Cleared, unloaded firearm
- 01
Unthread the battery cap
Rotate the battery cover counterclockwise until it backs out of the housing. It stays tethered by its lanyard retainer, so let it hang rather than setting it down.
- 02
Seat the cell positive end inward
Drop a fresh CR123 into the compartment with the positive (+) end going in first. A cell installed backwards is the first thing Sig's troubleshooting tells you to check when the reticle will not illuminate.
- 03
Thread the cap back in by hand
Start the cap carefully to avoid cross-threading the housing, then turn it hand tight until it is firmly seated against the body. A cap that is not fully tightened against the housing is the second item on the no-reticle checklist.
- 04
Confirm the sight powers up
Press and hold the up or down brightness button until the reticle appears. If nothing shows, press and hold the NV button until the reticle appears, up to two times, before concluding the cell is dead.
Low-battery warning: at or below 2.2 volts, the reticle animates by scrolling through three brightness settings, three times, on power up and power down. It is a deliberate low-key alert, not a malfunction. Swap the cell at the next opportunity.
Zero the ROMEO8T-AMR
Elevation and windage are slotted screws turned with the included Optic Multi-Tool, a coin, or a shell casing. Each click is 0.5 MOA, which works out to a quarter inch at 50 yards, half an inch at 100, and an eighth of an inch at 25. Total travel is 100 MOA.
Directions are marked on the housing: clockwise on elevation raises point of impact, clockwise on windage moves it left.
- • Included Optic Multi-Tool, or a coin or shell casing
- • Zeroing target
- • Bore sighter (optional)
- 01
Bore sight, then fire a group
Rough the sight in by bore sighting, then fire a 3 to 5 round group at your zero distance. Fifty yards is the standard carbine zero and makes the math easy at a quarter inch per click.
- 02
Correct elevation
Turn the elevation screw clockwise to move point of impact UP and counterclockwise to move it down. At 50 yards each click is a quarter inch, so a group printing two inches low needs eight clicks clockwise.
- 03
Correct windage
Turn the windage screw clockwise to move point of impact LEFT and counterclockwise to move it RIGHT. At 50 yards a group printing one inch left needs four clicks counterclockwise.
- 04
Confirm from your shooting position
Fire a fresh group and repeat until it centers. Confirm from the position you actually shoot from; a sight zeroed off a bag and then run offhand will show the difference.
Total travel is 100 MOA. If a screw stops turning you have hit the mechanical limit; running out before you reach zero means the rail is not square to the bore, not that the sight is defective.
Select a Reticle and Turn AMR On or Off
The Quad Ballistic Circle Dot 2.0 gives you a 2 MOA dot, a 65 MOA style circle-dot, ballistic holds, or the combination. AMR stores a separate reticle and brightness choice for magnified and unmagnified use and swaps between them automatically when an AMR-capable magnifier comes into optical alignment.
Sig's own worked example: pick circle-dot at brightness 13 for close-quarters drills, then swing the magnifier in and look at steel at 400 meters. The reticle is too bright and too busy, so you change to the dot with ballistic holds and drop to brightness 10. Swing the magnifier off and the sight returns to circle-dot at 13 on its own. Note the button overload before you start: holding up and down together does two entirely different things depending on whether the sight is powered on or off.
- • An AMR-capable magnifier or magnifier mount, for the AMR steps
- 01
Enter reticle selection with the sight ON
Press and hold the up and down buttons together until the reticle flashes, then release. The reticle scrolls through every available option in turn.
- 02
Lock in the reticle you want
Tap either the up or down button while your choice is displayed to lock it in. Set brightness afterward with single taps; the reticle flashes when it reaches the minimum or maximum setting.
- 03
Set the magnified preset
Swing an AMR-capable magnifier into alignment behind the sight, then repeat the reticle and brightness selection. The sight stores this second configuration separately and recalls it whenever the magnifier is detected.
- 04
Enable or disable AMR with the sight OFF
Power the optic off, then press and hold up and down together. The reticle enters a blink scheme where one blink means AMR disabled and two blinks means AMR enabled. Tap any button while the mode you want is showing. AMR ships enabled from the factory.
- 05
Factory reset if the behavior gets confused
With the sight powered ON, press and hold up, down, and NV together until the reticle fast blinks for two seconds. Sig lists this as the fix when AMR does not respond at all.
AMR working intermittently is almost always a mounting problem, not a fault. The magnifier has to sit within three rail slots behind the sight, and the facing surfaces of the sight, magnifier, and magnifier mount have to be clean and unobstructed for the magnet to reach the sensor.
Brightness, NV Override, and MOTAC Reference
Three buttons cover every function. A long press on up or down powers the sight on to the last brightness used, and a long press on either powers it off. A long press on NV powers the sight on at maximum brightness instead, which is the control you want when you have just been white-lighted while running night vision.
With the sight already on, a single tap of NV toggles between maximum brightness and your previous setting, and a second tap returns you. Brightness runs 15 settings, 12 for daylight and 3 compatible with passive night vision, and the reticle flashes when you hit either end of the range. MOTAC powers the illumination down after 2 minutes of inactivity and brings it back on any sudden movement, returning to the reticle and brightness you left it on. That 2 minute timer is far shorter than the 10 minute default common elsewhere, and unlike some competitors it is not user adjustable.
The NV button is also the recovery control. When the reticle will not illuminate, Sig's troubleshooting has you press and hold NV until it appears, up to two times, before you start suspecting the battery.
Remove the Titanium Shroud and Lens Accessories
Select SKUs ship with a titanium shroud installed, plus a clear front flip-back, an opaque front flip-back, a clear rear flip-back, and an ARD kill-flash insert. The shroud costs 1.8 ounces, taking the sight from 9.5 to 11.3 ounces, and adds 0.2 inch of height and 0.1 inch of width. Running without it is a supported configuration, not a compromise.
The rear flip-back is deliberately different from the front accessories. It is built to tear away if it becomes an obstruction, so you are never stuck behind a jammed cover in an emergency.
- • Included T10 drive bit and Optic Multi-Tool
- • Cleared, unloaded firearm
- 01
Remove the shroud
Use the provided T10 bit in the Optic Multi-Tool to back out the four shroud mounting screws, then lift the shroud off the optic. Keep the screws with the shroud so the set stays together.
- 02
Reinstall the shroud in a crisscross pattern
Set the shroud back on the body and torque the four screws to 8 to 10 in-lbf in a crisscross pattern rather than going around the perimeter. Sig warns that over-torquing these screws causes permanent damage.
- 03
Swap a front lens accessory
The clear flip-back, opaque flip-back, and ARD kill-flash all mount the same way. Remove the two T10 mounting screws, pull the accessory off, press the replacement against the main body, line up the holes, and torque the two screws to 8 to 10 in-lbf.
- 04
Operate or tear away the rear flip-back
To open it, unclip it from the top of the housing, rotate it down, and press until it locks into its detent. To remove it, unclip the locking tab, then twist and pull one side away from the housing. Installation is the reverse.
Do not over-torque the shroud or lens accessory screws. Both sets are 8 to 10 in-lbf, and Sig states that exceeding it causes permanent damage. When cleaning the glass, blow the debris off first; wiping brass particles or grit across the coatings scratches them.
Detailed Specifications
- Reticle
- Quad Ballistic Circle Dot 2.0 (2 MOA dot / circle-dot / ballistic holds / combined)
- Magnification
- 1x
- Battery Type
- CR123
- Battery Life
- 50,000 hours with MOTAC (2-minute inactivity sleep)
- nightVisionCompatible
- Yes (3 NV settings + dedicated NV override button)
- Waterproof Rating
- IPX8 waterproof and fogproof; built to MIL-STD-810
- weight
- 9.5 oz (268 g) bare; 11.3 oz (319 g) with titanium shroud
- Length
- 2.9 inches (72.5 mm)
- Objective Diameter
- 40mm multi-coated Mangin lens
- sightHeight
- 1.41 inch absolute co-witness
- Mount Type
- Integral base, half-inch hex nut torqued to 65 in-lbf
- Adjustment Type
- 0.5 MOA per click (clockwise elevation raises POI; clockwise windage moves POI left)
- Adjustment Range
- 100 MOA total travel
Video Reviews
Pairs Well With
Top matches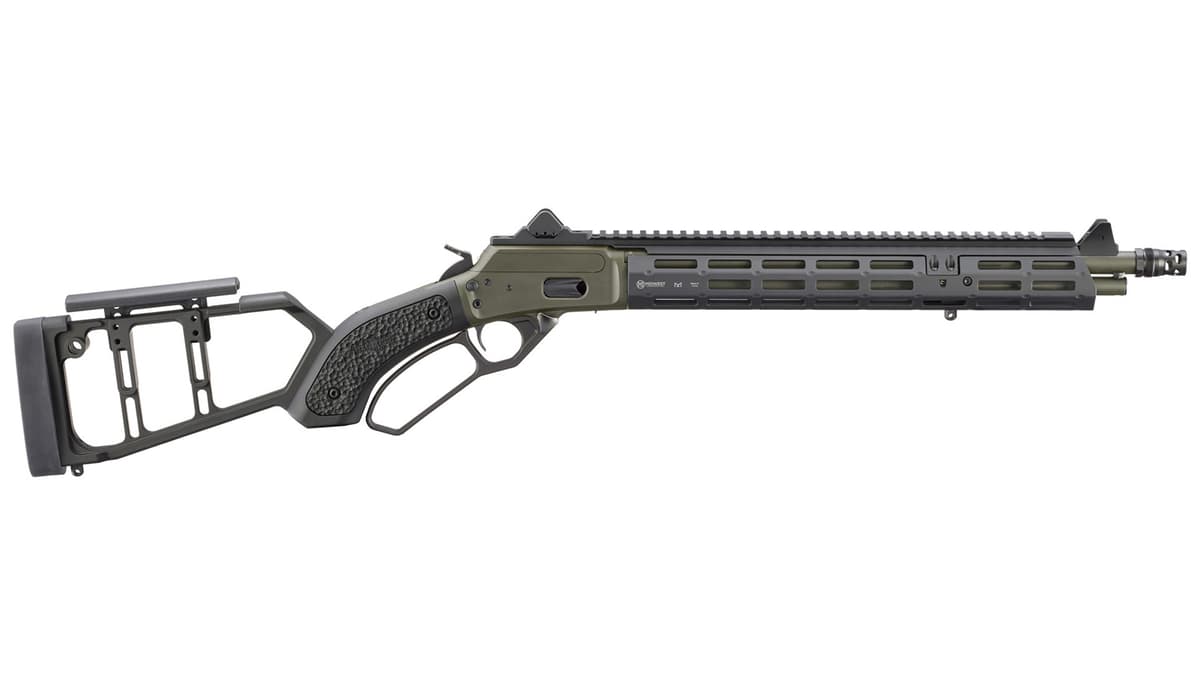
Marlin
Marlin Mad Pig Customs Model 1894
1 shared compatibility tags
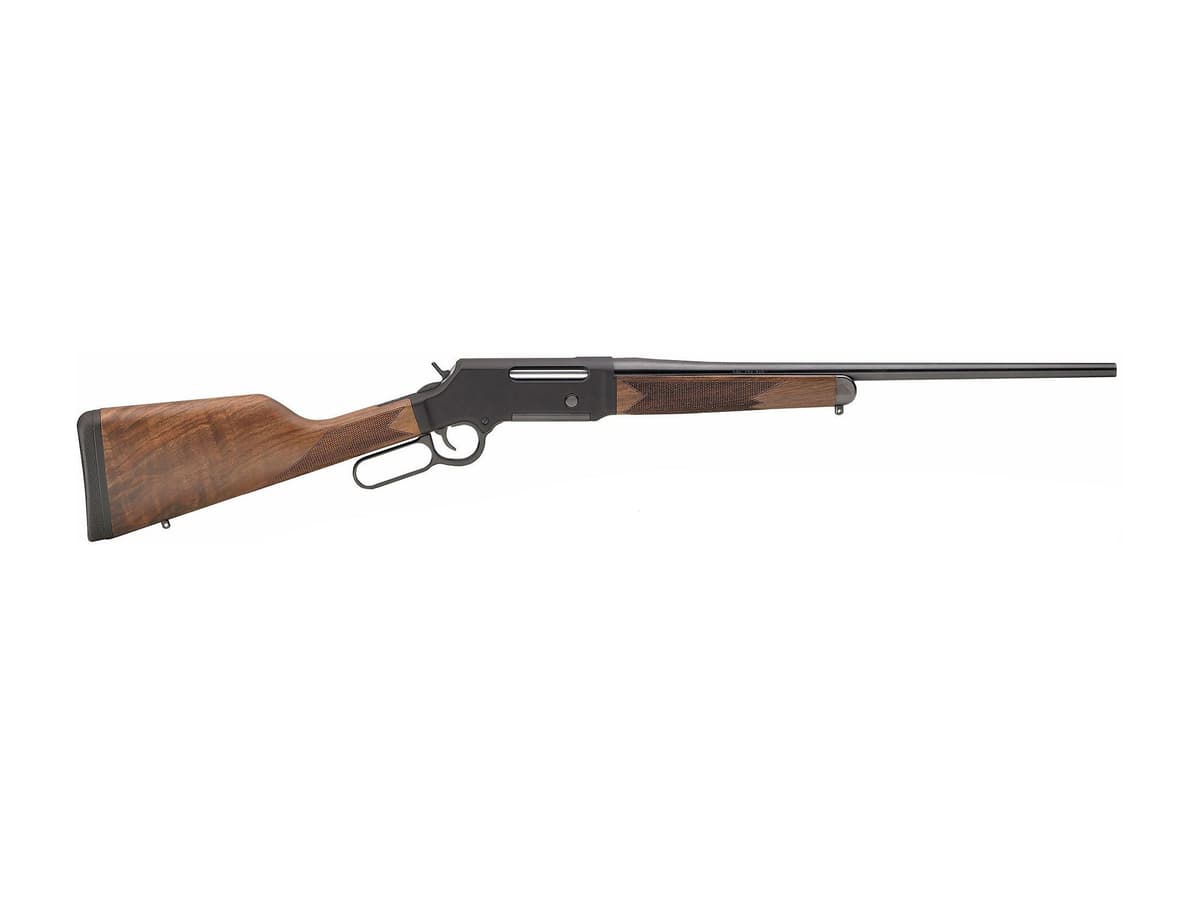
Henry Repeating Arms
Henry Long Ranger
1 shared compatibility tags
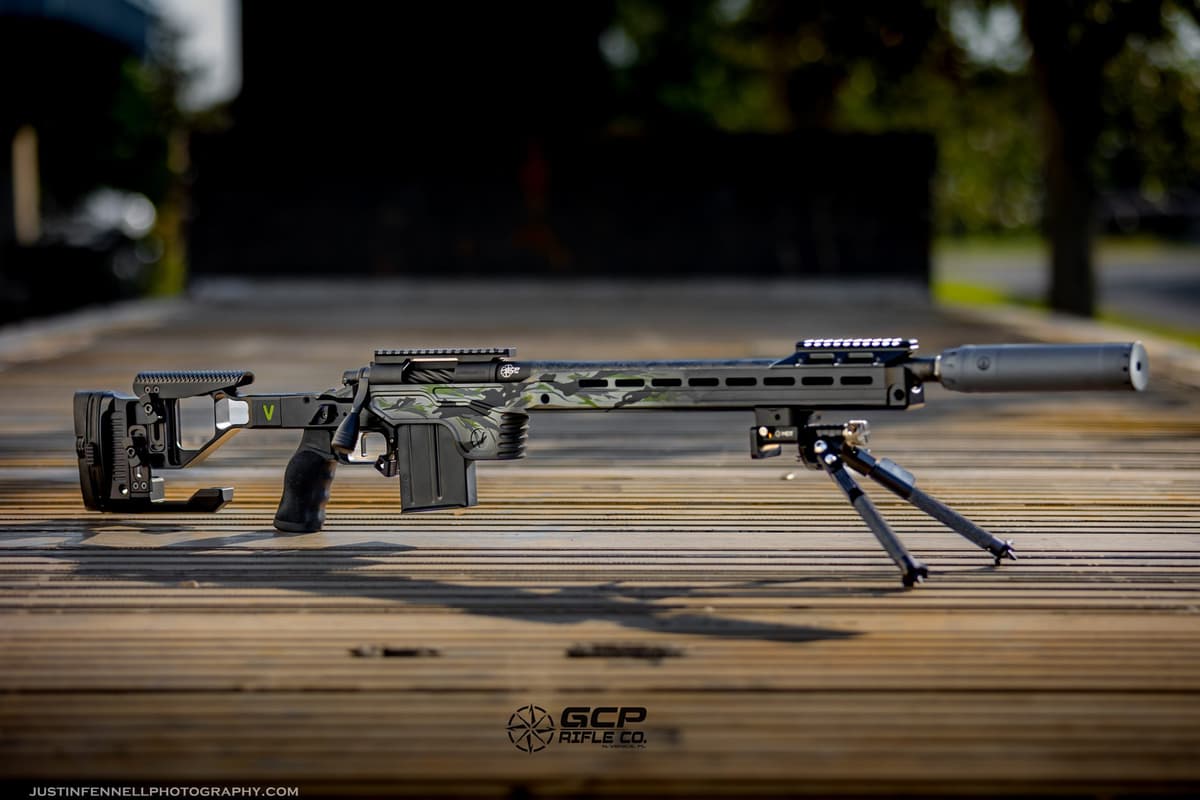
Custom
Custom Precision Rifle (R700 Footprint)
1 shared compatibility tags
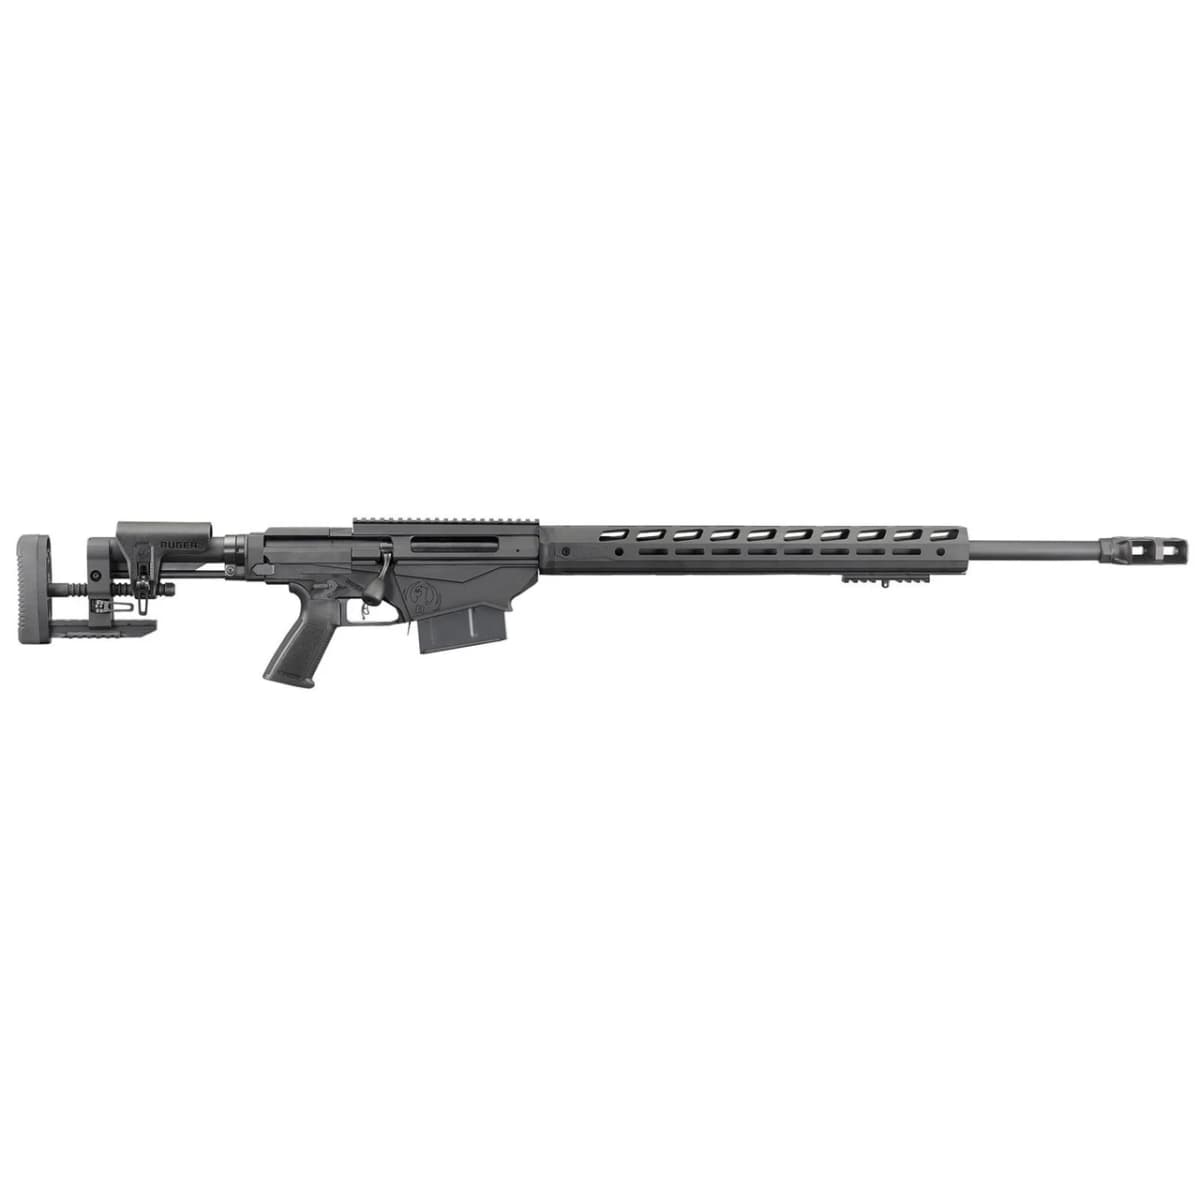
Ruger
Ruger Precision Rifle
1 shared compatibility tags
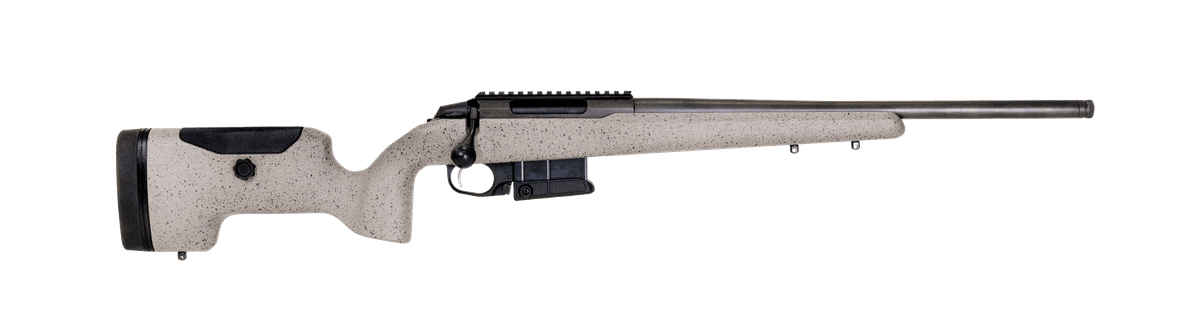
Tikka
Tikka T3x UPR
1 shared compatibility tags
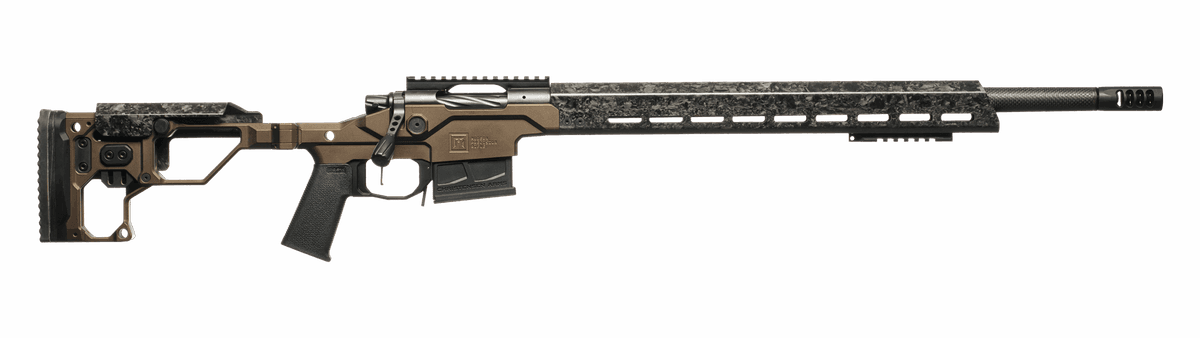
Christensen Arms
Christensen Arms Modern Precision Rifle
1 shared compatibility tags
Similar Products
Compatible Platforms
Compatibility Tags
Build Your Custom Configuration
Add the Sig Sauer Romeo 8T AMR to your build and see how it enhances your platform.