Illumination • $155.49
Streamlight ProTac HL-X
- ✓1,000 lumens
- ✓50,000 candela
$155.49 MSRP
View at Amazon
Structured training progression for new AR owners. Drills, zeroing, malfunction clearing, and skill development. Master the fundamentals with purpose-driven practice.
Affiliate links (?)
Reddit's favorite advice is "$500 AR + $1000 training beats a $1500 AR." They're right. This guide gives you a structured plan to make those first 1000 rounds count, building real skills instead of just making noise.
Skills beat gear: A $500 rifle + $1000 training outperforms a $1500 rifle with no training. Invest in fundamentals first.
Your roadmap: 5 phases from dry fire fundamentals through 1000 live rounds. Each phase builds on the previous with specific drills and passing standards.
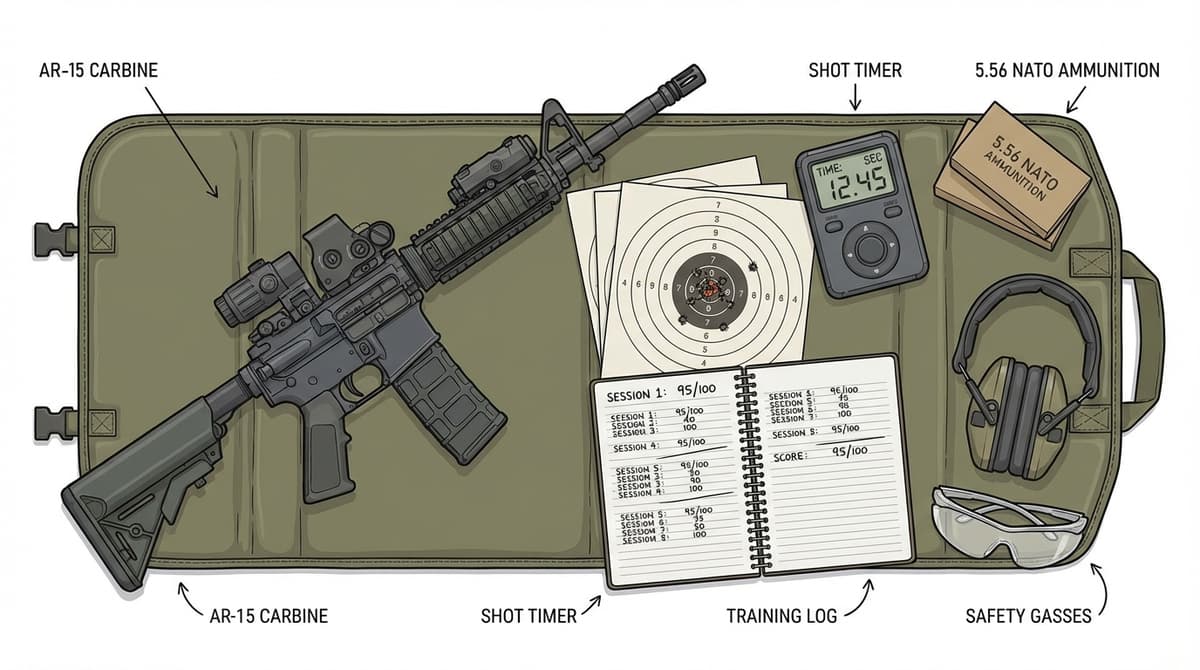
Key tools: Shot timer, training log, and dry fire discipline. 80% of shooting skills can be practiced without ammunition.
A $500 rifle with excellent fundamentals will outshoot a $1500 rifle with bad habits. Skills are the force multiplier, invest accordingly.
80% of shooting skills can be practiced without ammunition. Every hour of quality dry fire saves hundreds in ammo costs while building real capability. Our dry fire practice guide covers the safety protocol, the core drills, and the training aids worth buying.
Shot timers don't lie. Keep a training log. Track your splits, your groups, your par times. You can't improve what you don't measure. See our best shot timer guide for the full ranked picks. Budget options like the Walker's ShotSync ($60) make dedicated timing hardware accessible without spending $130+ on a traditional handheld timer.
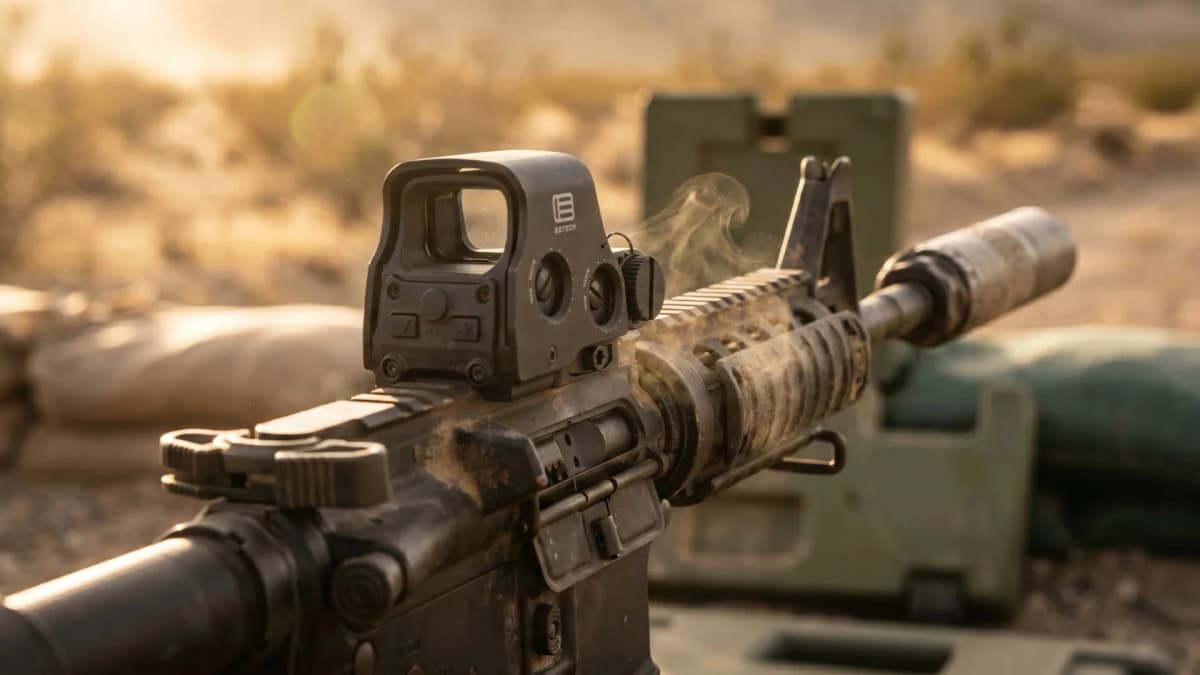
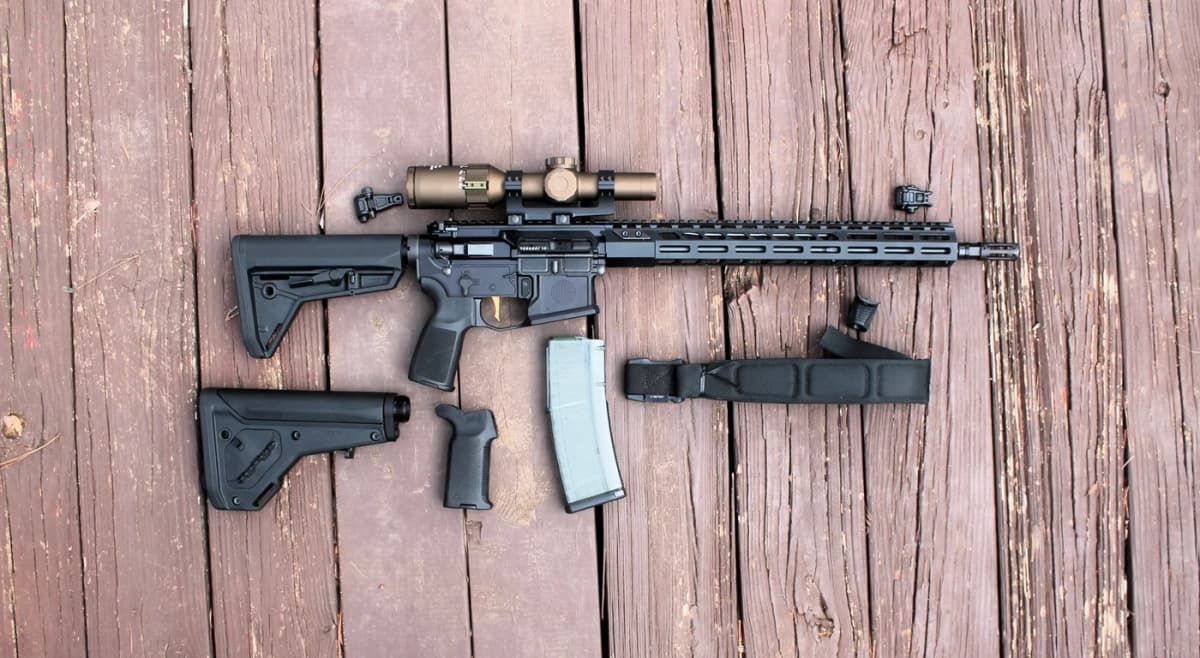
Sling, light, backup sights, and QD mounts, the upgrades most builders add first.
Affiliate links (?)
Your first 1000 rounds should follow a progression. Resist the urge to dump magazines, every round should have purpose.
| Phase | Rounds | Focus |
|---|---|---|
| Phase 0 | Dry Fire | Build muscle memory and safe handling habits before spending money on ammunition |
| Phase 1 | 1–250 | Establish a confirmed zero and build consistent marksmanship fundamentals |
| Phase 2 | 251–600 | Integrate efficient reloads and malfunction clearing into your shooting |
| Phase 3 | 601–850 | Develop proficiency shooting from various positions and engaging multiple targets |
| Phase 4 | 851–1000 | Validate skills with timed drills and identify areas for continued improvement |
Range drills, fundamentals coaching, and first-1000-round practice plans sent to your inbox.
Don't skip phases. Each builds on the previous one. Shortcuts now mean bad habits later. When you reach the diagnostic phase, run the classics against real standards: the Bill Drill, El Presidente, and the Mozambique drill each have full courses of fire, par times, and a built-in range timer in the drill library.
0 live rounds (2–4 weeks)
Build muscle memory and safe handling habits before spending money on ammunition.
Most new shooters skip this phase and waste their first 200 rounds developing bad habits. Dry fire costs nothing, builds real skill, and exposes manipulation issues before they cause problems under stress.
Rounds 1–250
Establish a confirmed zero and build consistent marksmanship fundamentals.
This phase is about slow, deliberate shooting. Resist the urge to dump magazines. Every round should have purpose: confirming zero, refining positions, or diagnosing trigger control issues.
Confirm your rifle's zero by shooting groups from a stable position. Focus on tight groups first, then adjust sights to center the group on your aim point.
All shots within 2" at 25 yards, centered on aim point
Slow, deliberate single shots to build trigger control and shot calling. Each shot should be called before looking at the target.
18/20 shots within 3" circle, 80% accurate shot calls
Rounds 251–600
Integrate efficient reloads and malfunction clearing into your shooting.
Now that you can hit what you aim at, start adding complexity. This phase introduces time pressure and the mechanics of running the gun, reloads, malfunctions, and controlled speed.
Two shots to the same target with a verified sight picture between shots. This is not a double-tap, you see the sights on target before the second shot.
Both hits on 8" plate, pair under 2.0 seconds
When the bolt locks back on an empty magazine, reload as fast as possible while maintaining eyes on target. This is the most common reload you'll perform.
Reload under 3.0 seconds with confirmed hit
Immediate action for a Type 1 malfunction (failure to fire). This should become pure reflex.
Cleared and hit on target in under 2.5 seconds
When Tap-Rack-Bang doesn't clear the malfunction, SPORTS is your remedial action. Slap, Pull, Observe, Release, Tap, Shoot.
Complete SPORTS in logical sequence, identify malfunction type
Rounds 601–850
Develop proficiency shooting from various positions and engaging multiple targets.
Real-world shooting rarely happens from a perfect bench rest. This phase gets you off the bench and into positions that simulate practical shooting scenarios.
Engage a target from standing, kneeling, and prone in sequence. Tests your ability to get stable quickly in each position.
12/15 hits in under 15 seconds
Engage two targets with two shots each, working on smooth rifle movement and quick sight acquisition.
4 hits in under 3.0 seconds
Starting from low ready, mount rifle and fire one accurate shot as quickly as possible. Tests your presentation speed.
Hit on 8" plate in under 1.5 seconds
Rounds 851–1000
Validate skills with timed drills and identify areas for continued improvement.
Use your final 150 rounds to run standardized drills that measure your progress. Record your times, save your targets, and identify which skills need more work.
A precision drill that combines speed and accuracy. Three shots into a 3x5 card in 5 seconds at increasing distances.
Pass at 3, 5, and 7 yards minimum; expert passes all 5
Six shots as fast as you can get accurate hits. Tests recoil control, split times, and transitions between shots.
6/6 hits under 3.0 seconds = competent, under 2.0 = fast
The classic all-around shooting assessment. Tests presentation, target transitions, reloads, and accuracy under time pressure.
12/12 A-zone hits under 10 seconds; expert under 7
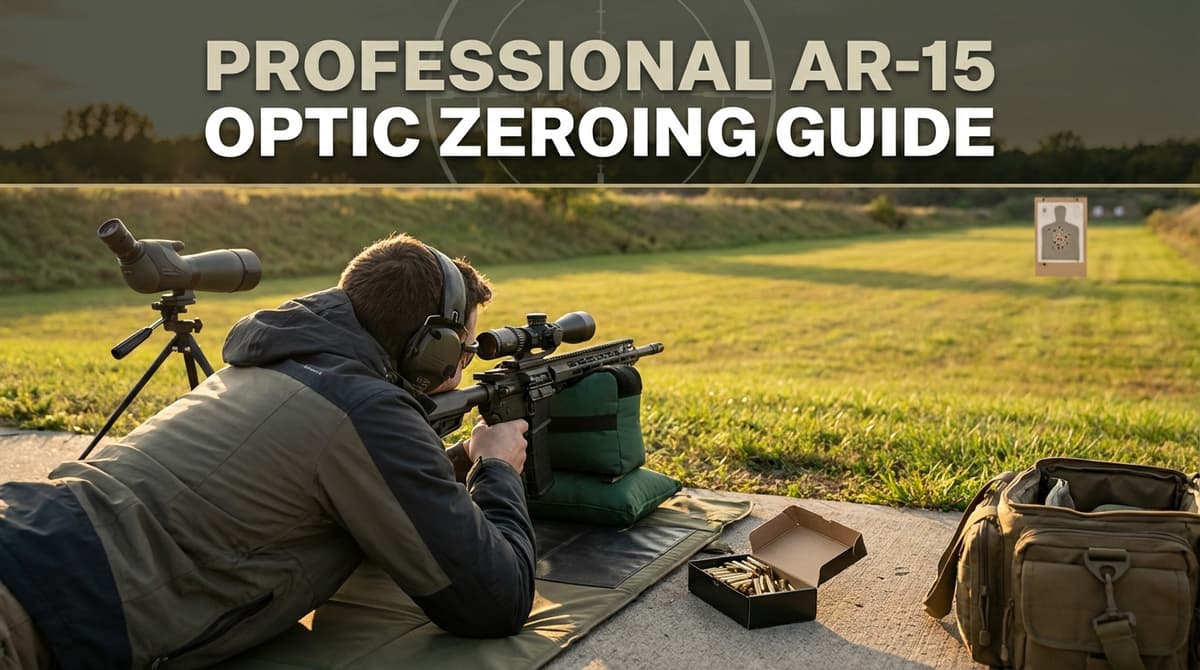
Before starting any live-fire drills, your rifle must have a confirmed zero. This is the foundation of all marksmanship. We recommend the 50-yard zero for most general-purpose rifles.
Malfunctions will happen. Knowing how to clear them quickly and safely is a core skill. Practice with snap caps until these become reflex.
aka: Click, no bang, Dead trigger
Trigger is pressed but no round fires. Can be caused by no round in chamber, bad primer, or firing pin issue.
Tap, Rack, Bang, Slap magazine, rack charging handle, reengage
aka: Stovepipe, Smokestack
Spent case fails to fully eject and gets caught in the ejection port, often standing vertically like a stovepipe.
Tap, Rack, Bang usually clears it. Vigorous rack.
aka: Bolt over base, Catastrophic jam
Two rounds trying to enter the chamber simultaneously, or a spent case failing to eject while a new round tries to feed.
Lock bolt back, strip magazine, rack 3x to clear chamber, reinsert mag, rack, reengage
aka: Squib, Barrel obstruction
A round fires but the bullet does not exit the barrel, it gets stuck. Firing another round will destroy the gun and potentially injure the shooter.
STOP SHOOTING IMMEDIATELY. Clear and safe the rifle. Check bore with cleaning rod. Barrel is ruined if another round is fired behind it.
Escalate to SPORTS:
Don't waste range time realizing you forgot something. Check this list before you leave.
* Required items
Protect your hearing and eyes from day one
Best Ear Protection for Shooting 2026 - Electronic muffs and passive plugs ranked. Hearing damage is permanent and cumulative, so get this right before your first range trip.
Best Shooting Glasses 2026 - ANSI Z87.1 and MIL-PRF-32432 rated ballistic eye pro ranked. The ESS Crosshair One ($40) is the cheapest fully mil-spec rated pick if you only have one slot in the budget.
Range Bag Essentials Checklist 2026 - The full range bag setup for the first 1,000 rounds: PPE, IFAK, mag loaders, multi-tool, CLP, and admin gear in three loadout tiers.
These are inviolable. Memorize them. Live them. There are no excuses for negligent discharges.
Treat every firearm as if it's loaded. Always. Even when you just cleared it.
Never point the muzzle at anything you're not willing to destroy. Muzzle discipline is non-negotiable.
Keep your finger off the trigger until sights are on target. Finger rides on the frame, not the trigger guard.
Be sure of your target and what's beyond it. Bullets don't stop on command.
Result: Nice rifle, no idea how to run it effectively.
Result: Competent shooter with money left over for more training.
Affiliate links - purchases support this site at no extra cost to you. (?)

Avid shooter with 10+ years of experience including competition shooting, and an associate member of the Professional Outdoor Media Association (POMA). Built 10+ AR-pattern rifles and several handgun platforms for home defense, competition, and suppressed night shooting.
This page contains affiliate links. Purchases through these links support the site at no extra cost to you. Read the affiliate disclosure
Ready to continue? Here's the recommended next guide:
How to zero an AR-15 red dot, LPVO, or iron sights. Step-by-step with 50/200 zero chart, printable targets, 25-yard confirmation method, clicks calculator, and mechanical offset explained.
Or explore a related topic:
Best AR-15 Cleaning Kits & Maintenance Tools 2026->Continue exploring with these related resources
How to zero an AR-15 red dot, LPVO, or iron sights. Step-by-step with 50/200 zero chart, printable targets, 25-yard confirmation method, clicks calculator, and mechanical offset explained.
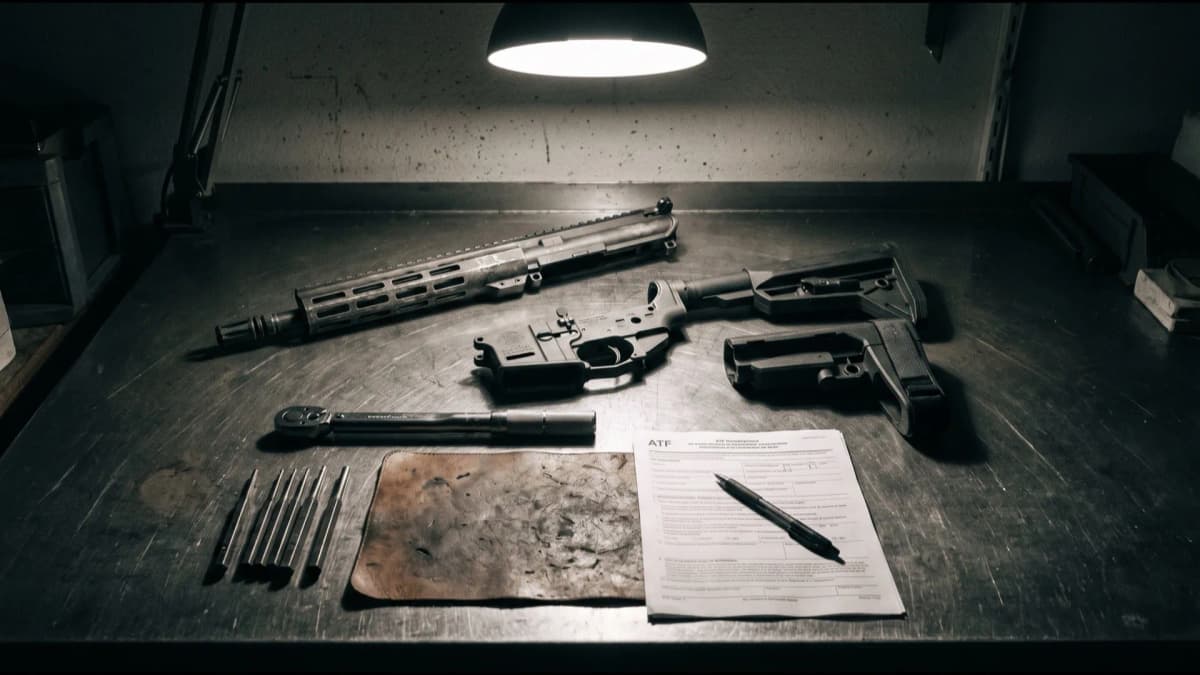
A step-by-step Form 1 walkthrough for converting a braced AR pistol into a registered short-barreled rifle, plus the stock, upper, barrel, and suppressor upgrades to run once your stamp clears.
Suppressed AR-15 blowback hits your eyes and airway through the charging handle gap. These ported, sealed, and raised-lip gas-busting handles fix it. Ranked by mechanism and value.
Related articles and industry updates
The Triggered Company LAT launches July 4, 2026: a match-grade AR-15 forced reset trigger with a clean 3-3.5 lb pull, flat bow, 17-4 stainless internals, and variable ARSE mode. Full specs and how it differs from the Disruptor.

The Justice Department filed separate federal lawsuits against Virginia and California on July 1, 2026, arguing SB 749's AR-15 sales ban and AB 1127's Glock sales ban both violate the Second Amendment. The suits land a day after the Supreme Court agreed to hear Viramontes v. Cook County and ask judges to block enforcement now.
We analyzed 25,798 builder sessions and 123,459 organic component selections from April through June 2026. The Geissele SSA-E holds off the $135 LaRue MBT-2S by 7%, Cloud Defensive outdrew every SureFire and Streamlight, 40% of builders start from a stripped lower, and almost no two builds are alike.