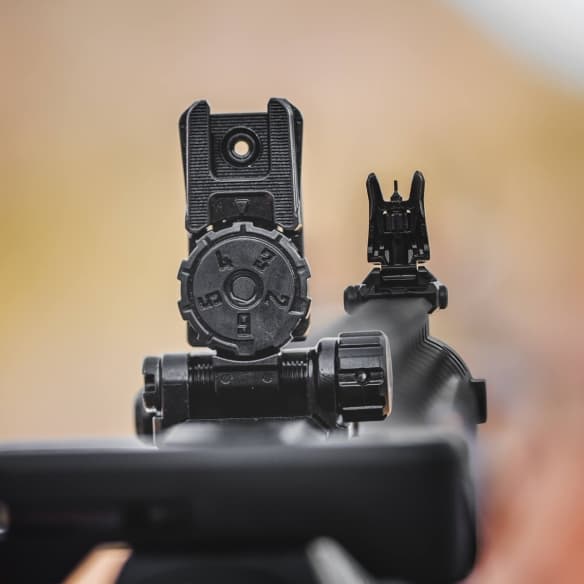
Folding irons
Magpul MBUS Pro Steel Sights
- Tool-free windage on the rear sight
- Slim enough to co-witness with most optics
$209.90 MSRP
Shop at Brownells
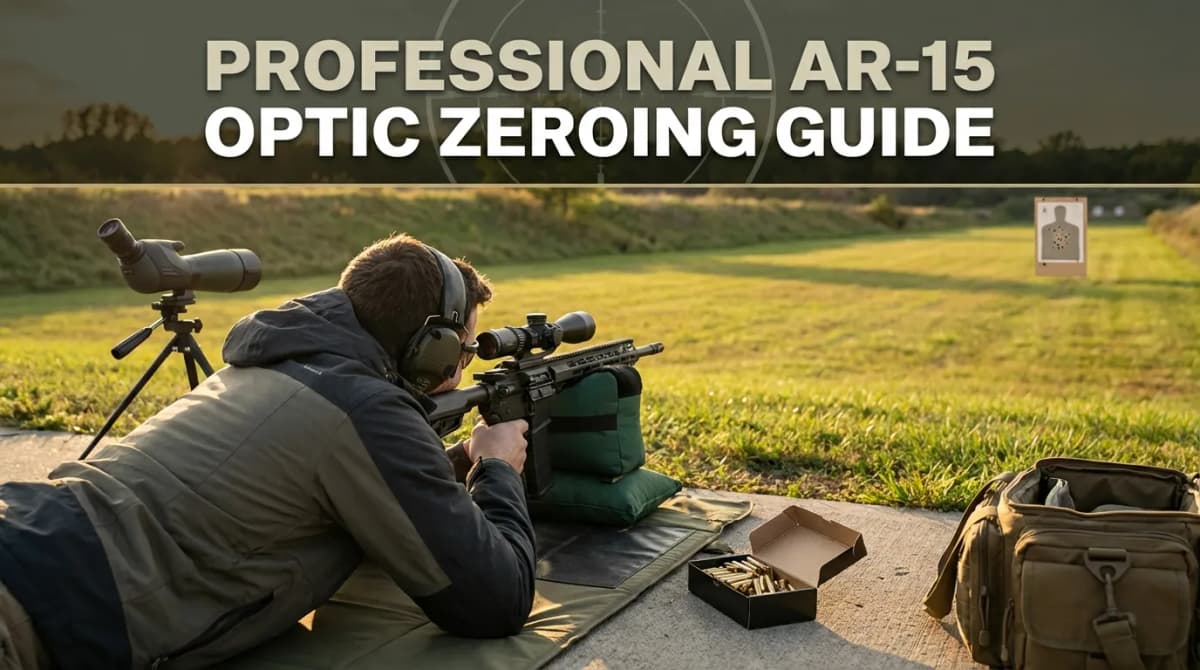
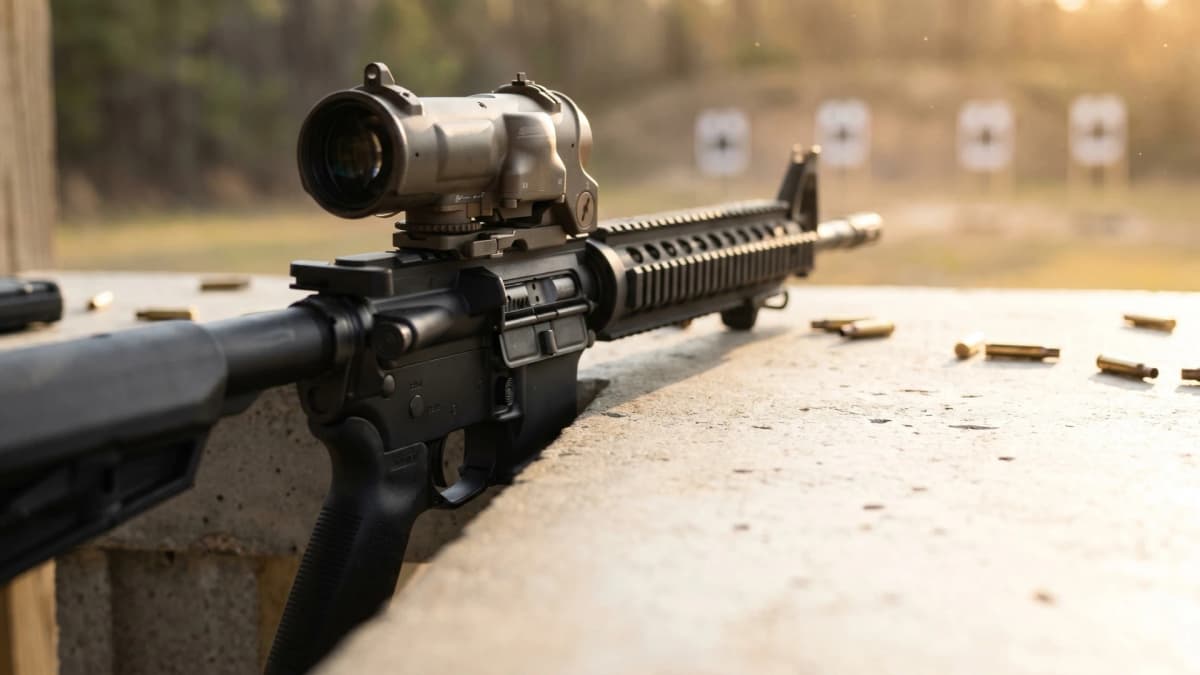
How to zero an AR-15 red dot, LPVO, or iron sights. Step-by-step with 50/200 zero chart, printable targets, 25-yard confirmation method, clicks calculator, and mechanical offset explained.
Affiliate links (?)
A repeatable zero is more than twisting turrets. This walkthrough covers how to prep your rifle, align backup irons, dial in red dots, and confirm LPVO zeros with minimal ammo waste.
Best zero distance: 50/200 yard zero for most uses. Bullet crosses line of sight at 50 yards and again near 200 yards, with <2" deviation in between.
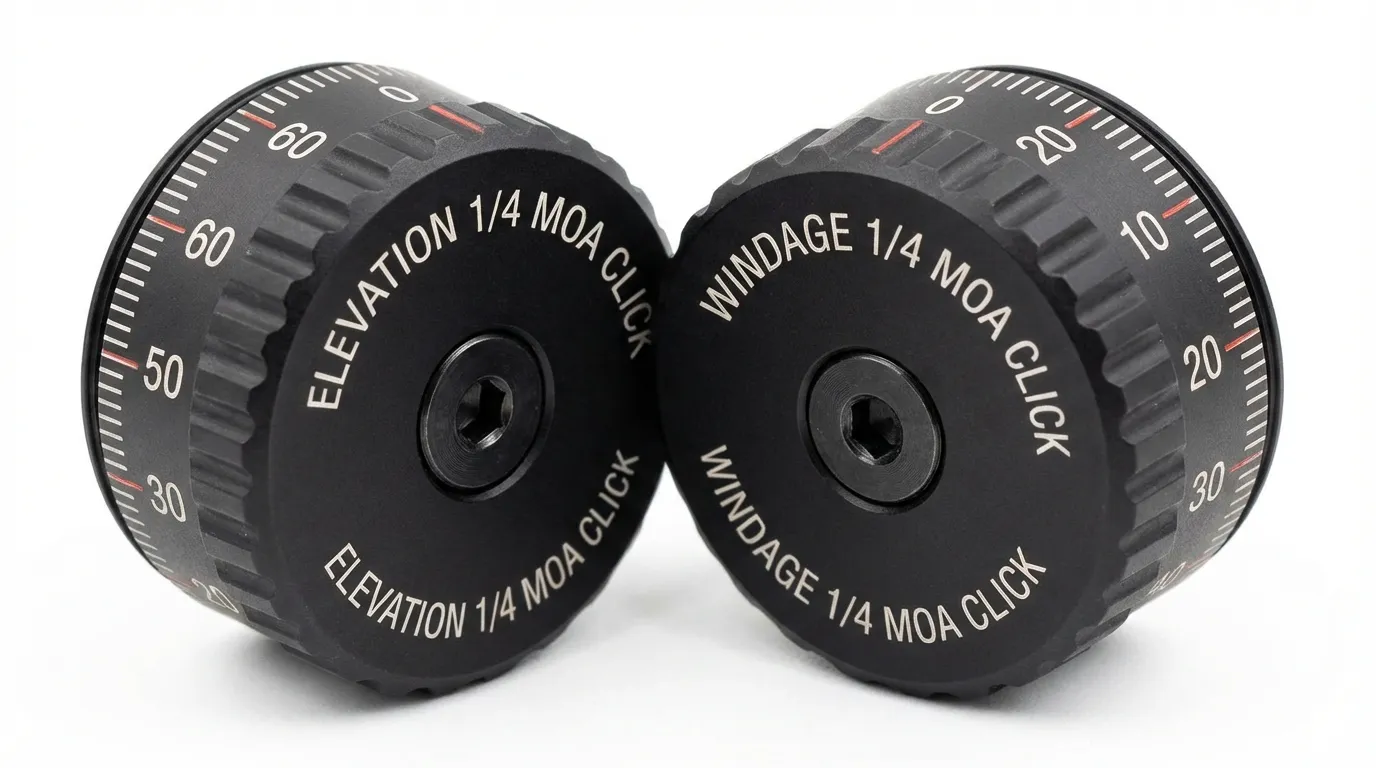
Quick method: Boresight to get on paper → fire 3-round group at 25-50 yards → adjust turrets (1 click = 1/4 MOA typically) → confirm with another group.
Close range offset: Your optic sits ~2.6" above bore. At 10 yards, aim 2-3" HIGH to hit point of aim. Calculate your offset →
Ammo matters:Zero with the ammo you'll actually use. Different loads shift POI. 15-25 rounds is enough with proper technique.
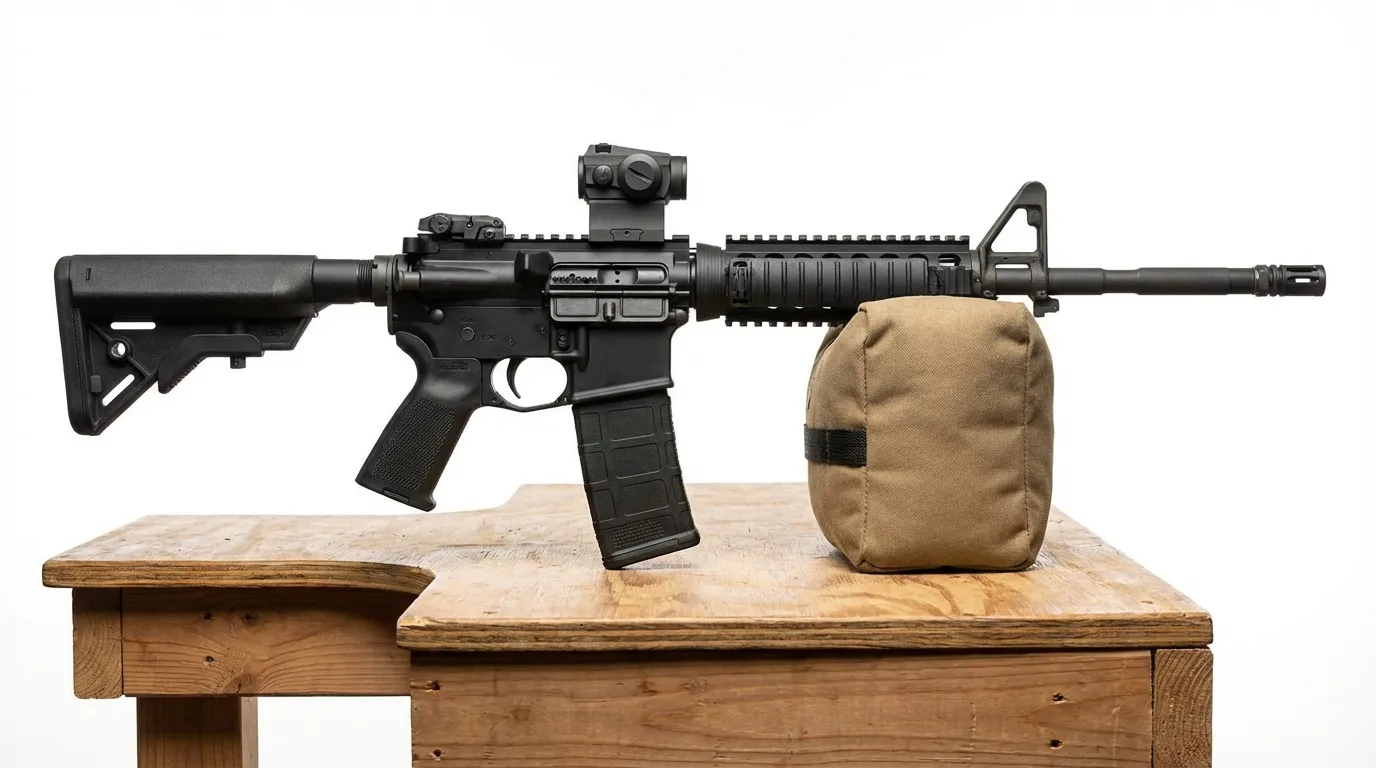
Repeatable zeros start with a controlled setup.
AR-15 optic height (~2.6" over bore) means your projectile climbs to meet line of sight, crosses it, rises, then drops back through it. Choosing a plan tells you where those intersections happen so holds stay simple.
Slightly longer near-zero keeps the arc flatter in the 100–200 yard window while still reconciling with BDC markings calibrated for carbine ranges out to 300 yards.
Expect roughly +3.5" at 175 yards with typical 14.5"–16" carbines.
Near zero at 50 yards, far zero near 200. Inside 200 you hold center mass with <2" deviation, and you only need to hold low inside 10 yards for mechanical offset. Works across barrel lengths and bullet weights.
Most agencies and scoped carbine programs default to this for simplicity.
One intersection at 100; trajectory is always below the bore line beyond that point. Ideal for LPVOs with MOA/MIL turrets because drop data is referenced from a known 100-yard datum.
Pair with turret dope cards or reticle holds for distance shooting.
No matter which curve you choose, record it in your log book and zero card. That way holds for head/low-probability targets become instinctive instead of guesswork. To see exact drop numbers for your specific load, barrel length, and zero, run it through the ballistics calculator and copy the DOPE card straight to your phone.
Move the slider to see the point-of-impact difference (inches relative to your point of aim) for each zero concept. Positive numbers mean the bullet is hitting above line of sight; negative values are low.
Tip: pause at 10 yards, 50 yards, 200 yards, etc., to plan your holds.
Patrol carbines needing historical compatibility with lighter mid-range rise.
Flatter arc up close than 25/300 while still crossing again near 300 meters.
General-purpose carbines that need simple holds inside 200 yards.
Modern carbine standard with near zero at 50 and far zero around 200 yards.
LPVOs or precision scopes with drop data referenced from 100 yards.
Traditional precision zero - trajectory never climbs above line of sight beyond 100.
Trajectory map
Reference: 0" line is your point of aim. Vertical scale is in inches.
Trajectory data for 55gr M193 from a 16" barrel with 50/200 yard zero. Use for holdover reference.
| Distance | POI Offset | Holdover |
|---|---|---|
| 0 yd | -2.6" | Aim 2.6" HIGH |
| 10 yd | -2.3" | Aim 2.3" HIGH |
| 25 yd | -1.2" | Aim 1.2" HIGH |
| 50 yd(zero) | 0" | No holdover |
| 75 yd | +1" | None (hits 1" high) |
| 100 yd | +1.7" | None (hits 1.7" high) |
| 150 yd | +1.5" | None (hits 1.5" high) |
| 200 yd(zero) | 0" | No holdover |
| 250 yd | -2.5" | Aim 2.5" HIGH |
| 300 yd | -5" | Aim 5" HIGH |
Note: Values are approximate. Actual trajectory varies with ammo, barrel length, and atmospheric conditions. Positive offset = bullet hits HIGH of aim point. Negative = LOW.
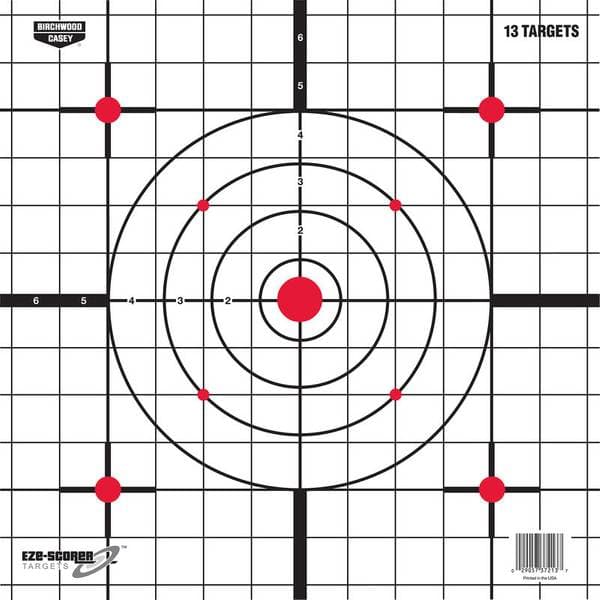
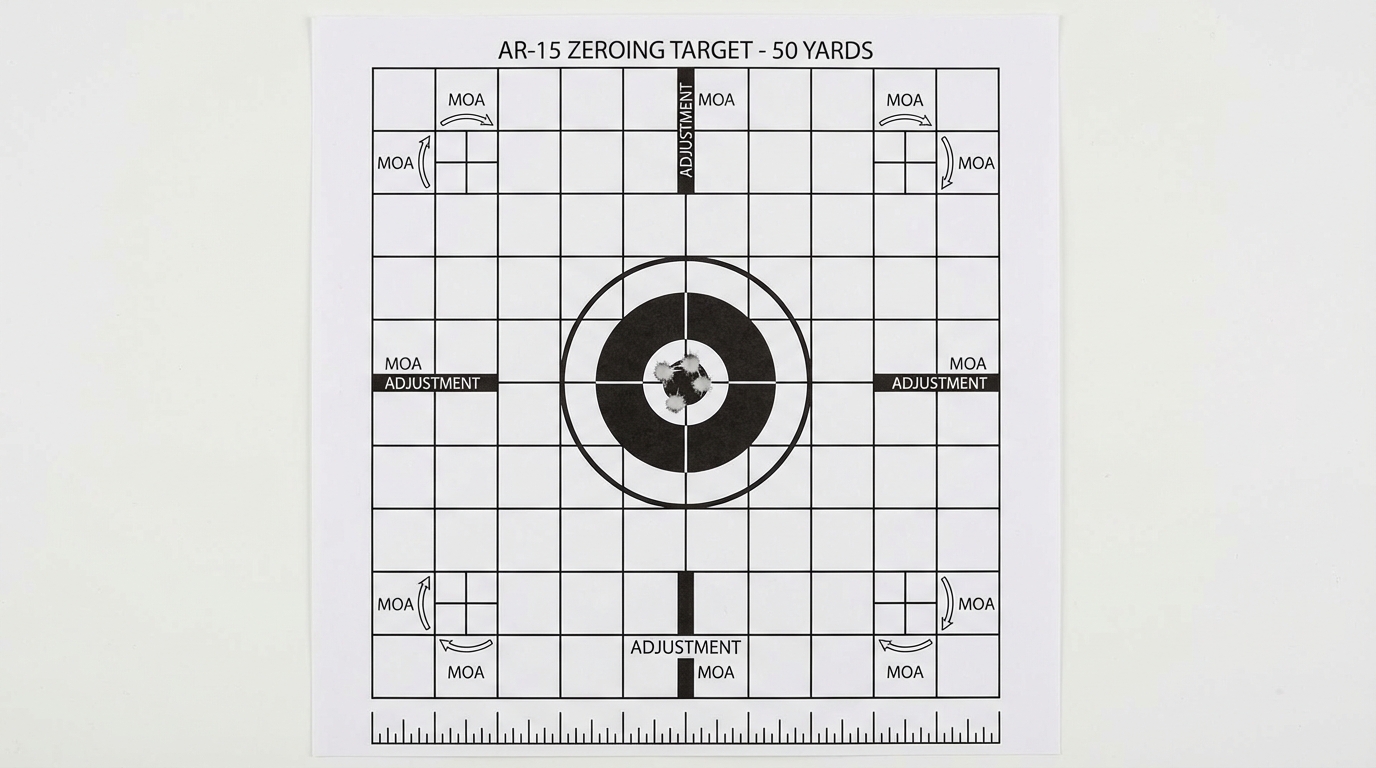
Print these targets at 100% scale for accurate 1" grids. Use letter-size paper (8.5" × 11").
Preview
Aim at center crosshair. Bullet should impact 1.2" LOW at 25 yards to confirm 50/200 zero.
Can't shoot at your full zero distance relative? Use this tool to confirm your zero at shorter ranges (e.g., finding a 50 yard zero on a 25 yard range).
Shooting at a different distance than your desired zero? Use this tool to find your required point of impact.
At 25 yards, your groups should be centered 1.30 inches below your point of aim to achieve a 50 yard zero.
Input your target distance and impact offset to get precise turret adjustments.
Impact was:
Enter distance and impact offset to calculate adjustments.
Need the conversions behind the clicks? The standalone MOA calculator pairs this clicks solver with a MOA, MRAD, and inches converter plus a subtension reference table for every common turret value.
Start with irons even if you run an optic. They confirm the bore-to-rail relationship and give you a fallback sighting system. For the BUIS picks themselves, see the best AR-15 iron sights guide for folding, fixed, and offset options ranked by build type.
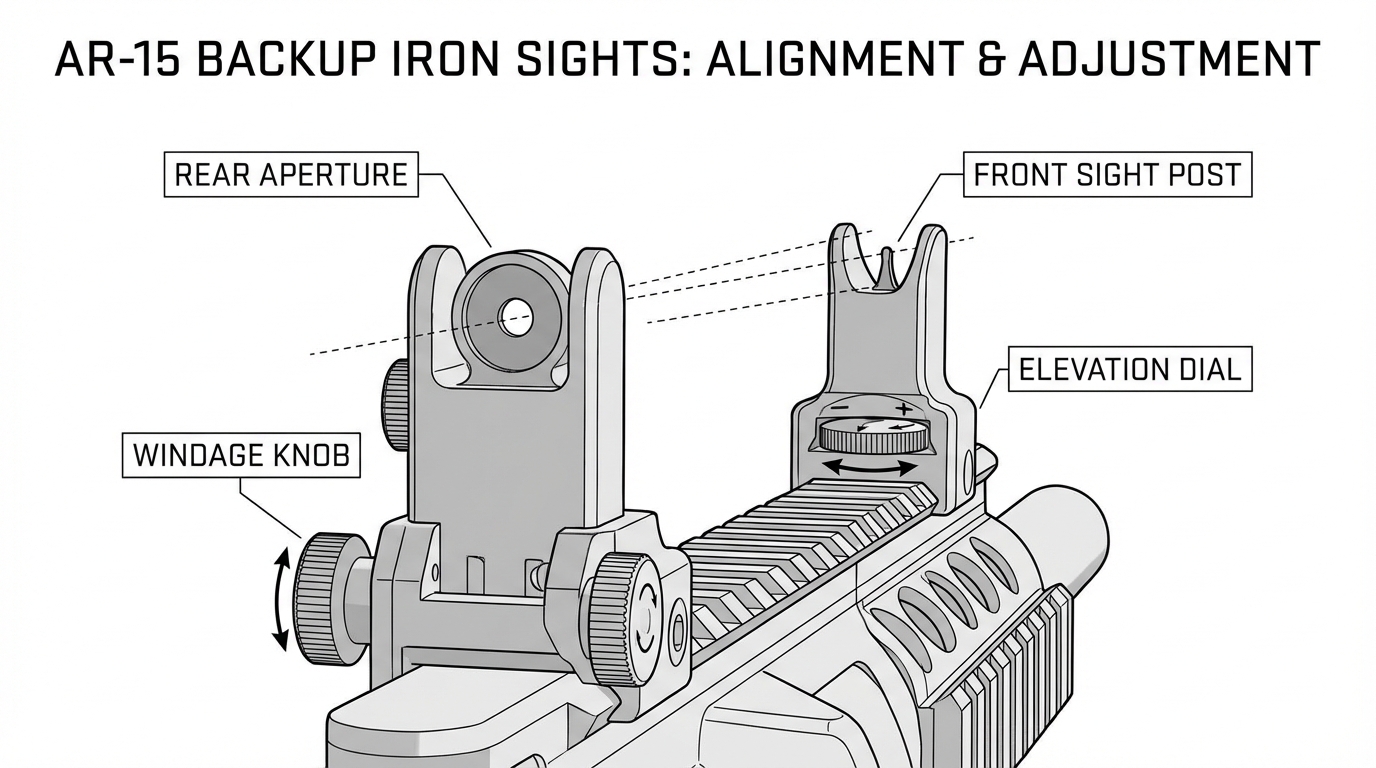
If impacts string vertically, check your front sight for wobble or loose gas block screws before burning more ammo. Heat shifts usually mean hardware movement, not bad fundamentals.
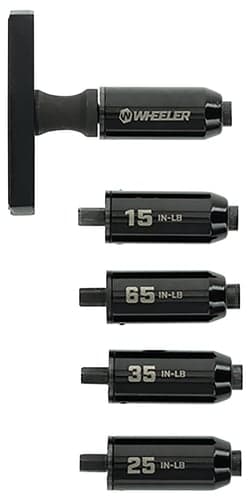
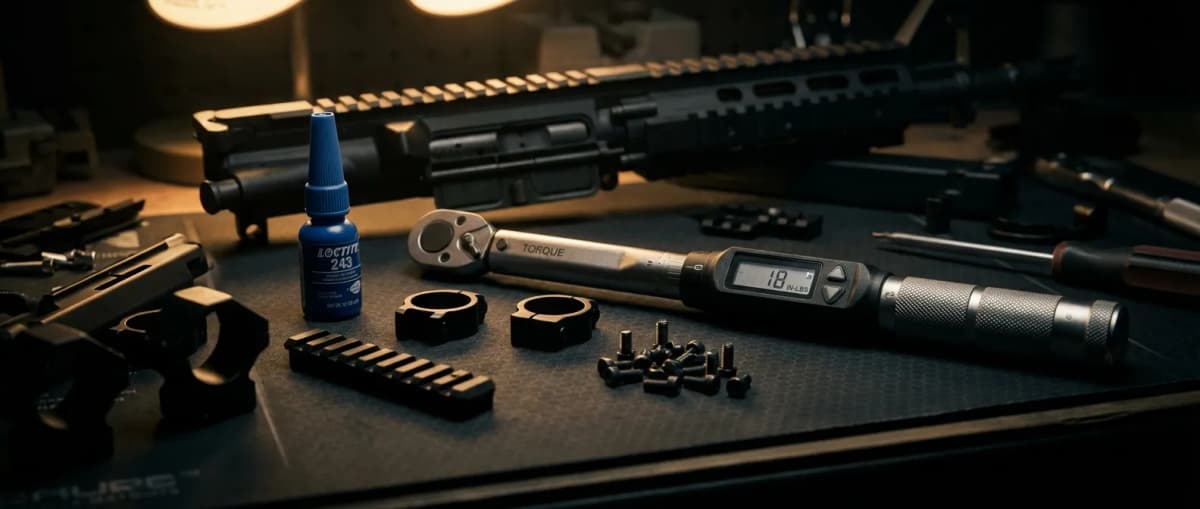
Always confirm torque specs and follow your department or range safety zeroing policies.
Affiliate links - purchases support this site at no extra cost to you. (?)
New zeroing tools, distance calculators, and sight picks for AR-15 and pistol builds.
Mechanical offset is the only magic trick with red dots. Build a process that accounts for the bore being ~2.6 inches below the optic.
Keep zero cards taped inside your dust cover or stock: list the distance, ammo, and date so troubleshooting later is easy.
Affiliate links - purchases support this site at no extra cost to you. (?)
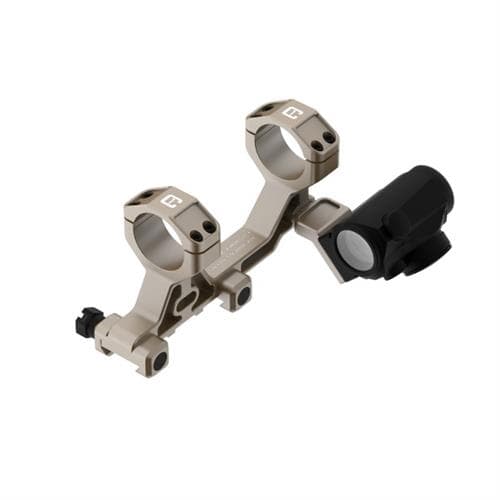
Magnified optics demand more time on leveling and parallax. Get those right and dialing turrets becomes a data entry exercise. A zero only holds if the mount holds; if you are still choosing one, our best LPVO and AR-15 scope mounts guide ranks cantilever and QD mounts by return to zero.
After zeroing, confirm holds at 300–400 yards using reduced steel or paper. Dial or hold according to your BDC, and document the results so you trust the data later.
Affiliate links - purchases support this site at no extra cost to you. (?)
After live fire, re-check torque, paint-pen witness marks, and re-verify irons. Log round count, ammo, weather, and any anomalies in your maintenance tracker so the next range day starts from known-good data.
Different ammo loads shift your zero. See our 5.56 ammo selection guide to match your load to barrel length and mission. Need to choose or mount an optic first? Start with optic mounting basics.
Most zero problems come from setup, not shooting fundamentals. Fix these first before blaming your trigger press.
A wobbly bench or improperly bagged rifle adds 2-4 MOA of group spread. Use sandbags under both the stock and handguard, not just the front.
Never adjust based on one round. Fire 3-5 shot groups and adjust from the center of the group, not the last impact.
Different loads have different POI. Zero with the exact ammo you'll use. A 55gr vs 77gr can shift impact 3-4 inches at 100 yards.
Check torque before every zero session. A loose optic mount can shift zero by several MOA and waste an entire range trip.
At 5-10 yards, your bullet hits 2-3" below your aim point. This isn't a zero problem, it's physics. Train your close-range holdovers.
A hot barrel shifts POI. Let the barrel cool between groups or your zero will only be accurate when the gun is hot.

Avid shooter with 10+ years of experience including competition shooting, and an associate member of the Professional Outdoor Media Association (POMA). Built 10+ AR-pattern rifles and several handgun platforms for home defense, competition, and suppressed night shooting.
This page contains affiliate links. Purchases through these links support the site at no extra cost to you. Read the affiliate disclosure
Ready to continue? Here's the recommended next guide:
The best 5.56 ammo depends on the job: 62gr M855 or 55gr XM193 for training, 77gr Mk262 for accuracy, and bonded 62-64gr loads like Federal Fusion for home defense. Match bullet weight to your barrel twist, then use the interactive ammo finder to pick the right load.
Or explore a related topic:
AR-15 Night Vision Setup 2026->Continue exploring with these related resources
Prism scopes use an etched glass reticle that stays crisp for astigmatic eyes where a red dot starbursts. Here are the best AR-15 prism optics in 2026, from the $265 Primary Arms 1x MicroPrism to the ELCAN SpecterDR, plus the holographic alternative for astigmatism.
Learn proper AR-15 optic mounting with practical steps for eye relief, rail placement, threadlocker application, torque specs, and accessory positioning for repeatable zero.
Choose the best AR-15 optic for your mission. Compare red dots, LPVOs (1-6x, 1-8x), prism scopes, and magnifier setups with weight data, mounting heights, and use-case decision tables.
Related articles and industry updates
We analyzed 25,798 builder sessions and 123,459 organic component selections from April through June 2026. The Geissele SSA-E holds off the $135 LaRue MBT-2S by 7%, Cloud Defensive outdrew every SureFire and Streamlight, 40% of builders start from a stripped lower, and almost no two builds are alike.
The 4th of July 2026 sales are live. OpticsPlanet is 13% off with code JULY4, AR15 Discounts has $79.99 Vortex red dots and the Ruger RXM from $369, Springfield Armory is 20% off sitewide, and Bass Pro runs up to 40% off firearms, ammo, and optics. Every live deal, code, and expiration in one place.
Prime Day 2026 gun deals are really red dot deals, ammo deals, and suppressor deals at firearm retailers, not Amazon. Here are the best picks and where to buy.