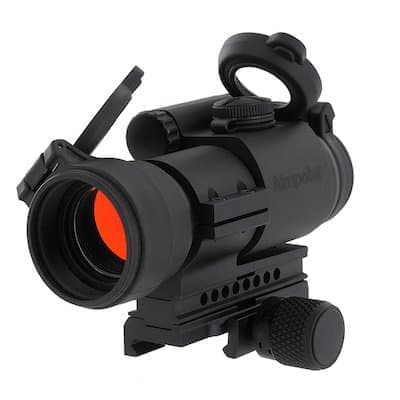
Aimpoint PRO
Patrol Rifle Optic with 30,000 hour battery life at affordable price
- Price
- $470
- Weight
- 7.8 oz
- Brand
- Aimpoint
- Category
- Optics
Featured in
Features
- •2 MOA dot
- •30,000 hour battery
- •QRP2 mount included
Capability Boosts
Recommended For
+24 more
Where to Buy
Compare current prices and availability from retailers we work with.
Some retailer data is older. Verify price and stock before buying.
Aimpoint PRO - Patrol Rifle Optic - Red Dot Reflex Sight 2 MOA Dot Reticle 1x38mm w/ QRP2 Mount & Spacer Black Semi Matte Anodized
Aimpoint PRO Red Dot Reflex Sight 2MOA - 12841
Price History
90-day low $460.80More optics guides & articles
Guides
Overview
The Aimpoint PRO (Patrol Rifle Optic) was specifically designed to meet the needs of law enforcement patrol officers who need Aimpoint reliability without the premium pricing of military-spec micro red dots. Introduced in 2011, the PRO quickly became the go-to recommendation for agencies operating on municipal budgets, delivering the same legendary durability and optical clarity that made Aimpoint famous at approximately half the cost of the CompM4.
What distinguishes the PRO from budget competitors is its no-compromise approach to core specifications. The 2 MOA red dot provides the ideal balance between precision and rapid target acquisition, visible across 10 brightness settings including 4 night vision compatible levels. The integral QRP2 mount with the included AR spacer positions the optic at a 39 mm / 1.5 in co-witness height and features a quick-release lever for tool-free installation, while flip-up lens covers protect the glass during transport and storage without interfering with operation.
Built from forged aluminum alloy with Aimpoint's proprietary hard anodizing process, the PRO is submersible to 150 feet and operates reliably in temperatures from -49°F to 160°F. The ACET power management system delivers 30,000 hours of continuous operation on a single DL1/3N lithium battery—over three years of always-on readiness. For departments and civilians seeking proven Aimpoint reliability at an accessible price, the PRO delivers professional-grade performance that has become the standard for patrol rifles nationwide.
Key Features
- 30,000 hour battery life on single DL1/3N lithium battery
- Integral QRP2 mount with quick-release lever (39 mm / 1.5 in co-witness height)
- Flip-up lens covers protect glass without interfering with use
- Submersible to 150 feet (45 meters) depth
- 10 brightness settings including 4 NVD-compatible levels
- Forged aluminum housing with Aimpoint durability
- 2 MOA red dot optimized for patrol and defensive use
Pros
- +Genuine Aimpoint reliability at approximately half the price of CompM4
- +30,000 hour battery enables multi-year always-on operation
- +Integral mount eliminates need for separate purchase
- +150-foot water resistance exceeds most competitors
- +Flip-up covers add protection without bulk or complexity
- +Proven track record with law enforcement agencies nationwide
Cons
- −Larger and heavier than micro red dots at 11.6 oz total
- −Uses DL1/3N battery instead of common CR2032
- −Integral mount cannot be removed for custom height preferences
- −Proprietary mount incompatible with aftermarket accessories
Setup & Operation
Step-by-step procedures for setting up, operating, and maintaining the Aimpoint PRO.
Install the DL1/3N Battery
The PRO runs one 3V lithium cell, type 2L76 or DL1/3N, under a screw-on cap. Aimpoint rates the sight for three years of continuous operation on brightness setting 7 of 10 at room temperature, so this is a cell you change on a calendar rather than on a dead dot.
The cap is also the water seal. Its o-ring is what backs the 45 meter submersion rating, and the manual is explicit that the cap is hand tightened only. Reaching for a wrench here crushes the seal instead of improving it.
- • One 3V lithium cell, type 2L76 or DL1/3N
- • Cleared, unloaded firearm
- 01
Open the battery cap
Confirm the weapon is unloaded and the safety selector is on safe, then turn the battery cap counterclockwise by hand until it comes free.
- 02
Check the o-ring
Inspect that the o-ring is present, seated, and undamaged. Aimpoint's caution is direct: a missing or damaged o-ring lets water leak into the battery compartment.
- 03
Seat the cell positive end toward the cap
Insert the 2L76 or DL1/3N cell with the positive (+) end facing the cap. A reversed cell is the second item on Aimpoint's own troubleshooting list for a dot that will not appear.
- 04
Hand tighten the cap and verify the dot
Turn the cap clockwise until snug, by hand only, since the manual warns that using tools could damage the equipment. Then rotate the rotary switch clockwise and confirm the red dot lights.
Before any exposure to sea spray, water, mud, or snow, confirm the battery cap and both adjustment screw covers are tight. Hand tighten only. The 45 meter (150 foot) submersion rating assumes all three are closed with their seals intact.
Mount the PRO with the QRP2 Torque Knob
The PRO ships on Aimpoint's QRP2 mount, which clamps with a torque knob rather than a fastener, so there is no wrench and no torque value to chase. The spec you are matching is auditory: turn the knob clockwise until it snaps twice.
The parts list also includes a removable spacer, a short mounting screw, and an Allen wrench. The spacer is what sets the 39 mm co-witness height on an AR flat-top, and running the sight without it is a separate job the manual covers only as a parts callout, not as a procedure.
- • Cleared, unloaded firearm
- 01
Pick a clean rail slot
Select a groove on the Picatinny rail that puts the sight where you want it, and confirm the groove is undamaged and free of dirt and sand. Grit in the slot is what lets a clamped mount shift later.
- 02
Open the torque knob
Turn the torque knob counterclockwise until the clamp opens far enough for the mount to drop over the rail.
- 03
Seat the mount and push it forward
Install the mount and sight on the rail, then push the sight and mount forward toward the muzzle so the recoil stop contacts the side of the groove. Recoil drives the sight rearward, so preloading it forward is what holds the zero.
- 04
Tighten until the knob snaps twice
Grab only the checkered portion of the knob and turn it clockwise until it snaps twice. Two snaps is the spec that means the mount is secured to the rail.
- 05
Retighten after the first rounds
Test fire the weapon and retighten the torque knob after a few rounds if necessary, then run the zeroing procedure.
Only grab the checkered portion of the knob. Aimpoint calls this out because the shaft opens and snaps shut as the knob turns, and anything else on the knob pinches fingers.
Zero the Aimpoint PRO
Elevation sits on top of the tube and windage on the right side, both under screw-on covers that are part of the sight's seal. Each click is 1/2 inch at 100 yards, which works out to 1/4 inch at 50 yards, 1 inch at 200 yards, or 16 mm at 100 meters. Total travel is plus or minus 2 meters at 100 meters in each axis.
Both axes run counter to rifle scope habit. Counterclockwise on the elevation screw moves point of impact up, and counterclockwise on the windage screw moves it right. Aimpoint ships the dot mechanically centered, so if the mount is properly aligned with the rail only small corrections should be needed.
- • Coin, flat screwdriver, knife, or empty cartridge casing
- • Zeroing target
- 01
Open the covers and set brightness
Open the front and rear lens covers, turn the rotary switch clockwise until the dot has enough intensity to contrast against the target, then remove both adjustment screw covers.
- 02
Correct elevation
Turn the elevation screw on top of the tube counterclockwise to move point of impact up and clockwise to move it down. At 100 yards each click is 1/2 inch, so a group printing 2 inches low takes 4 clicks counterclockwise.
- 03
Correct windage
Turn the windage screw on the right side counterclockwise to move point of impact right and clockwise to move it left. A coin, screwdriver, knife, or empty cartridge casing fits the slot.
- 04
Confirm with a three-shot group
Fire at least three shots at a zeroing target, check the impact points, and repeat the correction until the group centers. After the initial firing, confirm the mount and sight are still secure.
- 05
Reseal the sight
Reinstall both adjustment screw covers hand tight. They are part of the water seal, not dust caps.
Stop adjusting if you meet resistance. Aimpoint's caution is that forcing a screw past its limit damages the mechanism, and its troubleshooting table reads an adjustment screw at its limit as a mount-to-barrel alignment problem rather than a defective sight.
Brightness Positions, Storage, and Extreme Conditions
The rotary switch carries 10 brightness positions: 4 for night vision devices and 6 for daylight, one of which is an extra bright setting. OFF is full counterclockwise, and the manual's normal shutdown is turning the switch to OFF and closing both lens covers.
Handling by condition is short. Extreme heat, salt air, and high altitude need no special procedures. Extreme cold shortens battery life. Before sea spray, water, mud, or snow, confirm the battery cap and both adjustment screw covers are tight, hand tight only, and keep the lens covers closed whenever the sight is not in use. Wipe the sight dry as soon as possible after exposure.
Long term storage means removing the battery and letting the lens surfaces dry completely before the covers go back down. Never clean the lenses with fingers. Blow debris away or rinse with clear water, then fog the glass and wipe it with a clean, soft cloth or lens paper.
Detailed Specifications
- Reticle
- 2 MOA red dot
- Magnification
- 1x
- Battery Type
- DL1/3N lithium (included)
- Battery Life
- 30,000 hours
- nightVisionCompatible
- Yes (4 NVD settings)
- Waterproof Rating
- 150 feet / 45 meters
- weight
- 11.6 oz / 330 g (with mount, spacer, and lens covers)
- Length
- 5.1 inches (with mount)
- Objective Diameter
- 30mm
- Adjustment Type
- 0.5 MOA per click
- Adjustment Range
- ±70 MOA windage/elevation
- operatingTemp
- -49°F to 160°F
- Material
- Forged aluminum alloy
Video Reviews
![Aimpoint Pro Review: Still a Good Deal? [10,000 + rounds review]](/_next/image?url=https%3A%2F%2Fimg.youtube.com%2Fvi%2FBQXjPuNnT9s%2Fhqdefault.jpg&w=1200&q=75)
Pairs Well With
Top matches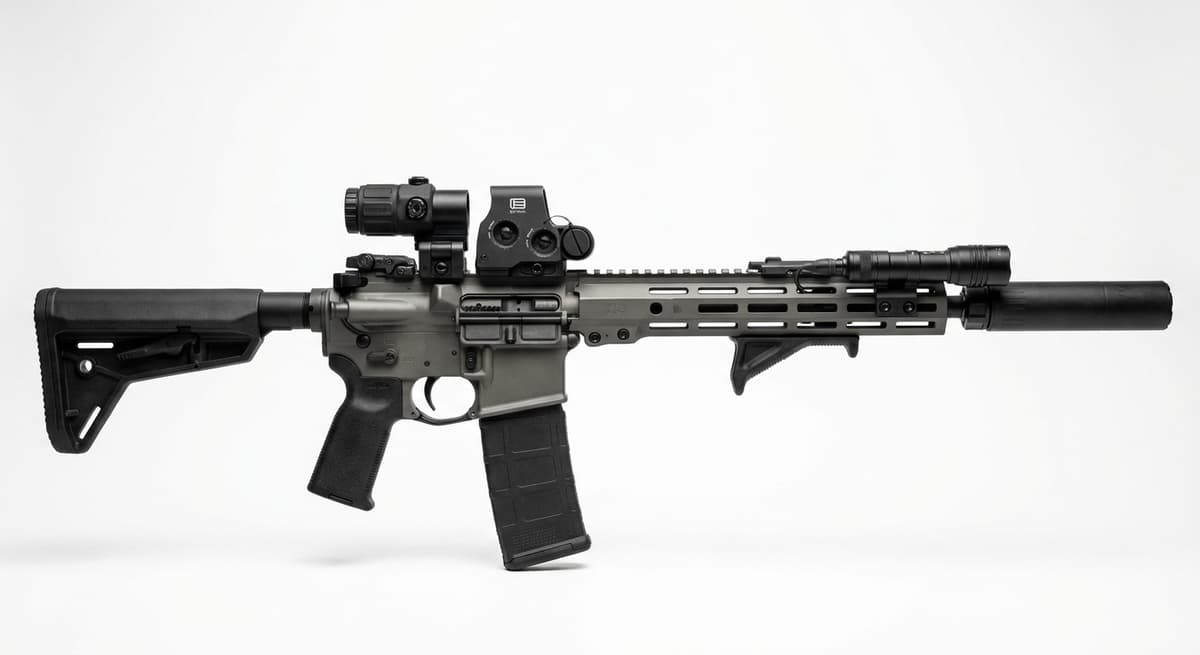
Custom
Custom AR-15 (Build From Scratch)
1 shared compatibility tags
Custom
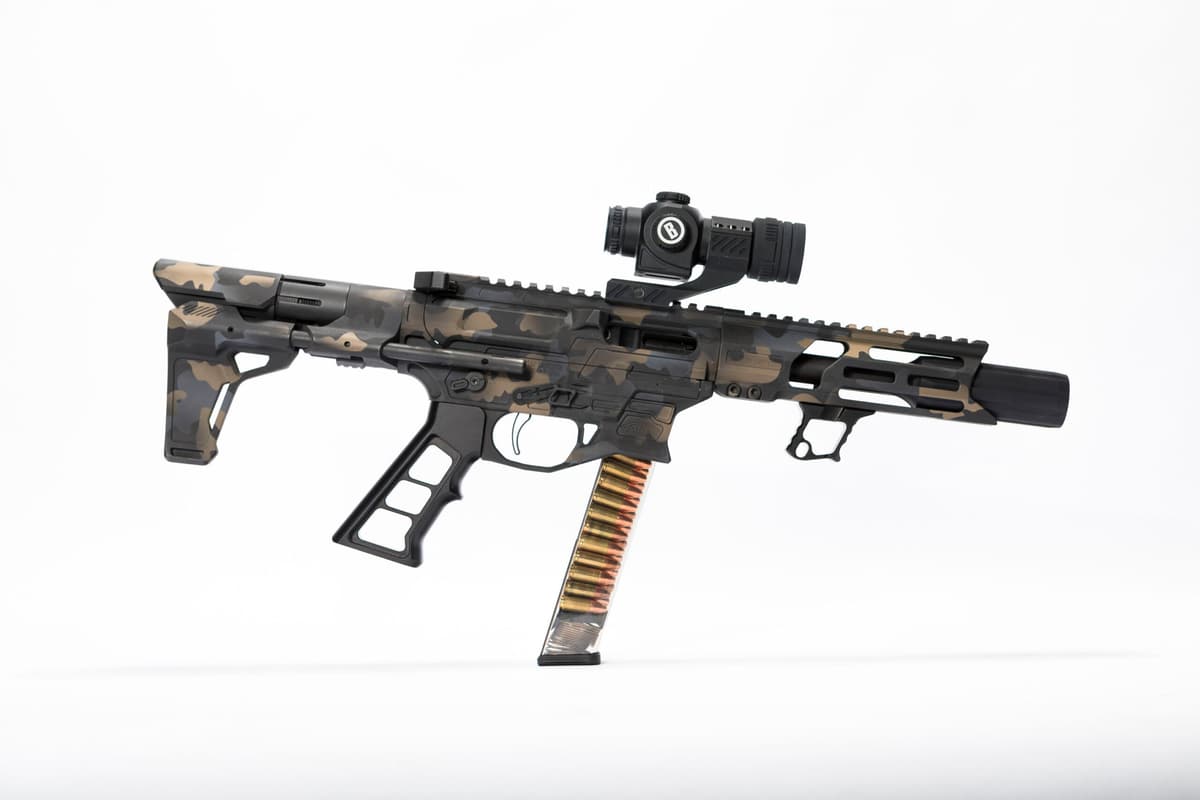
Custom AR-9 (Build From Scratch)
1 shared compatibility tags
Henry Repeating Arms
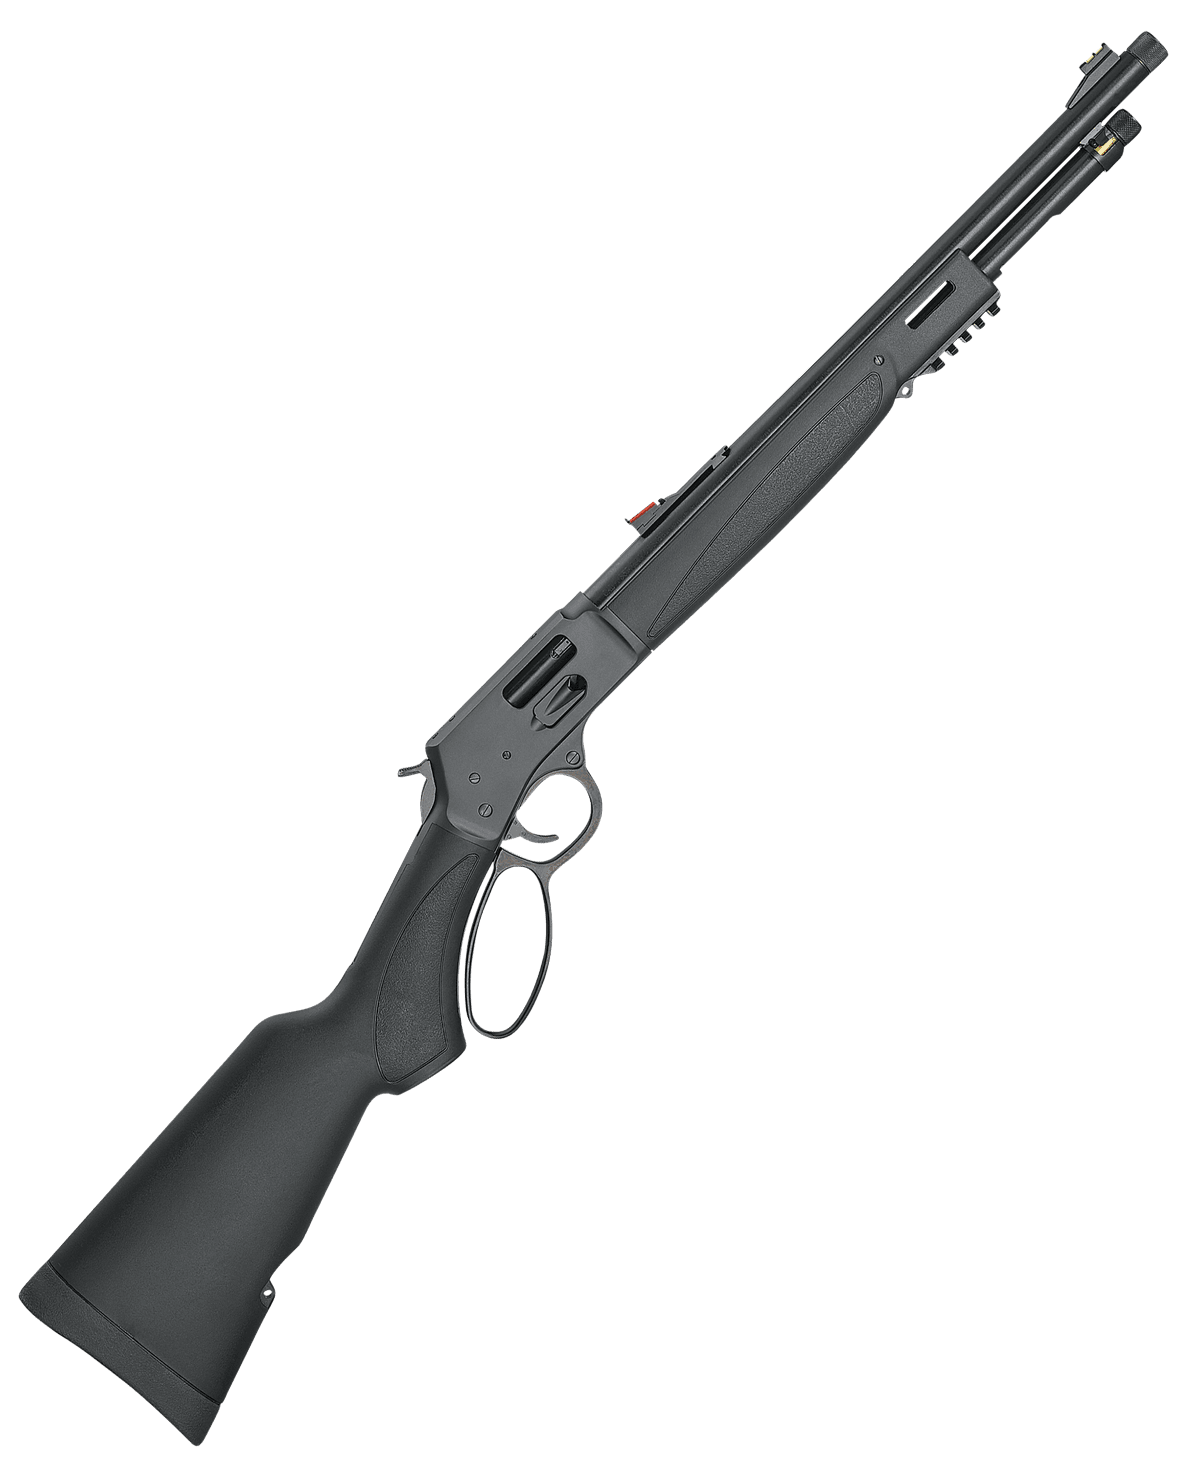
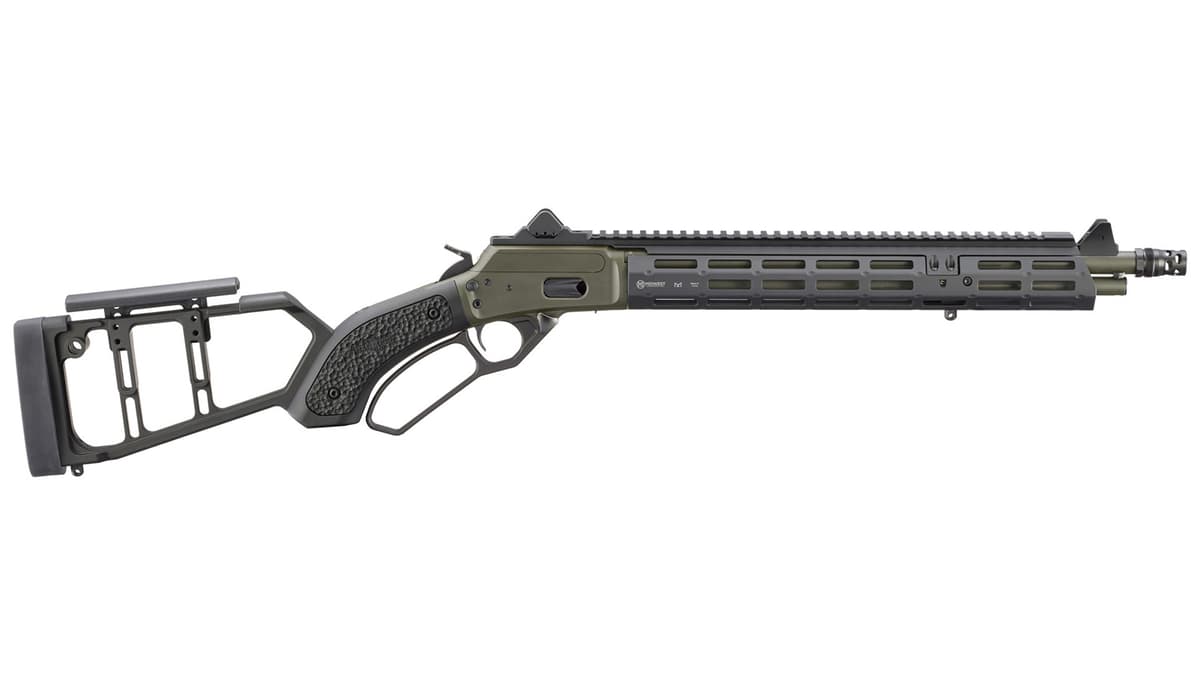
Henry Big Boy X Model (.357 Magnum)
1 shared compatibility tags
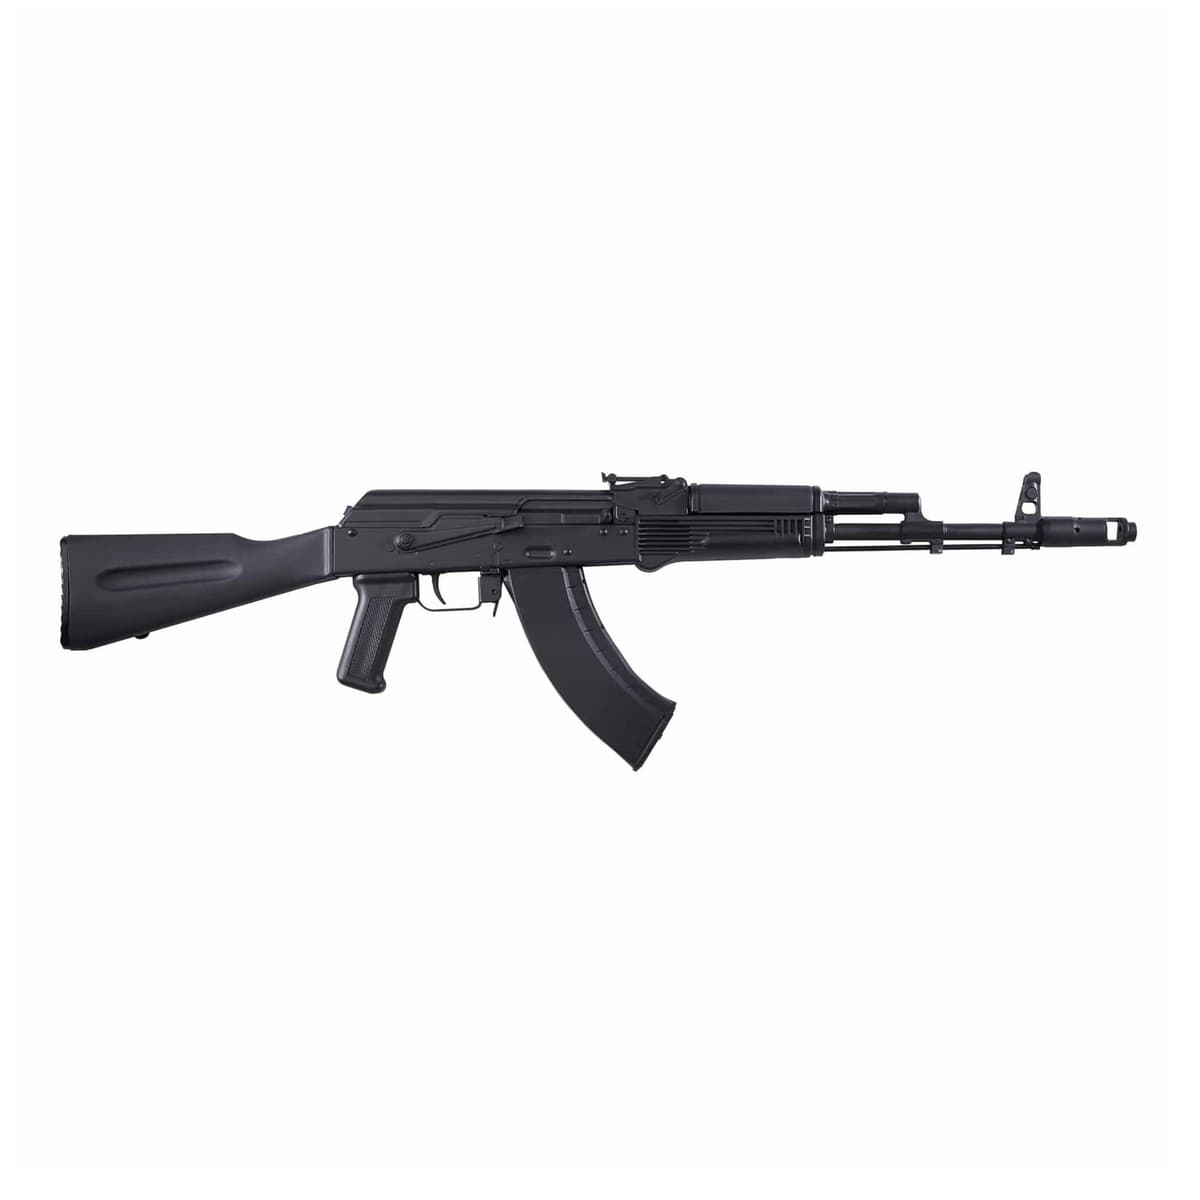
Kalashnikov USA
Kalashnikov USA KR-103
1 shared compatibility tags
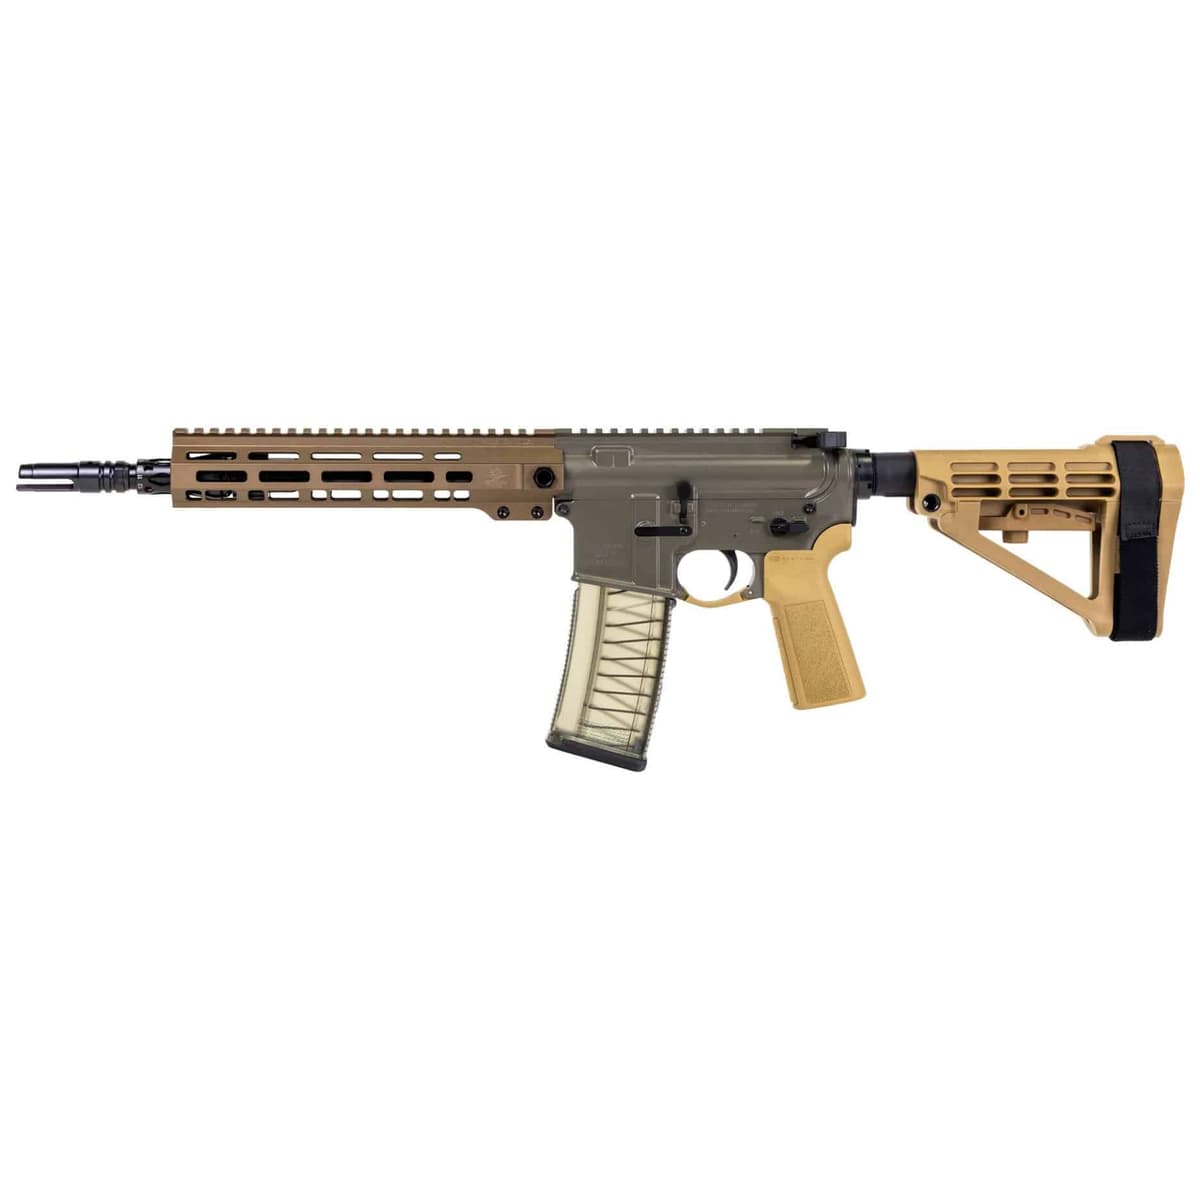
Palmetto State Armory
PSA Sabre-15 Forged 11.5" 5.56 Pistol
1 shared compatibility tags
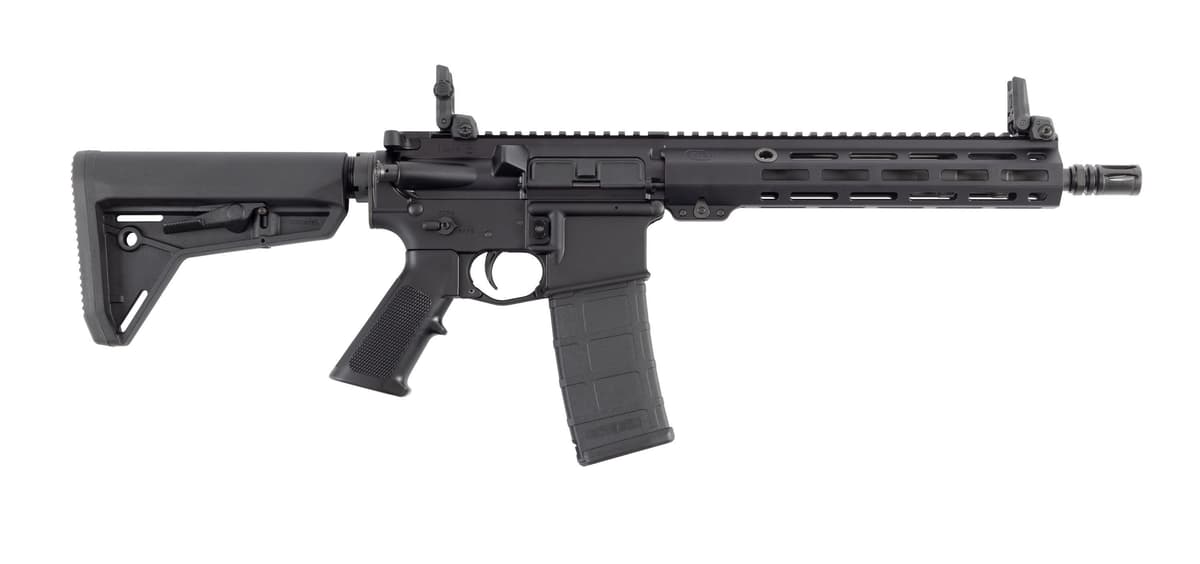
Colt
Colt EPR II Patrol 11.5" SBR (LE6933-EPRII)
1 shared compatibility tags
Similar Products
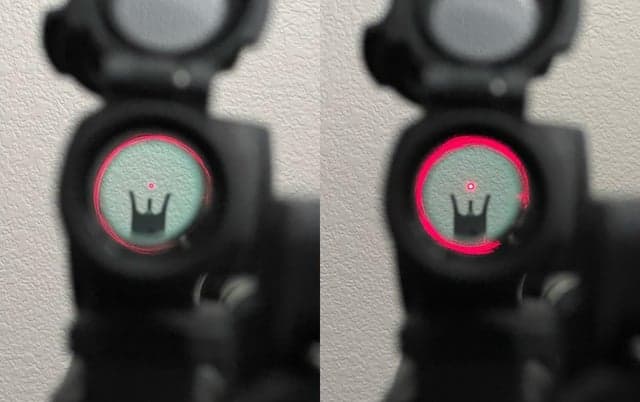

Compatible Platforms
Compatibility Tags
Build Your Custom Configuration
Add the Aimpoint PRO to your build and see how it enhances your platform.