Holosun AEMS EVO
Next-gen enclosed micro sight with expanded window, IPX8, and forward light sensor
- Price
- $460
- Weight
- 10.8 oz
- Brand
- Holosun
- Category
- Optics
Featured in
Features
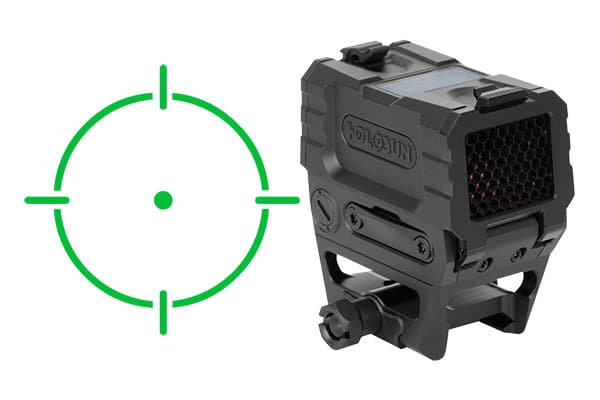
- •2 MOA dot + 65 MOA circle
- •1.26 x 0.98 inch window
- •IPX8 rated
- •50,000 hour battery
Capability Boosts
Recommended For
+24 more
Where to Buy
Compare current prices and availability from retailers we work with.
Some retailer data is older. Verify price and stock before buying.
Holosun 1x 1.26x0.98 in Reflex Red Dot Sight Green 2 MOA Dot/65 MOA Circle Black
Price History
90-day low $459.99More optics guides & articles
Guides


Overview
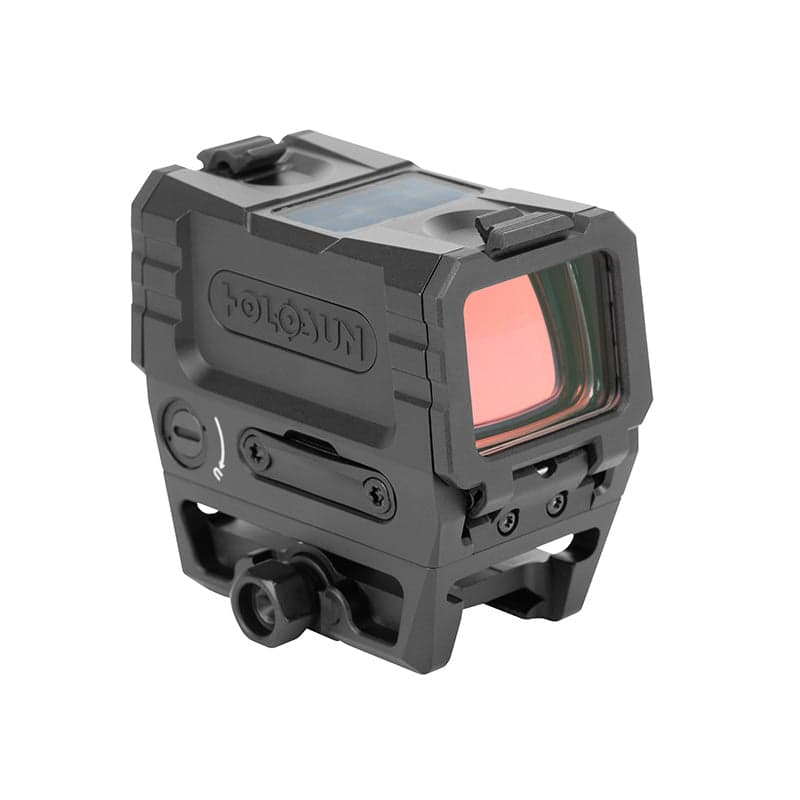
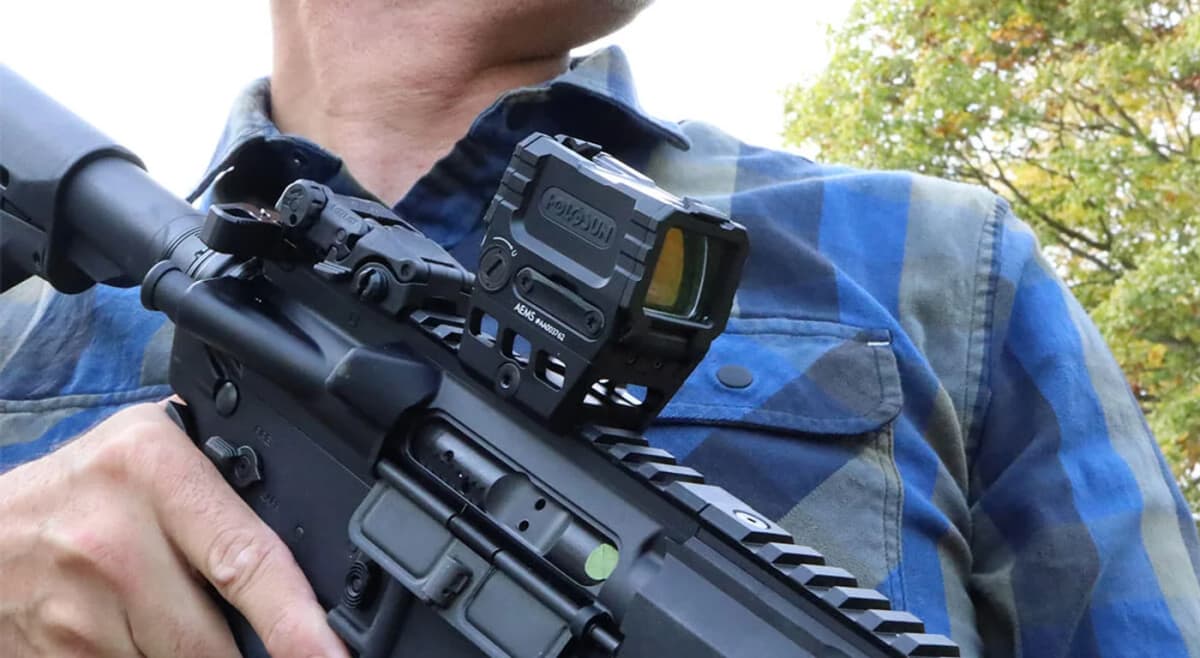
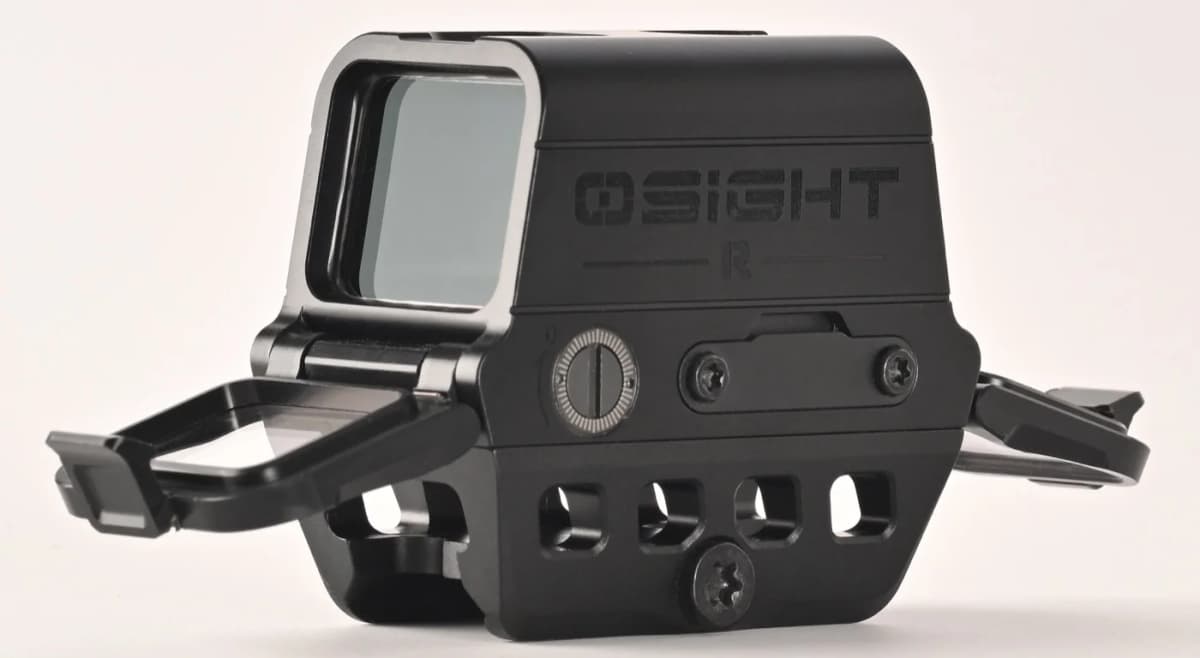
The Holosun AEMS EVO is the 2026 successor to the original AEMS, delivering a larger viewing window, higher waterproof rating, and automatic brightness adjustment through a forward-facing light sensor. Announced at SHOT Show 2026, the AEMS EVO addresses the most common feedback on the original: users wanted a wider field of view and less manual brightness cycling. The expanded 1.26 x 0.98-inch window is noticeably larger than the original AEMS, improving situational awareness for both-eyes-open shooting.
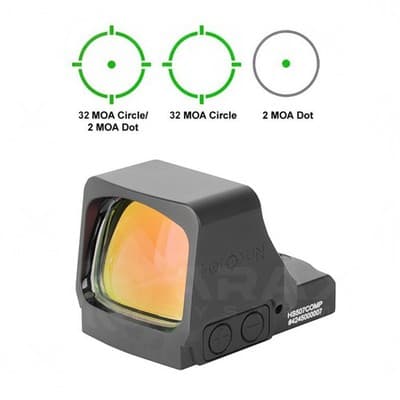
The AEMS EVO retains the core Holosun feature set: Multi-Reticle System with 2 MOA dot, 65 MOA circle, or combined circle-dot, plus Solar Failsafe and Shake Awake. The forward-facing light sensor is the standout addition, reading the brightness of the target environment rather than ambient light behind the shooter. This means the reticle adjusts correctly when transitioning from a bright exterior to a dark doorway, a scenario where rear-mounted sensors fail. The side-loading CR2032 battery delivers up to 50,000 hours at mid-brightness.
Durability takes a step up with IPX8 waterproofing (submersion beyond 1 meter) and 1000G vibration resistance, both improvements over the original AEMS. The 7075-T6 aluminum housing maintains the enclosed emitter protection that defines the AEMS line. Available in red, green, and gold reticle colors, the AEMS EVO ships with a lower-third co-witness mount. At $506, the AEMS EVO slots between the original AEMS and the laser-equipped AEMS EVO DUAL.
Key Features
- Expanded 1.26 x 0.98-inch viewing window (larger than original AEMS)
- Forward-facing light sensor for target-referenced auto brightness
- Multi-Reticle System: 2 MOA dot, 65 MOA circle, or circle-dot
- Solar Failsafe provides backup power from ambient light
- IPX8 waterproof rating and 1000G vibration resistance
- Available in red, green, and gold reticle colors
- Side-loading CR2032 battery with 50,000 hour runtime
Pros
- +Larger viewing window than original AEMS improves situational awareness
- +Forward light sensor adjusts brightness based on target, not ambient rear light
- +IPX8 waterproofing exceeds the original AEMS IP67 rating
- +1000G vibration resistance validated for hard-use carbines
- +Multi-reticle flexibility with three color options
- +50,000 hour battery life with Solar Failsafe backup
Cons
- −Heavier than micro red dots at ~10.8 oz with mount
- −Proprietary mount limits aftermarket options vs Aimpoint Micro footprint
- −Price premium over original AEMS for incremental improvements
- −New 2026 model with no long-term field data yet
Setup & Operation
Step-by-step procedures for setting up, operating, and maintaining the Holosun AEMS EVO.
Mount the AEMS EVO on a Picatinny Rail
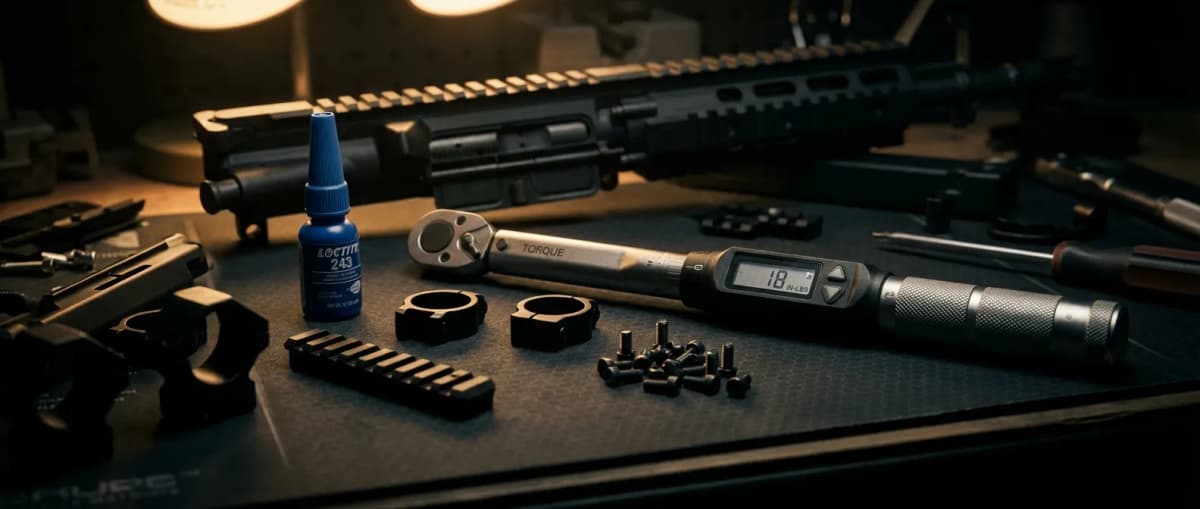
The EVO clamps with a nut that drives a clamping block against the rail slot, and Holosun publishes a real number for it: 5.6 to 7.3 Nm, which is 50 to 65 inch-pounds. An 11 mm hex wrench comes in the box alongside Torx T10 and T6 tools.
The included wrench turns the nut but no torque wrench will accept it, so an 11 mm socket from your own toolbox is the only way to measure the spec instead of guessing at it. Clear the firearm and remove the magazine before the optic goes anywhere near it.
- • Included 11 mm hex wrench, or an 11 mm socket for torque-wrench use
- • 1/4 inch torque wrench set to 50-65 in-lbs
- • Cleared, unloaded firearm
- 01
Open the clamp
Use the included 11 mm wrench to loosen the nut until the clamping block backs away far enough for the mount to drop over the rail.
- 02
Seat the sight on the rail
Set the mount on the top rail so it sits properly in a Picatinny slot. Holosun's instruction is that the mount has to be installed properly on the rail before anything gets tightened.
- 03
Torque the nut to 5.6 to 7.3 Nm
Push the sight forward so the clamping block stays hard against the front wall of the slot, then tighten the nut to 5.6 to 7.3 Nm, which is 50 to 65 inch-pounds. Holding forward pressure while torquing is what keeps the mount from walking the zero under recoil.
- 04
Confirm the clamp before you shoot it
Grab the sight body and try to rock it fore and aft on the rail. Any perceptible movement means the nut is under spec. Re-check it after the first range session, since a fresh clamp settles.
If you mount the EVO to anything other than the supplied clamp, Holosun's safety instruction applies: use screws that are suitable and long enough, and run them in far enough that the threads grip deeply, or the sight can come loose when firing.
Install the CR2032 Battery
The cell sits in a side tray held by two screws, so a battery change never breaks the mount and never costs you zero. One CR2032 ships taped to the second page of the manual, which is easy to throw out with the packaging.
Holosun rates the EVO at up to 100,000 hours on one cell at brightness setting 6, double the figure it quotes for the AEMS Pro X2. The tray carries an o-ring that backs the IP68 rating and the nitrogen fill, so look at it every time the tray is out.
- • Included Torx tool
- • One CR2032 3V lithium battery
- • Cleared, unloaded firearm
- 01
Remove the two tray screws
Use the included tool to back out the two screws on the side of the battery tray.
- 02
Pull the tray
Slide the tool into the slot in the tray and use it to draw the tray and the old cell out of the housing.
- 03
Seat the new cell to the marked polarity
Drop a fresh CR2032 into the tray following the polarity marked in the compartment, and check the o-ring for cuts, grit, or a missing ring while the tray is out.
- 04
Reinstall and tighten
Push the tray squarely back into its original position and tighten both screws with the tool.
Use CR2032 cells only. Holosun's battery warning is the standard one: do not short circuit the cell, do not swallow it, and do not throw it into fire.
Zero the AEMS EVO
Turret locations follow the AEMS layout rather than Holosun's tube sights: elevation is on the RIGHT side of the housing and windage on the LEFT. If your habit comes from a 403B or a 512C, where elevation sits on top, you will reach for the wrong screw the first time.
Each click is 0.5 MOA, which the manual states as 14.5 mm at 100 meters, and total travel is plus or minus 1.45 m at 100 meters, or plus or minus 50 MOA. Direction also runs opposite the tube sights: clockwise on elevation RAISES point of impact here, and clockwise on windage moves it right.
- • Included slotted tool (the tool set also carries an 11 mm hex wrench, Torx T10, and Torx T6)
- • Zeroing target
- 01
Set up the tool
Position the slot type screwdriver from the included tool set in the slotted screw you are adjusting. Each click left or right is 0.5 MOA.
- 02
Correct elevation
Turn the elevation screw on the right side clockwise to raise point of impact and counterclockwise to lower it. At 50 yards a 0.5 MOA click is about 1/4 inch, so a group printing 2 inches low takes 8 clicks clockwise.
- 03
Correct windage
Turn the windage screw on the left side clockwise to move point of impact right and counterclockwise to move it left.
- 04
Confirm with a fresh group
Fire another group and repeat the correction until it centers on point of aim. Confirm from the position you actually shoot from, since a sight zeroed off a bag and then run offhand will show the difference.
If a screw will not rotate further you have reached the plus or minus 50 MOA adjustment limit. Holosun's caution is that over rotation can damage the sight. Running out of travel before you reach zero points at a rail or mount that is not square to the bore.
Switch Reticles, Modes, and the Sleep Delay
The EVO's two buttons are on the left side of the housing, not the top. A single press of "+" or "-" powers the sight on in auto mode, where the solar cell plus a front-facing light sensor set reticle intensity. That forward sensor reads the light on the target side rather than the light behind the shooter, which is the difference that matters moving from a bright exterior into a dark doorway.
Holding "+" for 3 seconds drops the sight into manual mode, and holding "+" for 3 seconds again puts it back in auto. Manual mode carries 12 settings: 8 for daylight and 4 for night vision devices, twice the night vision granularity of Holosun's tube sights.
- 01
Cycle the reticle
Hold "-" for 3 seconds. Each hold advances one step through dot, circle, and circle dot. The circle is 65 MOA and the dot is 2 MOA.
- 02
Switch between auto and manual brightness
Hold "+" for 3 seconds to leave auto mode for manual, and hold "+" for 3 seconds again to return to auto. In manual mode each press of "+" raises the setting one level and "-" lowers it.
- 03
Enter sleep delay programming
Hold "+" for 10 seconds. The dot begins blinking, and the blink count reports the step currently selected.
- 04
Pick the delay
Press "+" or "-" to move one step per press through four options: 10 minutes, 1 hour, 12 hours, or never. The LED blinks once to confirm each press, and setting the delay to zero disables the shutoff.
- 05
Save and exit
Press "+" and "-" simultaneously to confirm the new setting and exit time adjustment mode.
Factory sleep delay is 10 minutes of no movement, and the motion sensor brings the sight back on a slight movement or any button press. Pressing "+" and "-" together powers the sight off by hand.
Remove the Glass Flip Caps or Fit the Kill Flash
The EVO ships with transparent glass flip caps front and rear, and Holosun is explicit that using the sight is not affected when they are closed. Lift the fastener and the cover springs open.
Both the flip cap and the kill flash mount with two screws underneath. Holosun's own note is that a reticle reflection off closed glass caps is a property of glass in front of an optic rather than a fault, so judge the reticle with the caps open before deciding something is wrong with the sight.
- • Included Torx tools (T10 and T6)
- 01
Open a cap
Lift the fastener on the glass flip cap and the cover springs open.
- 02
Remove the cap or kill flash
Unscrew the two screws underneath the glass flip cap or kill flash, then lift the assembly off.
- 03
Fit the replacement
Set the kill flash or flip cap in position and tighten both screws back down.
A reticle reflection with the glass caps closed is normal. Holosun's guidance is to check the reticle with the caps open before judging it.
Detailed Specifications
- Reticle
- Multi-reticle: 2 MOA dot / 65 MOA circle / circle-dot
- Magnification
- 1x
- Battery Type
- CR2032 (side-loading)
- Battery Life
- 50,000 hours at mid-brightness (with Solar Failsafe backup)
- nightVisionCompatible
- Yes (NVD-compatible settings)
- Waterproof Rating
- IPX8
- weight
- ~10.8 oz (with mount)
- windowSize
- 1.26 x 0.98 inches
- Adjustment Type
- 0.5 MOA per click
- Adjustment Range
- ±50 MOA windage/elevation
- operatingTemp
- -40°C to 70°C
- Material
- 7075-T6 Aluminum
- vibrationResistance
- 1000G
Pairs Well With
Top matches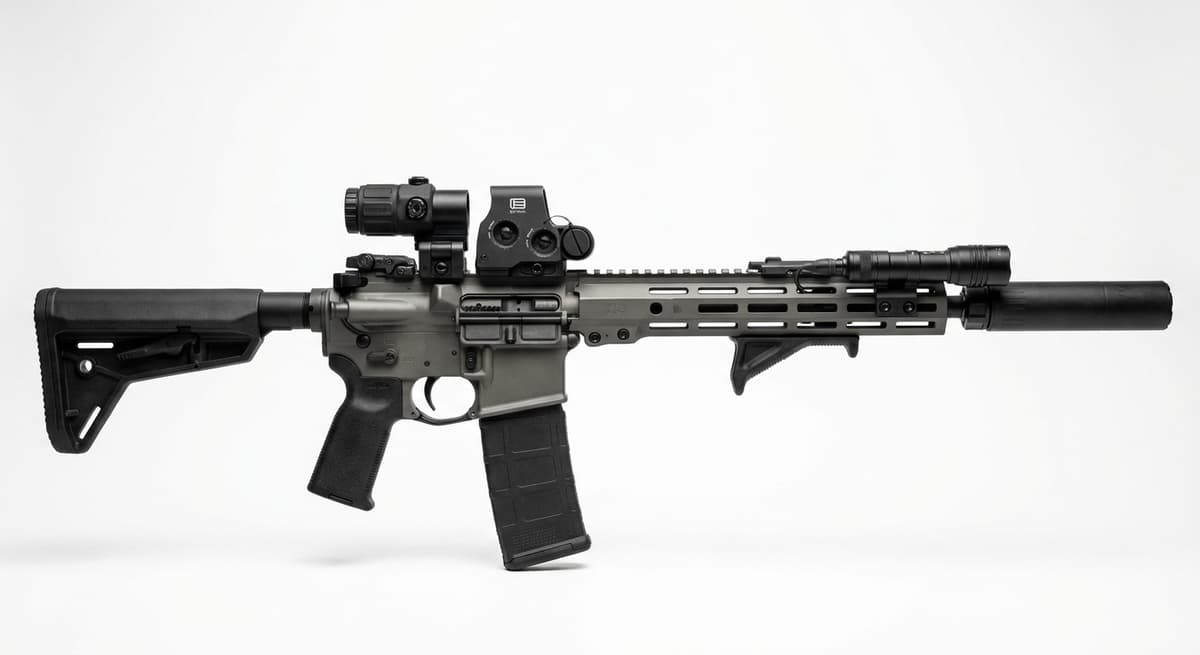
Custom
Custom AR-15 (Build From Scratch)
1 shared compatibility tags
Custom
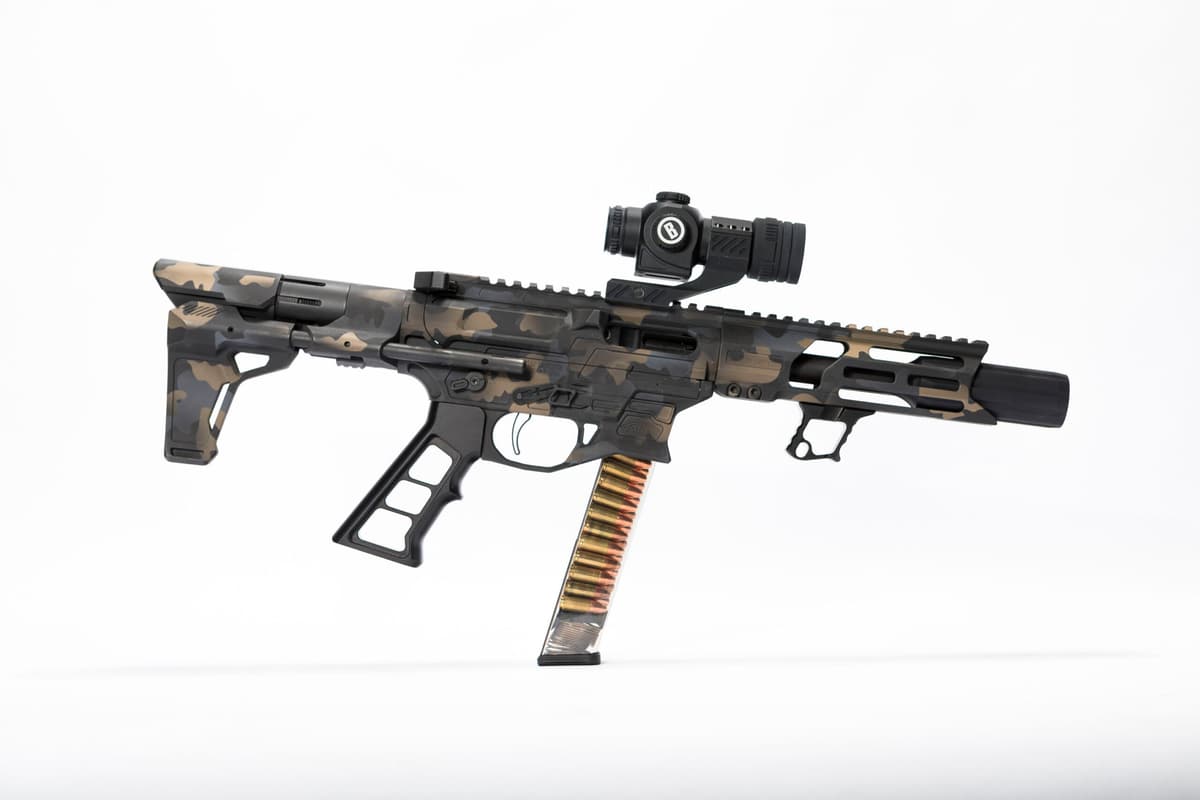
Custom AR-9 (Build From Scratch)
1 shared compatibility tags
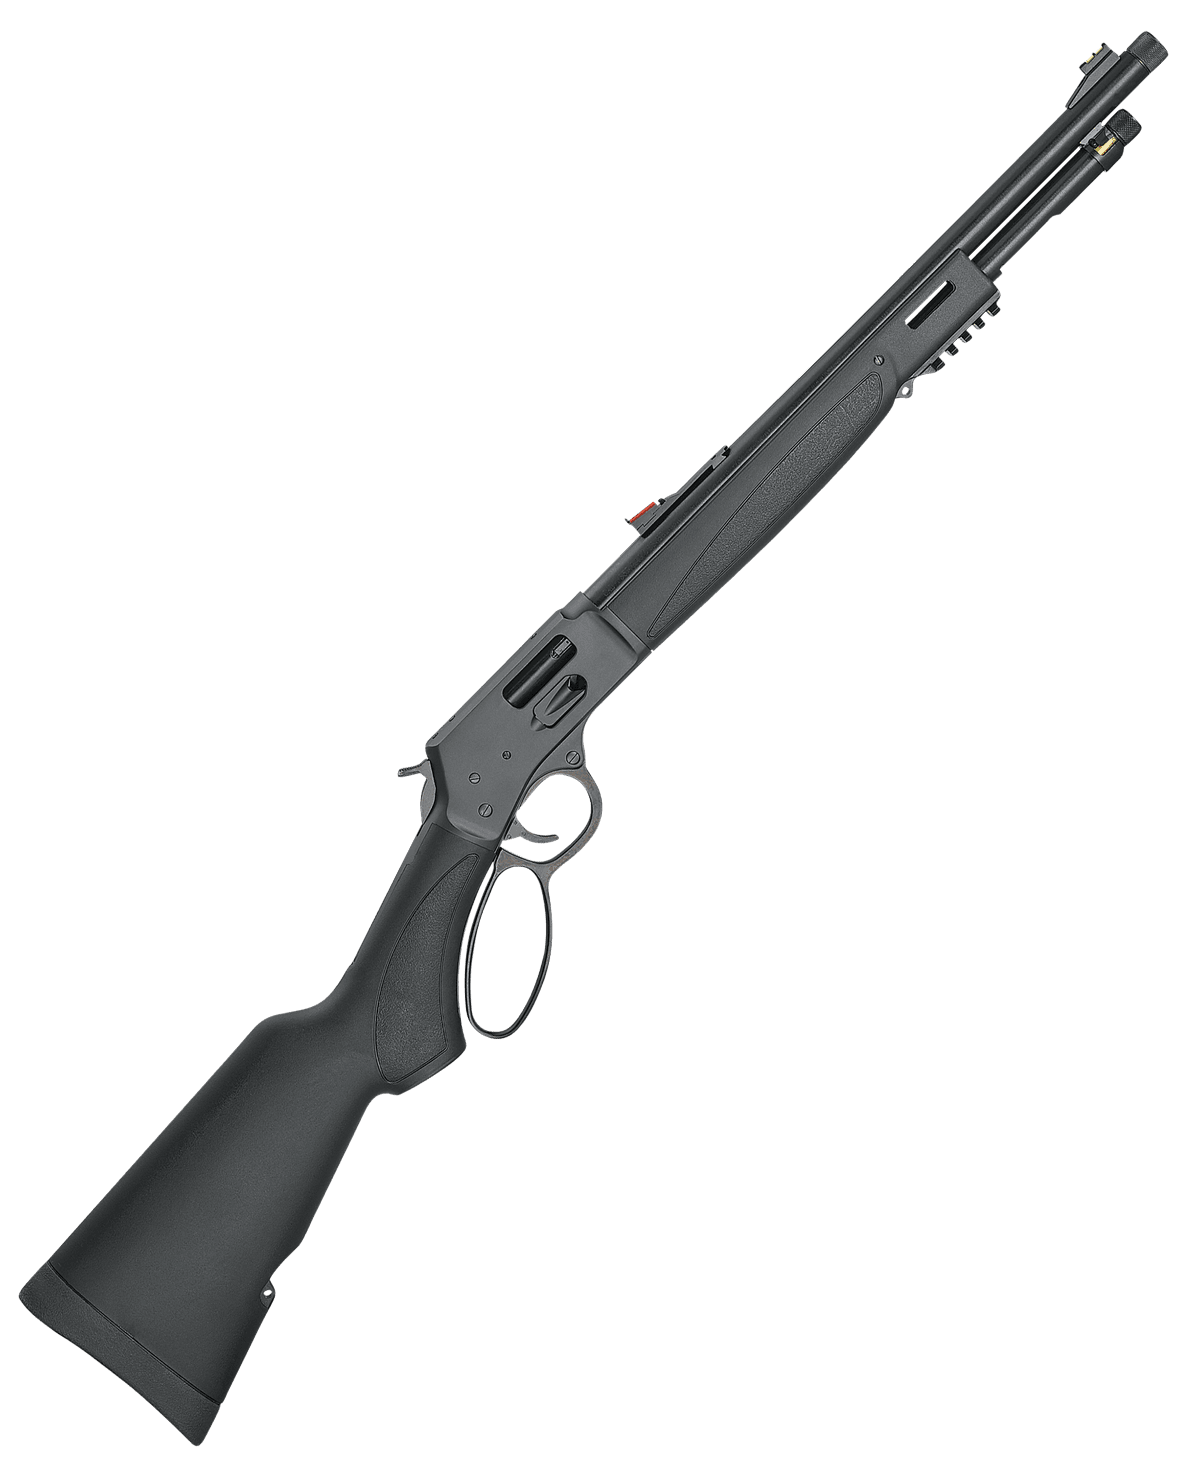
Henry Repeating Arms
Henry Big Boy X Model (.357 Magnum)
1 shared compatibility tags
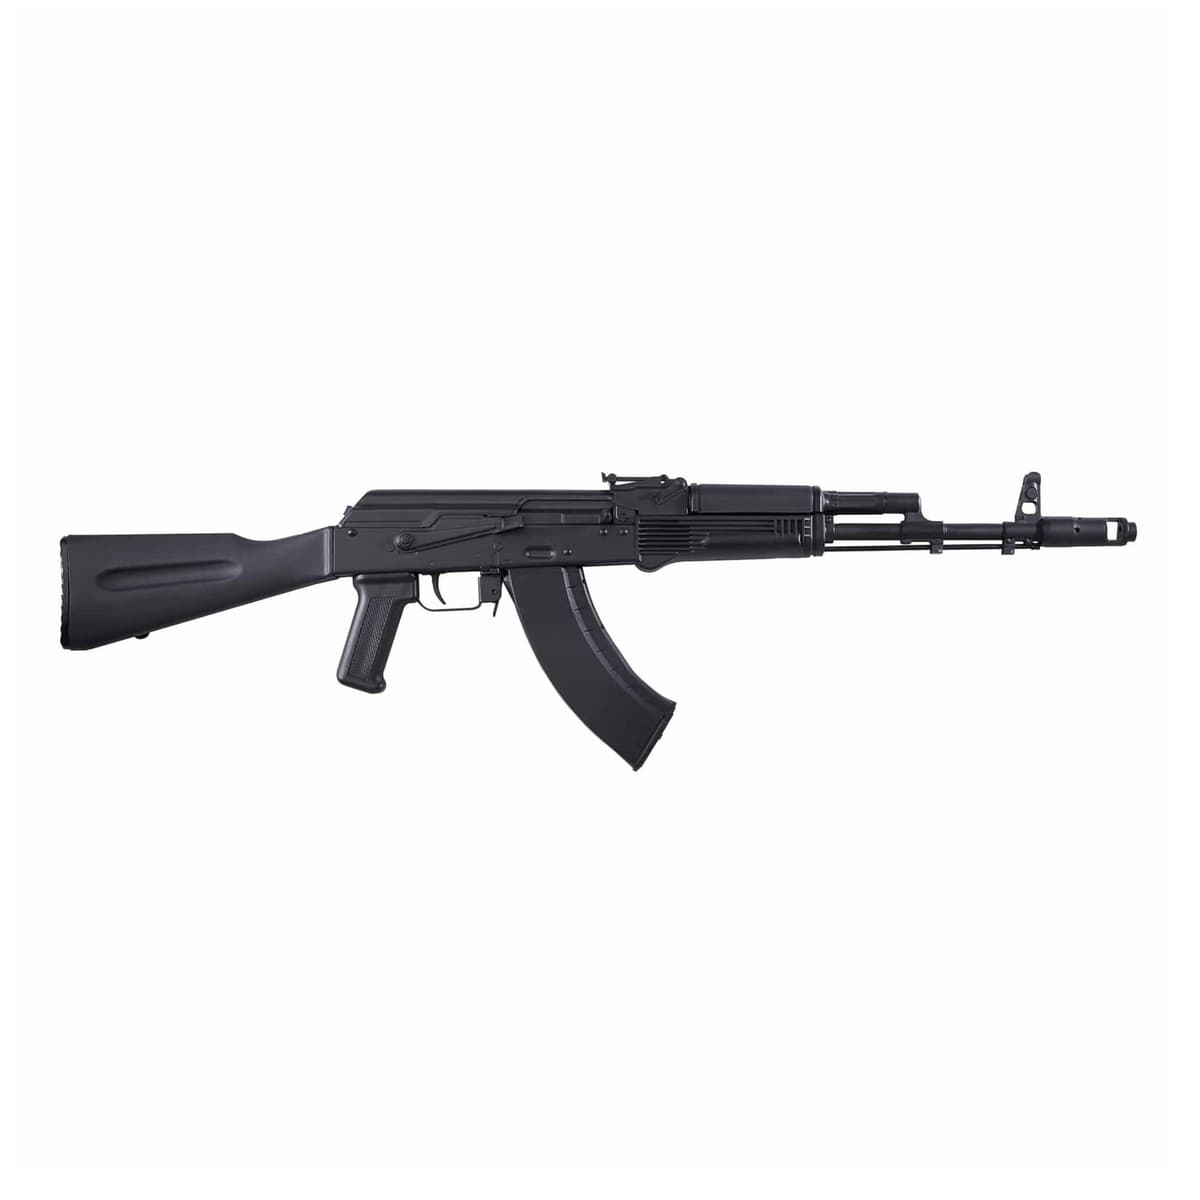
Kalashnikov USA
Kalashnikov USA KR-103
1 shared compatibility tags
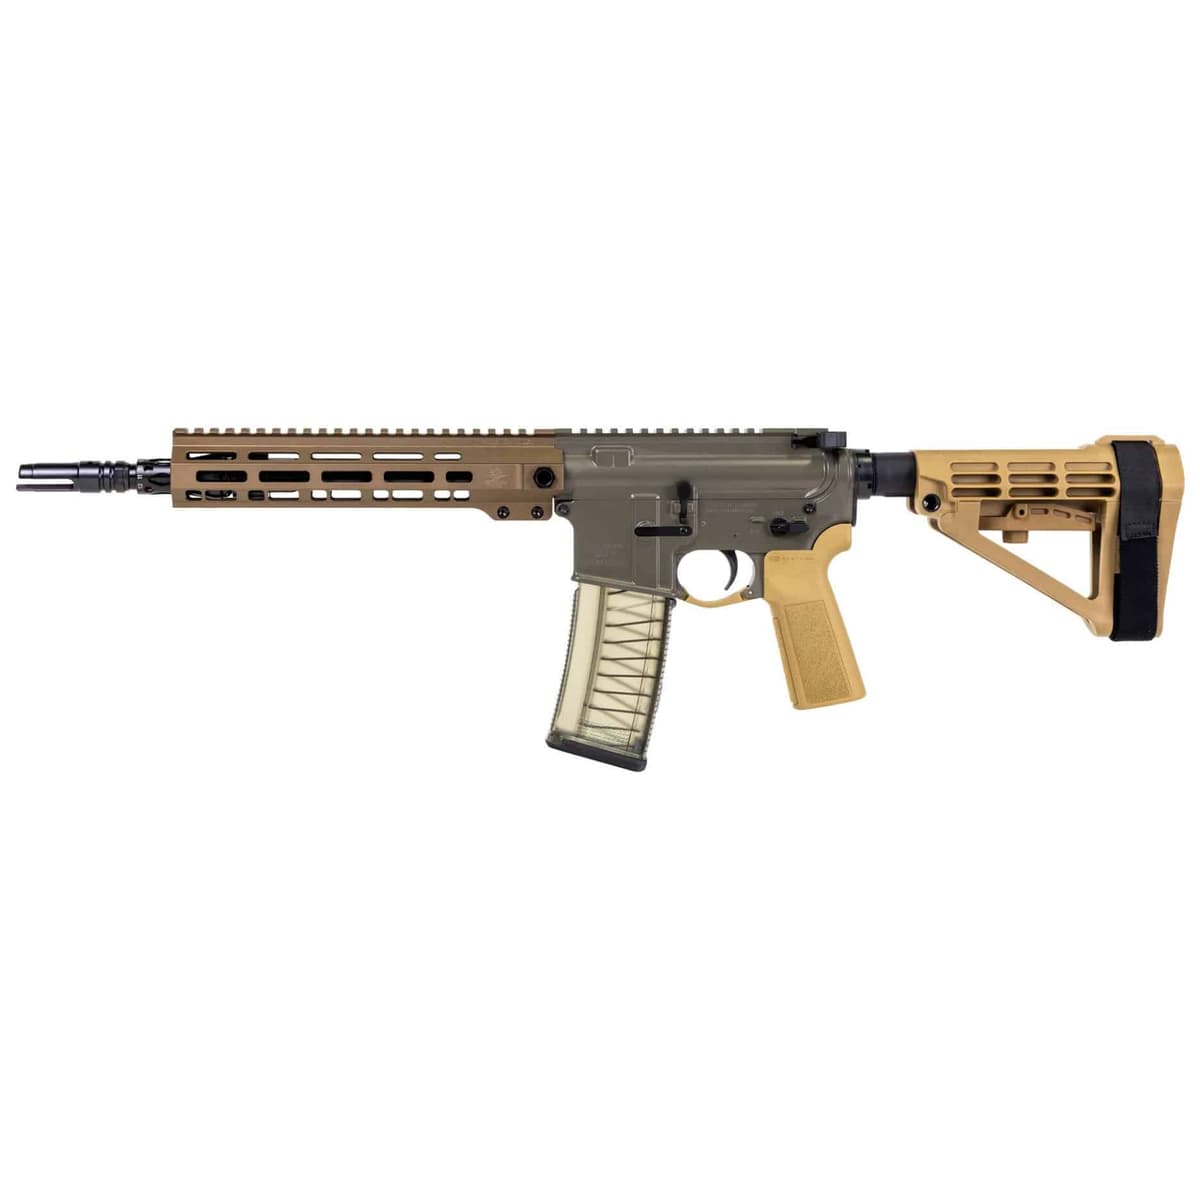
Palmetto State Armory
PSA Sabre-15 Forged 11.5" 5.56 Pistol
1 shared compatibility tags
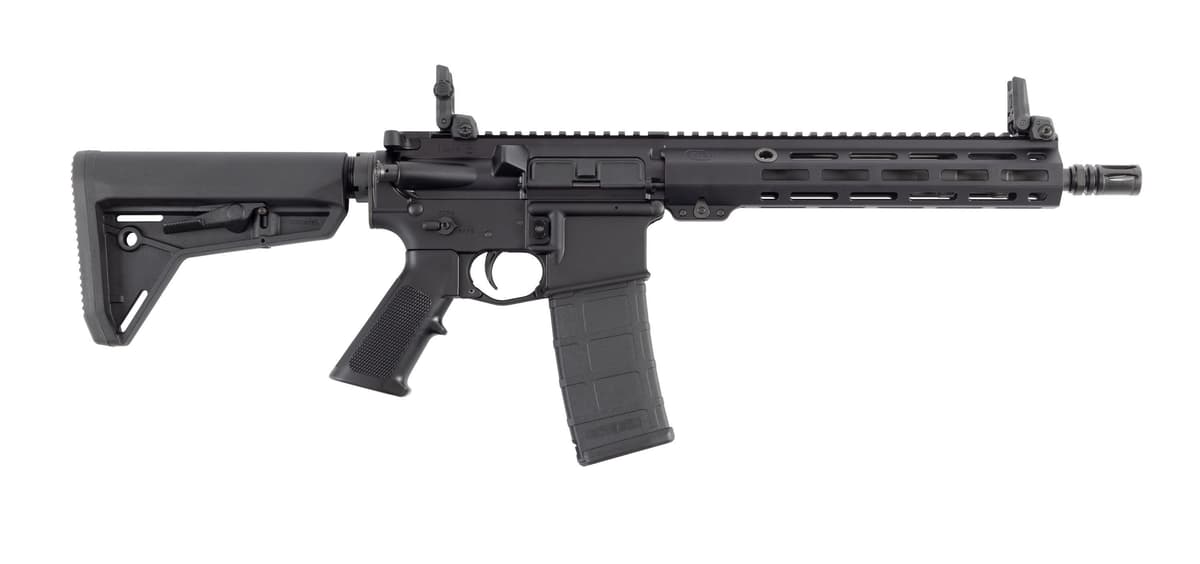
Colt
Colt EPR II Patrol 11.5" SBR (LE6933-EPRII)
1 shared compatibility tags
Similar Products

Compatible Platforms
Compatibility Tags
Build Your Custom Configuration
Add the Holosun AEMS EVO to your build and see how it enhances your platform.