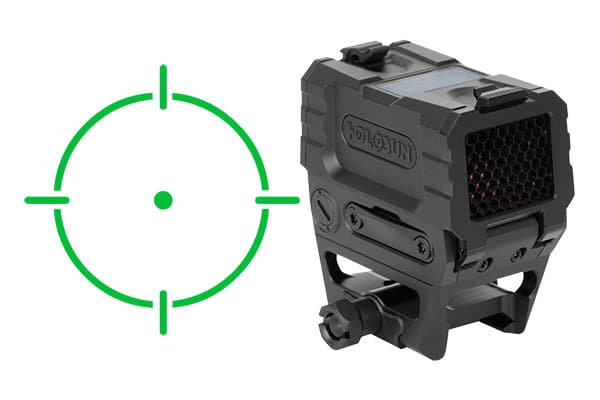
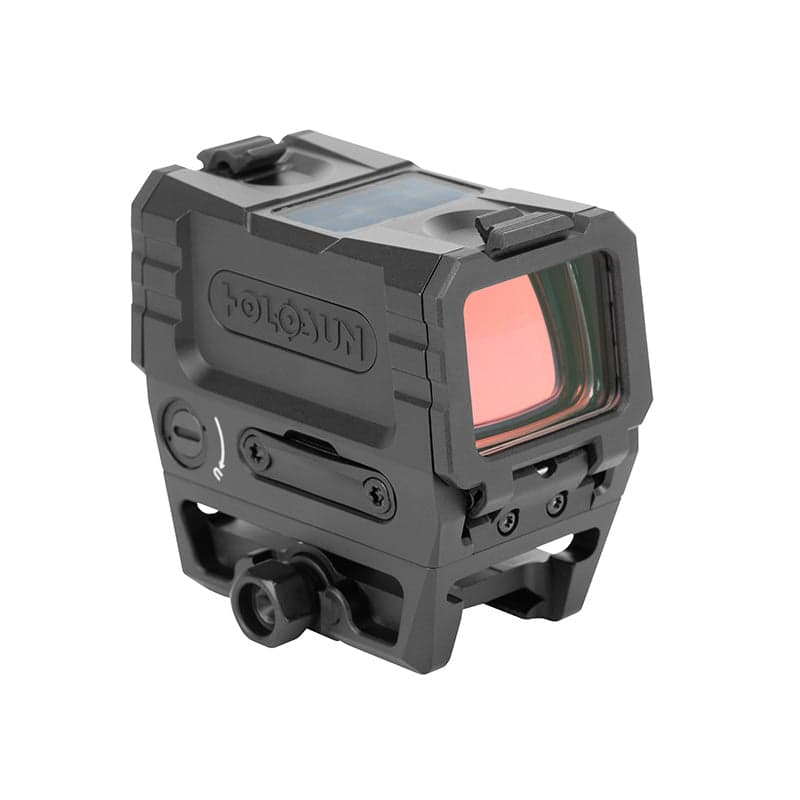
Holosun AEMS Pro X2
Premium enclosed reflex sight with multi-reticle system, solar failsafe, and 1000G shock rating
- Price
- $430
- Weight
- 4.3 oz
- Brand
- Holosun
- Category
- Optics
Featured in
Best EOTech for AR-15: EXPS3 HD vs EXPS3 vs XPS2
guide · gear · 11 min read
Best Holographic Sights 2026: Vs Red Dot & Reflex Compared
guide · gear · 10 min read
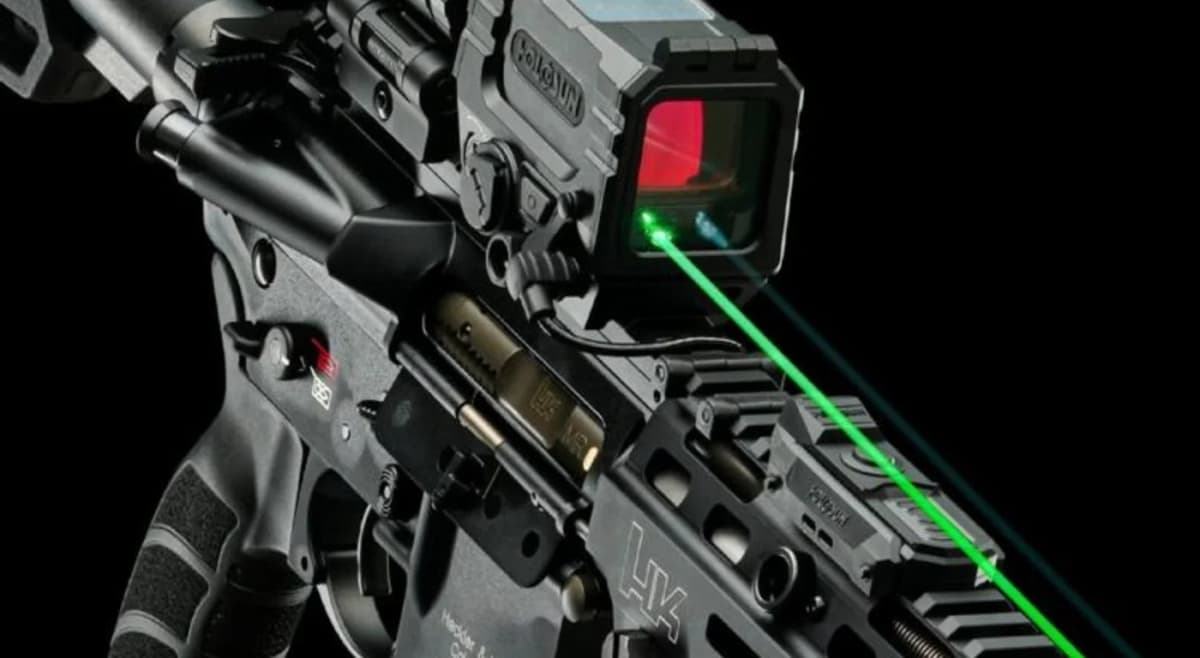
Best Holosun Optics 2026: Top Rifle & Pistol Red Dots Ranked (AEMS, 509T, ARO)
guide · gear · 11 min read
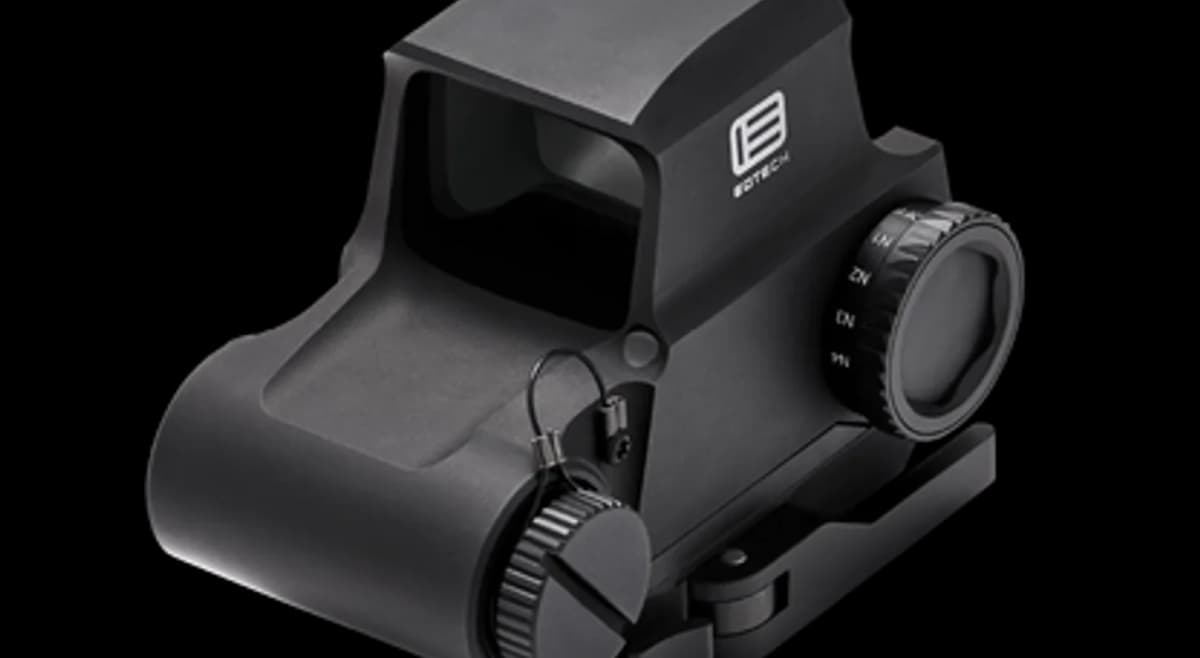
EOTech EXPS3 HD & EFLX CE at SHOT Show 2026
article · news · Jan 17, 2026
Features
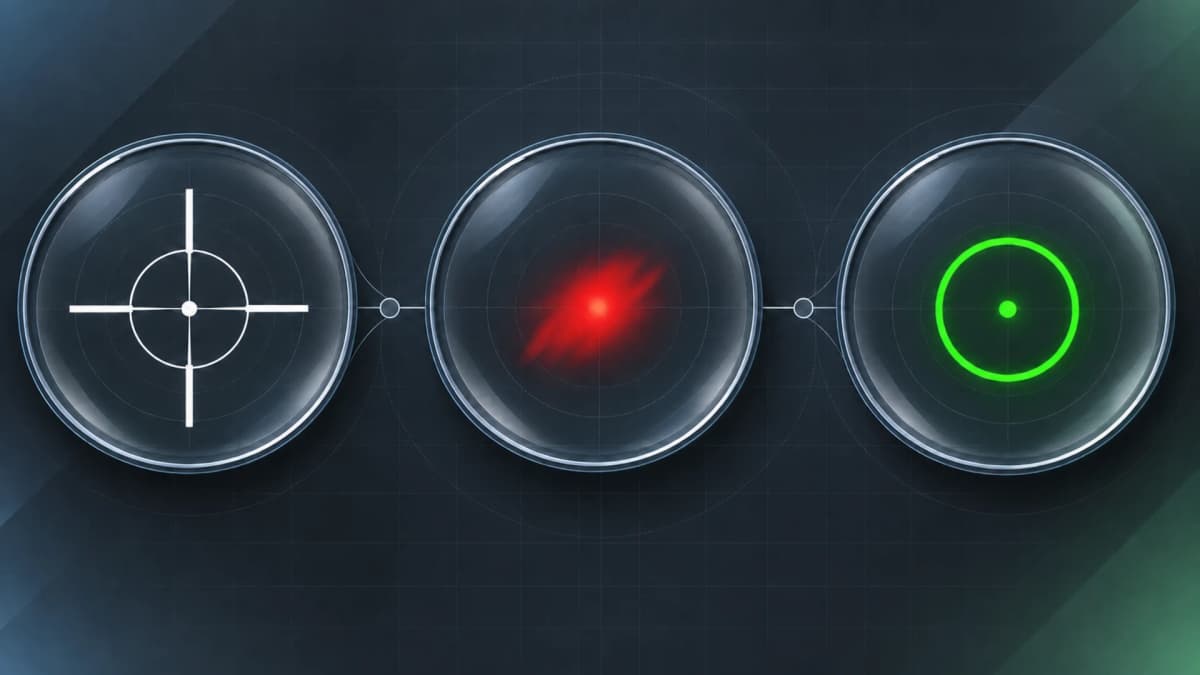
- •2 MOA dot / 65 MOA circle
- •Solar Failsafe
- •Shake Awake
- •IPX8 waterproof
- •1000G rated
Capability Boosts
Recommended For
+24 more
Where to Buy
Compare current prices and availability from retailers we work with.
Holosun AEMS PRO X2 1x 1.1x0.87in Reflex Red Dot Sight, Green 2 MOA Dot Reticle, Black, AEMS-PRO-X2-GR
Holosun AEMS PRO X2 Red Dot Sight 1x Selectable Green Reticle with Picatinny Mount Solar/Battery Powered Matte Black
Holosun AEMS Pro - Solar - Multi-Reticle Green Dot - AEMS-PRO-X2-GR
Price History
90-day low $429.99 · at low nowMore optics guides & articles
Guides
Overview
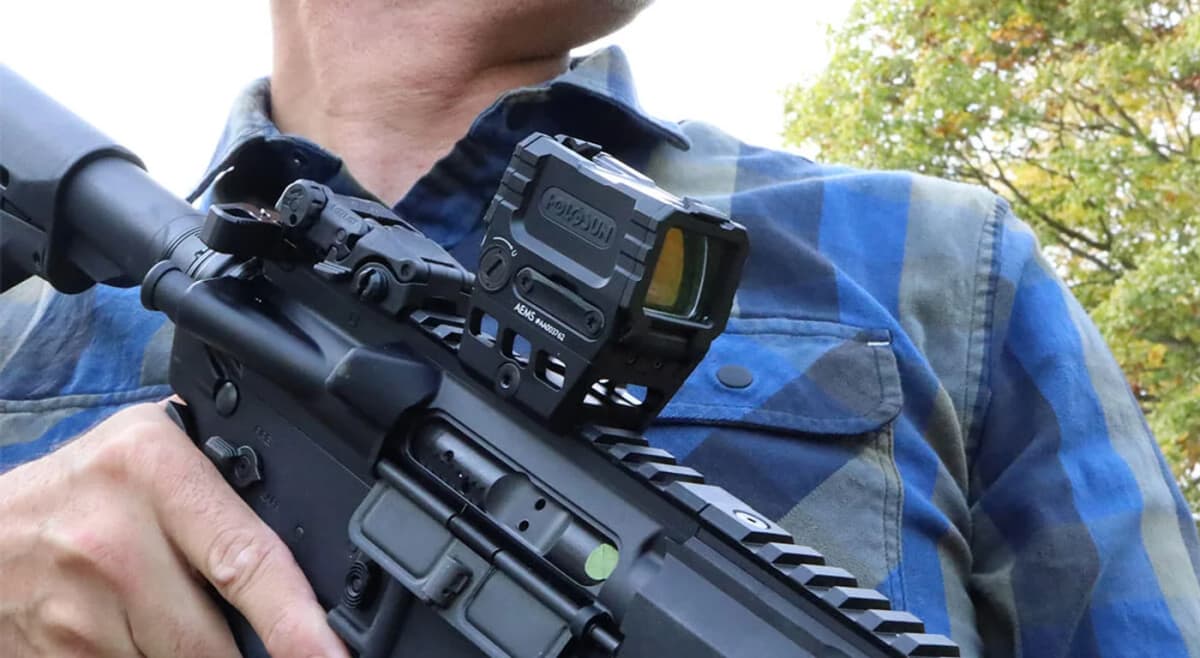
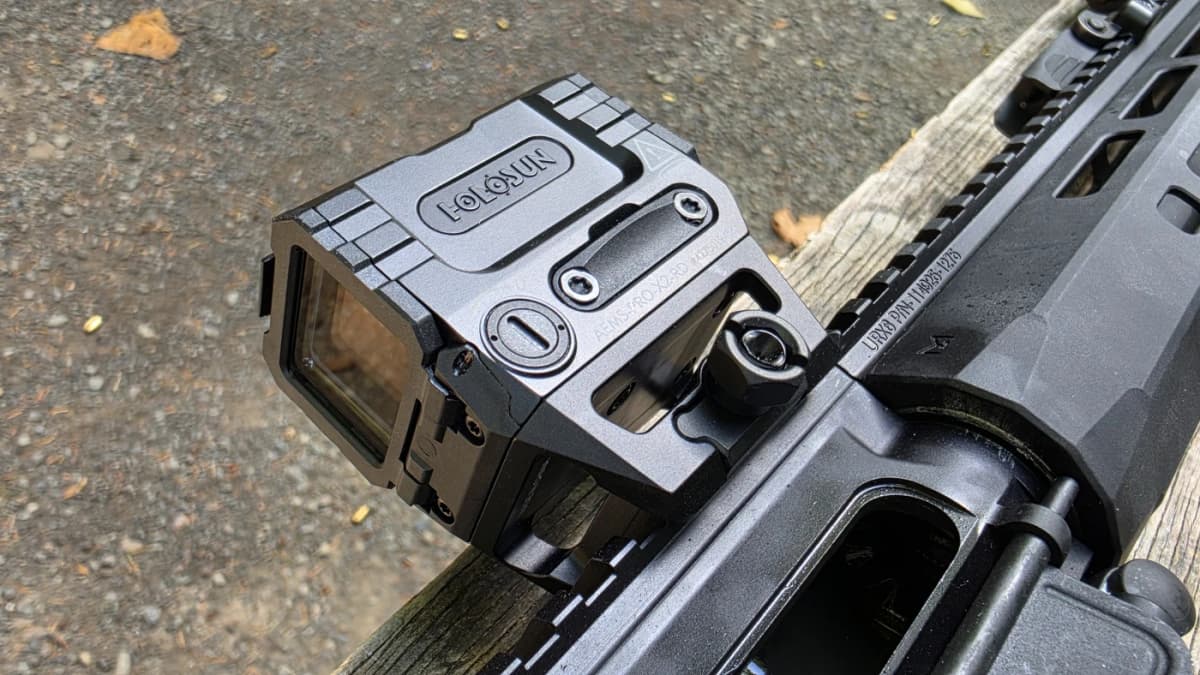
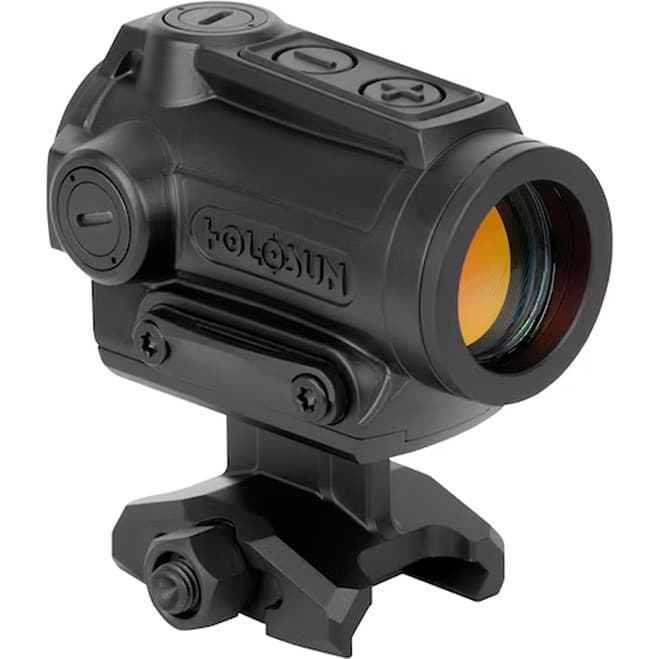
The Holosun AEMS Pro X2 is the feature-rich AEMS X2 row, adding the Multi-Reticle System (2 MOA dot, 65 MOA circle, or both combined) and Solar Failsafe backup power that the Core model omits. The result is a fully enclosed micro sight for shooters who want Holosun's full rifle/PCC reflex feature set.
The Pro X2 is built on 7075-T6 aluminum with an MAO (Micro Arc Oxidation) surface finish. A 1000G shock rating and IPX8 dust/water resistance back the durability claims. The 1.1 x 0.87-inch window provides a wide field of view for both-eyes-open shooting, and the lower-1/3 co-witness mount is backward compatible with original AEMS mounting systems. Brightness covers 8 daylight and 4 night vision settings, giving dedicated NVG users more granularity than the Core X2's 2 NV modes.
For shooters who want the full Holosun feature set (solar failsafe, multi-reticle, shake awake, enclosed emitter) without stepping into the DRS-TH's thermal pricing, the AEMS Pro X2 is the top of the conventional red dot line. The premium over the Core X2 buys solar backup and reticle flexibility, which for many users is worth the trade.
Key Features
- Multi-Reticle System: 2 MOA dot, 65 MOA circle, or circle-dot combined
- Solar Failsafe provides backup power from ambient light
- Enclosed emitter protects against dirt, dust, and debris
- 50,000 hour battery life with Shake Awake and Last Setting Recall
- 8 daylight + 4 night vision brightness settings
- IPX8 water and dust resistance with 1000G shock rating
- MAO (Micro Arc Oxidation) ceramic surface finish
- Anti-reflective device included
- Backward compatible with original AEMS mounts
Pros
- +Full feature set: solar, multi-reticle, shake awake, enclosed emitter
- +1000G shock rating is among the highest in the enclosed emitter category
- +4 NV settings give dedicated night vision users better brightness granularity
- +Solar Failsafe eliminates total battery failure as a failure mode
- +Significantly cheaper than Aimpoint ACRO P-2 with more features
Cons
- −Bulkier than open-emitter micro dots
- −Proprietary AEMS mount pattern limits aftermarket options
- −Costs meaningfully more than the Core X2, which may not justify for shooters who skip solar and multi-reticle
Setup & Operation
Step-by-step procedures for setting up, operating, and maintaining the Holosun AEMS Pro X2.
Mount the AEMS Pro X2 on a Picatinny Rail
The Pro X2 ships already bolted to Holosun's 1.63 inch lower 1/3 pedestal mount, so installation is one fastener: an 11mm hex nut on the underside of the rail that draws the clamping block against the slot. Holosun specifies 50 to 65 inch-pounds, which is 5.6 to 7.3 Nm.
The 11mm wrench in the box is a stamped flat tool that no torque wrench will accept, and the cross bolt protrudes through the middle of the nut face, so a flat blade or a coin cannot seat on it either. An 11mm socket from your own toolbox is the only way to actually measure the spec instead of guessing at it. Clear the firearm and remove the magazine before the optic goes anywhere near it.
- • Included 11mm wrench, or an 11mm socket for torque-wrench use
- • 1/4 inch torque wrench set to 50-65 in-lbs
- • Cleared, unloaded firearm
- 01
Open the clamp
Turn the 11mm nut counterclockwise with the included wrench to back the clamping block away from the mount body, leaving enough gap for the mount to drop over the rail.
- 02
Seat the mount on the rail
Set the mount on the top rail so the recoil lug drops fully into a Picatinny slot. The 1.63 inch pedestal puts the dot at lower 1/3 co-witness, which on a flat-top AR means the reticle sits above a folded set of iron sights and drops into the upper third of the window when they are up.
- 03
Apply forward pressure and torque the nut
Push the sight forward so the recoil lug stays hard against the front wall of the rail slot, then tighten the 11mm nut to 50 to 65 inch-pounds. Holding forward pressure while you torque is what keeps the mount from shifting under recoil and walking the zero.
- 04
Confirm the clamp before you shoot it
Grab the sight body and try to rock it fore and aft on the rail. Any perceptible movement means the nut is under spec. Re-check the nut after the first range session, since a fresh clamp can settle.
Nothing in the box will hit Holosun's 50 to 65 inch-pound spec by measurement. If you tighten by feel with the stamped wrench, re-check the nut and shoot a confirmation group before you rely on the zero.
Install or Replace the CR2032 Battery
The Pro X2 runs a single CR2032 3V lithium cell in a side-loading tray, so the battery changes without breaking the mount or losing zero. One cell ships with the sight, and Holosun rates runtime at up to 50,000 hours with the solar cell carrying part of the load.
Polarity is the step people get wrong: the battery goes into the tray with the POSITIVE side facing DOWN, not up. The tray carries an O-ring seal that is what earns the sight its IPX8 rating, so inspect it on every change.
- • Included T10 Torx tool (its flat driver turns both turrets)
- • One CR2032 3V lithium battery
- • Cleared, unloaded firearm
- 01
Loosen the battery tray screws
Use the included T10 Torx tool to back off the screws holding the battery tray in the compartment on the side of the housing.
- 02
Lever the tray out
Slide the flat of the included tool into the slot at the top of the battery tray and use it as a lever to lift the tray and the old cell clear of the compartment.
- 03
Seat the new cell positive side down
Drop a fresh CR2032 into the tray with the POSITIVE face pointing DOWN into the tray, the opposite of what most optics take. Check the O-ring seal for cuts, grit, or a missing ring while the tray is out, since a damaged seal lets water into the compartment.
- 04
Press the tray home and tighten
Push the tray squarely back into the compartment until it is fully seated, then tighten both screws with the T10 tool. A tray that will not close fully is a stop-using-it condition, not something to force.
Low-battery warning: the reticle blinks once every two seconds once cell voltage drops below 2.2V on the red model, or 2.3V on the green and gold models. A reticle that starts blinking on its own is telling you to swap the cell, not failing.
Zero the AEMS Pro X2
Elevation lives on the right side of the housing and windage on the left, both slotted for the flat driver end of the included T10 tool. Each click is approximately 0.5 MOA, which works out to 1/2 inch at 100 yards, 1/4 inch at 50 yards, and 1/8 inch at 25 yards. Total travel is 50 MOA from center in each axis.
Turret directions are the opposite of the habit most shooters build on rifle scopes: clockwise on elevation raises point of impact, and clockwise on windage moves point of impact right. Holosun mechanically zeroes the sight at the factory, which sets the turrets to center, not to your rifle. A sample can still come out of the box a long way off, so budget a full session rather than three rounds.
- • Included T10 Torx tool (its flat driver turns both turrets)
- • Zeroing target
- • Bore sighter (optional)
- 01
Bore sight, then fire a group
Rough in the sight with a bore sighter or by looking through the bore at a target, then fire a 3 to 5 round group at your chosen zero distance. Fifty yards is the standard carbine zero and makes the click math easy at 1/4 inch per click.
- 02
Correct elevation
Turn the elevation screw on the right side of the housing CLOCKWISE to raise point of impact and counterclockwise to lower it. At 50 yards each click is 1/4 inch, so a group printing 2 inches low needs 8 clicks up.
- 03
Correct windage
Turn the windage screw on the left side CLOCKWISE to move point of impact right and counterclockwise to move it left. At 50 yards a group printing 1 inch right needs 4 clicks counterclockwise.
- 04
Confirm with a fresh group
Fire another group and repeat the correction until the group centers on point of aim. Confirm from the position you actually shoot from, since a sight zeroed off a bag and then run offhand will show the difference.
If a turret binds and will not rotate further you have hit the 50 MOA mechanical limit. Do not force it past the stop or you can damage the sight. Running out of travel before you reach zero means the rail or the mount is not square to the bore, not that the optic is defective.
Switch Reticles and Set the Sleep Timer
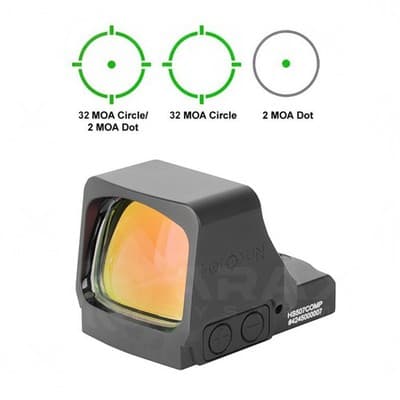
The Multi-Reticle System cycles by button hold, not by menu. Holding the "-" button for three seconds steps the reticle through circle-dot, then dot only, then circle only, in that order, returning to circle-dot on the next cycle. The circle is 65 MOA and the dot is 2 MOA, and the ring subtends roughly 5 feet 5 inches at 100 yards, which makes it a usable range estimator on a torso-sized target.
Shake Awake sleeps the reticle after 10 minutes of no movement by default and wakes it instantly on motion, returning to the last brightness used. That timer is programmable, and one of its four options disables the sleep behavior entirely.
- 01
Cycle the reticle
Hold the "-" button for three seconds. Each hold advances one step through circle-dot, dot only, and circle only.
- 02
Enter sleep-timer programming
Hold the "+" button for 10 seconds. The reticle begins blinking, and the blink count reports the current setting.
- 03
Pick the delay
Press "+" or "-" to step through the four options. One blink is 10 minutes, two blinks is 1 hour, three blinks is 12 hours, and four blinks disables sleep mode, which also disables Shake Awake.
- 04
Save the setting
Press "+" and "-" simultaneously to store the new delay. The sight powers off as it saves; press either button to bring it back up on the new timer.
Setting the timer to four blinks disables Shake Awake along with sleep, so the sight stays lit until you power it off by hand. That is the setting for a duty or home-defense gun that must never need a shake, and it is the one that costs the most battery.
Brightness, Auto Mode, and Lens Cover Reference
Press either "+" or "-" once to power the sight on; press both together to power it off, which also stops Shake Awake. Holding "+" for three seconds toggles between auto and manual mode, and a single reticle blink confirms the change. The sight remembers the last brightness setting through a power cycle.
Manual mode exposes 12 brightness levels, with settings 1 through 4 night vision compatible and 12 the brightest. Auto mode behaves differently by reticle color. On the red model the sight moves between solar and battery power on its own and the buttons switch between a high and a low level. On green and gold the eight daylight settings run 3 through 10, and pressing a button sets a floor: the sight varies upward from that setting toward 12 as forward light increases, and never below it.
Both lens covers are transparent, and the sight is usable with them closed. Lift the latch and a cover springs open. A reticle reflection seen with the covers closed is the flip glass reflecting, not a fault in the sight, so judge the reticle with the covers open. The front cover comes off with the two screws beneath it using the included T6 Torx tool; the box also contains an anti-reflection front cover, and its springs transfer from the cover you removed into the matching slots on the replacement.
Clean the glass wet, never dry. Blow the dust off first, wet the lens with lens cleaner or clean water, then wipe with lens tissue, soft cotton, or microfiber. Alcohol and acetone are out, and so is a dry cloth or tissue on the coatings. The housing is sealed and nitrogen-treated: opening it voids the lifetime warranty.
Detailed Specifications
- Reticle
- Multi-reticle: 2 MOA dot / 65 MOA circle / circle-dot
- Magnification
- 1x
- Battery Type
- CR2032
- Battery Life
- 50,000 hours (with Solar Failsafe backup)
- nightVisionCompatible
- Yes (4 NVD settings)
- Waterproof Rating
- IPX8 rated
- weight
- 4.3 oz sight only, 6.1 oz mount weight (Holosun); do not use package/shipping weight
- windowSize
- 1.1 x 0.87 inches
- Adjustment Type
- 0.5 MOA per click
- Adjustment Range
- 50 MOA windage/elevation
- operatingTemp
- -30°C to 60°C (operating); -40°C to 70°C (storage)
- Material
- 7075-T6 Aluminum (MAO finish)
- shockRating
- 1000G
Video Reviews

Pairs Well With
Top matches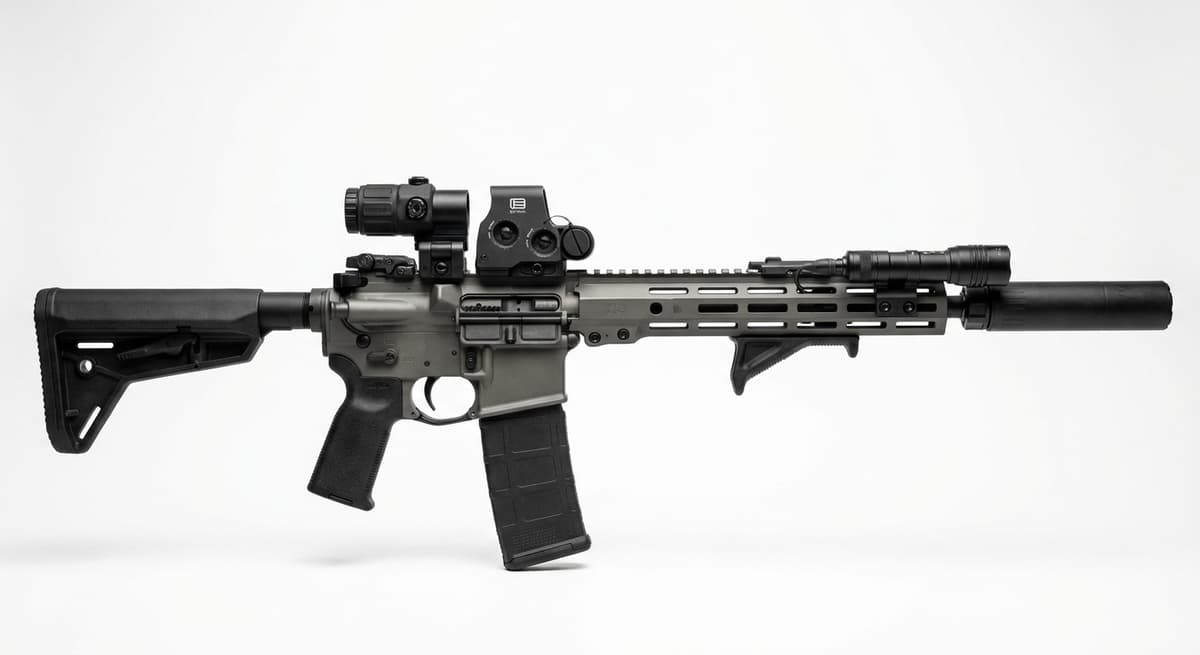
Custom
Custom AR-15 (Build From Scratch)
1 shared compatibility tags
Custom
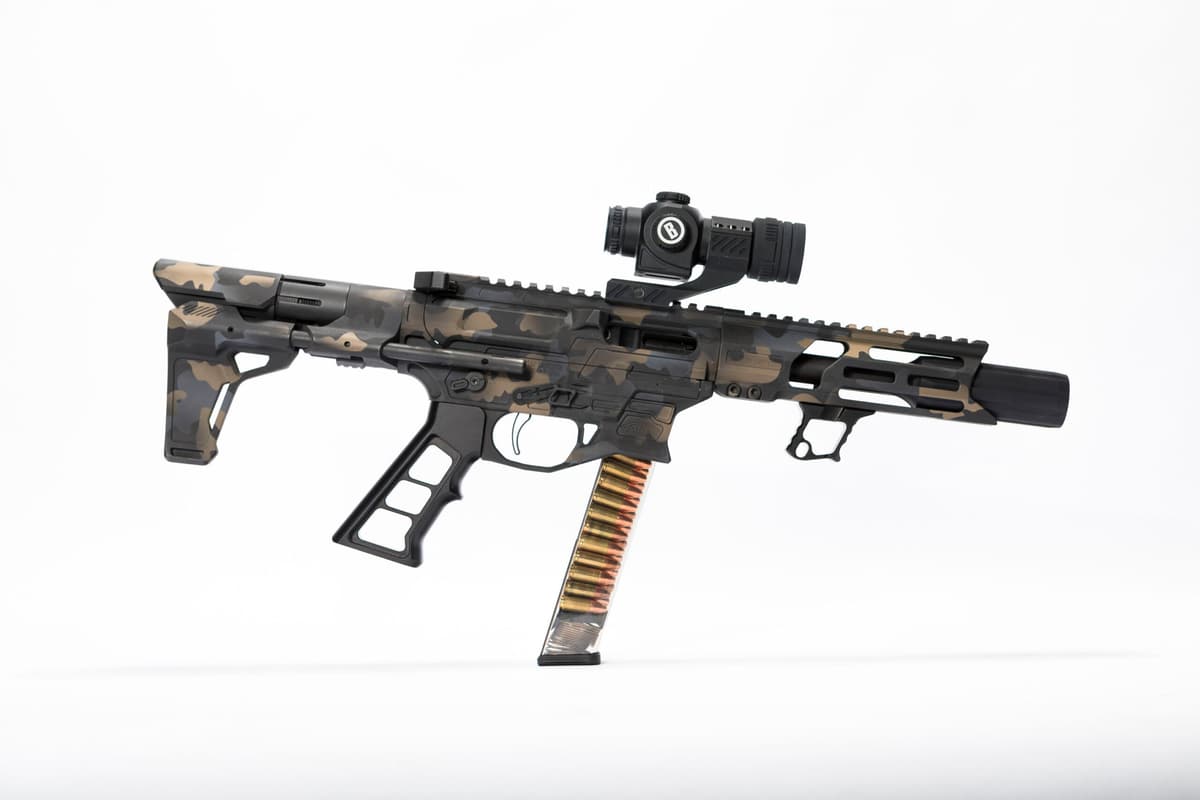
Custom AR-9 (Build From Scratch)
1 shared compatibility tags
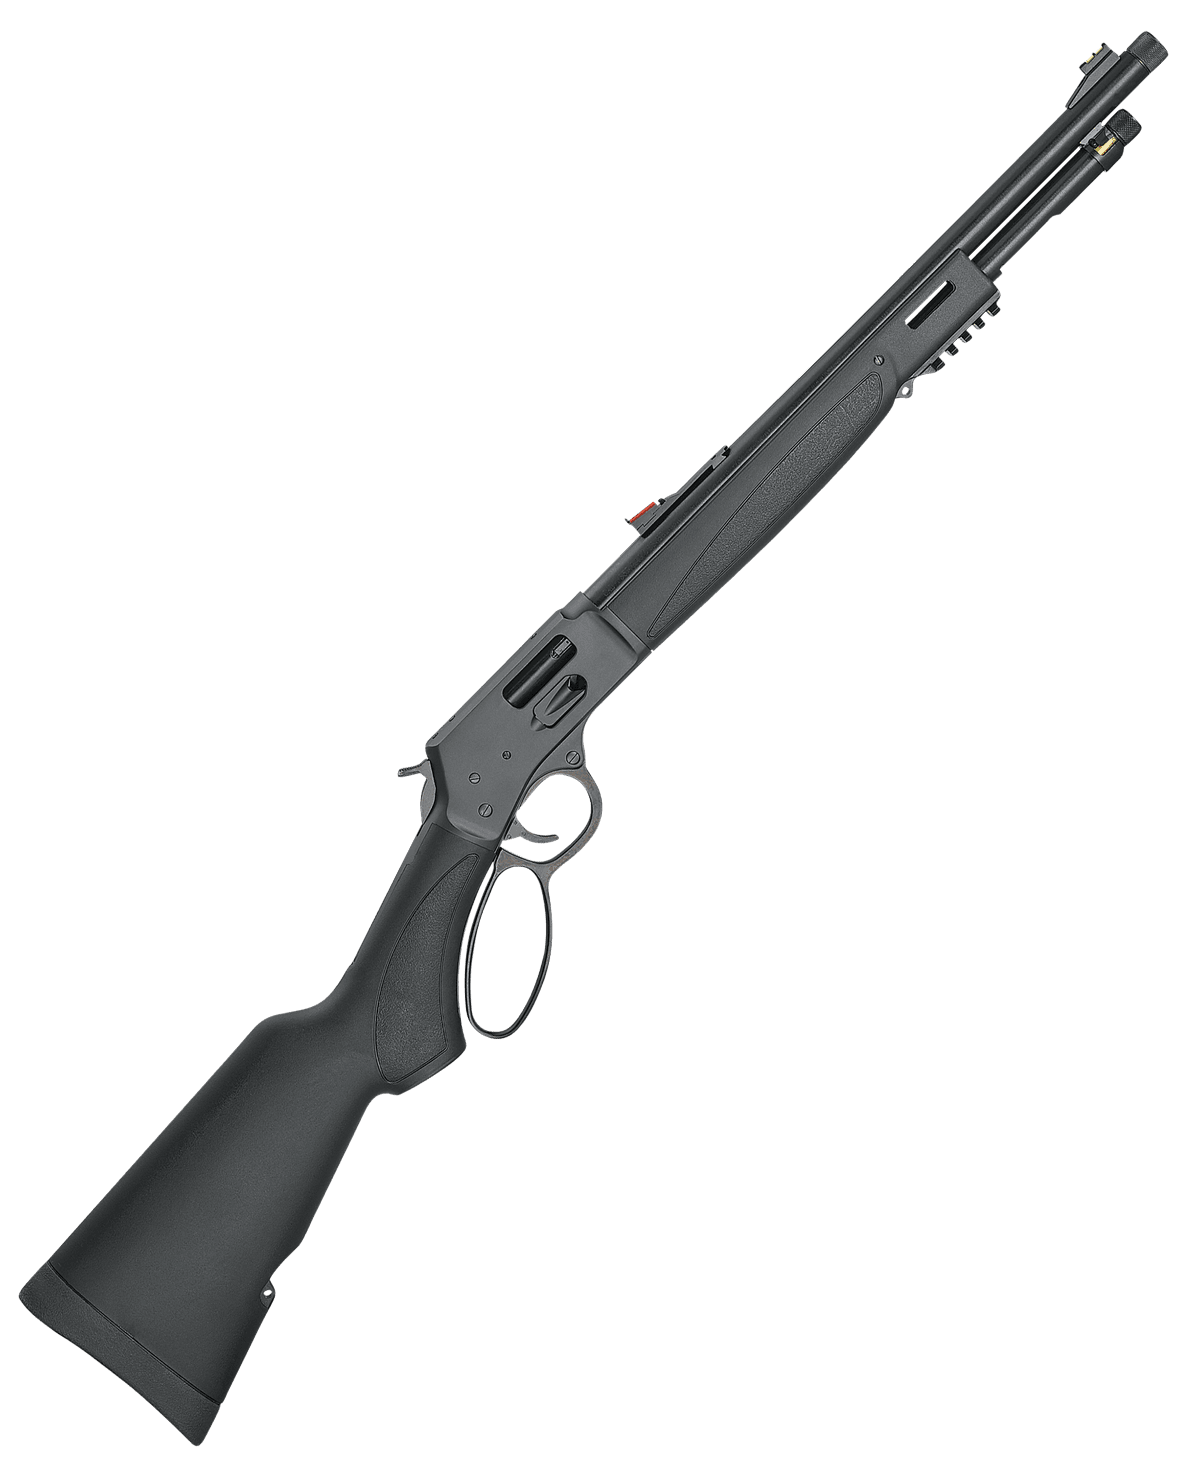
Henry Repeating Arms
Henry Big Boy X Model (.357 Magnum)
1 shared compatibility tags

Kalashnikov USA
Kalashnikov USA KR-103
1 shared compatibility tags
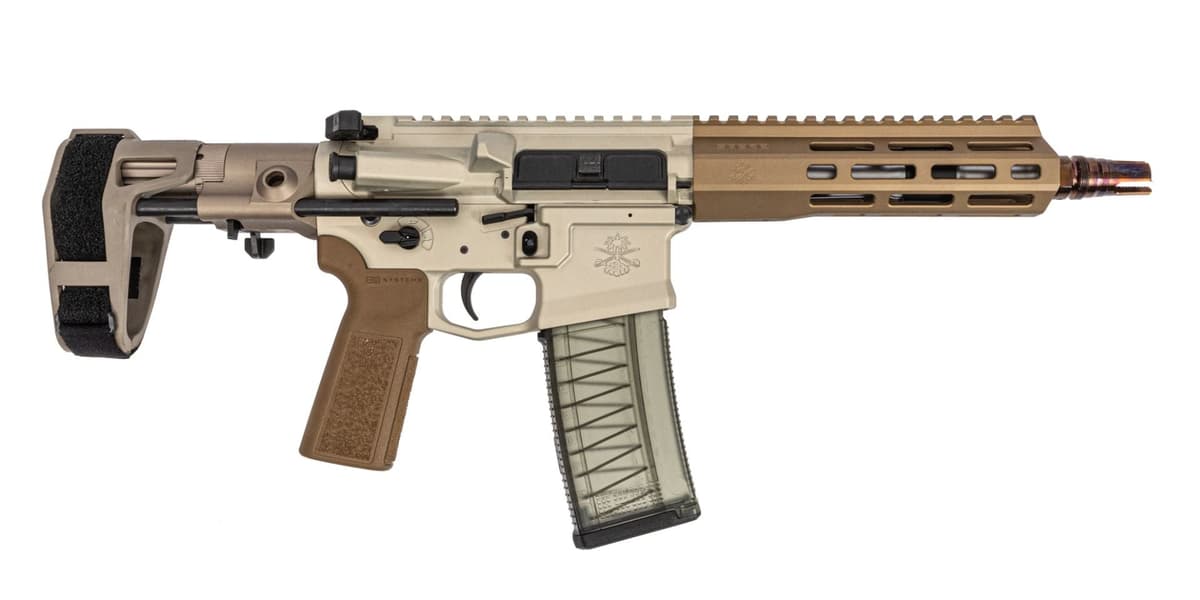
Palmetto State Armory
PSA Sabre Enhanced Mixtape Vol. 1 8" 300 BLK Pistol
1 shared compatibility tags
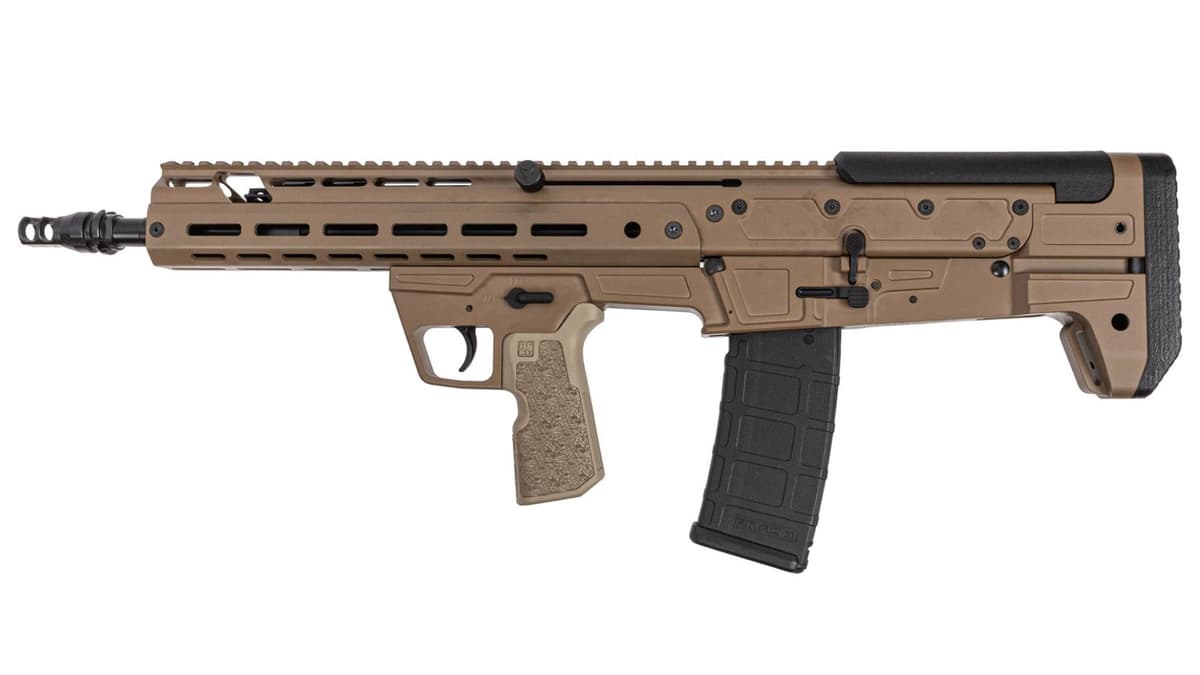
Palmetto State Armory
PSA Olcan 14.5" 5.56 KeyMo Rifle, FDE
1 shared compatibility tags
Similar Products

Compatible Platforms
+291 more
Compatibility Tags
Build Your Custom Configuration
Add the Holosun AEMS Pro X2 to your build and see how it enhances your platform.