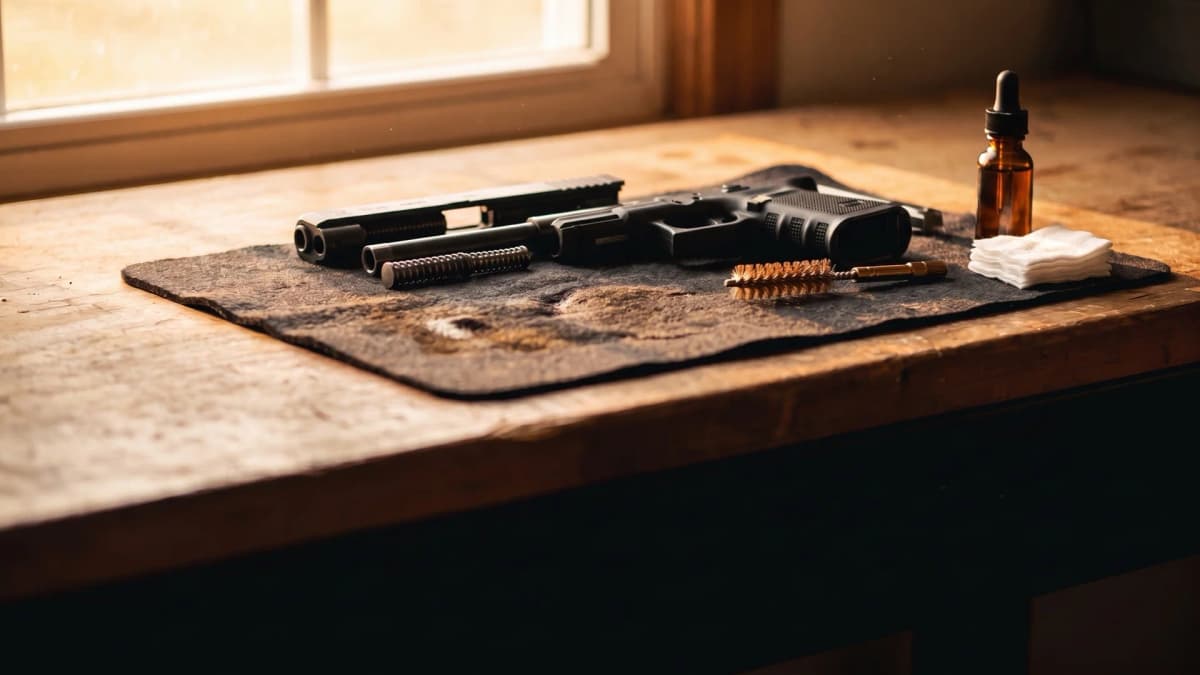
How to Clean a Pistol 2026: Field Strip, Lubricate & Inspect header image
Maintenance
August 10, 2026
How to Clean a Pistol 2026: Field Strip, Lubricate & Inspect

Step-by-step pistol cleaning guide covering field strip, barrel and slide cleaning, the five lubrication points, magazine and spring inspection, and a maintenance schedule for range and carry guns.

[ < Back to guides ]
MaintenanceCleaningBeginner

How to Clean a Pistol 2026: Field Strip, Lubricate & Inspect

Cleaning a pistol is a 30-minute job with five steps: verify unloaded, field strip, clean the barrel, clean the slide and frame, then lubricate and reassemble. This guide walks through each step for modern semi-auto handguns, covers the inspection points that catch worn springs and extractors before they cause stoppages, and ends with a maintenance schedule for range guns and carry guns.

By AB|Last reviewed August 2026

Quick Answer: Pistol Cleaning: The Short Version

After every range trip: Field strip, run a brush and patches through the bore, wipe the breech face and rails, re-oil five or six points. Takes 10-15 minutes.

Carry guns, monthly: Wipe down and re-oil even if unfired. Holster lint and body moisture dry the rails out and start corrosion.

Every 500-1,000 rounds: Detail clean with bore solvent, scrub the extractor and breech face, and inspect the recoil spring, magazines, and sight or optic screws.

What You Need to Clean a Pistol

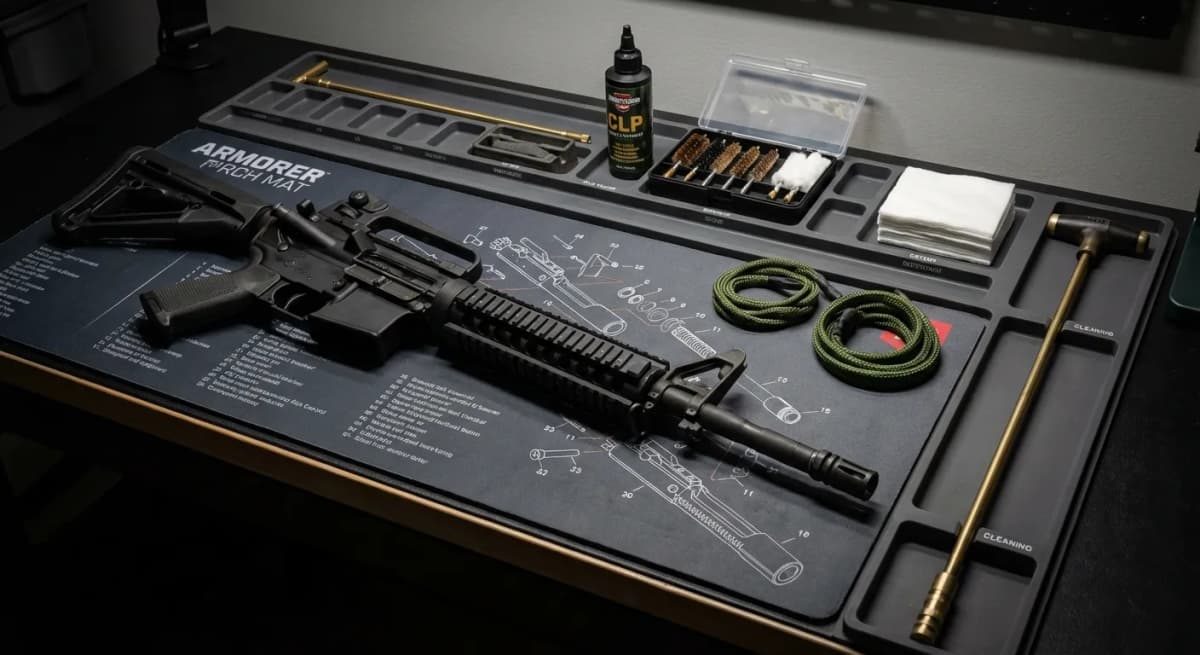
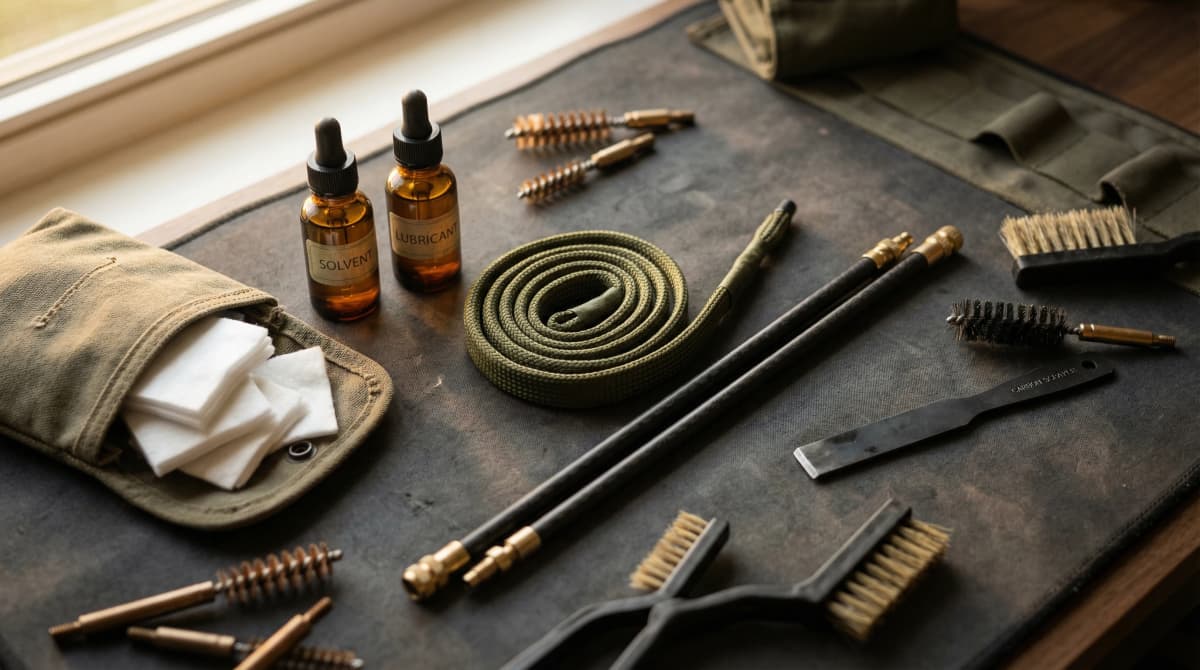
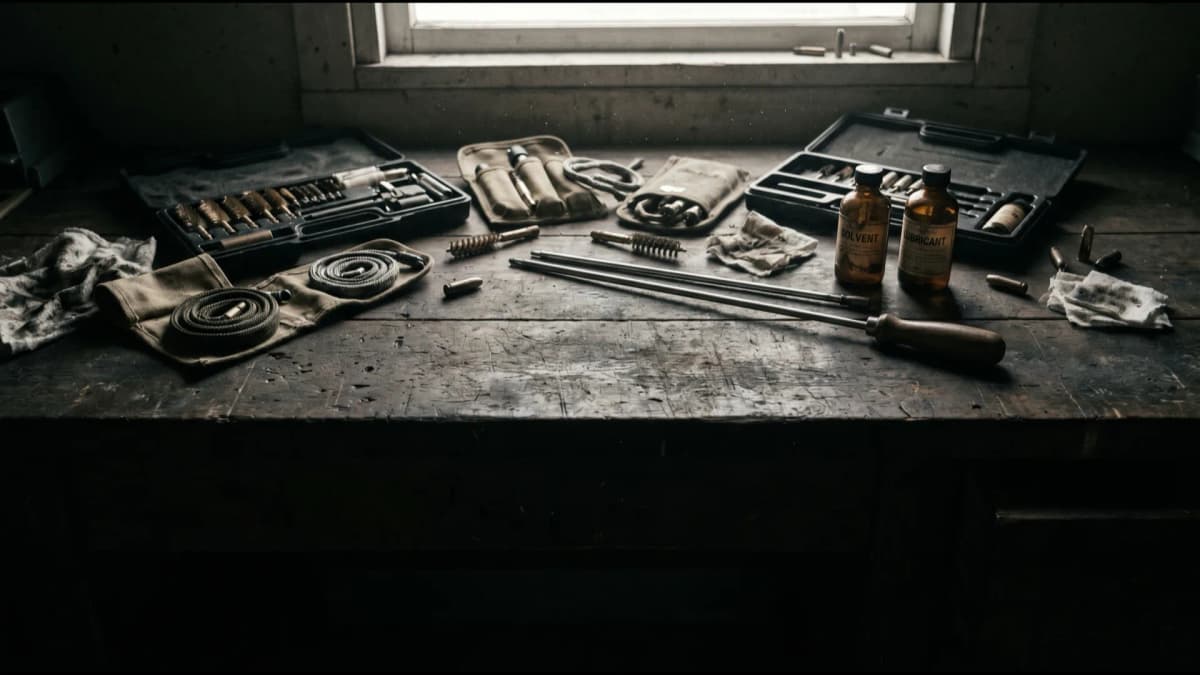
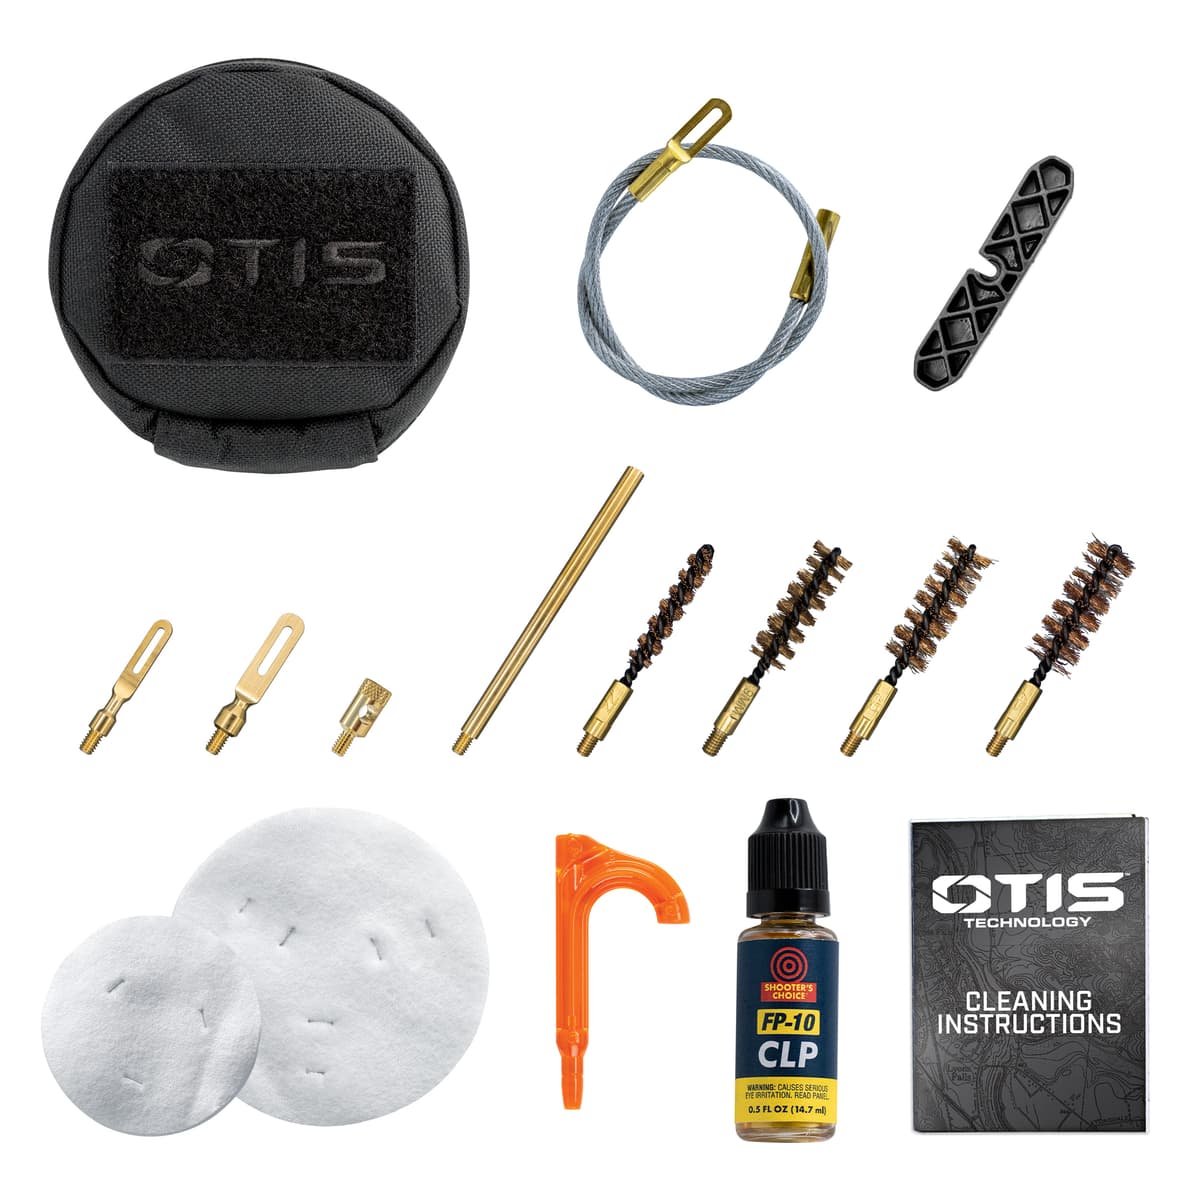
Four things clean any semi-auto handgun: a caliber-correct bore brush with a rod or pull-through cable, cotton patches with a jag or slotted tip, a nylon utility brush, and a bottle of CLP. A cleaning mat or an old towel keeps small parts off the floor, and a microfiber cloth handles the final wipe-down. The kits below bundle the hardware; for a deeper comparison across pistol, rifle, and shotgun boxes, see the best gun cleaning kit guide.

Otis Universal Pistol Cleaning Kit (FG-610)1
Handgun-only · .22 to .45 cal

Otis Universal Pistol Cleaning Kit (FG-610)

Best dedicated pistol kit
  • Size-marked bronze brushes for .22, .38/9mm, .40, and .45
  • Memory-Flex cable pulls breech-to-muzzle, protecting the crown
$51.49$56.19Save 8%
View at OpticsPlanet
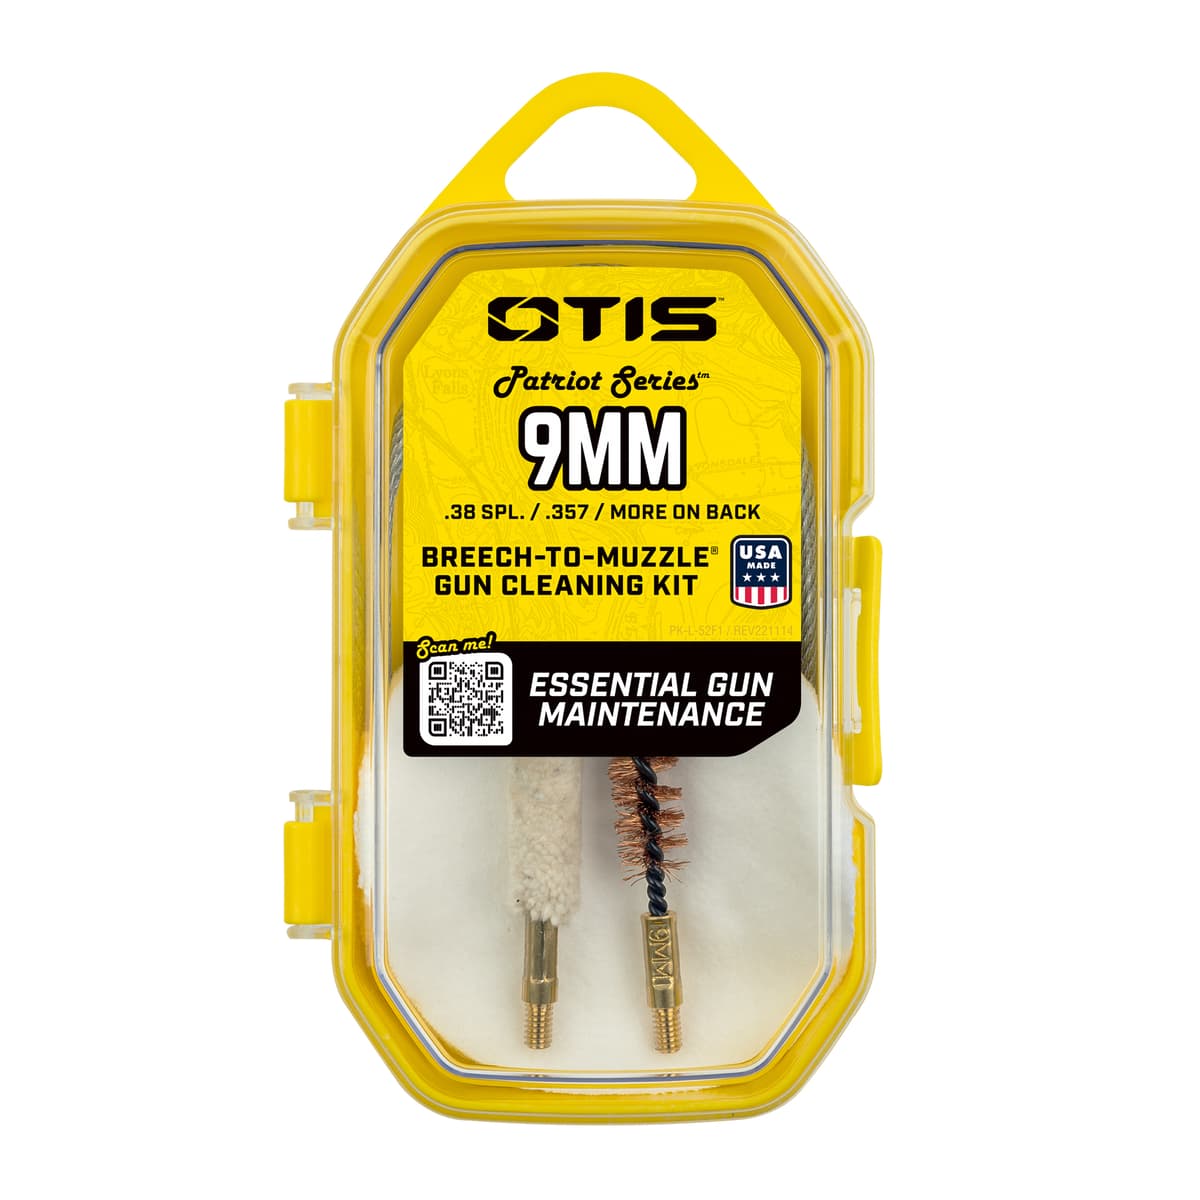
Otis Patriot Series 9mm Pistol Cleaning Kit (FG-701-9MM)2
9mm / .38 family · Under $30

Otis Patriot Series 9mm Pistol Cleaning Kit (FG-701-9MM)

Best budget kit for a one-pistol owner
  • Caliber-correct brush and mop for 9mm, .380, and .38 Special
  • Bore Reflector+ chamber flag doubles as a safety check
$16.94$24.99Save 32%
View at OpticsPlanet
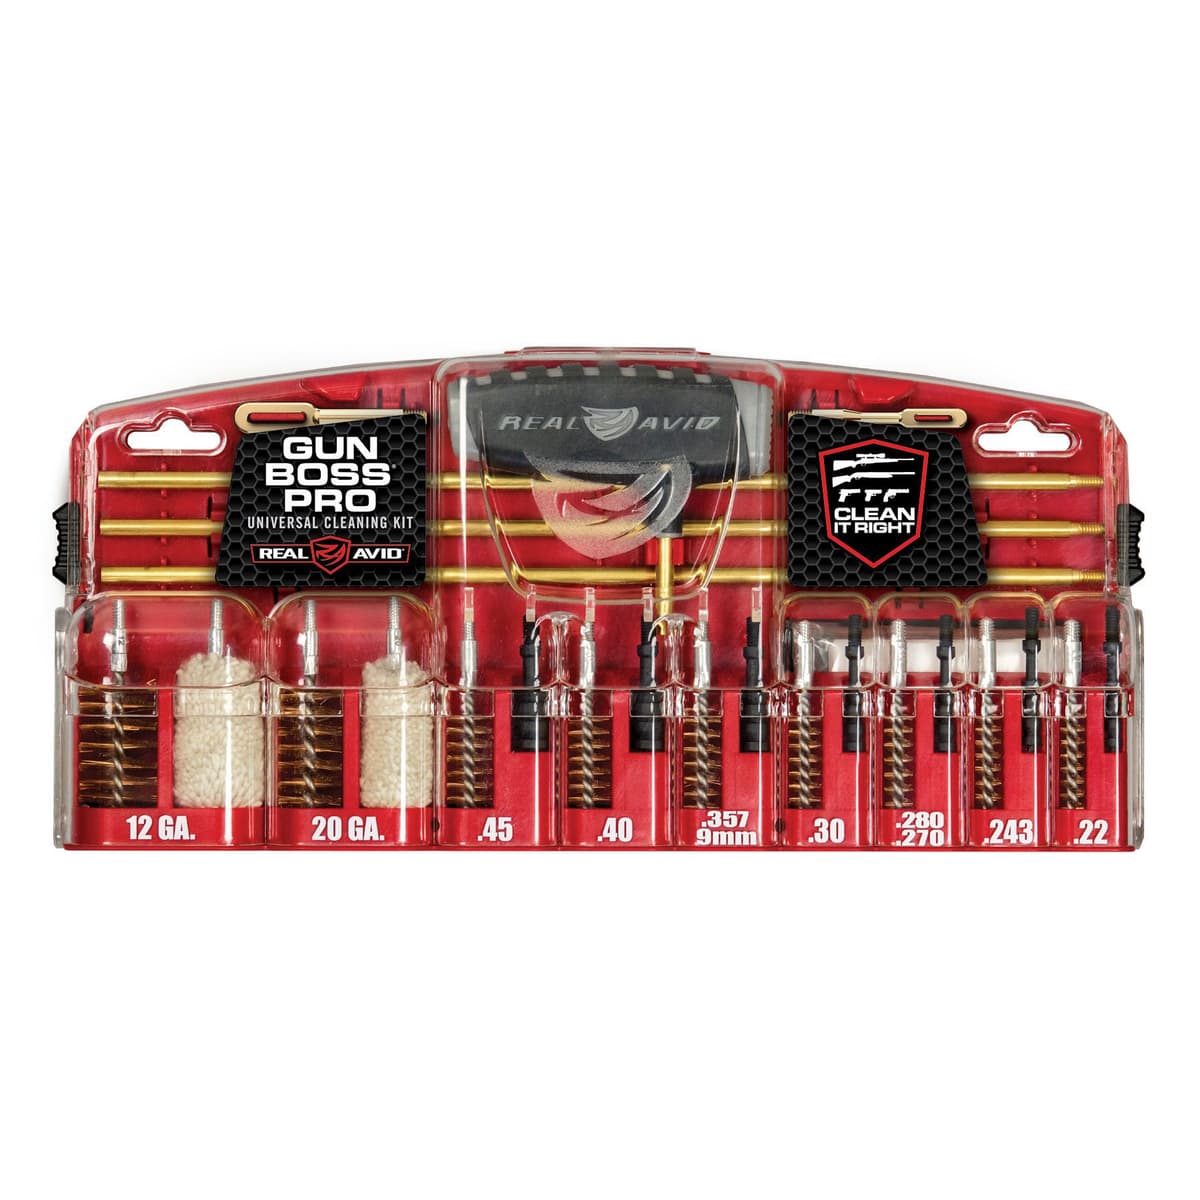
Real Avid Gun Boss Pro Universal Cleaning Kit (AVGBPRO-U)3
Universal · Pistol, rifle, shotgun

Real Avid Gun Boss Pro Universal Cleaning Kit (AVGBPRO-U)

Best value if you also own long guns
  • Caliber-marked brushes and jags from .22 to .45 plus 12/20 gauge
  • Multi-function handle doubles as a tap hammer for pin punches
$39.99$41.99Save 5%
View at OpticsPlanet
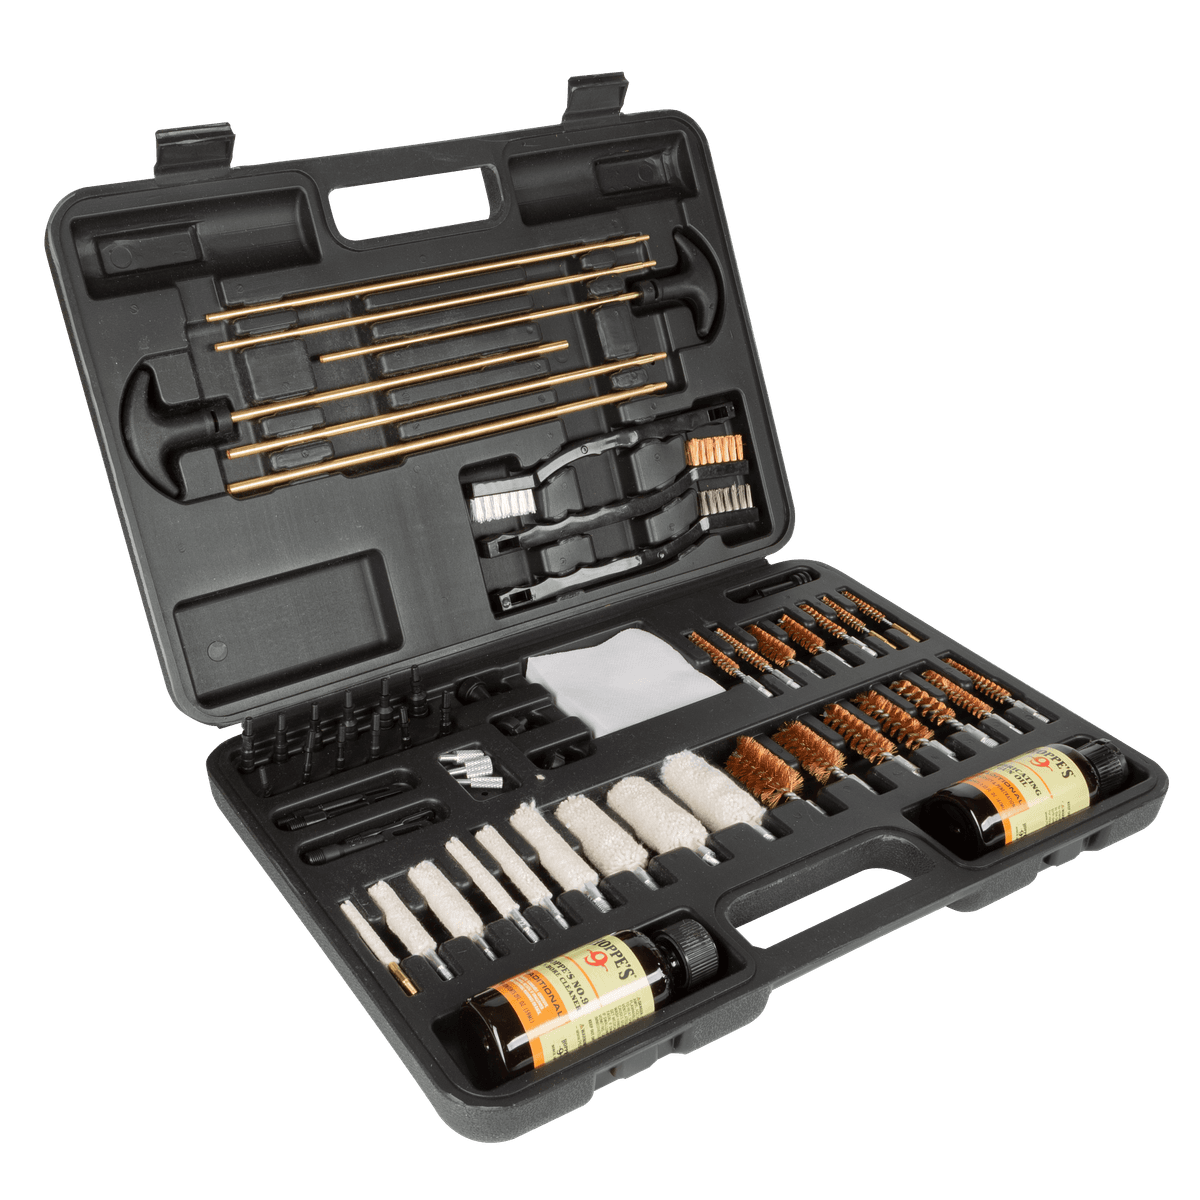
Hoppe's Universal Cleaning Kit4
Universal · Solvent and oil included

Hoppe's Universal Cleaning Kit

Cheapest complete starter box
  • Ships with Hoppe's No. 9 solvent and lubricating oil in the box
  • Covers .22 to .45 cal plus 12 gauge in one tin
$34.56
View at OpticsPlanet

Affiliate links - purchases support this site at no extra cost to you. (?)

Step 1: Verify Unloaded and Field Strip

Safety first: unload in this exact order, every time.

  • 1. Remove the magazine FIRST
  • 2. Rack the slide to eject any chambered round
  • 3. Lock the slide to the rear
  • 4. Visually inspect the chamber and magazine well
  • 5. Physically check the chamber with a finger
  • 6. Move all ammunition to another room before you continue

The order matters. Racking the slide before dropping the magazine feeds a fresh round into the chamber you just emptied. Cleaning-table discharges happen to people who were certain the gun was empty, which is why the check is physical, not just visual.

Field Strip Procedure

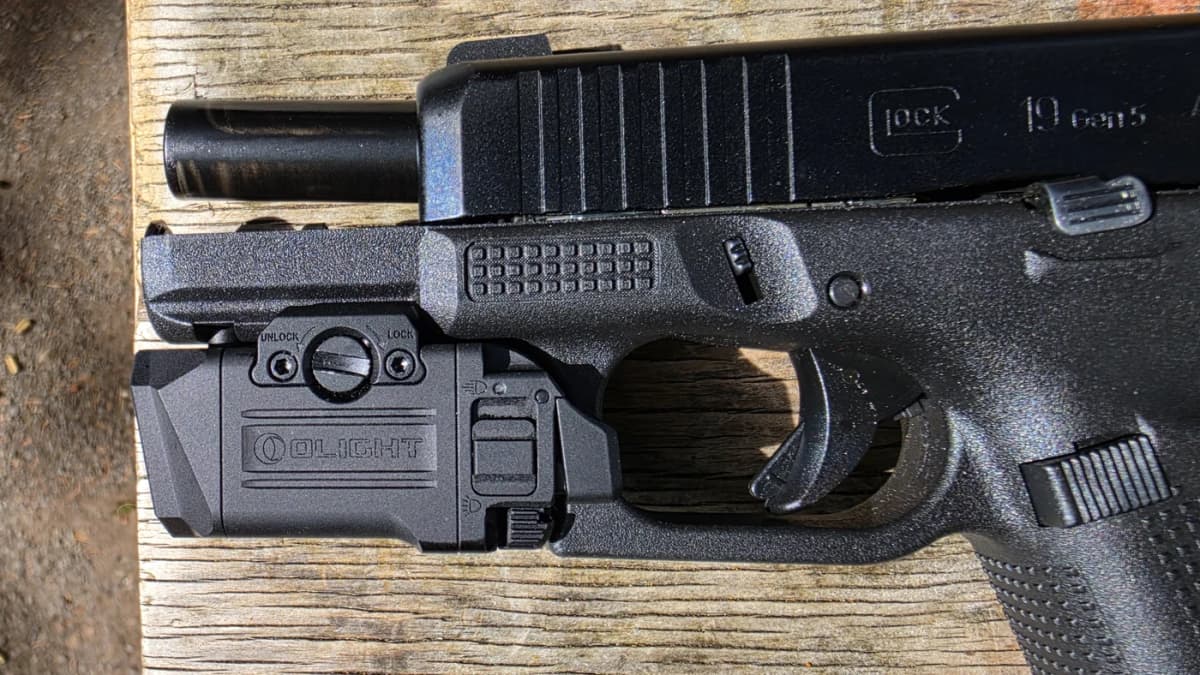
  • Follow your manual for takedown. Most modern striker-fired pistols separate one of two ways: rotate a takedown lever (SIG P320, Smith & Wesson M&P) or pull down a takedown catch or tabs with the slide slightly retracted (Glock, Walther PDP, CZ P-10).
  • Glocks and some other designs require a trigger pull before the slide comes off. This is exactly why the chamber check above comes first and why ammunition leaves the room. Point the pistol in a safe direction, pull the trigger, then run the takedown tabs.
  • Slide the slide assembly forward off the frame. Compress the recoil spring assembly slightly and lift it out of the slide, then lift the barrel out by its lug.
  • Stop there. Barrel, slide, recoil spring assembly, frame: four parts. Routine cleaning never requires removing the striker, extractor, or anything held in by a pin.

Step 2: Clean the Barrel

The barrel takes ten minutes: brush the bore, patch it clean, then scrub the feed ramp. With the barrel out of the pistol this is easier than any rifle bore, and the feed ramp matters as much as the rifling, because a carboned ramp is where hollow-point feeding problems start.

1. Scrub the bore with solvent

  • Attach the caliber-correct bronze brush to your rod or pull-through cable and wet it with solvent or CLP.
  • Run it from the chamber end through the muzzle and back. That is one pass.
  • Make 8-10 passes. Pistol bores are short, so this takes a minute.

Tip: With the barrel out of the gun you can always clean chamber-to-muzzle. That protects the crown, the last machined edge the bullet touches, which drives accuracy.

2. Patch the bore until clean

  • Switch to a jag or slotted tip. Push a solvent-wet patch through, then follow with dry patches.
  • Repeat wet-then-dry until patches come out light gray or clean.
  • Finish with one lightly oiled patch if the gun is going into storage, or a dry patch if it is going back into carry rotation.

3. Clean the feed ramp and barrel exterior

  • Scrub the feed ramp with a nylon brush and solvent until the brass streaking and carbon lift.
  • Wipe the barrel hood, locking surfaces, and the outside of the barrel with a solvent patch.
  • Dry everything. The barrel exterior gets a thin film of oil at the lubrication step, not before.

Tip: Clean the feed ramp, never polish it. Removing metal changes the ramp geometry and can turn a reliable pistol into one that chokes on hollow points.

Step 3: Clean the Slide

The slide is where reliability lives. The breech face and extractor see every fired case, and carbon packed into either one causes the failures to eject that get blamed on ammunition. Work with a nylon brush and patches; keep everything out of the striker channel.

1. Scrub the breech face

  • Stand the slide on its side and scrub the breech face with a nylon brush and a little solvent.
  • Carbon cakes into the corners around the firing pin hole; a dental pick or the corner of a patch clears it.
  • Keep solvent out of the firing pin hole. Wet the brush, not the slide.

2. Clean the extractor claw

  • Pick carbon and brass shavings out from under the extractor claw.
  • Check that the extractor snaps back with spring tension when you press it.

Tip: A packed extractor causes failures to eject that get blamed on ammunition. Ten seconds with a pick prevents it.

3. Wipe the rail cuts and slide interior

  • Run a solvent patch through the rail cuts on both sides of the slide.
  • Wipe the underside of the slide where the barrel hood rides.
  • Dry everything with clean patches.

4. Leave the striker channel alone

  • Do not spray solvent or oil into the striker or firing pin channel. It runs dry by design.
  • If the channel is visibly fouled or the gun has had light strikes, that is a detail strip job, not something to flush with CLP.

Tip: Oil in the striker channel collects unburned powder and lint, slows the striker, and causes light primer strikes. This is the most damaging shortcut in pistol cleaning.

Get Pistol Maintenance Guides and Gear Picks

New cleaning tools, lubricants, and upgrade guides get reviewed and ranked here. Maintenance picks go to subscribers before the guides update.

Free targets, drill cards, and weekly reviews by email. Follow our Facebook for daily builds and gear picks.

Follow

Step 4: Clean the Frame and Magazines

Frame

  • Brush fouling off the frame rails and out of the locking block area with a dry nylon brush, then wipe with a patch. A little CLP on the patch helps lift carbon; dry everything after.
  • Wipe around the trigger bar and connector without soaking them. Solvent flushed into a polymer frame pools under the trigger group instead of draining, so wipe, do not flood.
  • Wipe out the magazine well. Brass shavings and grit collect at the bottom and score magazines on the way in.

Recoil Spring Assembly

  • Wipe the recoil spring assembly clean. Most designs run it dry, and a few manuals, like SIG's for the P320, call for a light coat of CLP instead, so check yours.
  • Inspect for kinks, a cracked guide rod tip, or a spring that has visibly shortened. Recoil springs are consumables; manufacturers rate spring life in rounds or action cycles, commonly in the 2,000-5,000 range depending on the model, and your manual has the number.

Magazines

  • Wipe magazine bodies and feed lips with a dry cloth. Keep oil out of the tube unless your manual calls for a light protective coat: oil inside collects grit and unburned powder and drags the follower.
  • Check feed lips for cracks or spreading and confirm the follower springs up freely. A worn magazine causes feeding stoppages that get blamed on the gun, and a suspect one gets marked and demoted to range use.

Step 5: Lubricate, Reassemble, and Function Check

Pistols run lean. Five or six drops of oil on the right points beats a wet gun every time, especially for carry, where excess oil soaks into holster lint and turns fouling into abrasive paste.

Lubrication Points

  • Frame rail cuts: One drop in each rail cut, then work the slide to spread it
  • Barrel hood: One drop spread across the top where it locks into the ejection port
  • Barrel exterior, muzzle end: Thin film where the barrel rides the front of the slide
  • Connector / trigger bar contact: One drop if your manual calls for it
  • Bore: Lightly oiled patch for storage, dry patch before shooting or carry
  • Striker channel: Nothing. It runs dry

Reassembly and Function Check

  • 1. Seat the barrel in the slide by its lug
  • 2. Compress the recoil spring assembly into place
  • 3. Run the slide onto the frame rails and cycle it fully
  • 4. Function check: rack the slide, confirm the trigger breaks, hold it back, rack again, and feel the reset
  • 5. Confirm an empty magazine seats and drops free, and that racking the slide over the empty magazine locks it open

A clean pistol with a verified trigger reset is also a perfect excuse for ten minutes of dry-fire practice; the drills library has structured dry-fire sessions to run before the ammo comes back into the room.

Which Cleaner and Oil to Use

A single CLP covers routine cleanings; a dedicated solvent and a dedicated lube each do their one job better when the round count climbs. Match the chemical to how you use the gun. For the full chemistry breakdown across CLPs, solvents, and greases, see the best gun oils and CLPs guide.

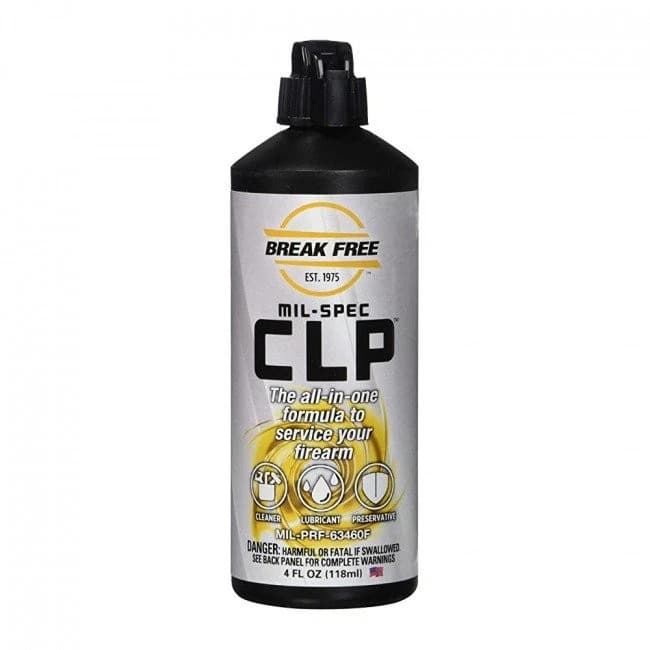
Break Free CLP1
All-in-one CLP

Break Free CLP

The one bottle for routine cleanings
  • Cleans, lubricates, and protects in a single application
  • Decades of military qualification history (MIL-PRF-63460), works from -65F to +475F
$13.49
Shop at MidwayUSA
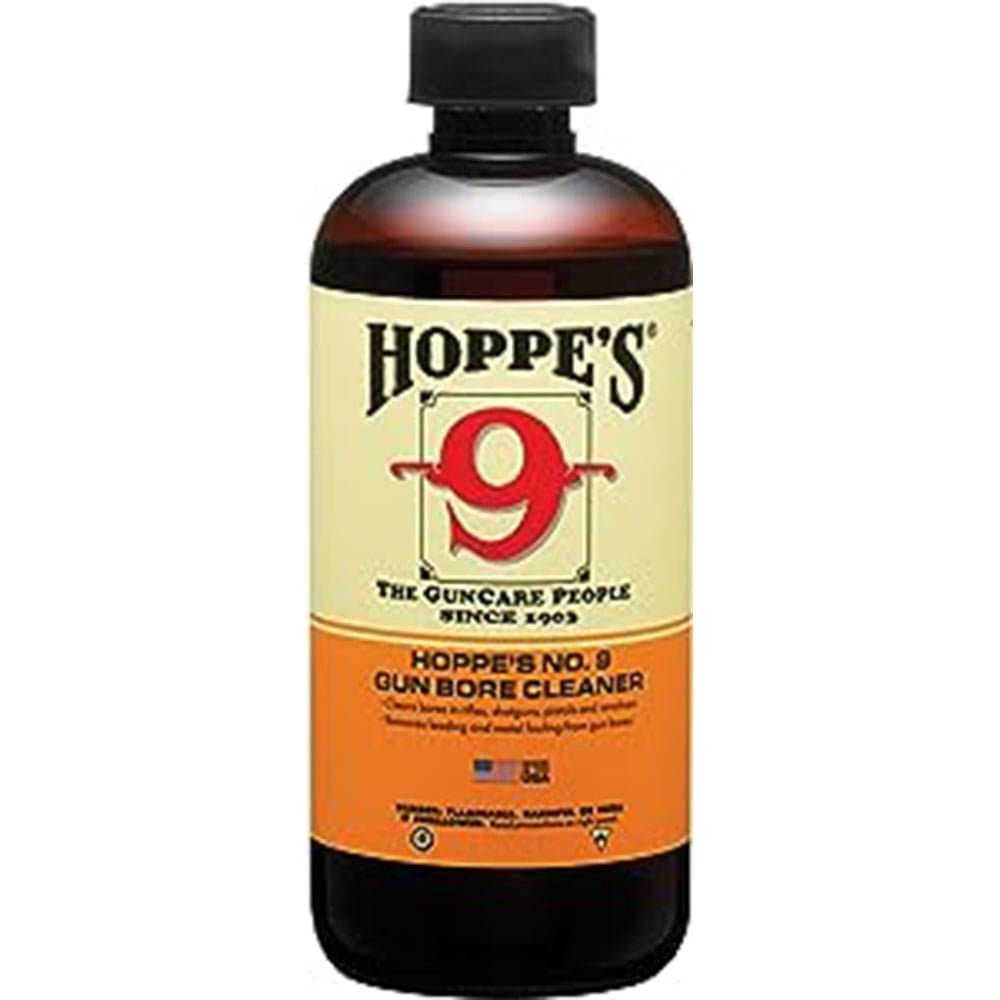
Hoppe's No. 9 Gun Bore Cleaner2
Dedicated bore solvent

Hoppe's No. 9 Gun Bore Cleaner

Carbon and lead fouling in the bore
  • Dissolves carbon, powder residue, and lead deposits
  • Strong fumes, use ventilation and keep it off polymer frames
$4.95
View at Amazon
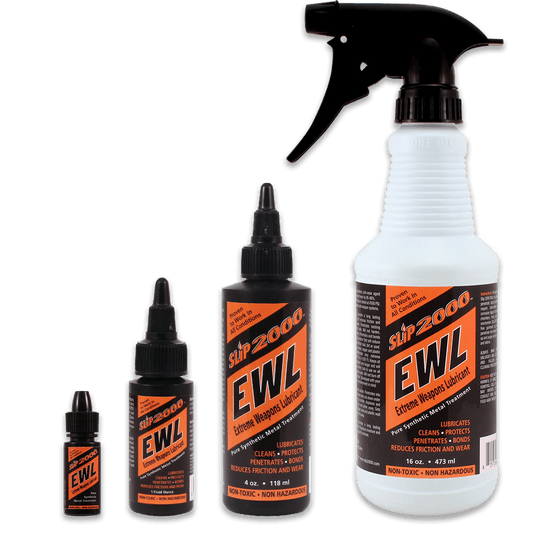
Slip 2000 EWL3
Dedicated synthetic lube

Slip 2000 EWL

High-round-count range and competition guns
  • Stays wet through long sessions without gumming
  • Carbon wipes off oiled surfaces more easily at cleanup
$21.19
View at Amazon
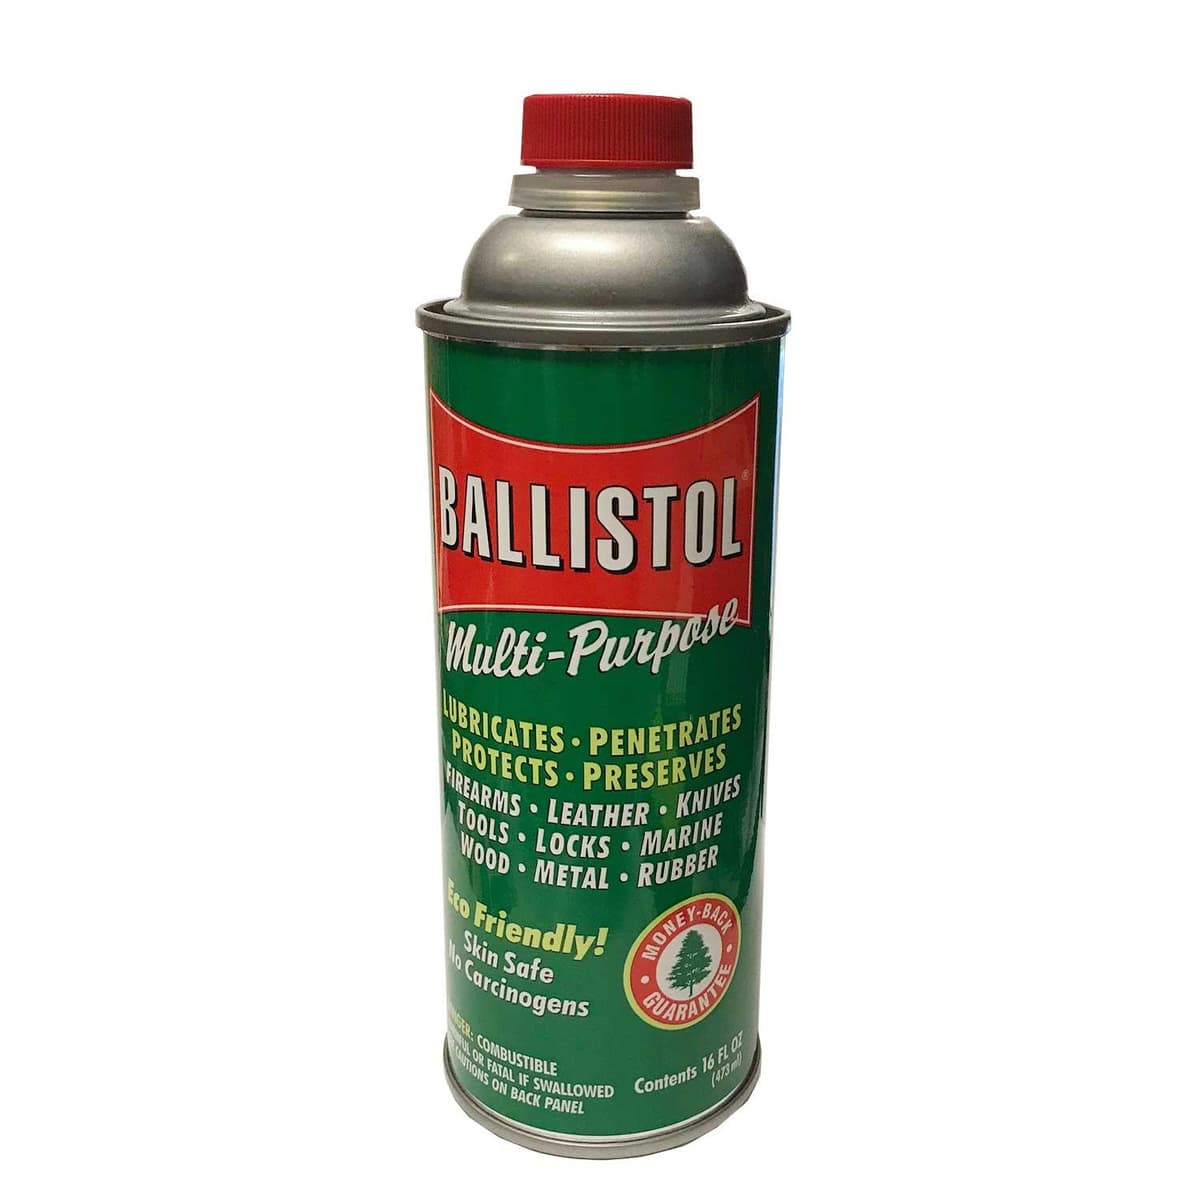
Ballistol Multi-Purpose Lubricant4
Multi-purpose · Since 1904

Ballistol Multi-Purpose Lubricant

Mixed collections with wood, leather, and milsurp
  • Alkaline pH neutralizes corrosive and black powder residue
  • Safe on wood stocks, leather holsters, common firearm polymers, and blued steel
$9.99
Shop at MidwayUSA

Affiliate links - purchases support this site at no extra cost to you. (?)

Pistol Maintenance Schedule

A pistol needs attention on two clocks: rounds fired and calendar time. Range guns run on round count. Carry guns corrode on the calendar, because a holstered pistol collects lint and sweat whether or not it gets shot. Rifle owners can put their AR on the same rhythm with the AR-15 cleaning guide.

  • After every range session
    10-15 min
    TasksField strip, brush and patch the bore, wipe breech face and rails, re-oil
  • Monthly (carry guns, even unfired)
    5 min
    TasksWipe down exterior and rails, clear holster lint, fresh oil, check sight/optic screws
  • Every 500-1,000 rounds
    30-45 min
    TasksDetail clean with bore solvent, scrub extractor and breech face, inspect magazines and springs
  • Per your manual (2,000-5,000 rounds or cycles typical)
    10 min
    TasksReplace the recoil spring assembly; inspect magazine springs and followers

One more carry-specific habit: when you unload and reload the same defensive round repeatedly, the feeding cycle pushes the bullet deeper into the case over time. That is called setback, and it raises chamber pressure. Rotate the chambered round so no single cartridge gets rechambered more than a few times, and replace any round with a visibly shorter profile.

Common Pistol Cleaning Mistakes to Avoid

Skipping the physical chamber check

Cleaning-table discharges start with a gun someone was sure was empty. Magazine out first, rack the slide, lock it back, look, then touch the chamber. On trigger-pull takedown designs like Glocks, this check is the entire safety margin.

Oiling the striker channel

The striker channel runs dry. Oil or solvent in the channel collects debris, slows the striker, and causes light primer strikes. If a flush ever seems necessary, the fix is a detail strip and dry parts, not more CLP.

Over-oiling a carry gun

Excess oil migrates in a holster: onto your clothes, into the striker channel, and into lint that grinds against the rails. Five or six drops on the contact points is the whole job.

Oiling magazines by default

Oil in a magazine tube drags the follower and glues grit to the spring. Wipe magazines with a dry cloth and inspect the feed lips; reserve a light protective coat for the models whose manual specifically calls for one.

Using WD-40 as gun oil

WD-40 is a general-purpose water displacer, not a purpose-built firearm lubricant. It evaporates fast, gums as it dries, and does not hold up on a cycling slide. Dedicated gun-care products cost a few dollars more and actually protect the gun.

Polishing the feed ramp

Clean the ramp with a nylon brush and solvent until the carbon lifts. Polishing removes metal and changes the ramp angle, which creates feeding problems instead of fixing them.

Frequently Asked Questions

What is the best thing to clean your pistol with?
A CLP (Clean, Lubricate, Protect) product like Break Free CLP handles routine pistol cleaning in one bottle: it dissolves carbon, lubricates the rails, and leaves a protective film. For a neglected or heavily leaded bore, use a dedicated solvent like Hoppe's No. 9. You also need a caliber-correct bore brush, a jag or slotted tip, cotton patches, and a nylon utility brush. A dedicated handgun kit like the Otis FG-610 packs all of the hardware for .22 through .45 caliber pistols into one case.
Can you clean a pistol without taking it apart?
You can run a pull-through cable or bore snake from the chamber end and wipe down the exterior without disassembly, but that is a stopgap, not a cleaning. Field stripping a modern pistol takes under a minute and exposes the four parts that actually need attention: barrel, slide, recoil spring assembly, and frame. The breech face and rails, where most stoppages start, are unreachable with the gun assembled.
What parts of a pistol should you clean?
Clean the barrel bore and feed ramp, the breech face, the extractor claw, the slide rail cuts, and the frame rails. Wipe down the recoil spring assembly and inspect it. Leave the striker or firing pin channel dry: solvent and oil in the channel collect debris and cause light primer strikes. Wipe magazines with a dry cloth, and keep oil out of the tube unless your manual calls for a light protective coat.
Can I use WD-40 to clean my gun?
No. WD-40 is a water-displacing spray, not a purpose-built firearm cleaner or lubricant. It evaporates quickly, leaves a gummy residue that attracts lint and unburned powder, and does not hold up to the heat and pressure of a cycling slide. Use a purpose-built product: Break Free CLP or Ballistol for general cleaning and protection, or a dedicated gun oil on the rails.
How often should you clean a pistol?
Clean a pistol after every range session: a 10-minute field strip, bore pass, wipe-down, and re-oil. A carry gun needs a monthly wipe-down and fresh oil on the rails even if it was never fired, because holster lint and body moisture accumulate and dry the rails out. A full detail clean with bore solvent every 500 to 1,000 rounds keeps the breech face and extractor ahead of carbon buildup.
How much oil does a pistol need?
Five or six drops total. One drop in each frame rail cut, one spread along the barrel hood, one around the barrel muzzle end where it rides the slide, and one on the connector or trigger bar contact point if your manual calls for it. Pistols run leaner than rifles: excess oil migrates into the striker channel, soaks into holster lint, and turns fouling into abrasive paste.
Should you clean a new pistol before shooting it?
Yes, but follow the manual rather than scrubbing everything. Field strip the new gun, confirm the bore is clear, run one dry patch through it, and wipe off excess packing oil. Leave factory-applied long-term lubricant where the maker says to: the copper-colored paste on a new Glock slide is long-life lubricant that stays until it wears away. Then lubricate the points your manual lists. It takes ten minutes and confirms you know the takedown procedure before your first range trip.