Pistol Shooting Fundamentals: Grip, Sights & Trigger
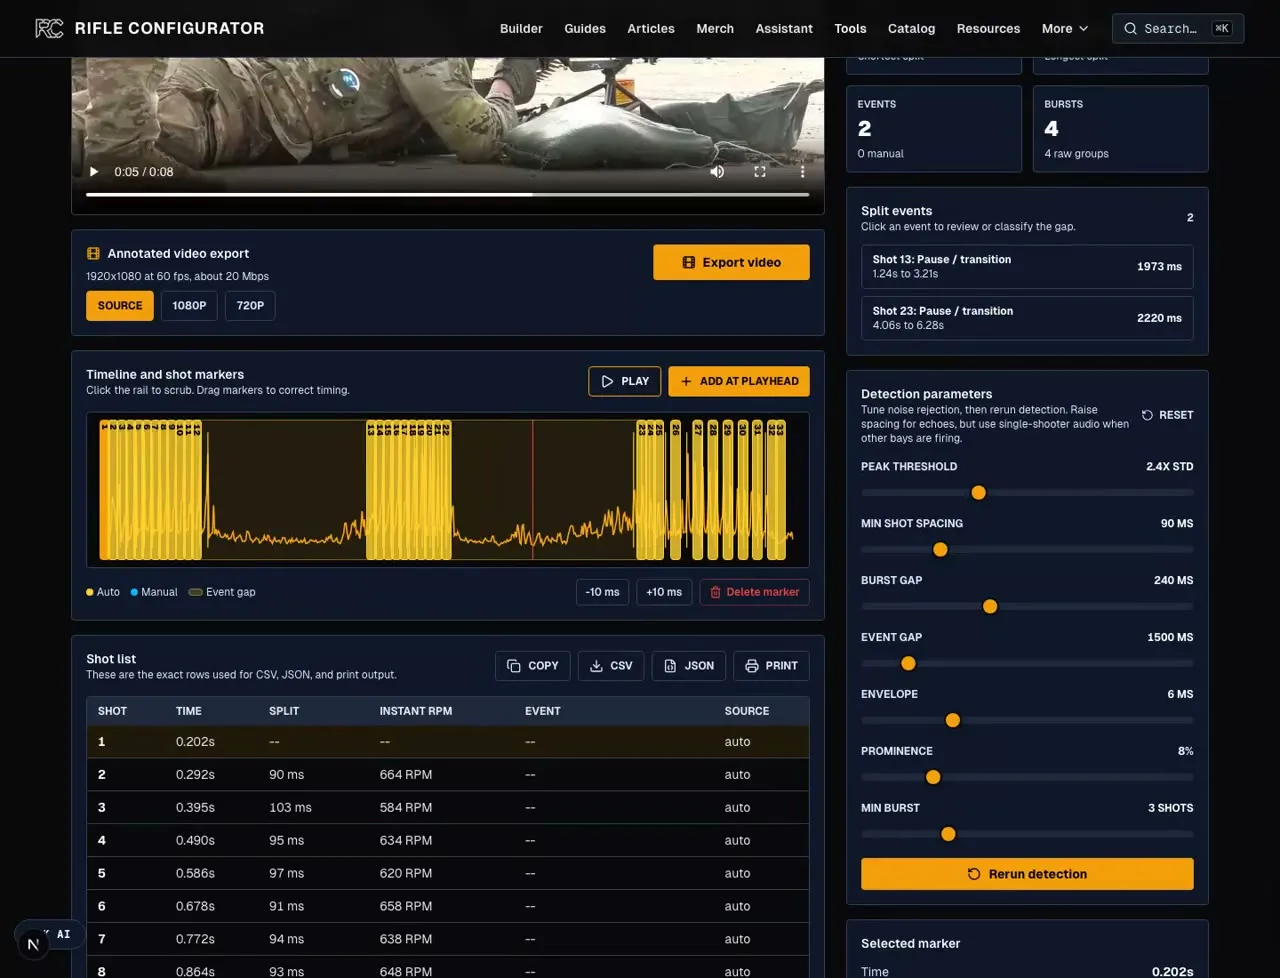
Pistol shooting fundamentals come down to three things you can see and test: a proper pistol grip that keeps the gun from moving in your hands, a sight picture matched to the shot, and a trigger press that fires the gun without steering it. Stance, recoil management, and follow-through support those three. This guide builds each one in order, shows how iron-sight focus and red-dot focus differ, and ends with a structured first range session and a dry fire progression, so every claim here is something you can verify on your own target instead of taking on faith. If you want that dry fire work graded rather than self-assessed, the dry fire training systems guide ranks the sensors and laser kits that measure the press.
Key Takeaways
- →Grip height is the cheapest accuracy upgrade: seat the firing hand as high as the frame allows and fill the open panel with the support hand. Less distance between bore and wrists means less muzzle flip on every shot.
- →The support hand does the clamping: crush with the support hand, keep the firing hand slightly softer, and the trigger finger stays free to press without dragging the sights.
- →Sight focus depends on the sight: irons reward a hard front-sight focus on precise shots; a slide-mounted red dot is designed for target focus with both eyes open. Neither habit transfers automatically to the other.
- →The trigger press is a straight line: take up the slack, press smoothly to the rear, hold through the break, and reset during recoil. Speed comes from shrinking that cycle, not from snatching at it.
- →Targets suggest, drills confirm: a low-left group hints at anticipation or a yanked trigger, but only a ball-and-dummy drill shows you which. Diagnosis charts are hypotheses, not verdicts.
Handling Conditions for These Drills
Two handling conditions cover everything in this guide. On the range: muzzle stays downrange, finger stays off the trigger until the sights are on target, and you follow the range's commands for loading and making safe. At home: every dry repetition happens on a gun you have visually and physically verified empty, in a room with no live ammunition, pointed at a backstop that would stop a round. The full five-step clearing protocol, including the verbal start and end that prevent the after-session reload mistake, is in our dry fire practice guide. Run it before any at-home drill this page describes.
Stance: A Stable Platform, Not a Pose
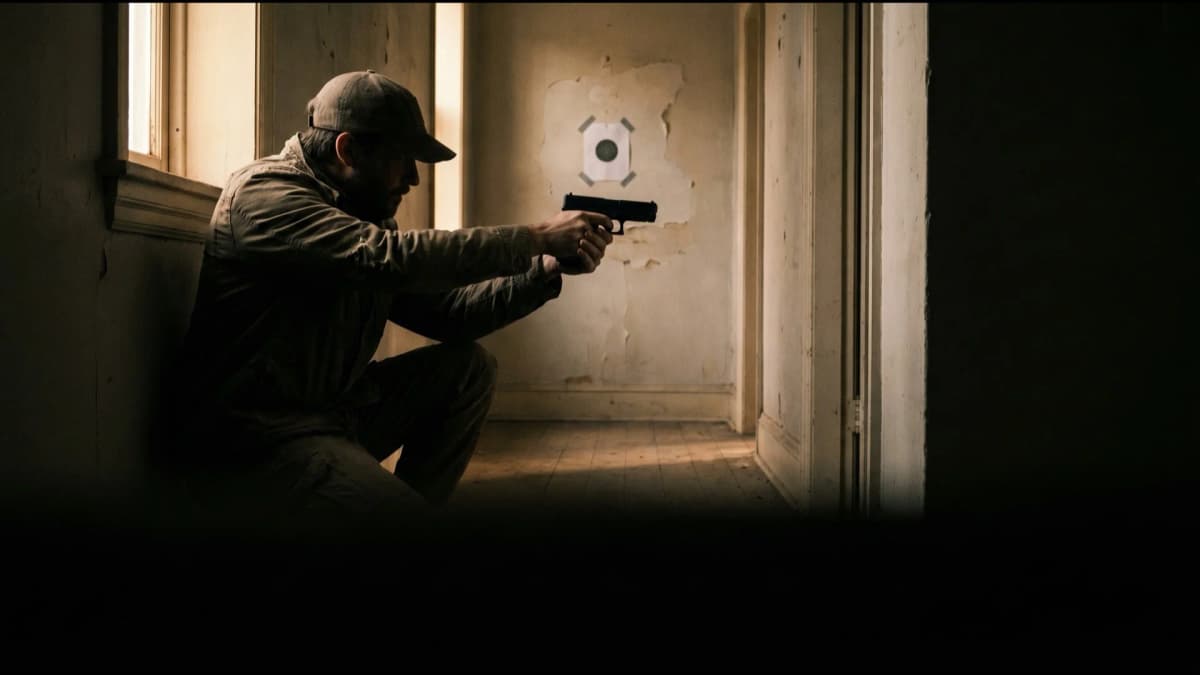
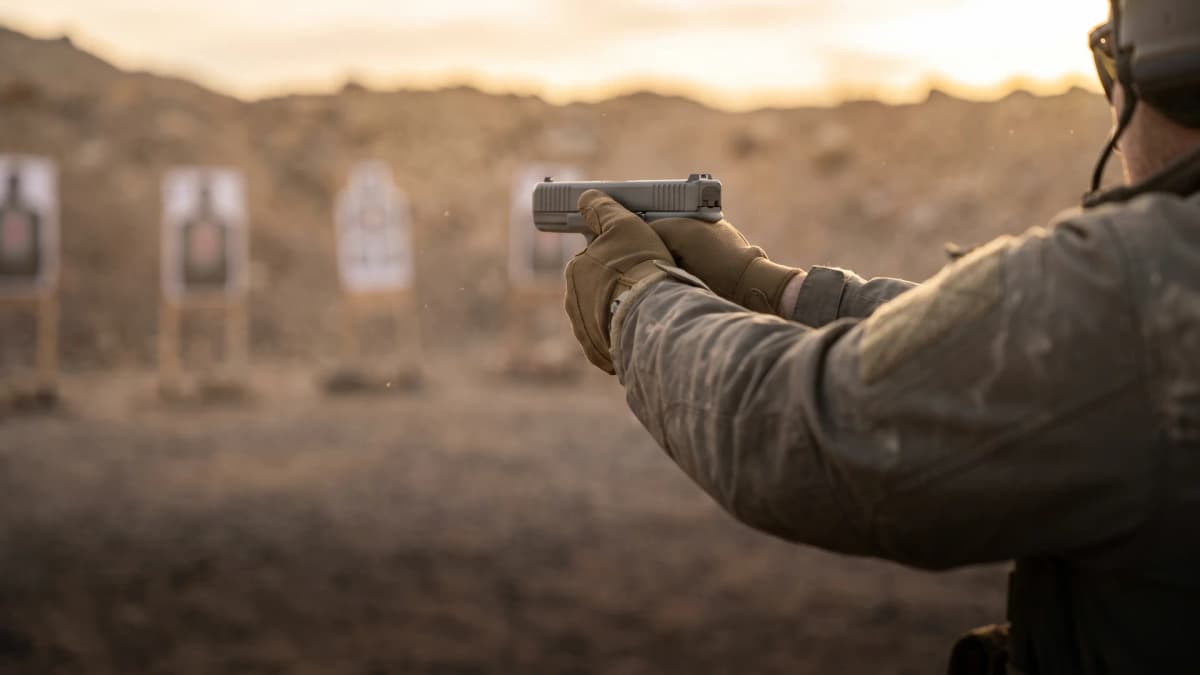
A good pistol stance is any athletic position that puts your weight slightly forward and lets the gun recoil against your skeleton instead of tipping you back. The observable checklist: feet roughly shoulder-width apart, knees unlocked, hips and shoulders square enough to the target that both arms can extend, nose over toes with the shoulders just ahead of the hips. From that position the gun should rise and fall in recoil and settle back on target without you chasing it.
Everything past that checklist is instructor preference, and honest instructors say so. How much to stagger the feet, how much bend in the elbows, whether the shoulders roll forward: competitive and defensive shooters win matches and pass qualifications with visibly different answers to all three. What no successful shooter does is lean back. If your shoulders drift behind your hips, every shot pushes you further onto your heels and the sights take longer to return. Test it without the gun: bench the pistol, close your eyes, extend your hands as if gripping it, and have a partner press your stacked hands sharply toward you. If you rock backward, shift weight forward and repeat until the push soaks into your forward lean. Keep the pistol out of this drill entirely; nothing a partner touches should ever be forward of a muzzle.
Do not sculpt a range-only stance. You will eventually shoot from positions a course of fire forces on you, so build the forward-weight habit and let foot placement adapt. A shooter who needs one prescribed foot diagram to hit is a shooter who only hits on a square range.
Proper Pistol Grip: High, Full Contact, Repeatable
A proper pistol grip has three measurable properties: it is as high on the frame as the gun allows, it covers as much grip surface as your two hands can reach, and it is built the same way every time. Height matters because the bore sits above your wrists; the shorter that lever arm, the less the muzzle flips. Coverage matters because friction from skin on grip panel is what keeps the gun from shifting shot to shot. Repeatability matters because a grip that changes between draws changes where the gun points naturally, and no amount of sight correction fixes a hand that lands differently every time.
Build it in six steps, slowly at first, on a cleared gun. Web of the firing hand high into the tang until it stops. Trigger finger straight on the frame, lower three fingers wrapped with the middle finger against the trigger guard. Support-hand heel pressed flat into the exposed panel on the support side, fingers wrapped over the firing hand. Both thumbs forward along the frame, support thumb below the slide and never behind it. Support wrist cammed down and forward until the forearm feels loaded. Then set pressure: support hand crushes, firing hand holds firm, trigger finger wiggles freely as the final check. The order is the technique; hands that arrive out of order end up low, crossed, or fighting each other for the same real estate.
What is deliberately absent from those steps is a prescribed grip-strength percentage or one mandatory thumb geometry for every hand and every frame. Thumb position on a thumb-safety gun differs from a slick frame, and revolver technique differs again. The invariants are height, contact, and repetition. Build the grip in the holster or from the table the same way on every repetition, because the draw is where grips are made; by the time the gun is at full extension it is too late to fix without starting over.
Grip Pressure and Wrist Stability
Grip pressure has one governing rule: the support hand clamps hard, and the firing hand stays just soft enough that the trigger finger moves independently. That asymmetry exists because the firing hand has a conflict of interest. It holds the gun and runs the trigger, and when it squeezes too hard, the whole hand tends to sympathetically tighten as the trigger finger works, which pulls shots off line. Handing the crushing job to the support hand resolves the conflict.
You will hear the split taught as 60/40, 70/30, or "support hand at one hundred percent." Treat every number as a teaching cue, not a measurement; nobody meters grip force mid-string, and the cue that fixes one shooter's loose support hand overtightens another's. The test that matters is observable: dry fire while watching the sights. If the sight or dot dips or hooks at the instant the trigger breaks, soften the firing hand and add support hand until the break leaves the picture still. That end state, not a ratio, is the standard.
Wrist stability is the other half. A locked support wrist, cammed down and forward, resists muzzle flip mechanically; a soft wrist lets the gun pivot no matter how hard you squeeze. Locked also cannot mean rigid arms with elbows slammed straight: keep a slight elbow bend so recoil compresses the arms instead of rattling the shoulders. On semi-autos a firm wrist set has a reliability role too. A grip that gives under recoil robs the slide of the resistance it cycles against, which is the classic setup for a limp-wrist stoppage on light polymer guns.
Iron Sights vs Red Dot: Where Your Eyes Focus
Iron sights and slide-mounted red dots ask your eyes for opposite habits: irons reward focusing on the front sight, while a red dot is built for focusing on the target. With irons, the eye can only hold one focal plane, so for a precise shot you accept a slightly blurred target behind a sharp front sight, aligned with equal light on each side and its top level with the rear notch. With a dot, the optic collimates the reticle so it appears to sit far out toward the target; you look at the spot you intend to hit with both eyes open and superimpose the dot on it.
Neither eye habit is a universal law, and the demanded precision scales with the shot. Plenty of capable iron-sight shooters run target focus on large, close targets and refine to front-sight focus only when the shot gets small or distant; that scaling is a skill in itself. What is consistent is the transition cost: shooters moving from irons to a dot who keep hunting for the reticle the way they hunted for a front sight find the optic slower until target focus becomes the habit. If the dot is not there when the gun comes up, the fix is the grip and presentation from the sections above, repeated until the gun arrives at the same place every time, not a wider window.
If you run a dot, zero it before drawing conclusions about your fundamentals; an unzeroed optic turns every diagnostic target into noise. Our pistol red dot zero guide covers the distance and process, and the pistol red dot guide covers the hardware if the slide is not yet cut. Iron-sight shooters need nothing extra; a blank wall and the front sight are the whole toolkit.
Trigger Control: Placement, Prep, Break, Reset
Trigger control is pressing the trigger straight to the rear without moving the sights, and it has four teachable pieces. Placement: start with the center of the finger pad on the trigger face and adjust from there; the right placement is whichever spot lets your finger press straight back given your hand size and that trigger's weight. A heavy double-action pull legitimately wants more finger for leverage. Prep: take up the slack, the light initial travel, as the sights settle, so the shot only needs the final few pounds when the picture is right.
Break: press smoothly through the wall so the shot fires without a flinch-inducing countdown. The classic "surprise break" cue is a beginner scaffold against anticipation, not a permanent operating mode; experienced shooters know exactly when the shot fires and have simply trained out the flinch response. Follow-through: keep the finger pinned through the break and hold the sight picture as the gun cycles, then watch the sights land. Calling the shot, knowing where it went from the sight picture alone, is the skill follow-through exists to build.
Reset: release the trigger during recoil, while the gun is already off target, so the trigger is ready the moment the sights return. Some shooters ride to the click; others let the finger fly further forward and re-prep. Both produce fast, accurate strings, so treat reset style as preference and judge it by the target. What is not preference is jerking: any press fast enough to snatch the muzzle sideways shows up immediately at the target, and the wall drill in the dry fire guide remains the cheapest fix ever devised for it.
Recoil Management and Getting the Sights Back
Recoil management is passive: the work happens before the shot, in the grip and stance, not during it. A high grip with a cammed support wrist and forward weight makes the gun rise and return on its own; trying to actively shove the muzzle down mid-cycle just adds a new human error to time against a slide that has already finished moving. If your grip is doing its job, the sights track up and settle back into the notch, or the dot bounces and lands, in nearly the same place without correction.
That return point is your grip's report card. Fire a controlled pair at a blank patch of target and watch where the sights settle after the first shot. Landing left or right of the original picture means the gun is pivoting in your hands: a coverage or pressure problem from the grip sections above, not a sights problem. Landing consistently but elsewhere on target is a natural point-of-aim clue; adjust your stance angle rather than muscling the gun over. The dot makes all of this brutally visible, which is why a zeroed optic is such an effective grip-diagnosis tool even for shooters who carry irons.
Watching the front sight lift is also your recoil-flinch audit. If the sight simply vanishes on every shot, your eyes are blinking or the head is dipping; if you can narrate the sight's arc, you stayed in the gun. Build that observation habit early, because every later skill, from controlled pairs to shooting on the move, depends on tracking the sights through recoil instead of losing and re-finding them.
Reading Your Targets Without the Pie Chart
A target tells you that something is wrong and roughly which family of error to suspect; it cannot tell you which specific error you made. The famous pie-chart correction wheel ("low left means too little trigger finger") was built for one-handed bullseye shooting and gets quoted far past its warranty. Different causes print in the same place: a right-handed shooter's low-left group can come from anticipating recoil, slapping the trigger, or tightening the whole firing hand as the finger presses. The chart cannot separate them, and drilling the wrong correction wastes ammunition.
The honest diagnostic sequence has three steps. First, remove the gun from suspicion: from a rest at 10 yards, a modern service pistol groups inside a few inches, so a scattered or shifted group from a rest points at the zero or the shooter, and a confirmed zero settles the optic's share of the argument. Second, run ball-and-dummy: a partner loads your magazine with a dummy round hidden somewhere in it, and the click on the dead round shows you, in real time, whether the muzzle dipped (anticipation), hooked sideways (trigger), or held still (your fundamentals are fine and the group has another explanation). Third, change one variable and reshoot. Five-round groups, one change at a time, beat fifty rounds of guessing.
Vision belongs on the suspect list too. A shooter whose dot is a starburst of astigmatism, or whose aging eyes cannot pull the front sight sharp, will print vertical stringing and called-shot mismatches that no grip change fixes. If the dot blooms into shapes, run the smallest brightness that is clearly visible; excess brightness inflates the blob for astigmatic eyes. Groups that wander session to session with no matching change in your press are a reason to check eyes and prescription before rebuilding your technique from scratch.
Your First 50-Round Practice Session
Fifty rounds, five yards, one target, and a plan beats two hundred rounds of unstructured plinking. The session: ten rounds of slow fire, building the grip from the table before each shot and calling every shot before you look. Ten rounds of ball-and-dummy with a partner or with dummy rounds mixed into the magazine yourself. Ten rounds of controlled pairs, watching the sights return between shots. Ten more slow fire, now grading yourself on called shots matching actual holes. Ten held in reserve to reshoot whichever block exposed the weakest link. Stop there. Fatigue converts good practice into rehearsed sloppiness, and fifty deliberate rounds is a full session for a new shooter.
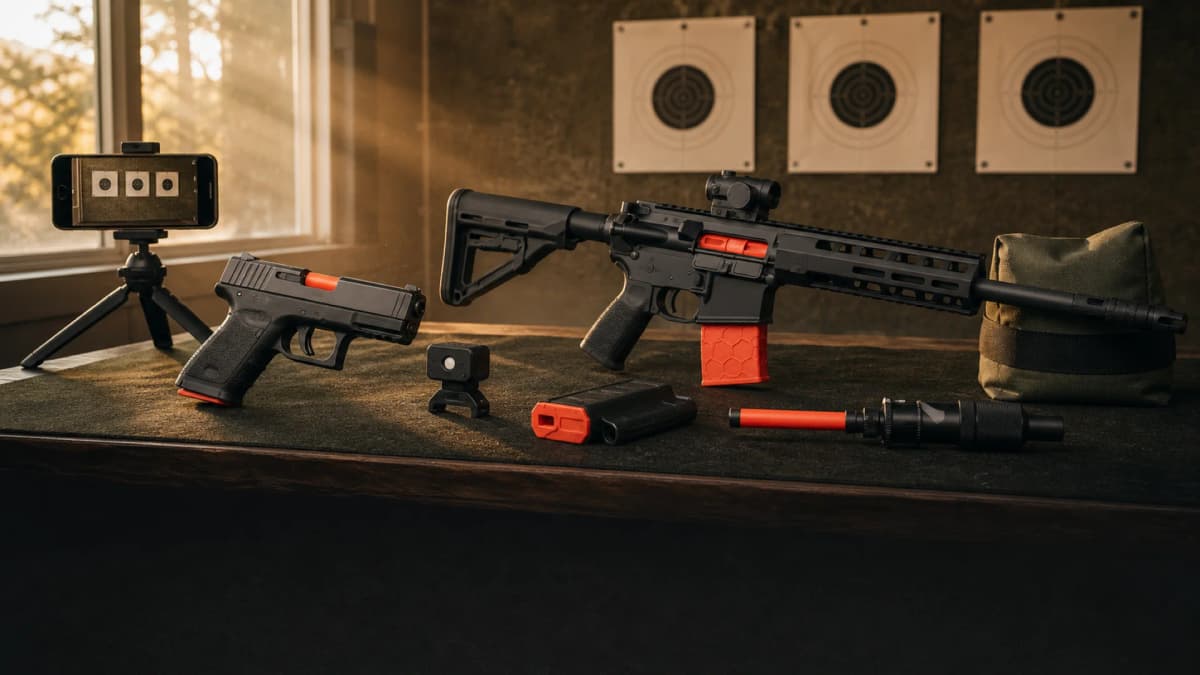
Between range trips, the progression is dry: the wall drill and dot drill from the dry fire practice guide build the same grip and press for free, and our printable dry fire targets scale range distances into a hallway. When the wall drill is boring because the sight never moves, graduate to logged, repeatable sessions in the drill library, which tracks times and hit rates so progress is a trend line instead of a feeling.
Dry Fire Tools for Fundamentals Work
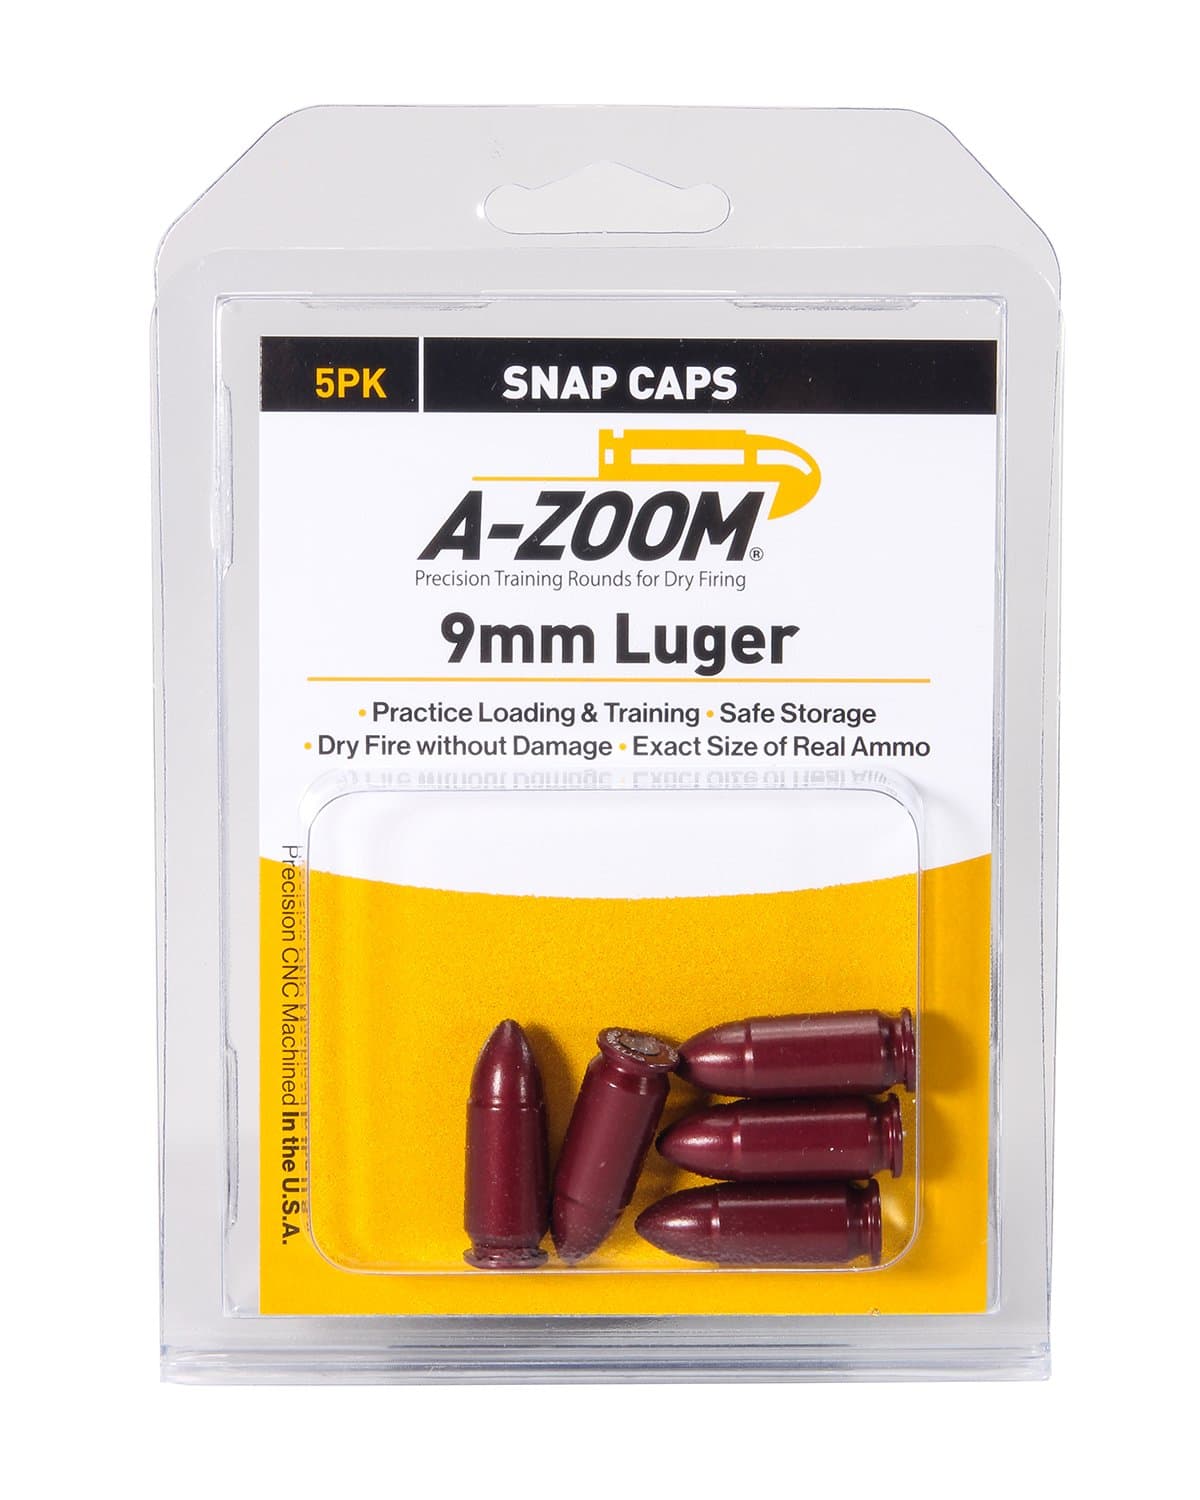
A-Zoom 9mm Luger Precision Snap Caps (5-Pack)
- SKU 15116
- 9mm Luger

Mantis Laser Academy Standard Training Kit
- Camera-based hit scoring
- Laser training cartridge (select caliber)
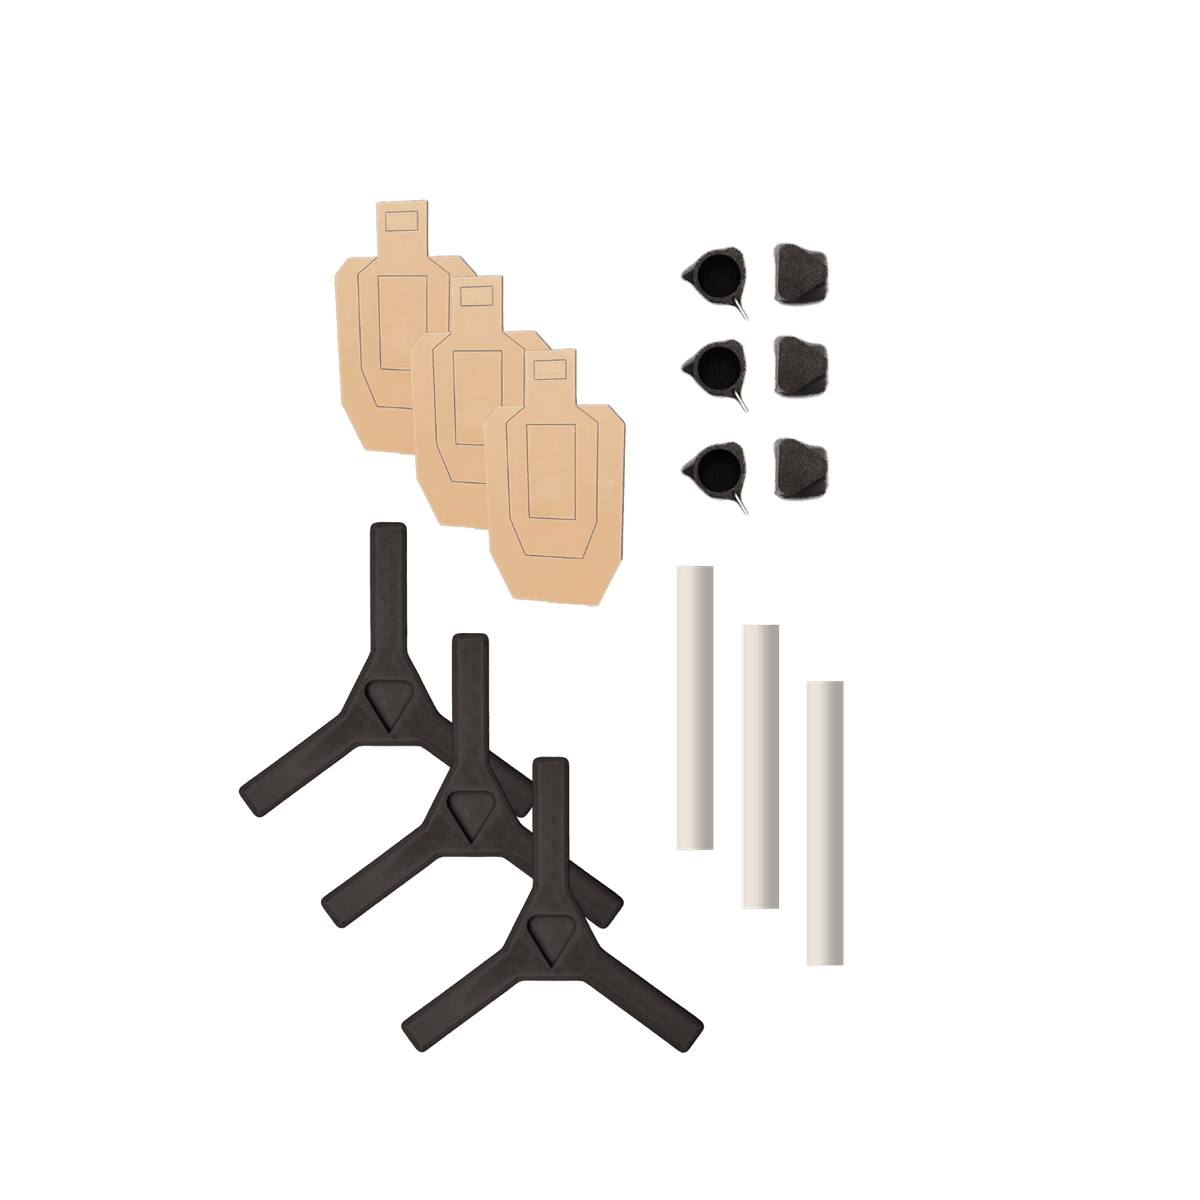
Modular Target Systems Magnetic Scaled Dry Fire Targets (3-Pack)
- 3x 1/6 scale USPSA silhouette targets
- 3x tri-base stands with PVC poles
Affiliate links (?)
Hand Size and Platform Fit
Every technique above assumes the gun roughly fits your hand, and the fit test is one sentence: with the firing hand seated high and the grip built neutrally, your trigger finger should reach the trigger face without shifting the hand around the frame. If you must rotate the hand to reach, the frame is too large for that finger, and you will fight a diagonal press on every shot. Shooters with smaller hands get relief from interchangeable backstraps and grip inserts that most modern striker guns ship in the box, from slimmer single-stack or staggered-stack frames, and from short-reach trigger options where the manufacturer offers them. Large-handed shooters have the opposite problem, a little finger dangling off a subcompact frame, solved by extended magazine baseplates or simply a larger frame size.
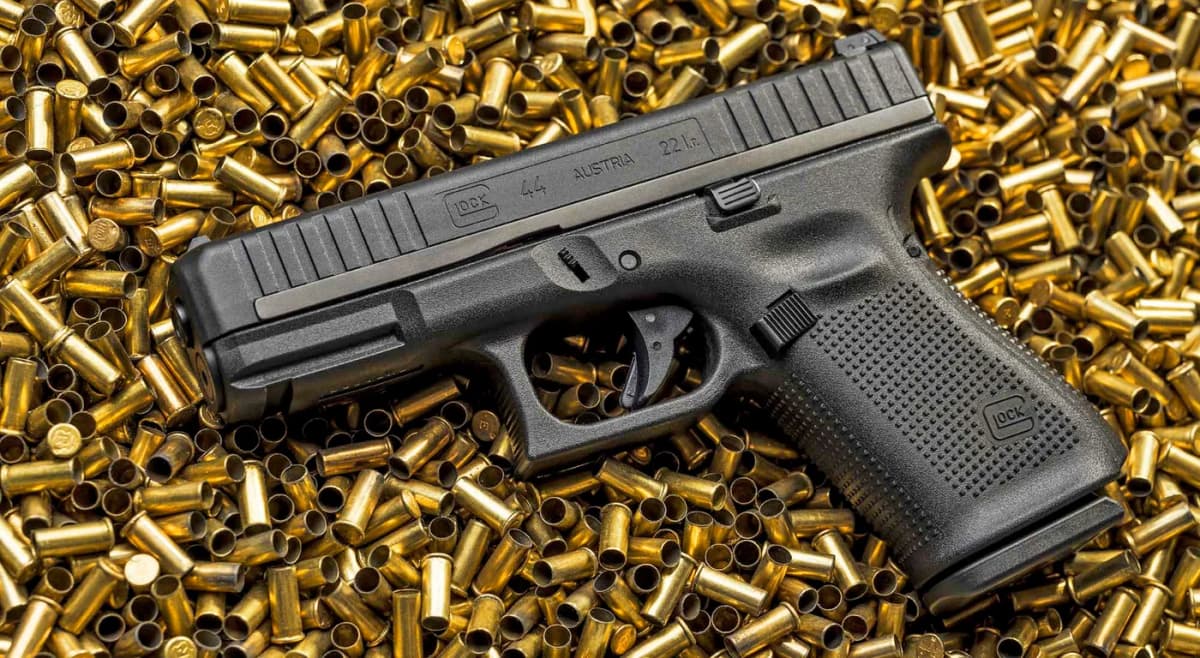
Platform quirks change the details, not the fundamentals. A double-action first pull wants more finger and more dry practice than a light striker press. A thumb-safety gun assigns the firing thumb a home on top of the safety. A rimfire trainer removes recoil from the equation entirely, which is exactly why it teaches the press so well. The grip height rule, the pressure split, and the straight-back press survive every one of those changes. If you are still choosing the pistol to learn on, the hand-fit section of our first gun guide applies this fit test to specific models without making you re-derive it at the counter.
Get Pistol Drills and Training Guides
Fundamentals progressions, dry fire routines, and skill-building guides sent to your inbox.
Frequently Asked Questions
▶What are the fundamentals of pistol shooting?
▶What is the proper way to grip a pistol?
▶How tight should you grip a pistol?
▶Should I focus on the front sight or the target?
▶Why am I shooting low and left?
▶Where should your finger be on the trigger?
▶How can I practice pistol fundamentals at home?
Bottom Line
Grip high, clamp with the support hand, match your eye focus to your sights, and press straight back.
Everything else in pistol shooting is built on those four habits, and all four are testable without ammunition: if the sight picture holds still through a dry break and the gun returns to the same spot in live fire, the fundamentals are working. Spend your first months on deliberate 50-round sessions and daily ten-minute dry fire, and let the target grade the press, not your ego.