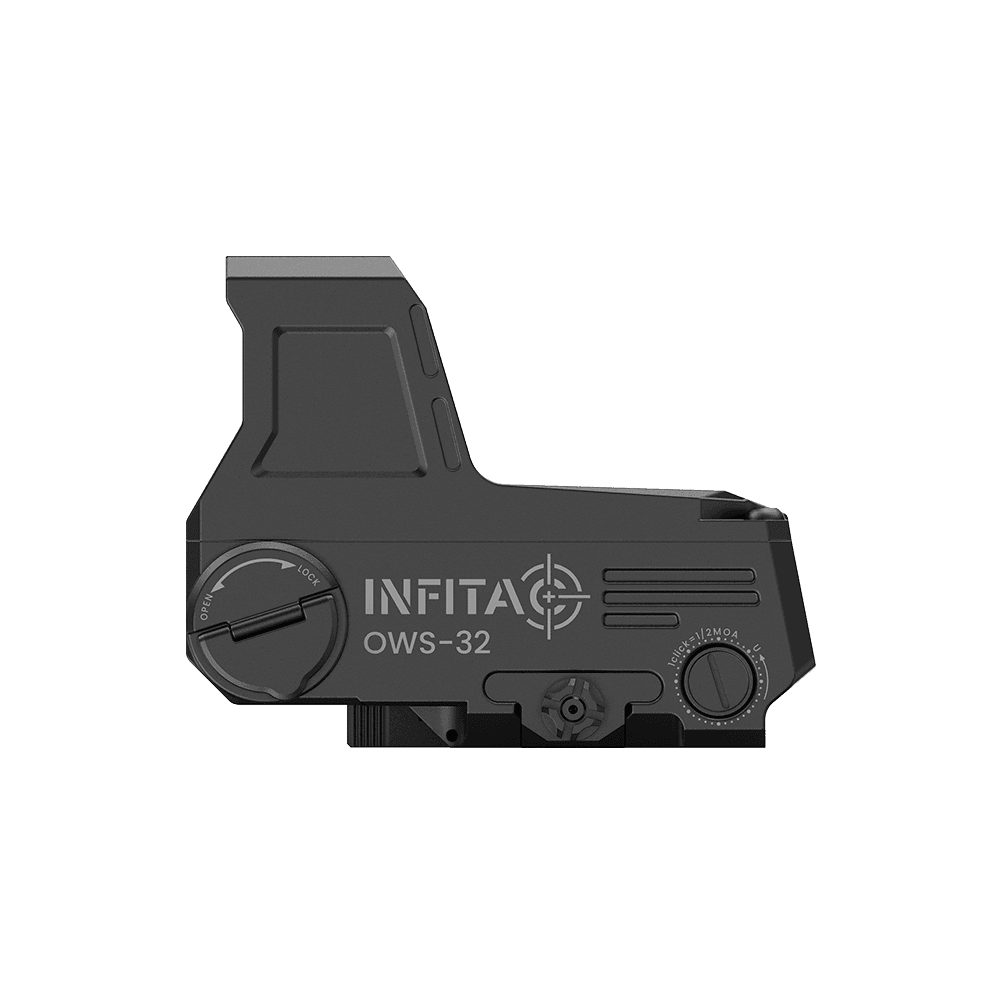
INFITAC OWS-32
First-generation optical waveguide sight with a 1.26 x 1.0 inch window and zero forward light signature.
- Price
- $549
- Weight
- 9.9 oz
- Brand
- INFITAC
- Category
- Optics
Featured in
Features
- •1.26 x 1.0 inch waveguide window
- •Seven user-selectable reticles
- •1500+ hour CR123A runtime
- •IP67 waterproof, .338 Win Mag / 12 gauge recoil rated
Capability Boosts
Recommended For
+24 more
More optics guides & articles
Guides


Overview
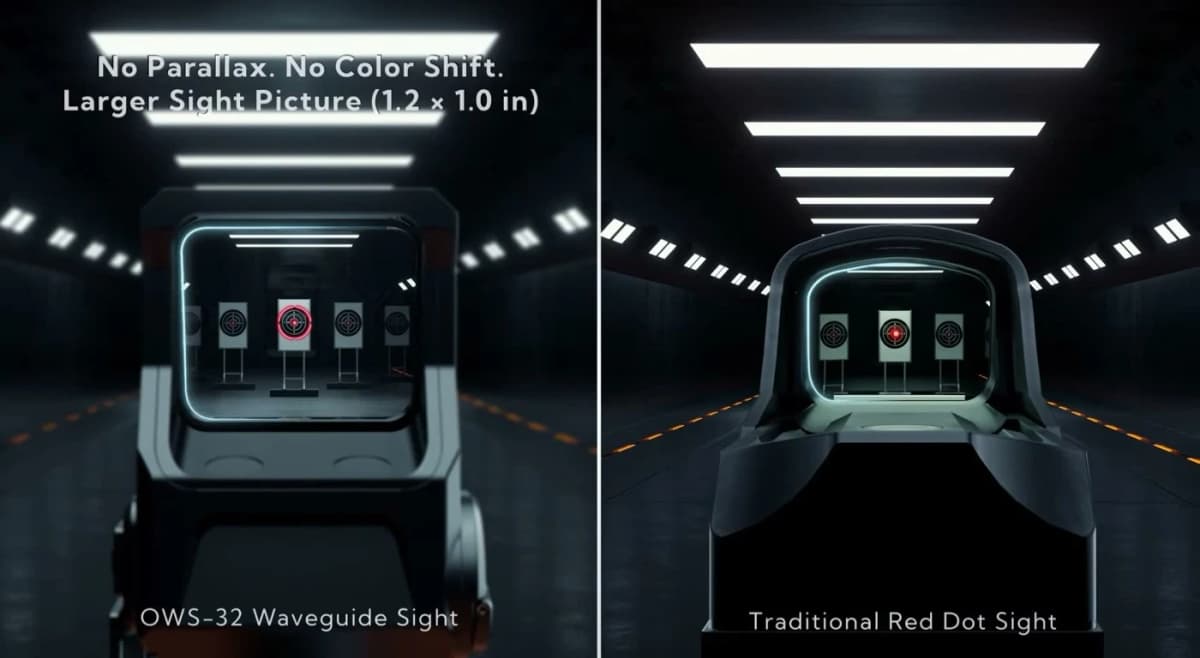
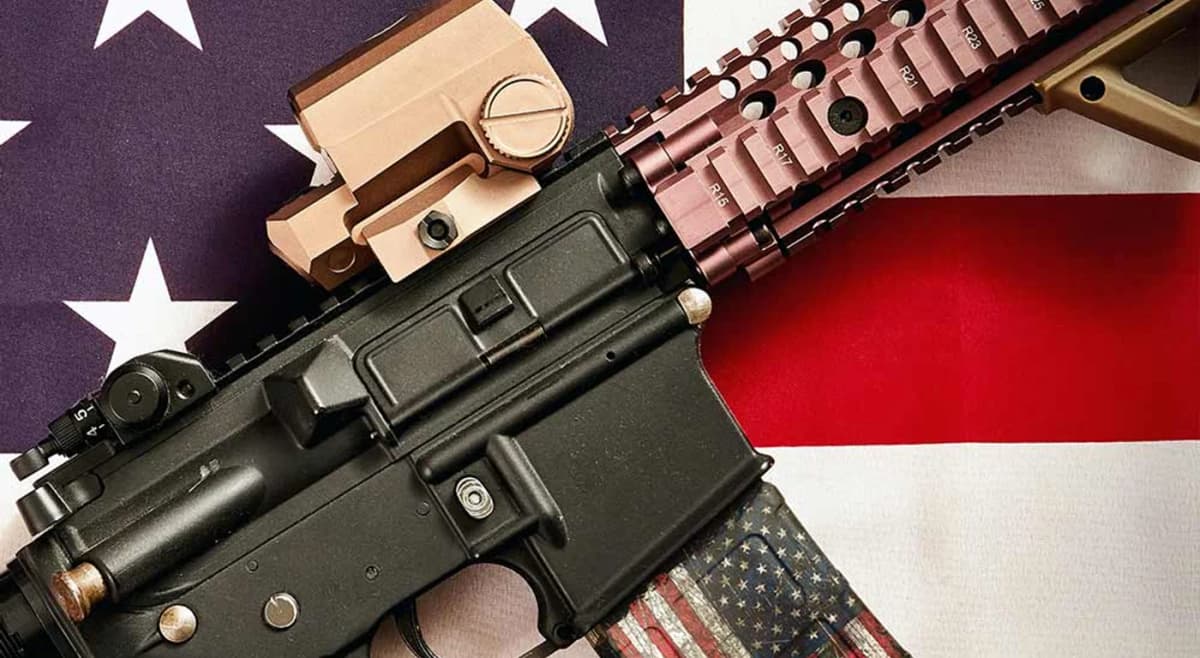
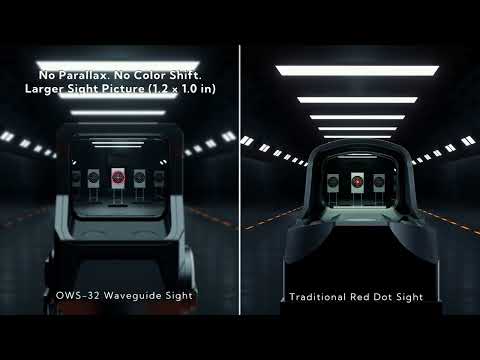
The INFITAC OWS-32 routes its reticle through an internal optical waveguide instead of projecting an LED onto the front lens like a conventional red dot, or reconstructing a holographic image like an EOTech. INFITAC markets this as a third sight category, and the practical result is a 1.26 x 1.0 inch viewing window that INFITAC rates as parallax-free, with no lens tint and no forward light signature visible to someone standing in front of the optic.
INFITAC built its US reputation on thermal and night vision gear (the IOP13 thermal rifle sight, IOL25 clip-on, FML19 thermal pistol sight) before the OWS-32, its first daylight reflex sight. The housing is machined from AL7075-T6 aluminum, the same alloy Aimpoint and Trijicon use on duty-grade optics, and INFITAC rates the sight for 1200 g/s-squared recoil on .338 Winchester Magnum and 12 gauge platforms. A single CR123A runs the sight for 1500+ hours, well past the 600-1000 hours typical of an EOTech holographic sight on the same battery type.
The sight ships with seven user-selectable reticles, 20 daylight and 10 dedicated night vision brightness levels, and a lower 1/3 co-witness mount compatible with PVS-14 and GPNVG-18 night vision systems. As a first-generation product from a manufacturer with no prior daylight-optic track record, the OWS-32 carries unknown long-term reliability risk that established Aimpoint and EOTech competitors do not.
Key Features
- Optical waveguide routes the reticle without bouncing light off the front lens
- 1.26 x 1.0 inch viewing window, larger than most enclosed micro red dots
- Seven user-selectable reticles stored on the sight
- 1500+ hour runtime on a single CR123A battery
- IP67 waterproof to 33 feet for 10 minutes
- 20 daylight + 10 night vision brightness levels, PVS-14/GPNVG-18 compatible
- AL7075-T6 aluminum housing, 1200 g/s-squared recoil rated
Pros
- +Zero forward light signature versus a projected red dot or holographic reticle
- +Large 1.26 x 1.0 inch window for both-eyes-open shooting
- +1500+ hour CR123A runtime beats EOTech holographic battery life
- +Recoil tested on .338 Win Mag and 12 gauge, not just 5.56
- +IP67 waterproof and night vision compatible out of the box
Cons
- −First-generation optic from a manufacturer with no prior daylight-sight track record
- −No third-party torture testing available yet
- −No AWIN or FlexOffers retailer carries it; direct-from-manufacturer only
- −INFITAC's own store shows re-stocking soon with a 2-4 week ship estimate
- −Unproven against established Aimpoint and EOTech reliability records
Setup & Operation
Step-by-step procedures for setting up, operating, and maintaining the INFITAC OWS-32.
Mount the OWS-32 on a 1913 Rail
The OWS-32 uses a quick-detach lever mount for 1913 Picatinny rails, and clamping tension is set by hand rather than with a torque wrench. The lever rotates out 90 degrees to open. The nut on the opposite side is what changes clamping force, and INFITAC's instruction is explicit that no tools are involved in adjusting it.
The mount puts the sight at a lower 1/3 iron sight co-witness, 1.65 inches. Confirm the firearm is unloaded before the optic touches it, and plan to zero immediately after mounting rather than trusting the factory setting.
- • Cleared, unloaded firearm
- 01
Open the lever
Rotate the mount lever outward 90 degrees to the open position.
- 02
Seat the sight flush
Place the OWS-32 in the position you want on the rail so the device sits flush with the rail.
- 03
Close the lever and test it
Rotate the mount lever back, then try to move the sight to confirm it is locked.
- 04
Adjust tension by hand if it will not close
If the optic will not sit flush or the lever will not close, move the lever to the open position and turn the nut on the opposite side by hand, loosening or tightening as needed. INFITAC specifies no tools for this. Recheck whether the required tension is reached, then repeat until the lever closes on a flush sight.
- 05
Zero before use
INFITAC directs you to carry out the zeroing operation immediately after installation.
Before installing the optic on a firearm, ensure the firearm is UNLOADED. That is INFITAC's first important notice in the manual, ahead of every other instruction.
Install the CR123A Battery
One CR123A powers the sight for 1500 hours or more at 22 degrees C. The cover is a handle you lift and rotate rather than a screwed tray, so no tool is involved and the battery changes without breaking the mount.
Polarity is positive end inwards. The compartment carries reverse-connection protection, but INFITAC's warning is to install the cell correctly anyway rather than lean on it. Pull the battery when the sight goes into long-term storage and keep it in a dry, well ventilated place.
- • One CR123A battery (the sight ships with two rechargeable 3.7V cells)
- • Cleared, unloaded firearm
- 01
Open the battery cover
Lift the battery cover handle and rotate it counterclockwise until the battery cover comes off.
- 02
Insert the cell positive end inwards
Install one CR123A battery into the compartment following the polarity note, positive end inwards.
- 03
Reinstall the cover
Set the battery compartment cover back on in the correct direction.
- 04
Lock the handle
Rotate the battery cover handle clockwise to lock the battery compartment cover, then fix the handle into its corresponding position.
Below 1 percent battery the reticle flashes every 2 seconds. That is INFITAC's low-battery indicator, not a fault.
Charge the Rechargeable CR123A Cells
The two CR123A cells in the box are 3.7V rechargeables, and INFITAC's warning is blunt: they charge on the supplied charger only. Any other charger may cause irreversible damage to the battery or to the OWS-32, and that damage is not covered under warranty.
The charger has two independently monitored channels, so one or two cells can charge at the same time, and it takes power over USB-C from ordinary 5V sources. The status LED reads red while charging, green when fully charged, and flashing red on an error.
- • Included INFITAC battery charger
- • USB-C data cable
- • 5V/2A USB power source
- 01
Seat the cells to the markings
Insert each CR123A into the battery charger according to the polarity markings on the inside of the charger. Each channel is independently monitored, so you can charge one or two batteries at the same time.
- 02
Connect the USB-C cable
Connect the USB-C end of the data cable to the battery charger.
- 03
Pick a 5V power source
Connect the standard USB end to a phone charger rated 5V/2A, a standard USB 3.0 port on a laptop or computer, or an external power supply such as a 5V/2A USB power bank.
- 04
Watch the LED and disconnect when full
Red means charging, green means fully charged, and flashing red means an error. Disconnect the charging cable promptly once the cell is full rather than leaving it on the charger.
Use only the included charger. INFITAC states that any other type may lead to irreversible damage to the battery or the OWS-32 and that this damage is not covered under warranty. Do not leave a battery unattended while charging, and charging time should not exceed 24 hours.
Zero the OWS-32
Windage sits on the left side of the housing and elevation on the right, the reverse of a conventional rifle scope layout, and a zeroing tool ships in the box. Each click is 0.5 MOA and total travel is -50 to +50 MOA from center in each axis.
Directions: counterclockwise on the elevation screw moves point of impact up and clockwise moves it down; counterclockwise on the windage screw moves it left and clockwise moves it right. INFITAC also recommends zeroing within the sight's operating temperature range, which runs -22 F to +140 F.
- • Included INFITAC zeroing tool
- • Zeroing target
- 01
Set up the target and clear the rifle
Select a suitable target at the distance you want to zero, INFITAC's worked example is 25 yards, and ensure the firearm is unloaded, not chambered, and safe.
- 02
Mount the sight and set the reticle
Mount the OWS-32 on the firearm per the installation procedure, power the sight on, and select the reticle and brightness you intend to run.
- 03
Fire a three-shot group
Aim the reticle at the target, fire at least 3 shots, and check where the group landed relative to the reticle.
- 04
Hold position and correct
If point of impact does not match the reticle, keep the aiming position and maintain the aiming posture, then turn the screws: elevation counterclockwise moves point of impact up and clockwise moves it down, windage counterclockwise moves it left and clockwise moves it right, at 0.5 MOA per click.
- 05
Confirm with a second group
Load, aim at the same target, fire another 3-shot group, and check whether point of impact now matches the reticle. Repeat until it does.
Do not try to over adjust the screws. If an adjustment screw cannot be rotated you have reached the -50 to +50 MOA limit, and INFITAC's caution is that over adjustment may cause damage to the device.
Reticles, Brightness Modes, and InstaWake
Three buttons run the sight: UP, DOWN, and NV. A short press of any one of them powers it on, and a short press of UP and DOWN together powers it off. A long press of UP with the sight already on changes the reticle type.
Seven reticle patterns are stored on the sight: a 2.5 MOA dot, a 65 MOA circle, the 2.5 MOA dot inside the 65 MOA circle, a crossline, crossline plus 2.5 MOA dot, crossline plus 65 MOA circle, and crossline plus 2.5 MOA dot plus 65 MOA circle. The sight keeps the last reticle type and brightness setting you used.
Brightness runs in two modes. Daylight has 20 levels and supports manual or automatic adjustment; NV has 10 levels and is manual only.
- 01
Cycle the reticle
With the sight on, long press the UP button to step through the seven reticle types.
- 02
Set brightness
Short press UP to raise brightness by one level and DOWN to lower it by one level. Daylight mode carries 20 levels and NV mode carries 10.
- 03
Switch to NV mode
Short press NV to enter or exit NV mode. In NV mode the reticle brightness is automatically reduced to a night-vision-compatible level that is visible only through NVGs.
- 04
Turn daylight auto brightness on or off
Long press NV to enter Daylight Auto mode; the reticle flashes 3 times to confirm and the system adjusts brightness on its own. Long press NV again to exit. In Auto mode a short press of UP or DOWN adjusts brightness manually and also exits Auto mode.
- 05
Toggle InstaWake
Short press UP and NV simultaneously to disable InstaWake; the reticle flashes 3 times. Press them together again to re-enable it and the reticle flashes 5 times. InstaWake is enabled from the factory.
Left stationary while powered on, the sight enters standby after 10 minutes, and from standby it powers off automatically after 8 hours. With InstaWake enabled, the sight wakes immediately on detecting vibration.
Detailed Specifications
- Reticle
- Seven user-selectable reticles
- Magnification
- 1x
- Battery Type
- CR123A
- Battery Life
- 1500+ hours
- nightVisionCompatible
- Yes (10 dedicated NV settings)
- Waterproof Rating
- IP67 (33 ft / 10 min submersion)
- weight
- 9.88 oz
- windowSize
- 1.26 x 1.0 inches
- operatingTemp
- -22°F to 140°F
- Material
- AL7075-T6 aluminum
- Mount Type
- Lower 1/3 co-witness QD mount
Video Reviews
Pairs Well With
Top matches
Custom
Custom AR-15 (Build From Scratch)
1 shared compatibility tags
Custom
Custom AR-9 (Build From Scratch)
1 shared compatibility tags
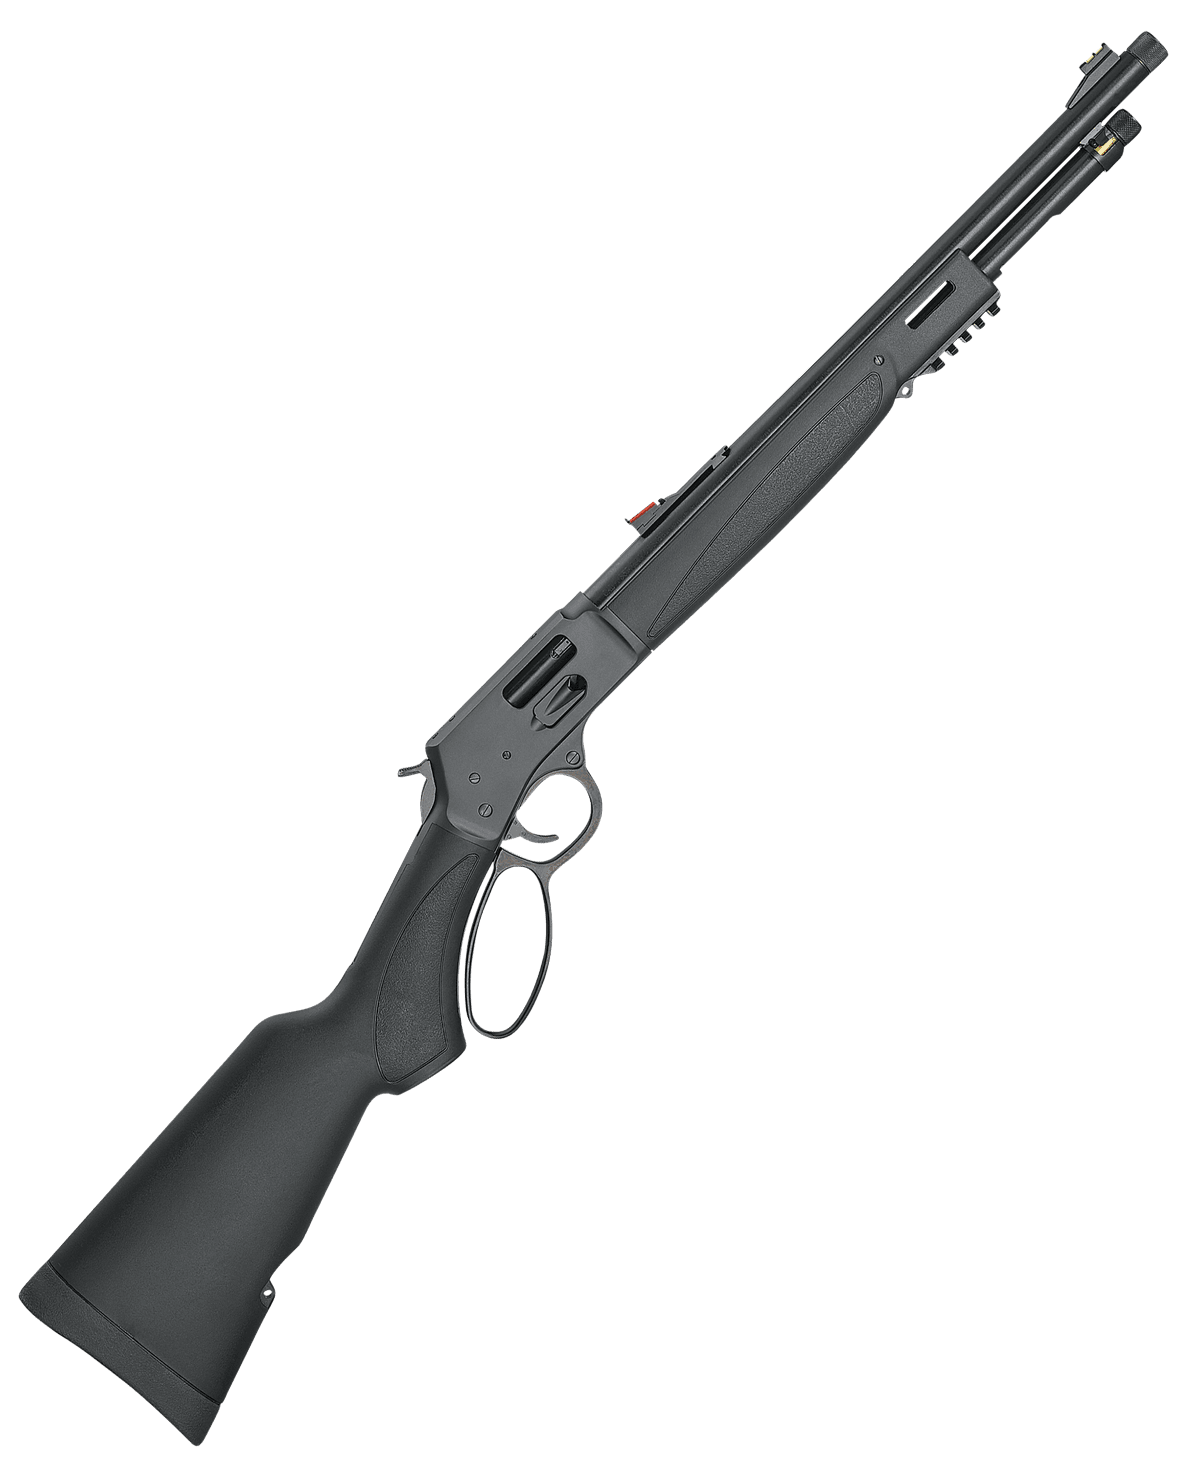
Henry Repeating Arms
Henry Big Boy X Model (.357 Magnum)
1 shared compatibility tags
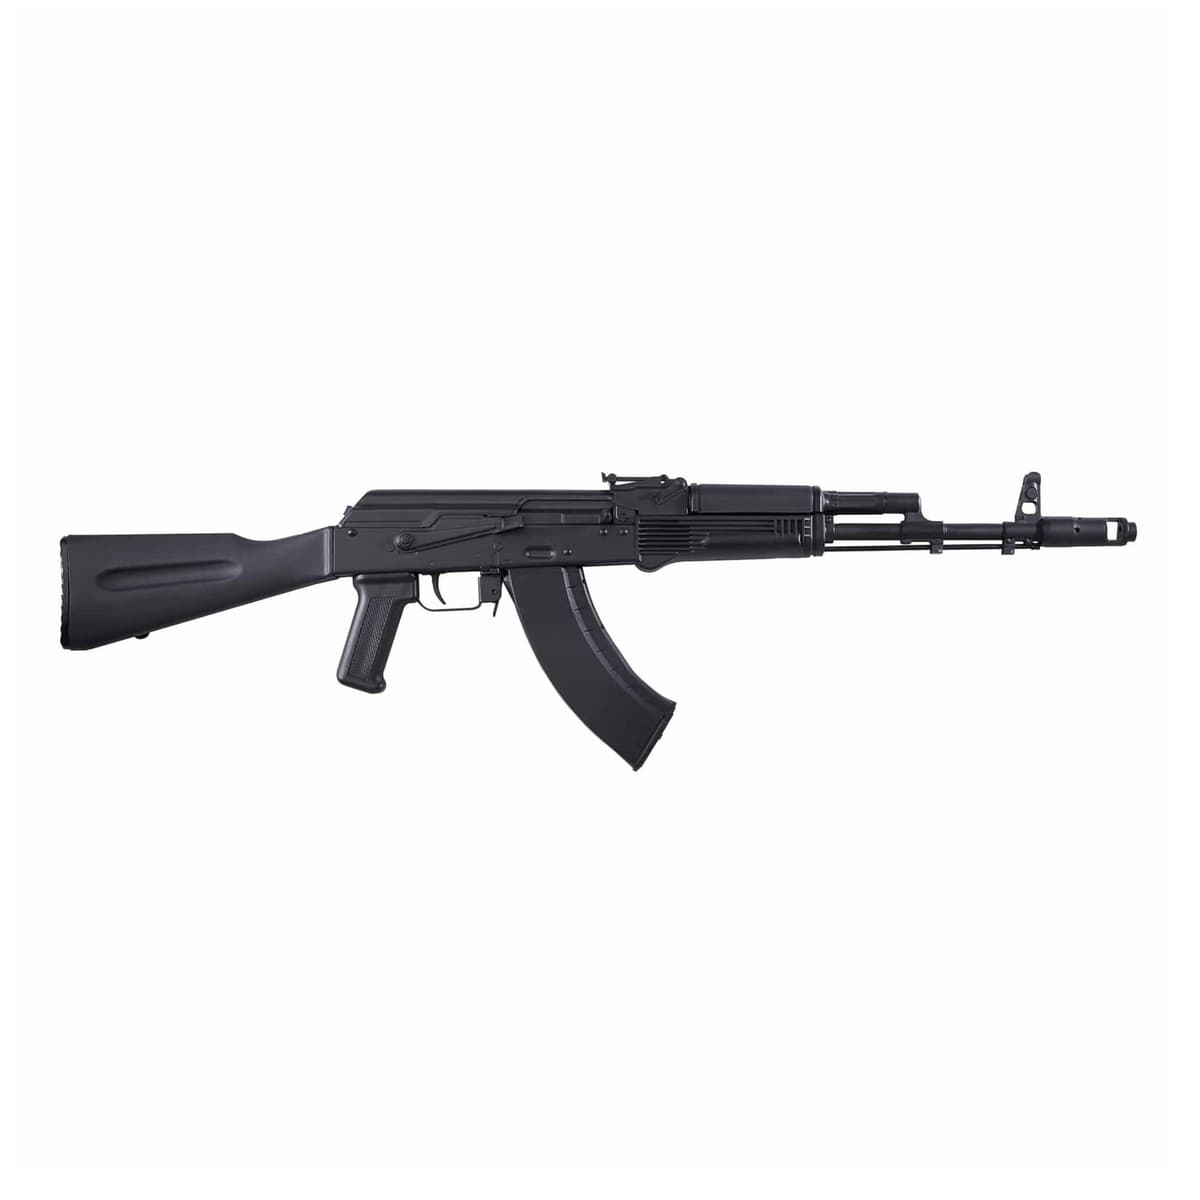
Kalashnikov USA
Kalashnikov USA KR-103
1 shared compatibility tags
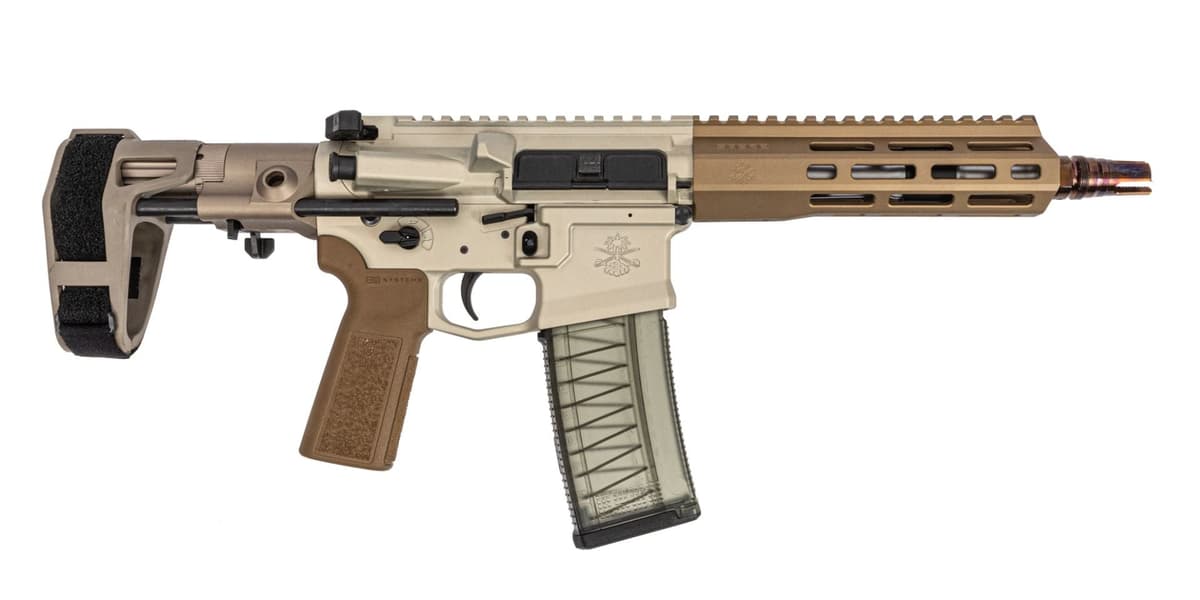
Palmetto State Armory
PSA Sabre Enhanced Mixtape Vol. 1 8" 300 BLK Pistol
1 shared compatibility tags
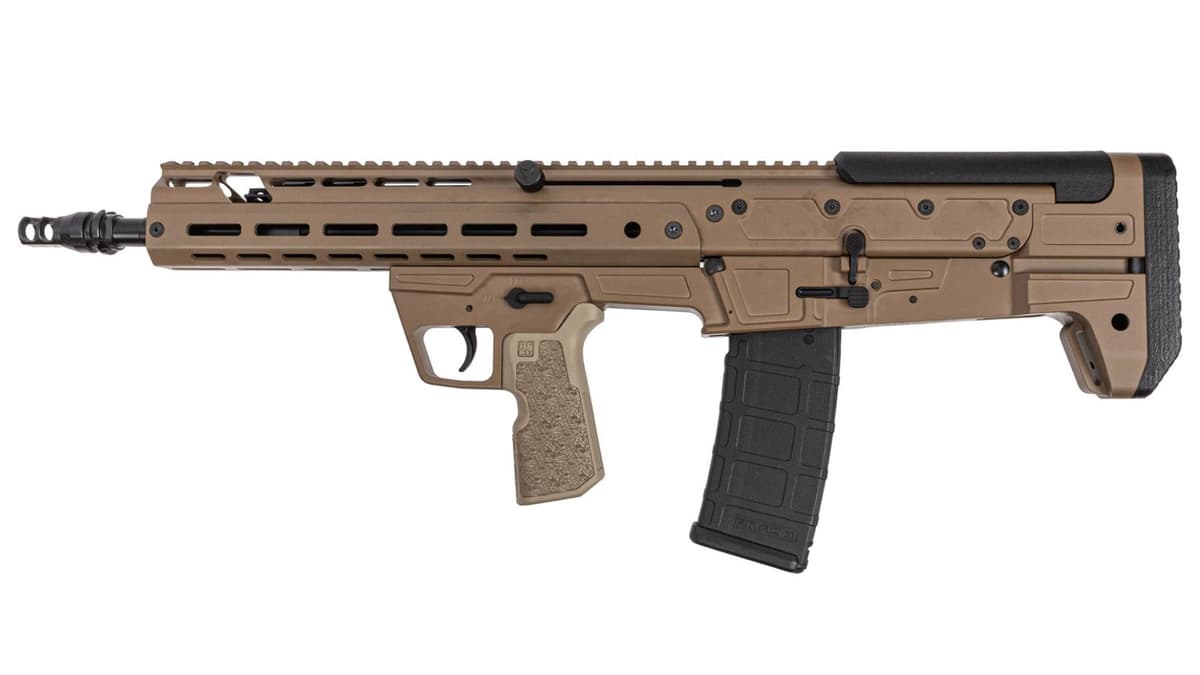
Palmetto State Armory
PSA Olcan 14.5" 5.56 KeyMo Rifle, FDE
1 shared compatibility tags
Similar Products

Compatible Platforms
+291 more
Compatibility Tags
Build Your Custom Configuration
Add the INFITAC OWS-32 to your build and see how it enhances your platform.