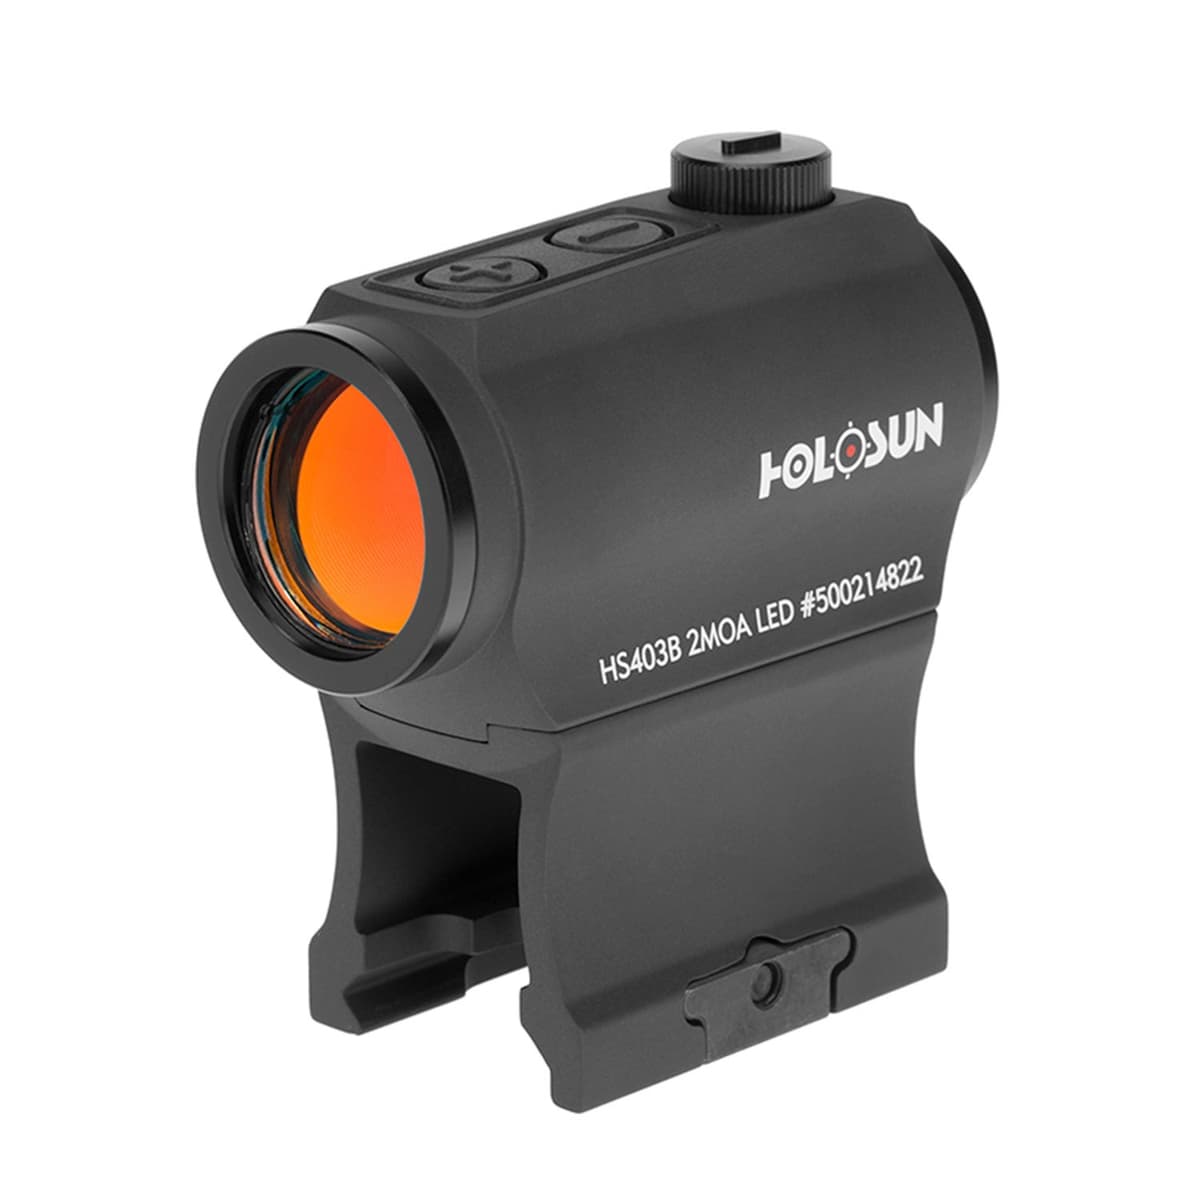
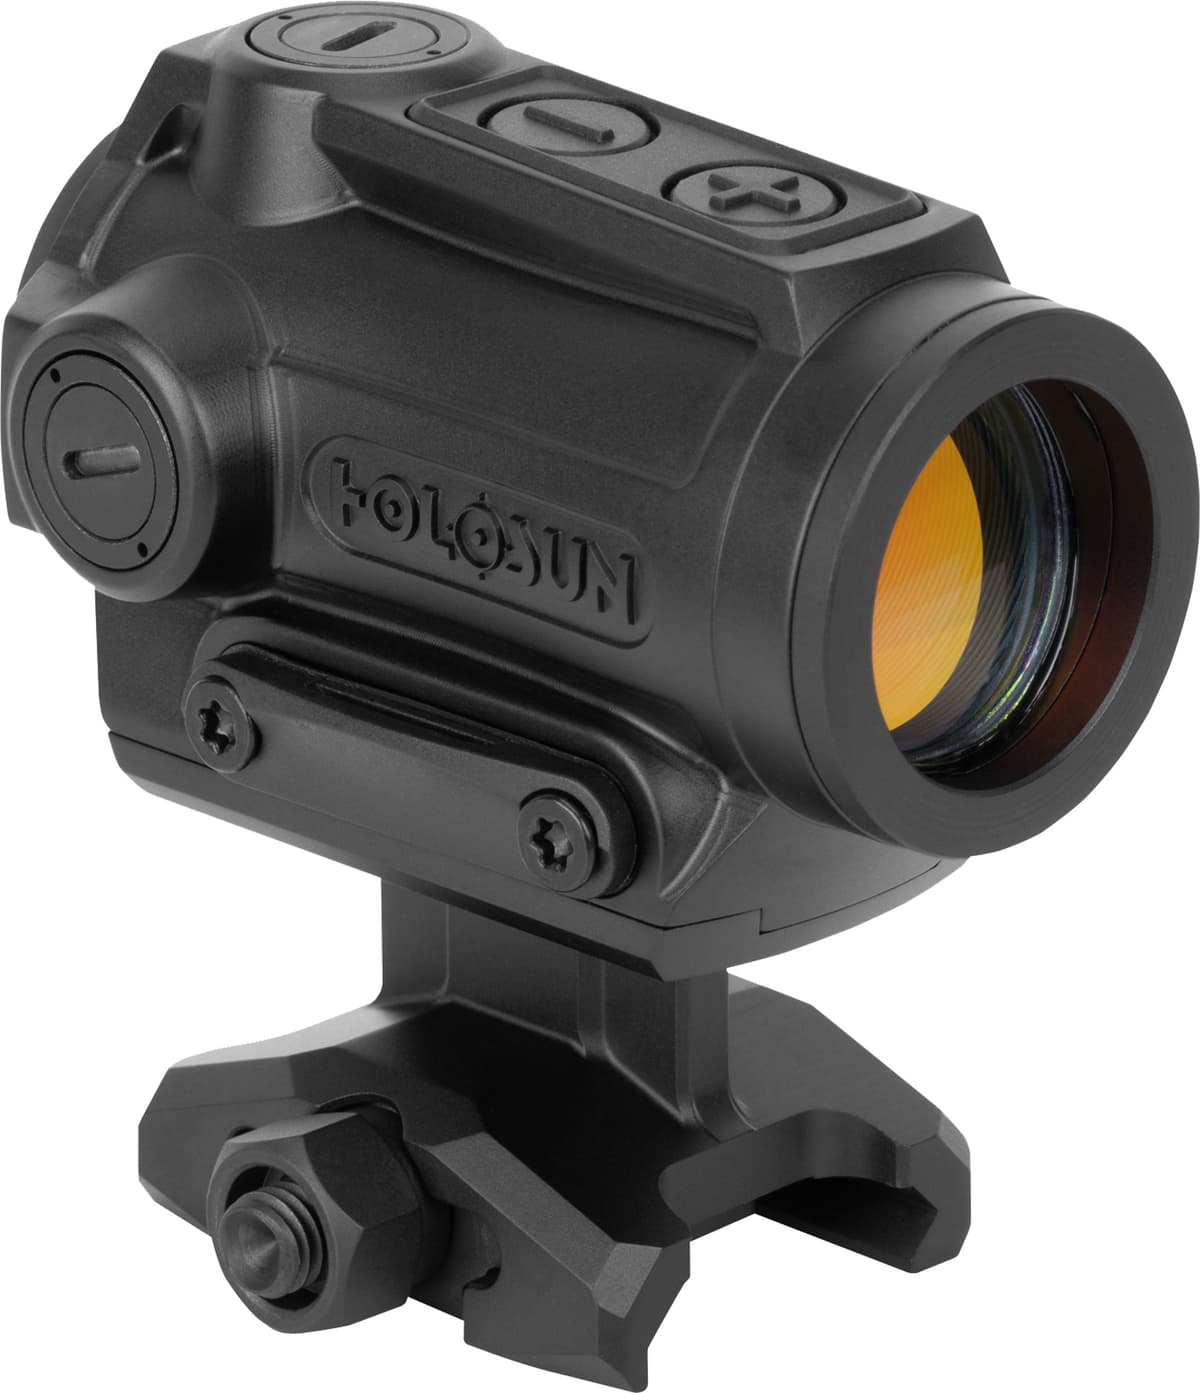
Holosun HS403B
Sub-$200 entry-level 20mm tube red dot with 50,000 hour battery and Shake Awake
- Price
- $206
- Weight
- 4.3 oz
- Brand
- Holosun
- Category
- Optics
Featured in
Features
- •2 MOA dot
- •CR2032 battery
- •50,000 hour battery life
- •20mm tube, Aimpoint Micro footprint
Capability Boosts
Recommended For
+24 more
More optics guides & articles
Guides

Overview
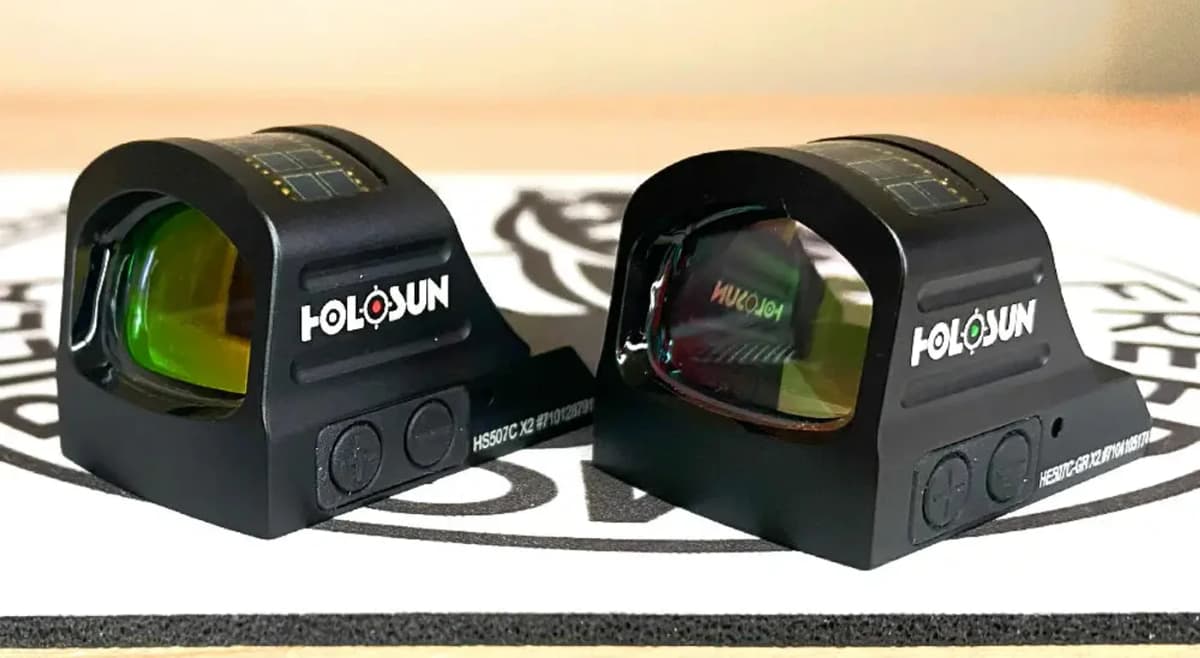
The Holosun HS403B is the entry-level 20mm tube red dot in the Holosun lineup, sized and footprinted to match the Aimpoint Micro T-1 / T-2. At a sub-$200 street price, it is one of the cheapest legitimate options that delivers Shake Awake, 50,000-hour battery life, and Aimpoint Micro mount compatibility.
The reticle is a basic 2 MOA red dot with no multi-reticle option. CR2032 battery life runs 50,000 hours at moderate brightness with 12 settings (10 daylight plus 2 night vision compatible). Shake Awake auto-shutoff preserves battery during storage and turns the optic on instantly with movement. Construction is 6061 aluminum, with low and lower-1/3 mounts included in the box.
Relative to the Bushnell TRS-25 in the same price tier, the HS403B has longer battery life, Shake Awake, NV-compatible settings, and an Aimpoint Micro footprint instead of the integrated weaver mount. Relative to the Sig Romeo5 (also ~$160), the HS403B has longer battery life and better mount ecosystem but lacks Sig's torque-to-spec mounting kit. For new AR builders who want a real red dot at a real budget price, the HS403B is the standard answer.
Key Features
- 2 MOA red dot reticle
- 20mm tube form factor compatible with Aimpoint Micro mounts
- CR2032 battery, 50,000 hour life
- 12 brightness settings (10 daylight, 2 night vision compatible)
- Shake Awake motion-activated power management
- 6061 aluminum housing
- 0.5 MOA per click adjustment
Pros
- +Cheapest red dot with Shake Awake and 50,000 hour battery life
- +Aimpoint Micro footprint with broad mount selection
- +Night vision compatible at any brightness setting
- +Acceptable as a primary optic for civilian range and home defense use
Cons
- −No multi-reticle option (single 2 MOA dot only)
- −No solar failsafe (CR2032 only)
- −6061 aluminum housing is less durable than 7075 alternatives
- −Holosun warranty service slower than premium brands
- −Mount sold separately; budget extra for an Aimpoint Micro mount
Setup & Operation
Step-by-step procedures for setting up, operating, and maintaining the Holosun HS403B.
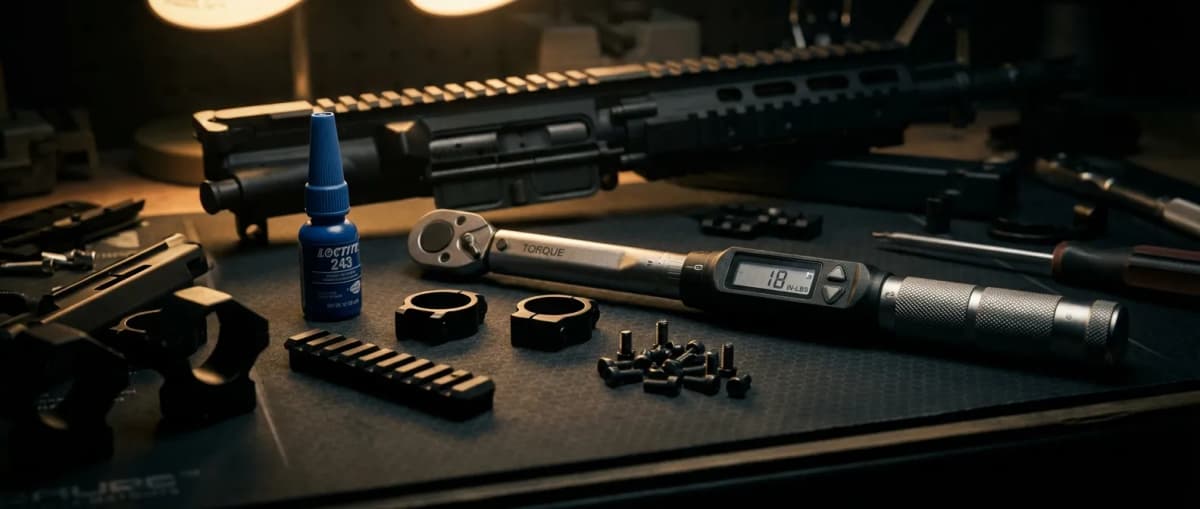
Mount the HS403B and Torque the Clamp
The HS403B mounts through a single Torx screw that pulls a cross bolt against the rail slot, and Holosun publishes a real number for it: 1.7 to 2.2 Nm, which is 15 to 19.5 inch-pounds. The included Torx wrench turns the screw but measures nothing, so a Torx bit in a torque driver is the only way to land inside that window.
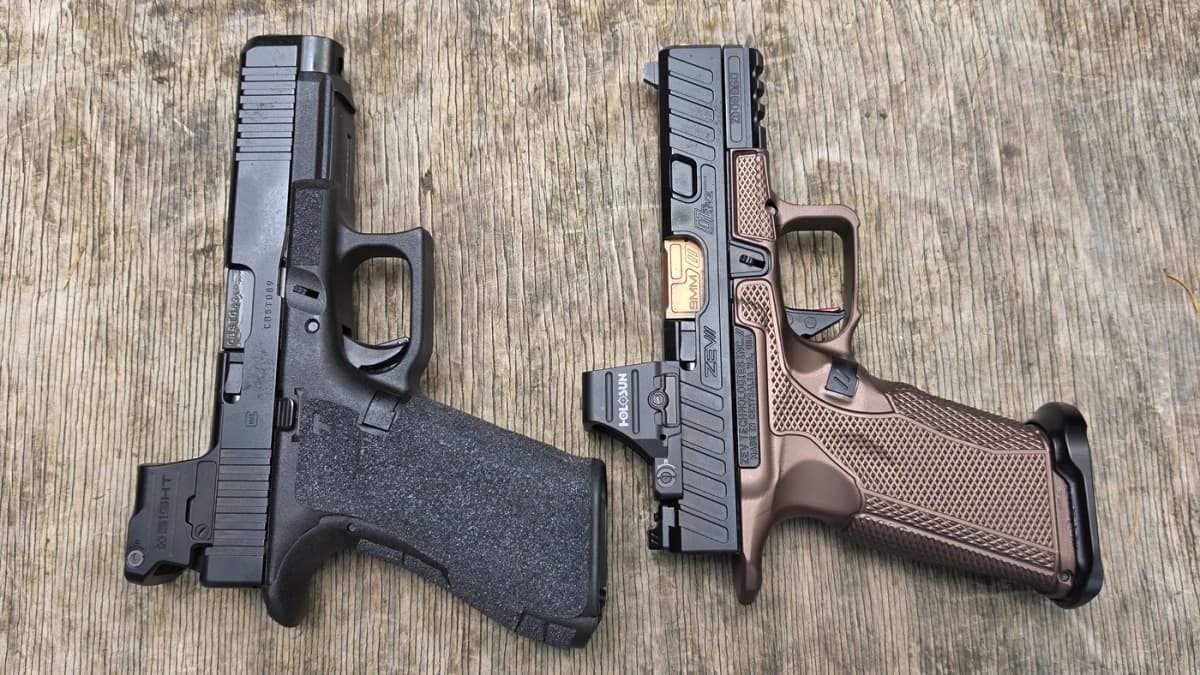
Holosun supplies a high riser mount measuring 41.4 mm and a low mount measuring 19.3 mm. The 41.4 mm riser puts the dot at roughly the 1.63 inch height AR shooters call lower 1/3; the 19.3 mm mount sits the sight down near the bore for a rifle or shotgun with no need to clear irons. Unload the firearm and engage the safety before the optic goes near it.
- • Included Torx wrench, or a Torx bit and a torque driver that reads 15 to 19.5 in-lbs
- • Cleared, unloaded firearm
- 01
Loosen the Torx screw
Take the included Torx wrench and back the Torx screw out until the cross bolt clears enough for the mount to drop over the rail.
- 02
Seat the mount on the rail
Set the mount on the Picatinny rail so it sits flush and the cross bolt drops into a slot. Holosun's wording is that the mount has to be installed properly on the rail before anything gets tightened.
- 03
Torque the screw to 1.7 to 2.2 Nm
Tighten the Torx screw to 1.7 to 2.2 Nm, which is 15 to 19.5 inch-pounds. Under that window the clamp walks under recoil; over it you are deforming a small screw in an aluminum mount.
- 04
Confirm the clamp before you shoot it
Grab the sight and try to rock it on the rail. Any perceptible movement means the screw is under spec. Re-check it after the first range session, since a fresh clamp settles.
For mounting, dismantling, or maintenance the firearm must be unloaded and the safety engaged. Holosun puts that ahead of every other instruction in the manual.
Install the CR2032 Battery
The cell lives in a side tray held by two screws, so a battery change never breaks the mount and never costs you zero. One CR2032 ships taped to the second page of the manual itself, which is easy to throw out with the box.
The tray carries an o-ring. That seal is what backs the IP67 rating and the nitrogen fill, so look at it every time the tray is out. Runtime is up to 50,000 hours on one cell at brightness setting 6.
- • Included Torx tool
- • One CR2032 3V lithium battery
- • Cleared, unloaded firearm
- 01
Remove the two tray screws
Use the included tool to back out the two screws on the side of the battery compartment.
- 02
Pull the tray
Slide the tool into the slot in the tray and use it to draw the tray and the old cell out of the housing.
- 03
Seat the new cell to the marked polarity
Drop a fresh CR2032 into the tray following the polarity marked in the compartment, and check the o-ring for cuts or grit while the tray is out.
- 04
Reinstall and tighten
Push the tray back into its original position and tighten both screws with the tool.
Use CR2032 cells only. Holosun's battery warning is the standard one: do not short circuit the cell, do not swallow it, and do not throw it into fire.
Zero the HS403B
Elevation sits on top of the sight and windage on the right side, both slotted screws under protective caps. The cap doubles as the tool: seat the top of the cap in the slot and turn. Each click is 0.5 MOA, which the manual states as 13 mm at 100 meters, and total travel is plus or minus 1.4 m at 100 meters, or plus or minus 50 MOA.
Both axes run the opposite of rifle scope habit. Clockwise on the elevation screw lowers point of impact, and clockwise on the windage screw moves it left.
- • The sight's own protective cap, which doubles as the adjustment tool
- • Zeroing target
- 01
Set up the tool
Pull the protective cap off the screw you are adjusting and position the top of the cap in the slot. Each click left or right is 0.5 MOA.
- 02
Correct elevation
Turn the elevation screw on top counterclockwise to raise point of impact and clockwise to lower it. At 50 yards a 0.5 MOA click is about 1/4 inch, so a group printing 2 inches low takes 8 clicks counterclockwise.
- 03
Correct windage
Turn the windage screw on the right side counterclockwise to move point of impact right and clockwise to move it left.
- 04
Confirm and reseal
Fire another group, repeat until it centers on point of aim, then press both protective caps back on. They are part of the IP67 seal, not dust covers.
If a screw will not rotate further you have reached the plus or minus 50 MOA adjustment limit. Holosun's caution is that over rotation can damage the sight. Running out of travel before you reach zero points at a rail or mount that is not square to the bore.
Set Brightness and the Auto Shutoff Delay
Two buttons on top of the sight run everything. A single press of "+" or "-" powers the sight on at the last setting used, and pressing both at once powers it off. There are 12 brightness settings, 10 for daylight and 2 for night vision devices, out of 13 positions counting off.
The factory sleep delay on the 403B is 8 hours of no movement, not the 10 minutes several other Holosun models use. That delay is programmable anywhere from 0 to 12 hours, and setting it to 0 disables the auto shutoff entirely.
- 01
Power on and set brightness
Press "+" or "-" once to turn the sight on. Each press of "+" raises the setting one level and each press of "-" lowers it.
- 02
Enter time adjustment mode
Hold "+" for 10 seconds. The reticle begins blinking, and the number of blinks reports the step currently selected. One blink represents a 1 hour delay.
- 03
Pick the delay
Press "+" or "-" to move one step per press. The reticle blinks once to confirm each press, and setting the delay to 0 disables the auto shutoff.
- 04
Save and exit
Press "+" and "-" simultaneously to confirm the new setting and leave time adjustment mode.
A sight that went to sleep on its own comes back with either a button press or a slight movement. That is what makes the 8 hour default practical: the sight sits dormant in the safe and is live again the moment the rifle moves.
Detailed Specifications
- Reticle
- 2 MOA red dot
- Magnification
- 1x
- Battery Type
- CR2032
- Battery Life
- 50,000 hours at moderate brightness
- nightVisionCompatible
- Yes (2 NV settings)
- weight
- 4.3 oz
- Adjustment Type
- 0.5 MOA per click
- Material
- 6061 aluminum housing
- Mount Type
- 20mm tube (Aimpoint Micro footprint)
- countryOfOrigin
- China
Video Reviews

Pairs Well With
Top matches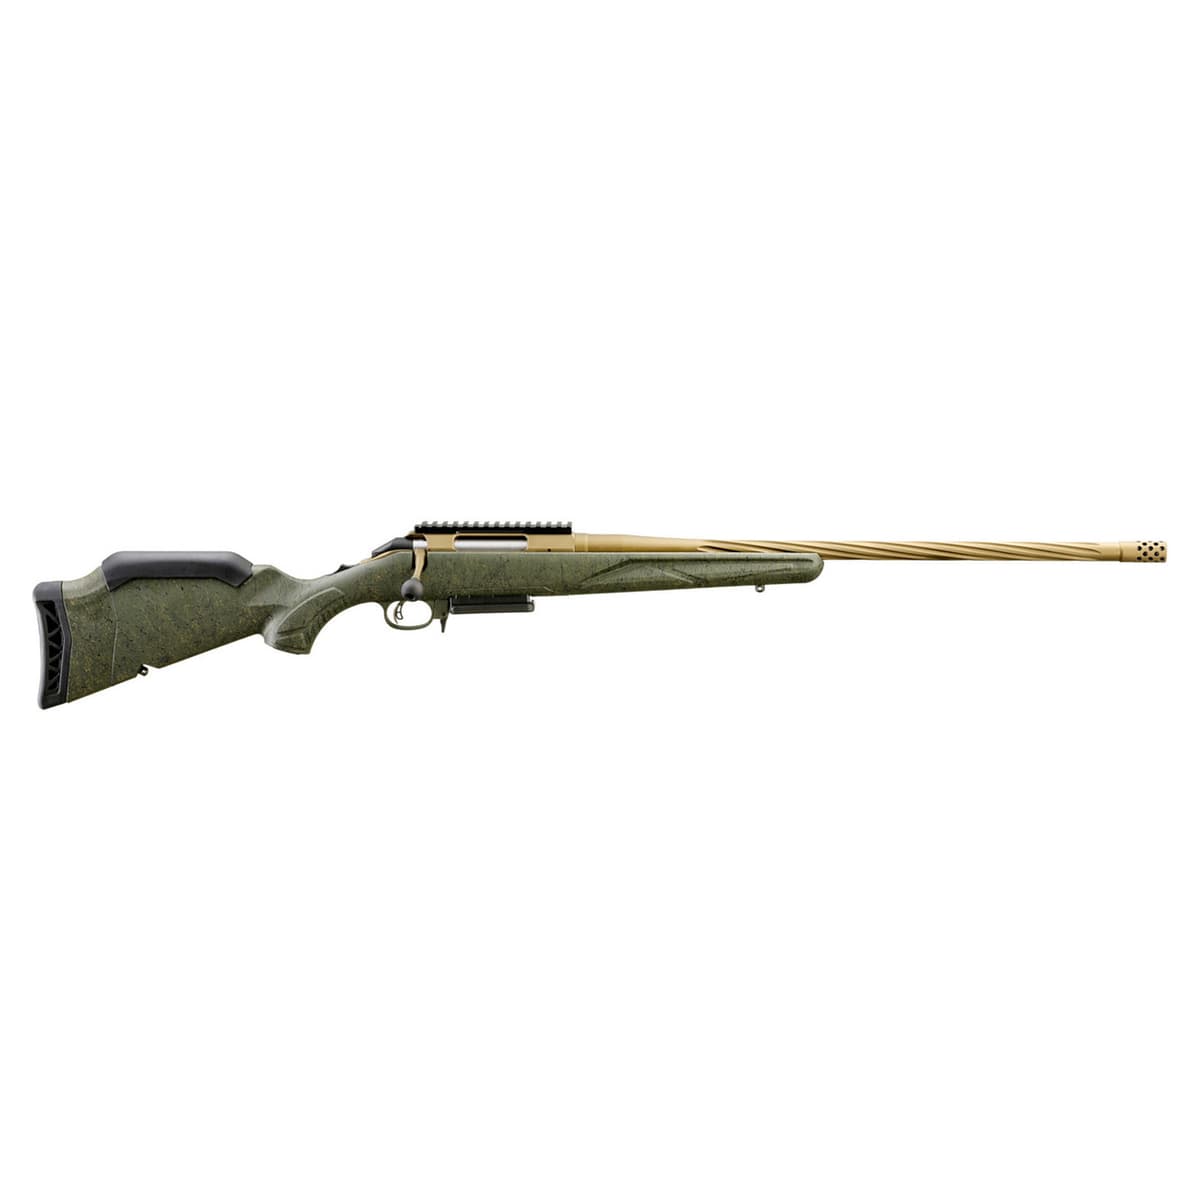
Ruger
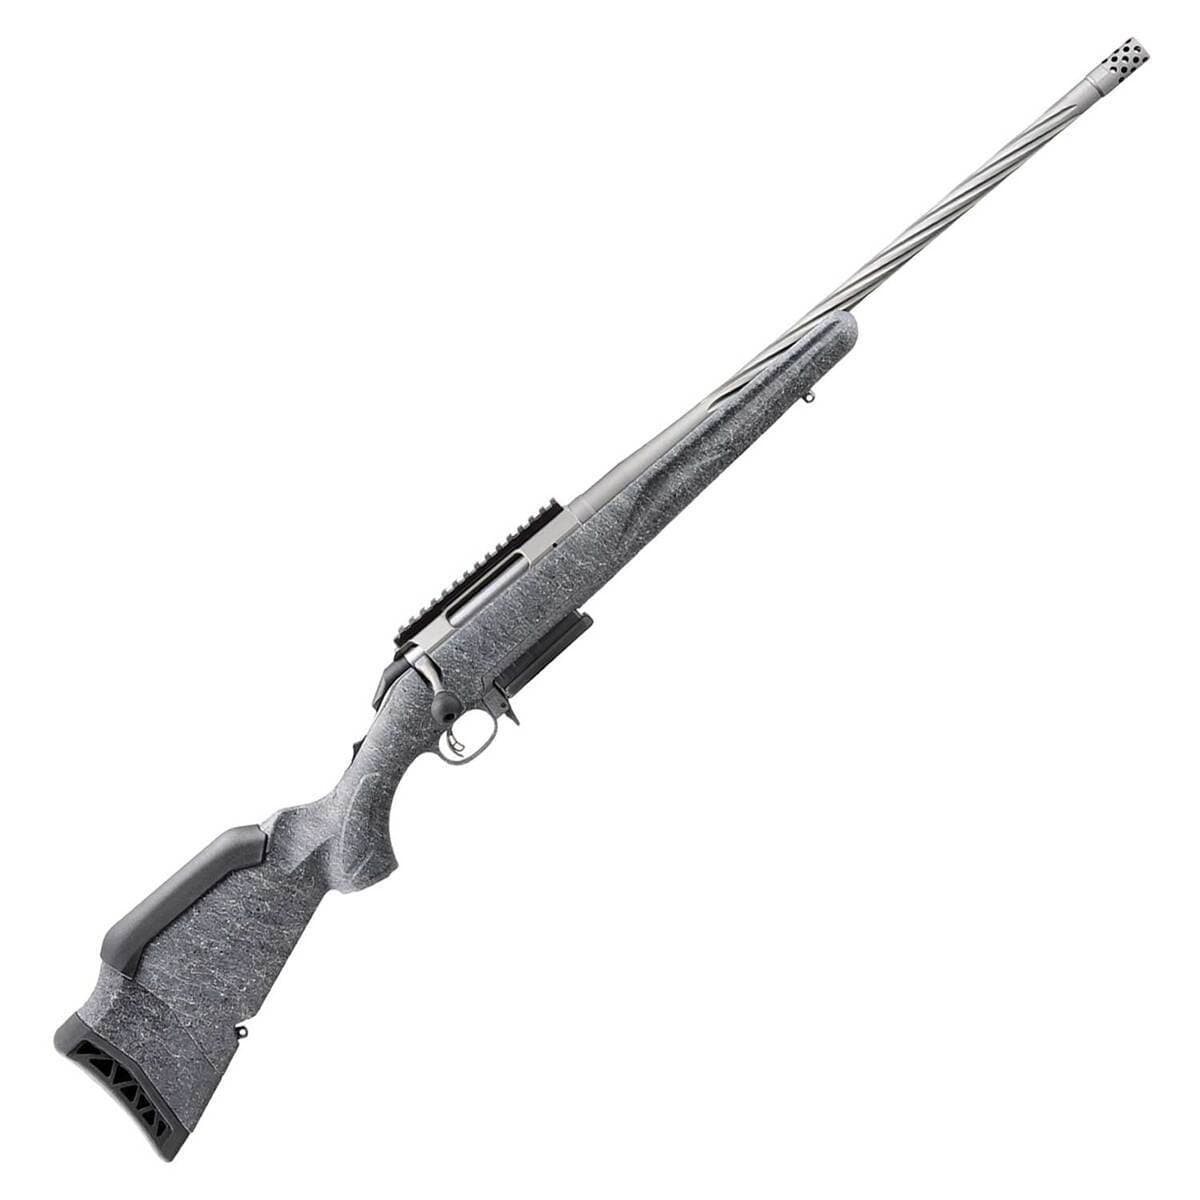
Ruger American Rifle Gen II Predator
1 shared compatibility tags
Ruger
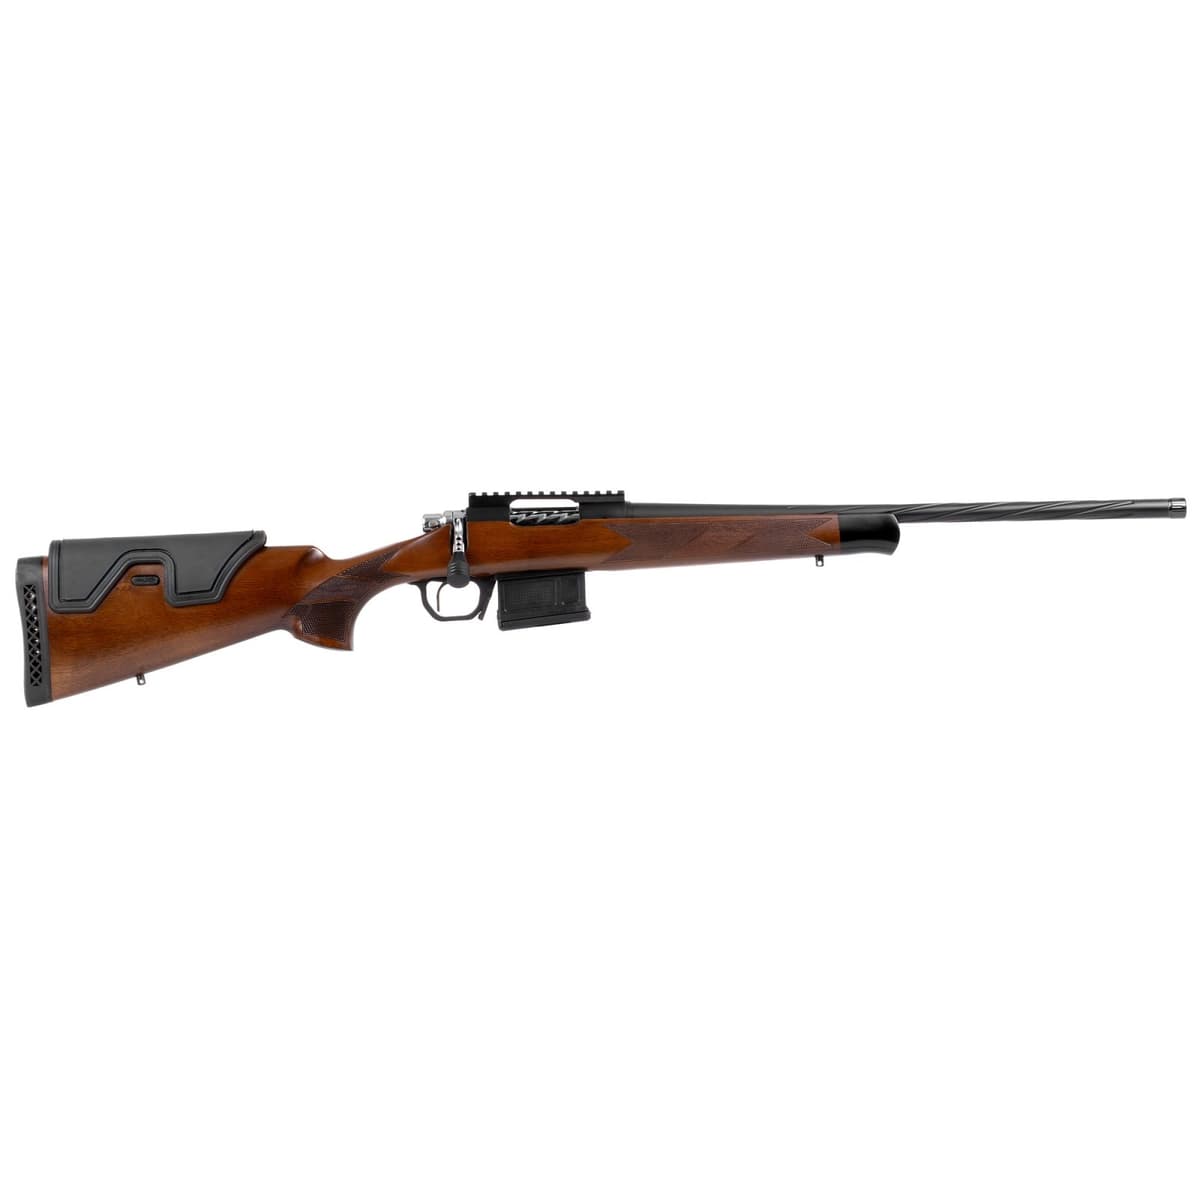
Ruger American Rifle Gen II Standard .30-06
1 shared compatibility tags
European American Armory
EAA Balikli BLK
1 shared compatibility tags
Savage Arms
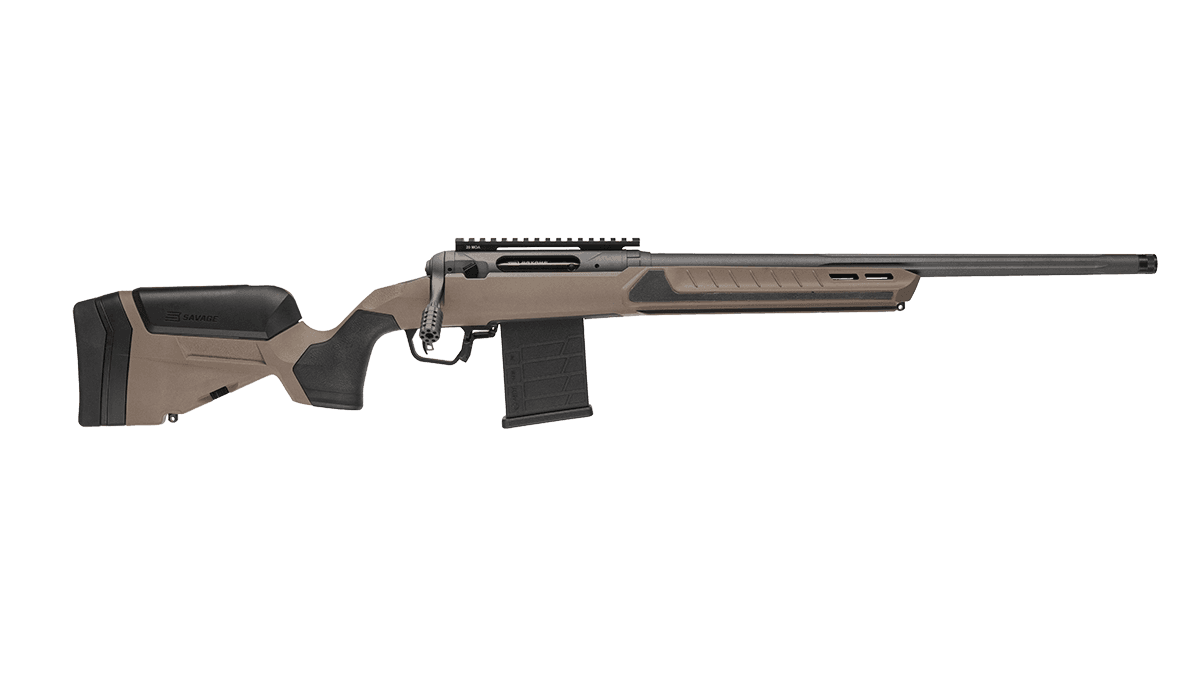
Savage 110 Core Tactical
1 shared compatibility tags
Savage Arms
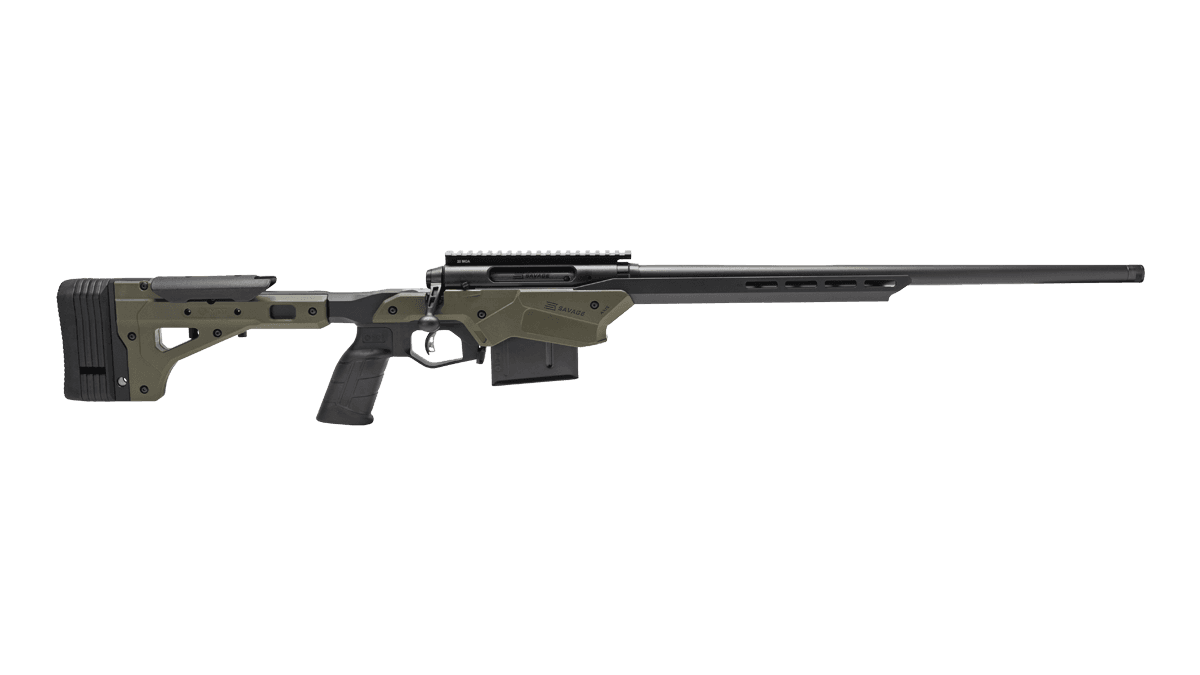
Savage Axis II Precision
1 shared compatibility tags
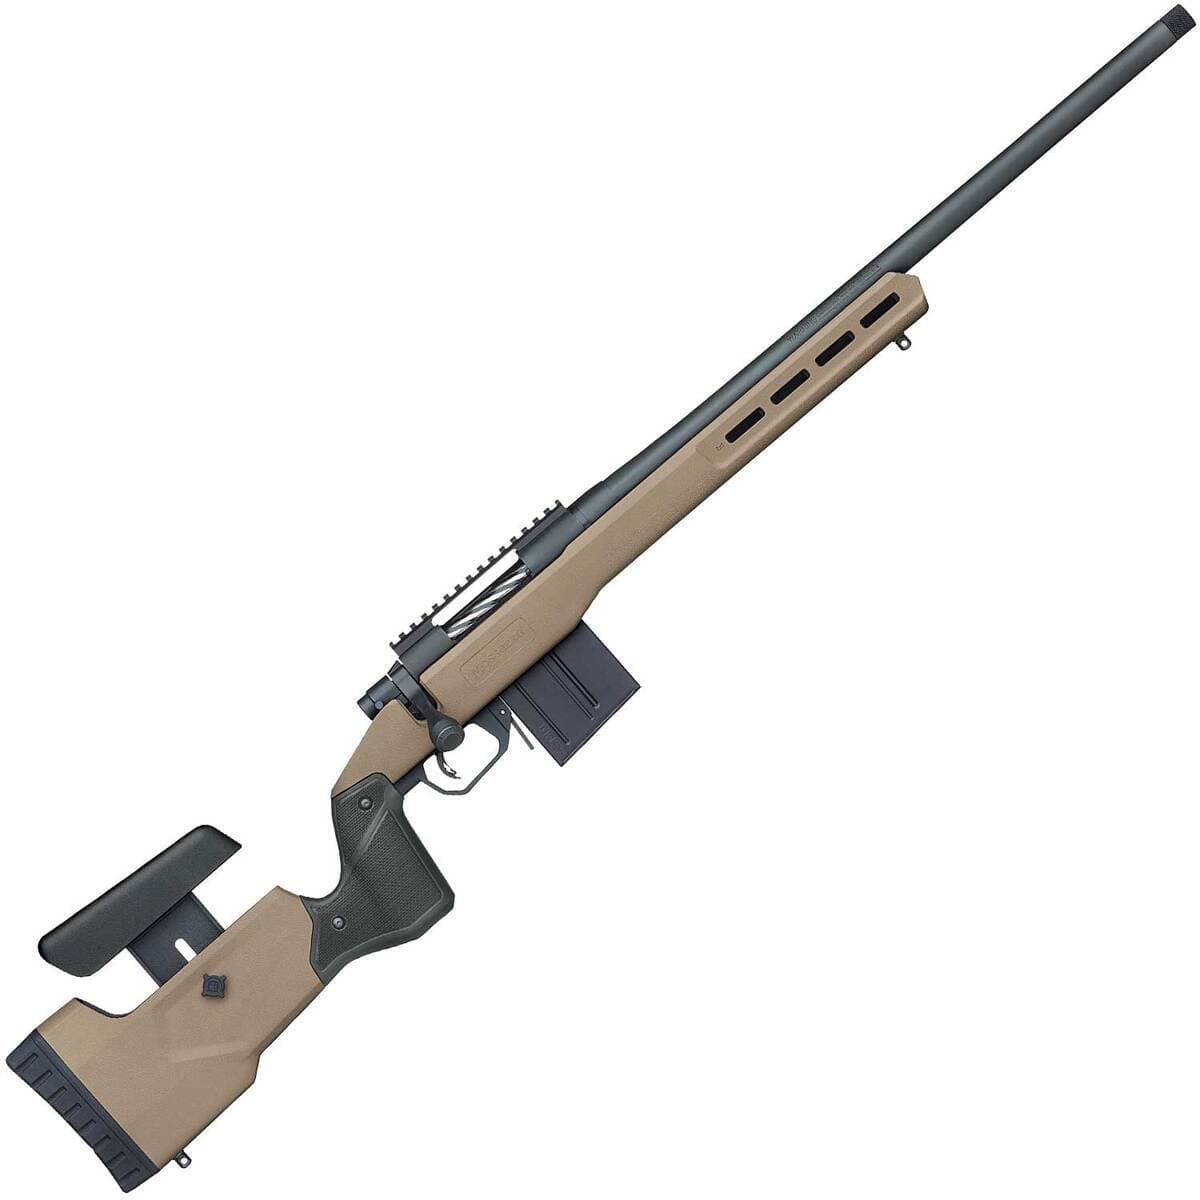
Mossberg
Mossberg Patriot LR Tactical
1 shared compatibility tags
Similar Products


Compatible Platforms
Compatibility Tags
Build Your Custom Configuration
Add the Holosun HS403B to your build and see how it enhances your platform.