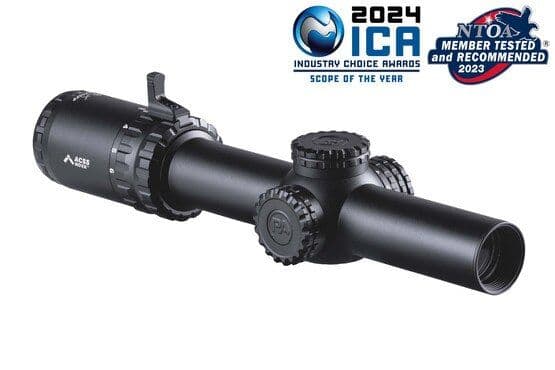
Primary Arms SLx 3x MicroPrism
Compact 3x prism optic with ACSS Raptor reticle
- Price
- $350
- Weight
- 8 oz
- Brand
- Primary Arms
- Category
- Optics
Featured in

Features
- •Fixed 3x
- •ACSS Raptor reticle
- •Prism design
Capability Boosts
Recommended For
+3 more
Where to Buy
Compare current prices and availability from retailers we work with.
Primary Arms SLx 3X MicroPrism(TM) Scope - Red Illuminated ACSS Raptor Reticle - 5.56 / .308 - Yard
Primary Arms SLx Series MicroPrism Red Dot Sigh 3x ACSS Raptor 5.56 YP Illuminated Reticle Black
Price History
90-day low $349.99 · at low nowMore rifle guides & articles
Guides

Overview
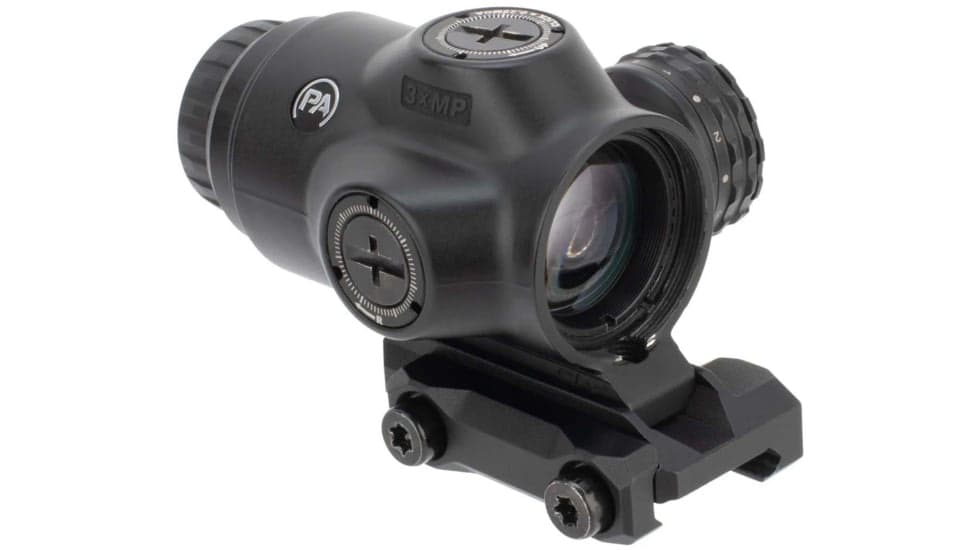
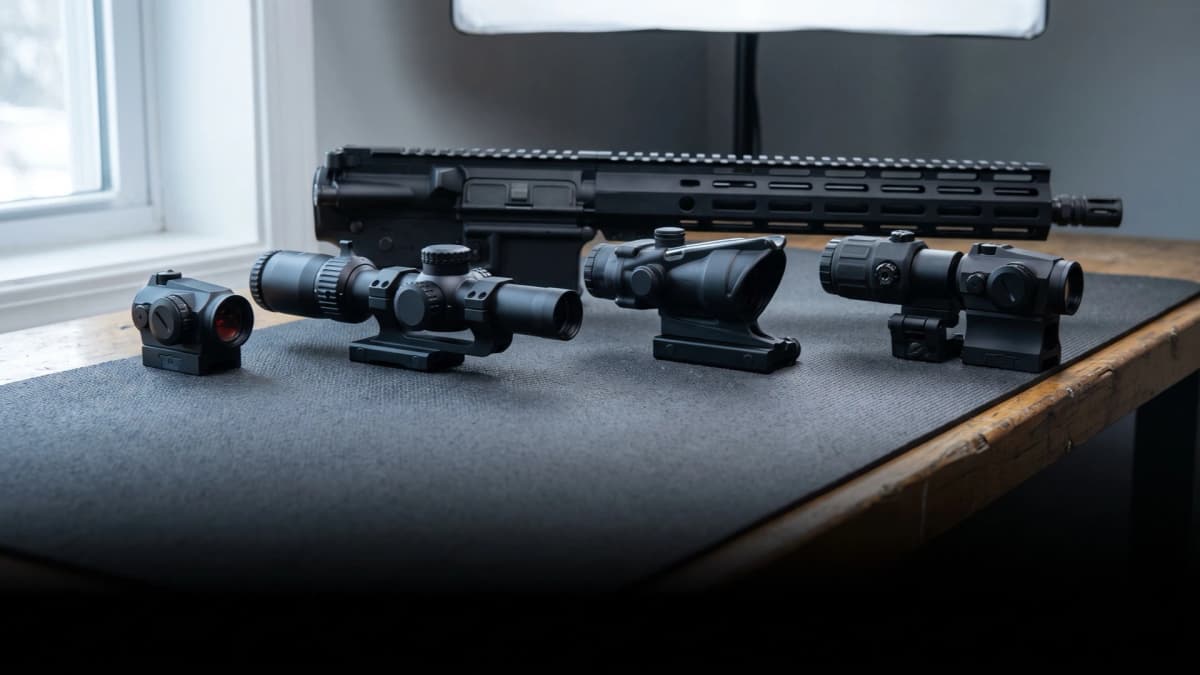
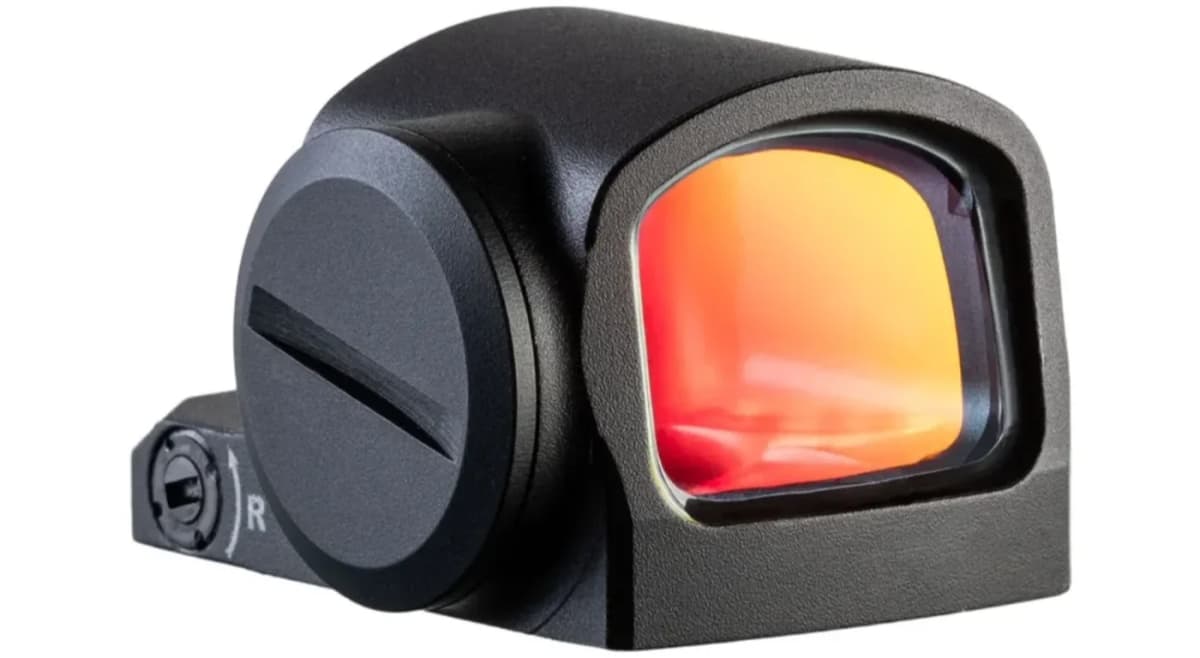
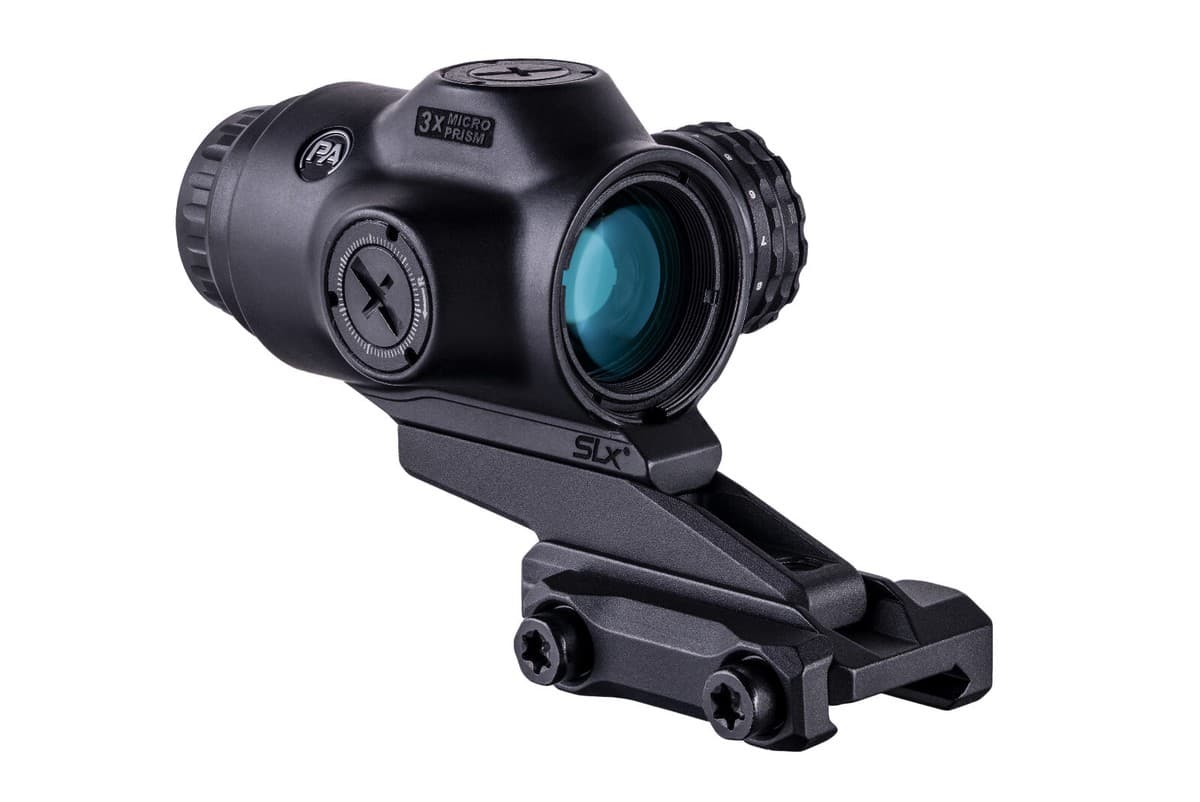
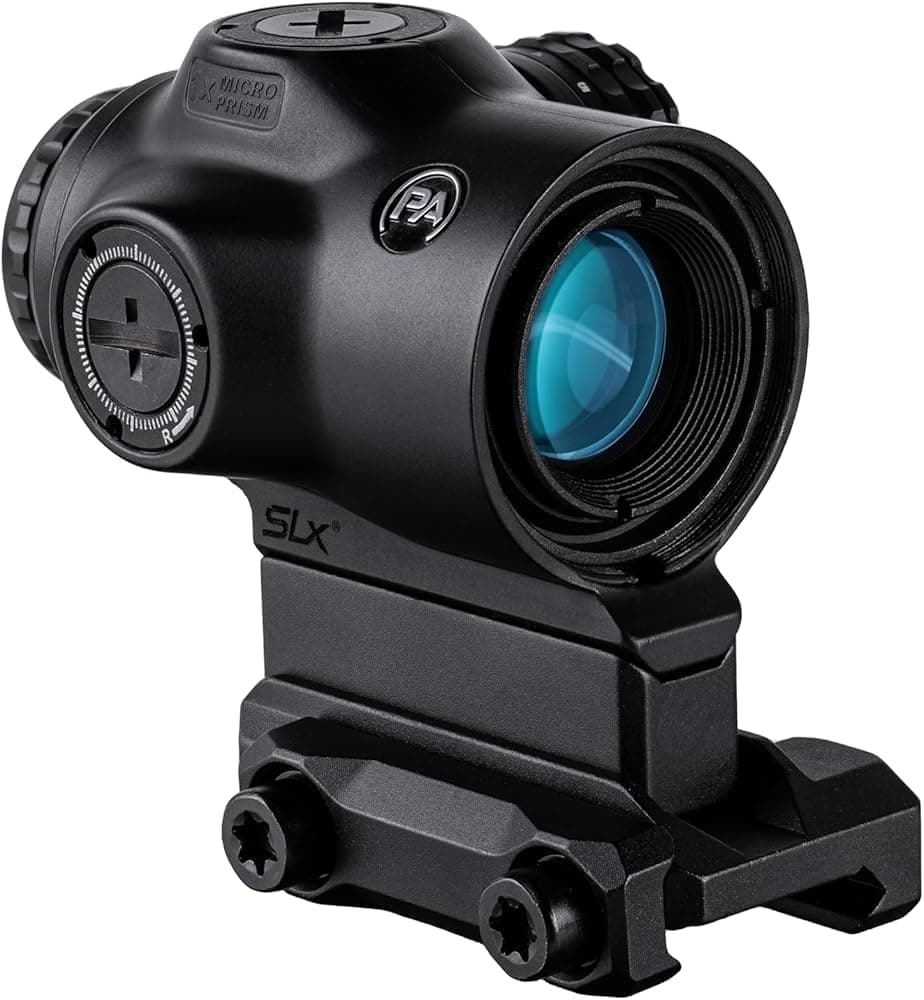
The Primary Arms SLx 3x MicroPrism combines a compact prism footprint with fixed 3x magnification and an etched reticle that remains visible even without battery power. At 7.95 oz and under 3 inches long, the MicroPrism delivers a useful middle ground for shooters who want more reach than a red dot without the bulk of an LPVO.
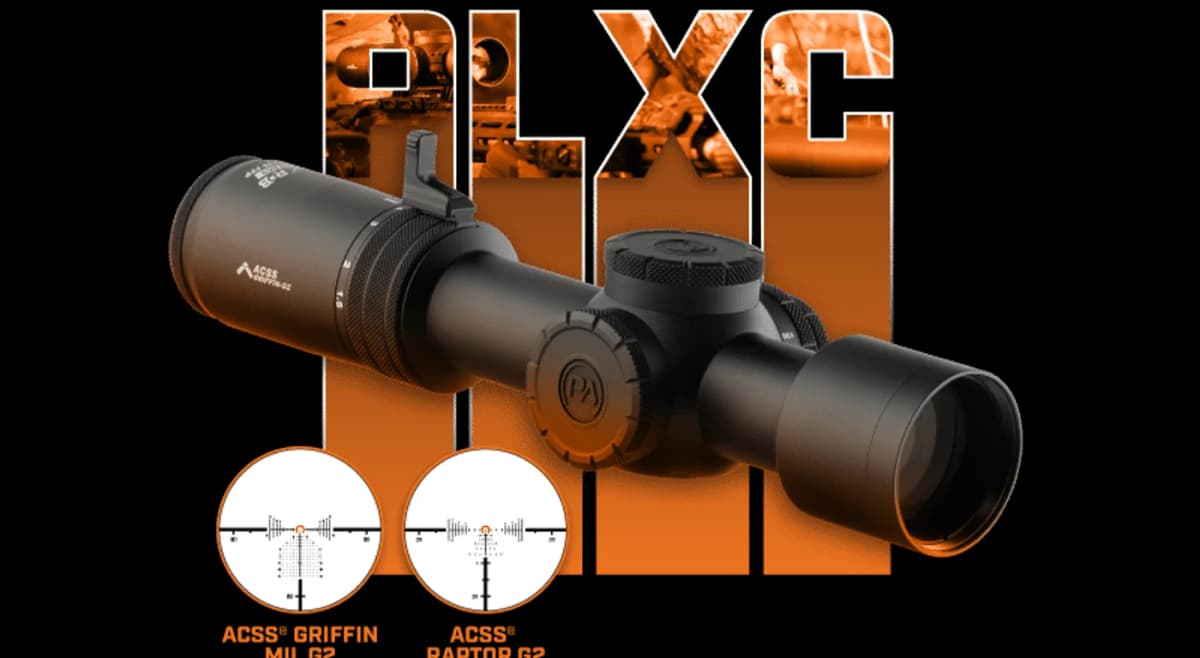
The prism optical design offers a critical advantage for shooters whose red dot appears as a blurry starburst. The MicroPrism replaces that projected LED point with a reticle etched into glass and focused through the diopter. This black, red-illuminated model uses the ACSS Raptor 5.56/.308 yard reticle, with ranging and ballistic holds for common .223/5.56 and .308 loads.
With its compact size, the 3x MicroPrism excels in roles where a traditional LPVO is too heavy or bulky: patrol carbines, truck guns, and compact defensive rifles. The fixed 3x magnification works best from intermediate distances out to several hundred yards, while the included multi-height mount makes it easy to set up on AR-height rails or lower comb-height hosts.
Key Features
- Ultra-compact prism design - red dot size with 3x magnification
- Etched ACSS Raptor reticle visible without battery
- Automatic ranging using horseshoe and BDC holdovers
- Etched aiming mark replaces the projected LED point
- Ultra-wide field of view for rapid target acquisition
- 13 illumination settings including 3 night vision compatible settings
- Eight mounting height options with included hardware
- CR2032 battery with AutoLive motion-sensing illumination
- Waterproof, shockproof, and fogproof construction
- Lightweight at 7.95 oz
Pros
- +Etched reticle avoids reliance on a projected LED point
- +Extremely compact and lightweight for magnified optic
- +Etched reticle works without battery
- +ACSS reticle simplifies ranging and holdovers
- +Wide field of view rivals 1x optics
- +Extremely forgiving eyebox
- +Excellent value at current sale pricing
- +Included mount supports multiple heights
Cons
- −Fixed 3x magnification - no variable option
- −Limited to ~400 yards effective range
- −Some users find 3x too much for close quarters
- −Prism design creates slight tunnel vision effect
- −Not ideal for precision long-range work
Setup & Operation
Step-by-step procedures for setting up, operating, and maintaining the Primary Arms SLx 3x MicroPrism.
Set the Diopter Before You Zero
Primary Arms calls the diopter ring at the rear of the eyepiece the critical first step, and it comes before mounting, before illumination, and before any live fire. The MicroPrism uses an etched reticle rather than a projected dot, which is why it can be brought to a sharp focus for eyes that see a red dot as a starburst, severe astigmatism included.
The technique is the part that gets botched. Point the optic at a featureless light background, a clear blue sky or a blank wall, and check the reticle in quick glances rather than a steady stare. Your eye accommodates to a blurry reticle within a second or two of staring at it, which convinces you the focus is fine when it is not. The reticle has to look sharp at first glance.
This is a one-time adjustment tied to your eye, not to the rifle. The correct setting differs from person to person, so a MicroPrism handed to another shooter needs it redone.
- 01
Aim at a featureless light background
Point the optic at a clear blue sky or a blank wall. Detail in the background gives your eye something to focus on and masks a soft reticle.
- 02
Judge the reticle in quick glances
Look through the eyepiece in short glances instead of holding your eye there. The reticle should read sharp and crisp the instant you look, not after a moment of settling.
- 03
Turn the ring until it is crisp at first glance
Rotate the diopter ring at the rear of the eyepiece, glancing again after each small movement, until the first glance lands on a sharp reticle.
- 04
Leave it alone from there
Stop adjusting once it is sharp. Primary Arms treats this as a one-time setting, so the ring should not become a field control you fiddle with between strings.
An etched reticle plus an adjustable diopter is the reason this optic is recommended over a red dot for astigmatism. If the reticle still will not sharpen at either end of the ring's travel, the issue is your prescription rather than the optic.
Mount the 3x MicroPrism and Choose a Height
The SLx 3x MicroPrism ships with a removable 1913 MIL-STD base and a set of spacers that produce eight different centerline heights. As assembled in the box the base puts the optical centerline 1.41 inches above the receiver rail. With no spacer the mount alone gives 1.1 inches; the cantilever low spacer gives 1.41 inches, the cantilever medium and the straight spacer both give 1.535 inches, and the cantilever high gives 1.64 inches. Stacking the straight spacer under a cantilever spacer yields 1.845, 1.97, or 2.075 inches. The tallest configuration has an extended overhang so the optic clears most rear iron sights on a standard AR.
Two different torque values apply and they are nowhere near each other. The 10-32 low-profile socket head screws that hold the base and spacers to the optic take 25 to 30 inch-pounds through a 3/32 hex. The T25 Torx crossbolt on the removable base, the fastener that actually clamps to the rail, takes 55 to 60 inch-pounds with blue thread locker on the threads.
With the base removed, the underside of the optic body is machined to the industry standard mini prism footprint, so third-party mini prism mounts bolt straight on.
- • 3/32 hex bit
- • T25 Torx bit
- • Inch-pound torque wrench
- • Blue thread locker
- • Cleared, unloaded firearm
- 01
Pick a height from the spacer table
Decide between 1.1, 1.41, 1.535, 1.64, 1.845, 1.97, and 2.075 inches of centerline height. On a flat-top AR with folded backup irons, the taller cantilever configurations are what clear the rear sight.
- 02
Bolt the spacer stack to the optic
Assemble the spacers under the optic with the 10-32 low-profile socket head screws using a 3/32 hex, torqued to 25 to 30 inch-pounds. Primary Arms flags these specifically as easy to overtighten.
- 03
Clamp the base to the rail
Apply blue thread locker to the crossbolt threads, seat the base on the rail, and torque the T25 Torx crossbolt to 55 to 60 inch-pounds. This is the fastener that holds zero, and it is more than twice the torque of the screws above it.
- 04
Leave the sealed fasteners alone
Do not turn the black security screw on the underside of the optic or the spring cover under the optic on the left side. The security screw is the nitrogen gas purge port.
Turning the black security screw on the underside vents the nitrogen purge and the optic will fog internally. The spring cover on the left underside is the same category. Neither is a user-serviceable adjustment.
Zero the 3x MicroPrism
The optic leaves the factory mechanically centered, so a squarely mounted base normally needs only small corrections. Every click moves the reticle 0.25 MOA and total travel exceeds 80 MOA in both windage and elevation, which is a quarter inch per click at 100 yards and an eighth of an inch at 50.
The turret directions are worth reading twice because elevation runs opposite to the habit most shooters build on a riflescope. Clockwise on the elevation adjustment screw moves point of impact UP and counterclockwise moves it down. Clockwise on the windage screw moves point of impact right and counterclockwise moves it left.
Work in a few clicks at a time rather than dialing a full correction in one pass.
- • Zeroing target
- • Cleared, unloaded firearm
- 01
Fire a group from a stable position
Shoot at least three rounds at a zeroing target from a supported position so the group reflects the optic rather than your hold.
- 02
Correct elevation
Turn the elevation adjustment screw clockwise to move point of impact up, counterclockwise to move it down. At 100 yards each click is 0.25 inch, so a group 2 inches low needs 8 clicks clockwise.
- 03
Correct windage
Turn the windage adjustment screw clockwise to move point of impact right, counterclockwise to move it left. At 100 yards a group 1 inch right needs 4 clicks counterclockwise.
- 04
Confirm and re-check the hardware
Fire another group of at least three rounds, then check that the optic and mount are still secure on the firearm before you trust the zero. Repeat the correction until point of aim and point of impact coincide at your chosen distance.
If a turret suddenly meets resistance, stop. Primary Arms warns that forcing the screw past that point can break the mechanism and leave the sight unable to hold a zero at all. Running out of travel before you reach zero means the rail or base is not square to the bore.
Illumination Settings and AutoLive
The illumination knob carries thirteen brightness settings. NV1, NV2, and NV3 are night vision compatible and cannot be seen by the naked eye at all, so a knob sitting on one of those and appearing dead is working as designed. The highest settings are Daylight Bright and hold up against open sun. An indicator triangle on the knob shows which setting is live.
The knob rotates infinitely in either direction, so you always have the shortest path to the setting you want regardless of where the dial currently sits. Returning the dial to 0 switches illumination off.
AutoLive motion-sensing turns the illumination off when the optic sits still and brings it back when the rifle moves, which is what makes leaving it switched on in a safe viable. Primary Arms rates runtime at 29,000 hours on medium illumination from the single CR2032. Because the reticle is etched into the glass, a dead battery costs you the illumination and nothing else.
Clean the glass in that order: blow the dust and grit off first, then use a soft cotton or microfiber cloth, then lens paper if smears remain. Never alcohol or acetone, which strip the coatings.
Replace the CR2032 Battery
The 3x MicroPrism runs a single 3V CR2032 cell behind a screw-down cap on the left side of the optic, integrated with the illumination knob. No tool is required: the cap unscrews counterclockwise with a quarter or any similar coin.
Polarity is the step to get right. The positive side of the battery faces OUT toward the cap, not down into the housing. Primary Arms also advises against rechargeable cells in this optic, which can damage the electronics.
- • A quarter or similar coin
- • One 3V CR2032 battery
- 01
Clear the firearm
Confirm the chamber is empty and the magazine is out before working on the optic.
- 02
Unscrew the cap with a coin
Turn the battery cap on the left side counterclockwise using a quarter or another coin. No hex key or Torx bit is involved.
- 03
Seat the new cell positive side out
Drop in a fresh 3V CR2032 with the positive face pointing out toward the cap. Skip rechargeable cells, which Primary Arms warns can damage the electronics.
- 04
Close the compartment fully
Screw the cap back down until it seats completely. A cap that will not close securely is a stop-using-it condition, not something to force.
Coin cells are an ingestion hazard and a swallowed one can cause internal chemical burns within two hours. Keep new and used cells away from children and seek immediate medical attention if one is swallowed.
Detailed Specifications
- Reticle
- ACSS Raptor 5.56/.308 Yards (etched, illuminated)
- Magnification
- 3x (fixed)
- Objective Diameter
- Prism optic
- Eye Relief
- 2.7 inches
- Field of View
- 38 ft @ 100 yds
- Adjustment Type
- 0.25 MOA per click
- Adjustment Range
- 80 MOA elevation / 80 MOA windage
- Battery Type
- CR2032
- Length
- 2.95 inches
- Material
- 7075-T6 aluminum
- Waterproof Rating
- Yes (IPX7 rated)
Video Reviews

Pairs Well With
Top matches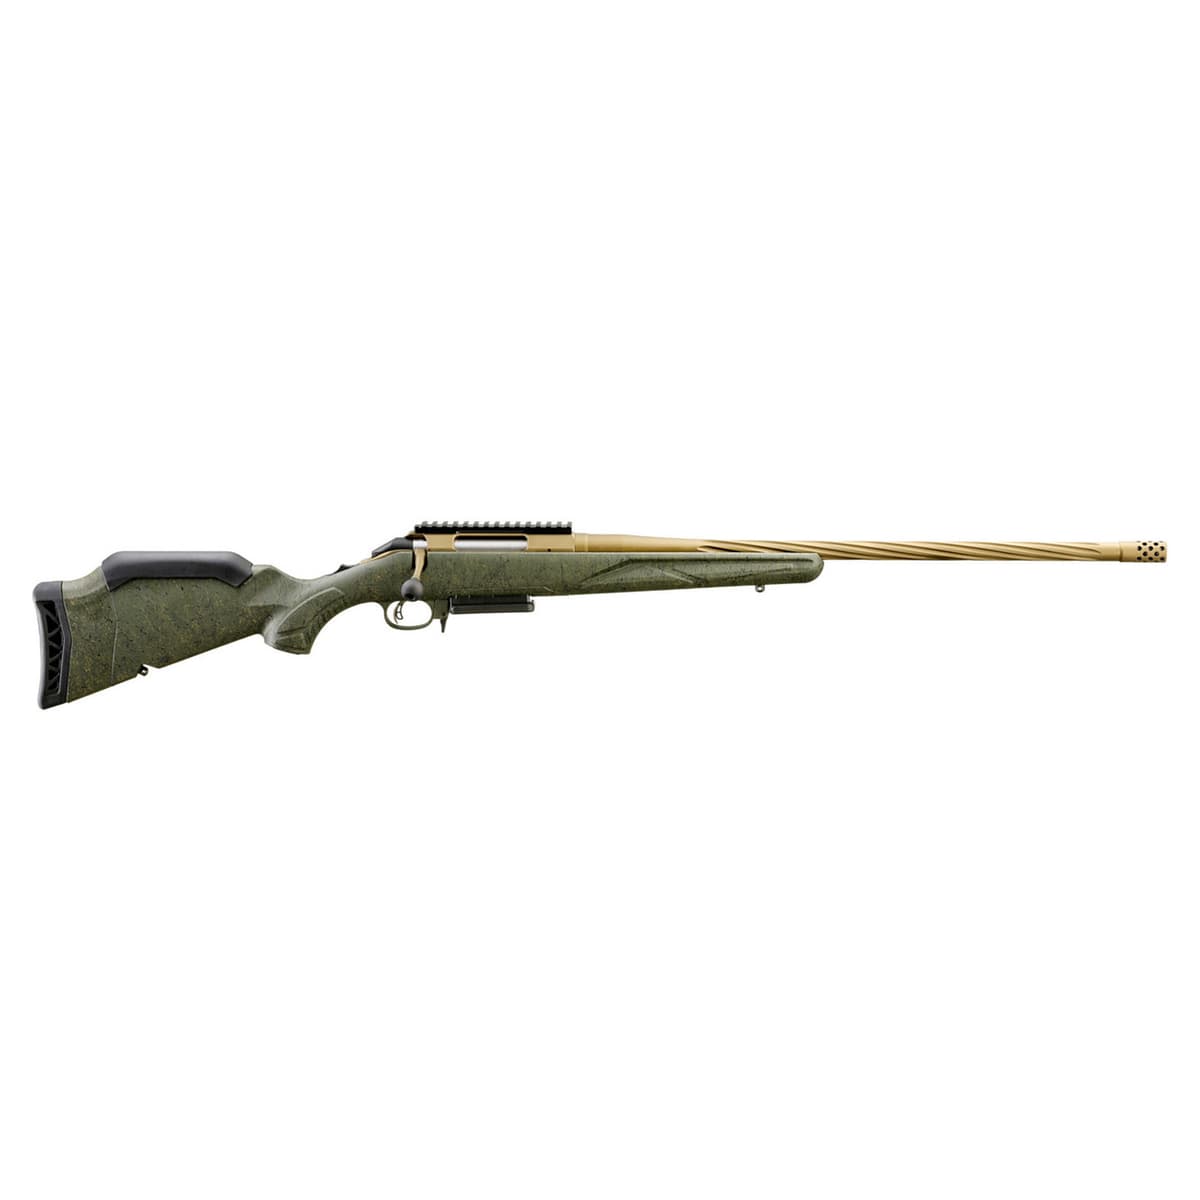
Ruger
Ruger American Rifle Gen II Predator
1 shared compatibility tags

Ruger
Ruger American Rifle Gen II Standard .30-06
1 shared compatibility tags

European American Armory
EAA Balikli BLK
1 shared compatibility tags
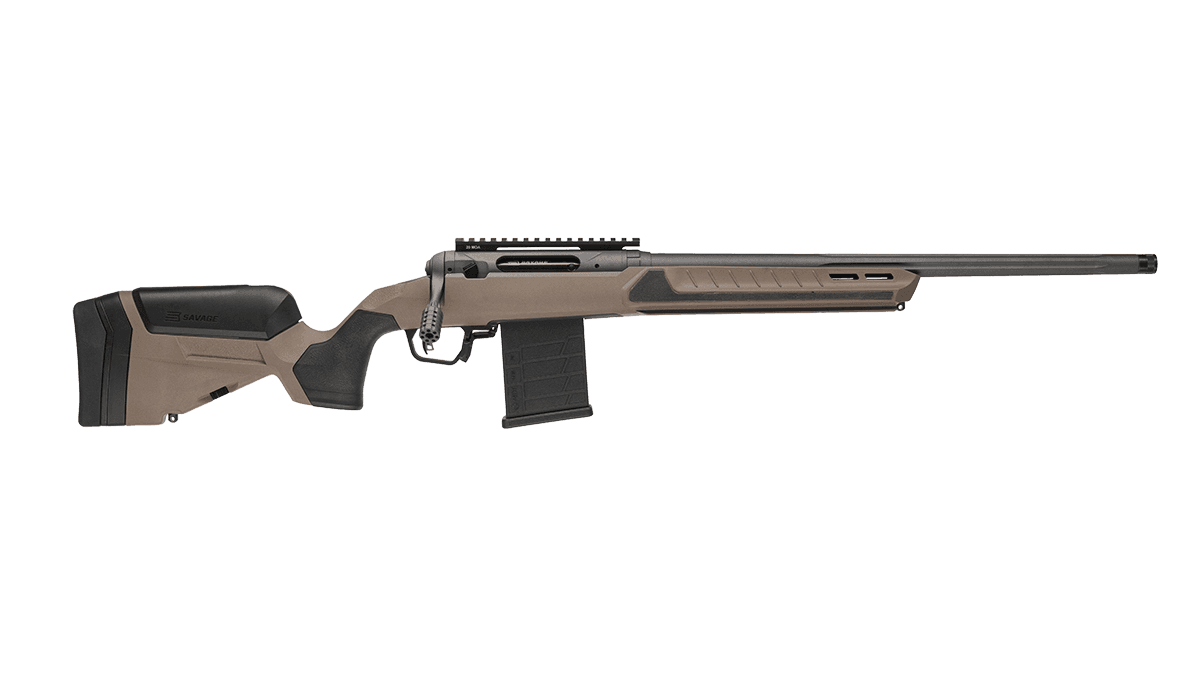
Savage Arms
Savage 110 Core Tactical
1 shared compatibility tags
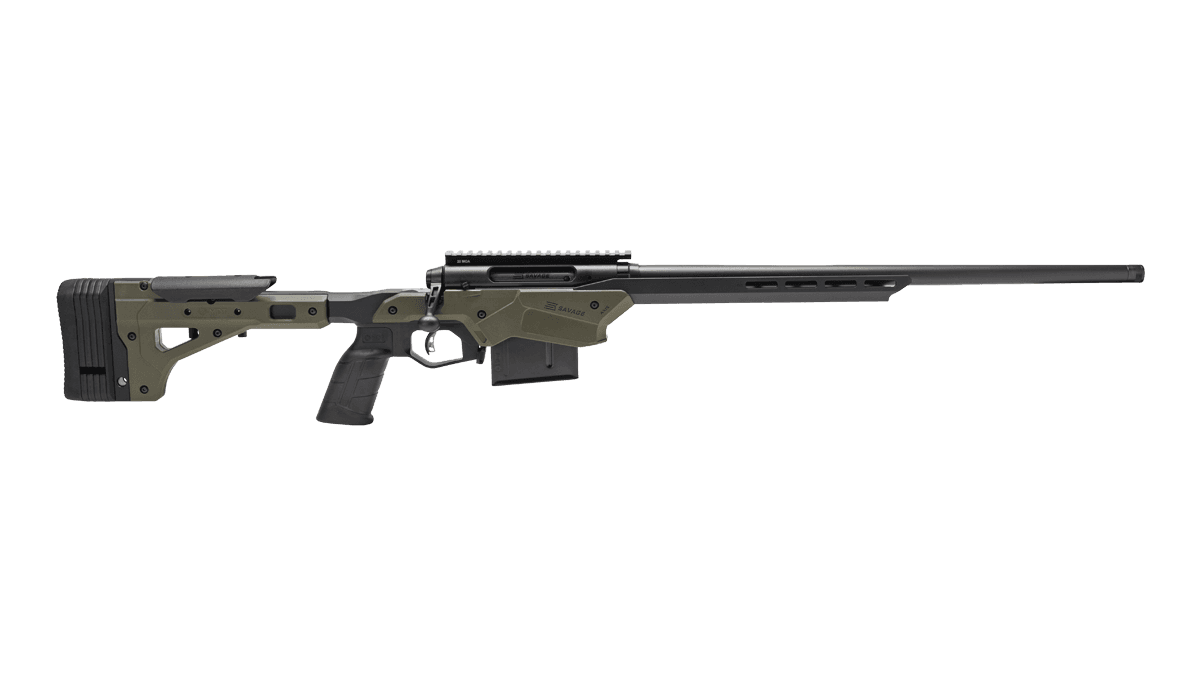
Savage Arms
Savage Axis II Precision
1 shared compatibility tags
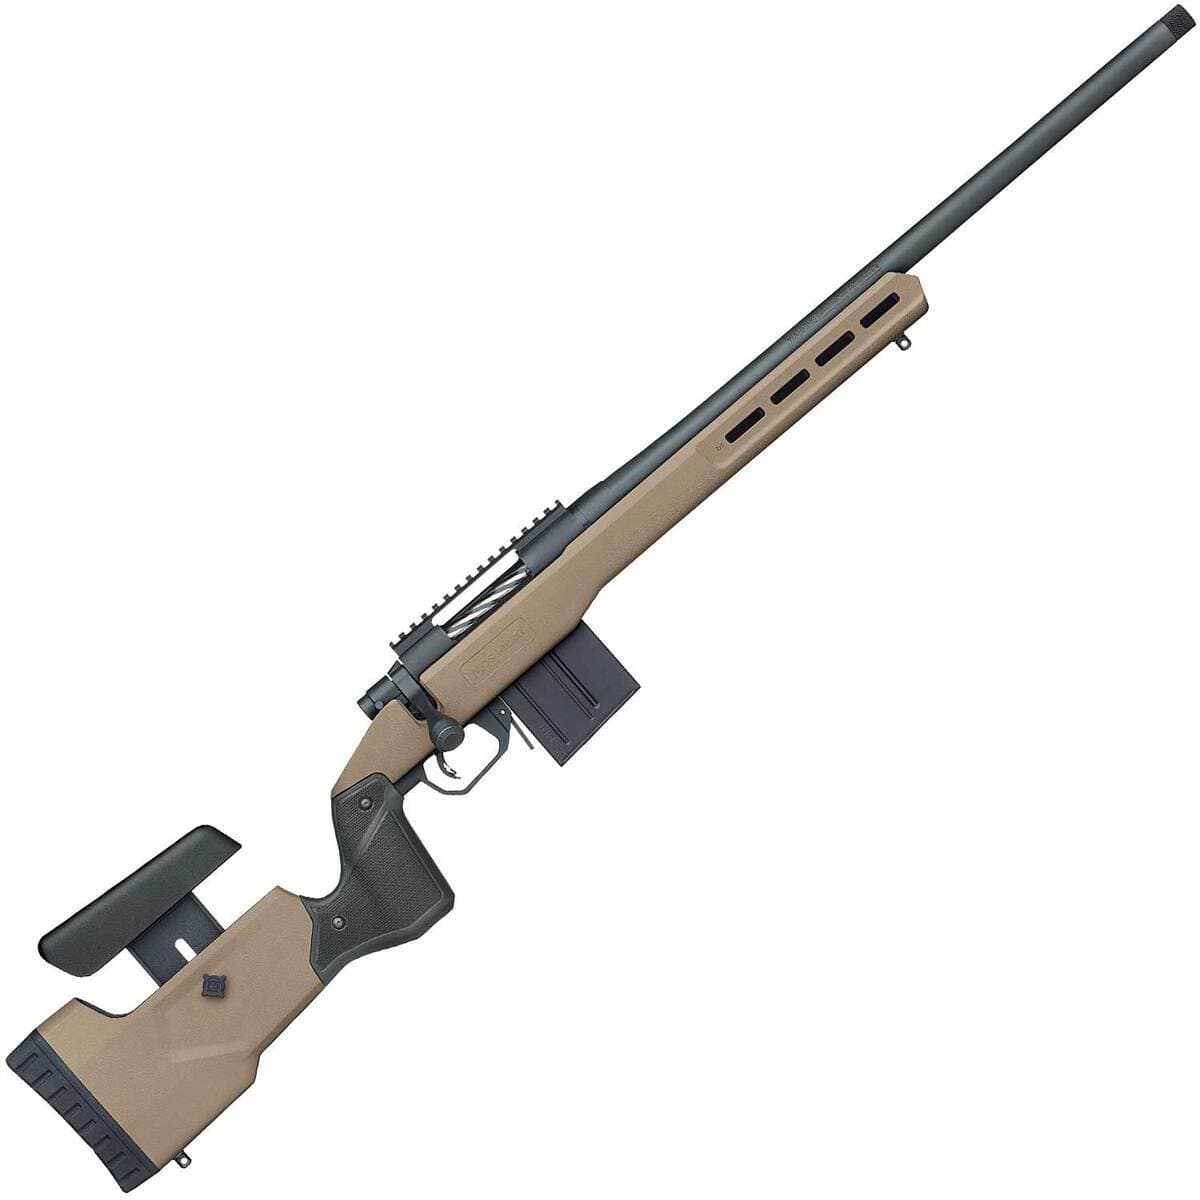
Mossberg
Mossberg Patriot LR Tactical
1 shared compatibility tags
Similar Products
Compatible Platforms
+207 more
Compatibility Tags
Build Your Custom Configuration
Add the Primary Arms SLx 3x MicroPrism to your build and see how it enhances your platform.