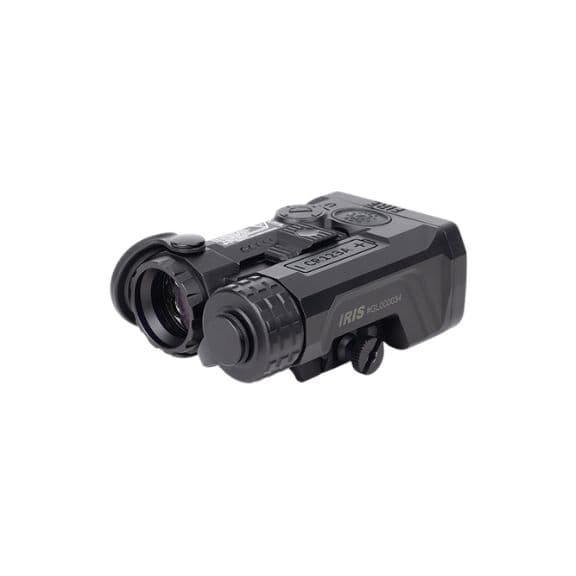
Holosun IRIS-GR3
VCSEL IR laser/illuminator with green visible laser
- Price
- $900
- Weight
- 6.4 oz
- Brand
- Holosun
- Category
- Lasers
Featured in
Best Holosun Optics 2026: Top Rifle & Pistol Red Dots Ranked (AEMS, 509T, ARO)
guide · gear · 11 min read
Best IR Illuminator for AR-15 2026: Top 8 Ranked (MAWL, RAID Xe, Holosun, DBAL)
guide · thermal · 18 min read
Holosun SHOT Show 2026: HM3X-MICRO, IRIS-ARC & New X3 Optics
article · news · Jan 17, 2026
Features
- •60mW VCSEL IR illuminator
- •Flood/spot adjustment
- •Green visible + IR laser
Capability Boosts
Recommended For
+14 more
Where to Buy
Compare current prices and availability from retailers we work with.
Holosun IRIS 3 Triple Function Green Multi-Laser Device, Black, IRIS-GR3
Holosun IRIS-3 VCSEL Green/IR Laser Sight with IR Illuminator with Picatinny Mount Black
Price History
90-day low $899.99 · at low nowMore rifle guides & articles
Guides

Overview
The Holosun IRIS-GR3 (Integrated Rifle Infrared System) combines co-aligned visible green and infrared aiming lasers in a redesigned package that is 43% lighter and 20% lower in profile than the previous LS321 series. Constructed from 7075-T6 aluminum, the IRIS-GR3 features a Class 3R visible green laser under 5mW, Class 1 IR laser under 0.7mW, and 60mW VCSEL IR illuminator. This integration allows precise zeroing during daylight using the visible laser with seamless transition to IR functionality for night operations.
The VCSEL (Vertical-Cavity Surface-Emitting Laser) technology used in the IRIS-GR3 eliminates the granular, speckled illumination pattern common in traditional IR illuminators, providing smooth, consistent infrared lighting. The top-mounted beam-adjustment slider tunes the IR illuminator from flood to spot, while co-aligned visible and IR aiming lasers simplify daylight zeroing. An IPX8 waterproof rating ensures reliable operation in harsh wet conditions.
At 6.4 ounces, the IRIS-GR3 represents a significant weight savings over competing systems while maintaining professional-grade performance. The compact design reduces the visual signature on the rifle and minimizes interference with other accessories. While the IR illuminator power is limited by civilian eye-safety regulations, the VCSEL technology maximizes effective range within these constraints, making the IRIS-GR3 an excellent choice for users prioritizing weight savings and clean illumination patterns.
Key Features
- Co-aligned Class 3R green (<5mW) and Class 1 IR (<0.7mW) lasers
- 60mW VCSEL IR illuminator eliminates speckled patterns
- 43% lighter and 20% lower profile than LS321 series
- Hard-anodized 7075-T6 aluminum housing with IPX8 waterproofing
- 7075-T6 aluminum construction (6.4 oz total weight)
- 1000G vibration resistance
- Daylight zeroing with green laser automatically aligns IR
Pros
- +Significant weight and size reduction vs previous generation
- +VCSEL technology provides superior IR illumination pattern
- +Co-aligned lasers simplify zeroing procedures
- +Precise 1/2 MOA adjustments for accurate zero
- +IPX8 waterproof ensures reliable operation
- +Compact form factor minimizes rail space consumption
Cons
- −Civilian eye-safe IR power lower than military units
- −Premium pricing for advanced VCSEL technology
- −Limited effective IR illuminator range compared to LED units
- −Battery life shorter than some competitors
Setup & Operation
Step-by-step procedures for setting up, operating, and maintaining the Holosun IRIS-GR3.
- → Install the CR123A and Confirm Power
- → Mount the IRIS-GR3 to a Picatinny Rail
- → Read the Two-Selector Mode and Power Layout
- → Activate the Laser and Set the Auto-Off Timer
- → Zero the Co-Aligned Lasers
- → Tune the IR Illuminator Spot Size
- → Install and Use the Crane Remote Cable Switch
- → Clean and Store the IRIS-GR3
Install the CR123A and Confirm Power
The IRIS-GR3 runs on one CR123A, and the cap sits at the front of the housing so a cell swap does not require pulling the unit off the rail.
Low-battery behavior is a steady red indicator LED. Holosun sets the threshold at 2.3 V DC, so once that LED stays lit the cell is nearly flat and should be replaced before a night session rather than during one.
- • One CR123A battery
- • Clean cloth for the O-ring
- 01
Clear the firearm
Remove all ammunition and magazines, verify an empty chamber, and confirm the firearm is unloaded. Holosun puts this first in the manual's warning list, ahead of any battery or mounting work.
- 02
Unscrew the battery cap counter-clockwise
Turn the cap CCW until it comes free, then remove and properly discard the used cell.
- 03
Inspect the compartment and the O-ring
Check the battery compartment for dirt, moisture, or corrosion and clean it if needed. Inspect the O-ring seal on the cap for sand and dirt particles and for damage. A compromised O-ring is what costs you the IPX8 rating.
- 04
Install the cell in the marked orientation
Seat the CR123A in the orientation marked on the housing, then thread the battery cap back on in a CW direction.
- 05
Verify power before you trust it
Rotate the power selector to L, set the mode selector to VIS, and press the activation button. The green laser should light. A steady red indicator LED instead means the cell is under 2.3 V DC.
Do not store the IRIS-GR3 with the battery installed. Holosun lists this as a standing warning, and a cell left in a stored unit is how contacts corrode.
Mount the IRIS-GR3 to a Picatinny Rail
The integral clamp uses a single screw driven by the included T10 Torx tool and is specified at 30 inch-pounds. Holosun rates the return-to-zero shift at less than 2 MOA when the unit is removed and reinstalled, which is the tolerance that makes it reasonable to pull the laser for transport.
Forward pressure while tightening is what indexes the clamp block against the rail slot. Skip it and the screw will still hold torque while the unit walks under recoil.
- • Included T10 Torx tool
- • 30 in-lb torque limiter or inch-pound driver
- 01
Loosen the clamp screw
Use the included T10 Torx tool to loosen the clamp screw by rotating counter-clockwise. Back it off only far enough to open the clamp.
- 02
Open the clamp block onto the rail
Adjust the clamp block enough to attach the mount to a Picatinny rail. Pick a slot that puts the activation button under your support hand without forcing you to break your grip.
- 03
Torque the clamp screw to 30 in-lb
Apply forward pressure to the IRIS and tighten the mounting clamp screw to 30 inch-pounds. Use an inch-pound driver or a torque limiter; hand feel on a short T10 overshoots this value easily.
- 04
Check the clamp before you leave the bench
Pull the unit fore and aft. Any movement means the clamp block is not seated in the rail slot. Loosen, reseat with forward pressure, and retorque.
Holosun's under-2-MOA remount figure is a specification, not a guarantee for your rifle. Confirm the zero after a remount before you trust it past close range.
Read the Two-Selector Mode and Power Layout
The IRIS-GR3 splits control across two rear-facing selectors rather than the single multi-position wheel used on the IRIS-GR4. The power selector sets OFF, L, or H. The mode selector picks which emitter that power level drives: VIS, IR, IL, or DI. Four modes across two power levels is the whole map, and both selectors have to be set before the activation button does anything.
A green indicator LED lights whenever IR, IL, or DI is active, so you can confirm infrared output without putting on night vision.
- 01
OFF, L, and H on the power selector
OFF powers down the unit. L is the low power setting for the visible laser, the infrared laser, and the illuminator; H is the high setting for all three. On the GR3 the visible laser runs under 1 mW on low and under 5 mW on high, and the IR laser runs under 0.4 mW and under 0.7 mW.
- 02
VIS, the visible laser pointer
Drives the 520 nm green pointer only. This is the daylight zeroing mode and the only output you can see without a night vision device.
- 03
IR, the infrared laser pointer
Drives the 850 nm infrared pointer only, at 0.5 mrad divergence. A clean aiming dot under night vision with no flood signature.
- 04
IL, the infrared illuminator
Drives the 850 nm VCSEL illuminator only, rated under 10 mW on low and under 60 mW on high. This is the mode you search and identify with, not the one you aim with.
- 05
DI, dual IR pointer plus illuminator
Runs the infrared pointer and the illuminator together. This is the standard engagement mode under night vision because it gives you the aiming dot and the lit scene at the same time.
The GR3's visible laser is an FDA Class 2 product on the low setting and Class 3R on high, both under 5 mW; the IR laser and the IR illuminator are Class 1. Holosun's warnings apply to all of them: do not look directly into the laser beam, do not look into it through binoculars or telescopes, do not point it at mirror-like surfaces, and avoid direct eye and skin exposure.
Activate the Laser and Set the Auto-Off Timer
Both activation styles run off the single center-mounted activation button. A held press is momentary and capped at 60 seconds, and the laser cuts at that mark even with the button still down. A double press latches constant on for five minutes.
The five-minute auto-off is itself programmable, and the programming sequence runs with the power selector on OFF, which is the one control position where the activation button does something other than fire an emitter.
- 01
Set power, then mode
Rotate the power selector to H or L, then rotate the mode selector to VIS, IR, IL, or DI. Nothing fires until both are set.
- 02
Momentary on
Press and hold the activation button. The selected emitter stays lit until you release it, to a maximum of 60 seconds. Past 60 seconds the laser turns off while the button is still pressed.
- 03
Constant on
Double press the activation button. The emitter runs continuously for up to five minutes and then shuts off automatically. A single short press powers it off early.
- 04
Program the auto-off timer
Dial the power selector to OFF and hold the activation button for five seconds. One flash of the visible laser means the five-minute auto-off is active. Three flashes mean it is deactivated.
Leave auto-off active for general use. Turning it off is for a deliberate long observation window, and with it disabled a bumped activation button will run an emitter until the cell is dead.
Zero the Co-Aligned Lasers
The visible and infrared emitters are co-aligned, so zeroing the green laser in daylight also zeros the IR pointer. That is the practical argument for a GR3 over an IR-only unit: you never need a night vision device on the line to establish the zero, only to confirm it.
Elevation is on top of the housing and windage is on the right side. Both take the flat-tipped end of the included tool in the turret slot. Each click is approximately 0.5 MOA and total travel is 50 MOA either side of center. Read the direction table twice before you start counting clicks: clockwise on the top turret moves impact UP, which is the opposite of the convention on most riflescope elevation turrets.
- • Included Holosun multi-tool (flat-tipped end)
- • Stable rest or sandbags
- • Paper target at your chosen zero distance
- • Night vision device to confirm the IR pointer
- 01
Stage the target and do the click math
Set a paper target at your chosen zero distance and shoot from a stable rest. At 0.5 MOA per click that is roughly 8 clicks per inch at 25 yards and 4 clicks per inch at 50 yards.
- 02
Select VIS on high power
Set the power selector to H and the mode selector to VIS. High power puts the green dot at under 5 mW, which is the easiest output to spot on paper in daylight.
- 03
Fire a three-round group
Hold the green dot on your aiming point and fire three rounds. Measure the group center against the dot's position, not against your irons or optic.
- 04
Adjust elevation on the top turret
Insert the flat-tipped end of the included tool into the top turret slot, marked U. Clockwise moves point of impact up and counter-clockwise moves it down.
- 05
Adjust windage on the right-side turret
Move to the turret on the right side of the housing, marked R. Clockwise moves point of impact left and counter-clockwise moves it right.
- 06
Confirm, then verify the IR pointer under night vision
Fire a confirming group with the visible laser. Then switch the mode selector to IR and check under a night vision device that the infrared dot falls on the same hold. Co-alignment is set at the factory, but confirming it is the only way to know a hard impact has not shifted it.
Stop the moment a turret binds. Travel is 50 MOA either side of center, and Holosun warns that forcing a knob past the mechanical limit will damage the adjustment turret. Running out of travel before the dot reaches your group points at the mount or the rail, not the laser.
Tune the IR Illuminator Spot Size
The IR focus slider on top of the housing works only in IL and DI modes. Push the slider forward to increase the illuminator spot size and slide it back toward you to decrease it. Divergence is adjustable from 15 to 120 mrad, which spans a tight spot for distance identification out to a wide flood for rooms and yards.
The slider does nothing to the pointers. Both the visible and infrared aiming lasers are fixed at 0.5 mrad.
Run the slider near the flood end for anything inside a house or a yard. A tight spot at close range lights a circle smaller than the thing you are trying to identify. Pull it back toward spot only when you need reach.
Install and Use the Crane Remote Cable Switch
The included pressure pad plugs into the remote port on the rear of the housing, behind a rubber cover. It carries two buttons with different jobs. The rectangular button mirrors the on-body activation button exactly, including the momentary and constant-on behavior.
The circular button is the one worth memorizing. It is a visible-laser override: pressing it fires the low-power visible laser in any power setting, OFF included, so you can mark something for an unaided observer without touching either selector.
- • Included T10 Torx tool
- 01
Plug the switch into the remote port
Remove the rubber cover from the remote port and insert the plug of the remote cable switch into the port until it seats.
- 02
Loosen the clamp screws
Use the included T10 Torx tool to back the remote switch clamp screws out counter-clockwise, far enough to fit the pad over a Picatinny rail.
- 03
Clamp the pad where your hand already rests
Apply forward pressure to the remote cable switch and tighten the clamp screws just enough to prohibit movement without over-tightening. These are small screws in a pressure pad, not a rail mount.
- 04
Test both buttons against the selectors
Rectangular button: should behave exactly like the on-body activation button, momentary on a hold and constant on with a double press. Circular button: should fire the low-power visible laser even with the power selector dialed to OFF.
Clean and Store the IRIS-GR3
Blow the dust off the lenses first, then wet the glass with lens cleaner or clean water and wipe smudges away with lens tissue, soft cotton, or a microfiber cloth. Never take a dry cloth or tissue paper to the glass, and skip organic solvents such as alcohol and acetone entirely.
The internal parts are specially cleaned, sealed, and treated with an anti-fog coating. Holosun voids the warranty on any attempt to dismantle the device, and there is nothing user-serviceable inside worth the trade.
Set the selector to OFF before inspecting the lenses, and do not store the IRIS-GR3 with the battery installed. Both are explicit warnings in the manual.
Detailed Specifications
- visibleLaser
- Class 3R green, <5mW
- irLaser
- Class 1, <0.7mW
- irIlluminator
- 60mW VCSEL
- Wavelength
- 520nm green; 800-880nm IR laser and illuminator
- Battery Type
- One CR123A
- Mount Type
- Picatinny rail
- Waterproof Rating
- IPX8
- Material
- 7075-T6 aluminum, anodized
- dimensions
- 3.2 x 1.97 x 1.34 inches
- weight
- 6.4 oz
- temperatureRange
- -30°C to 51°C operating
- vibrationResistance
- 1000G
Pairs Well With
Top matches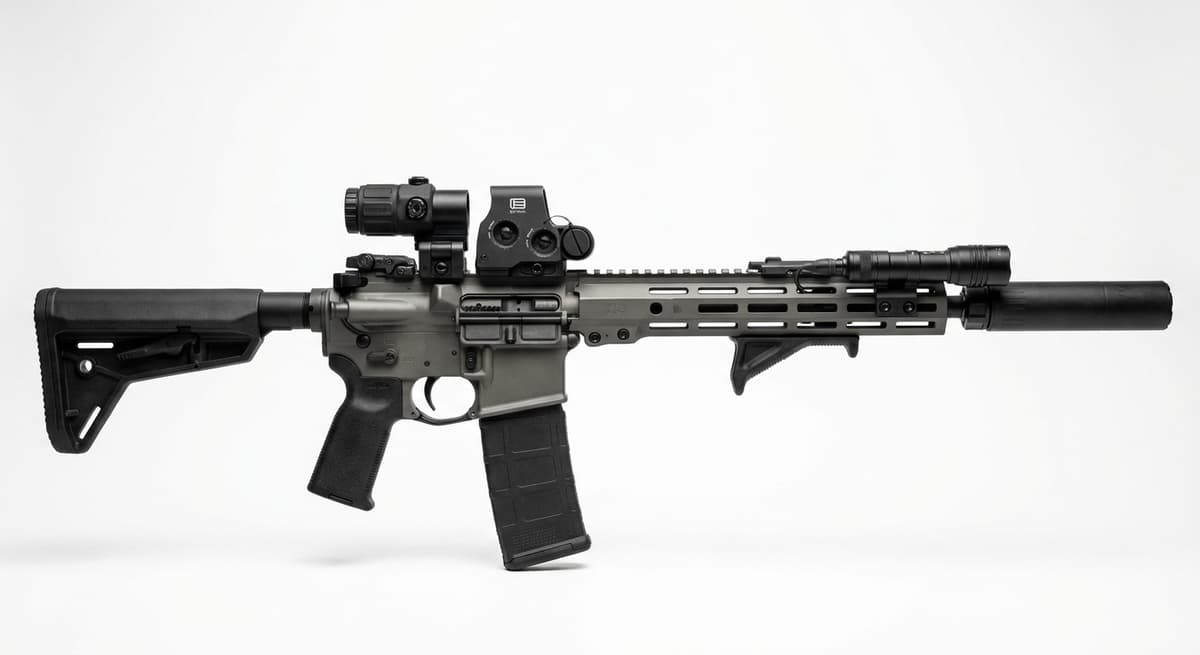
Custom
Custom AR-15 (Build From Scratch)
1 shared compatibility tags
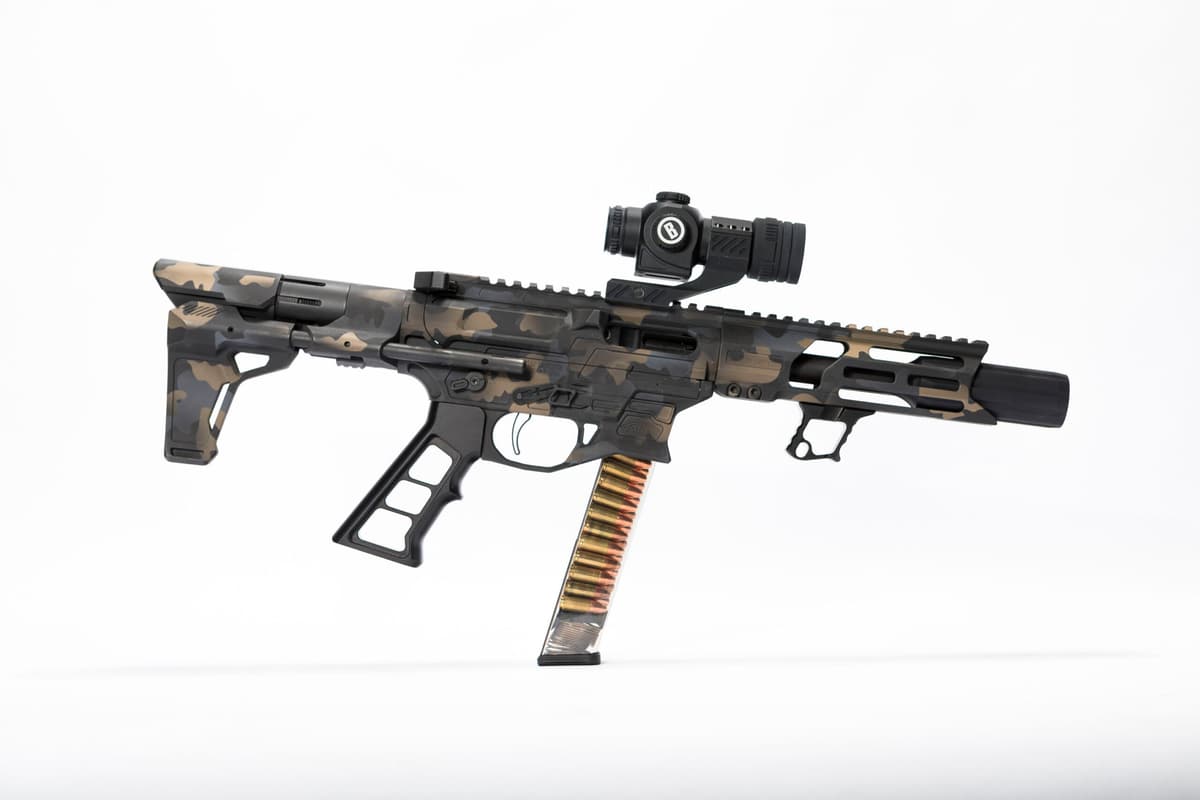
Custom
Custom AR-9 (Build From Scratch)
1 shared compatibility tags
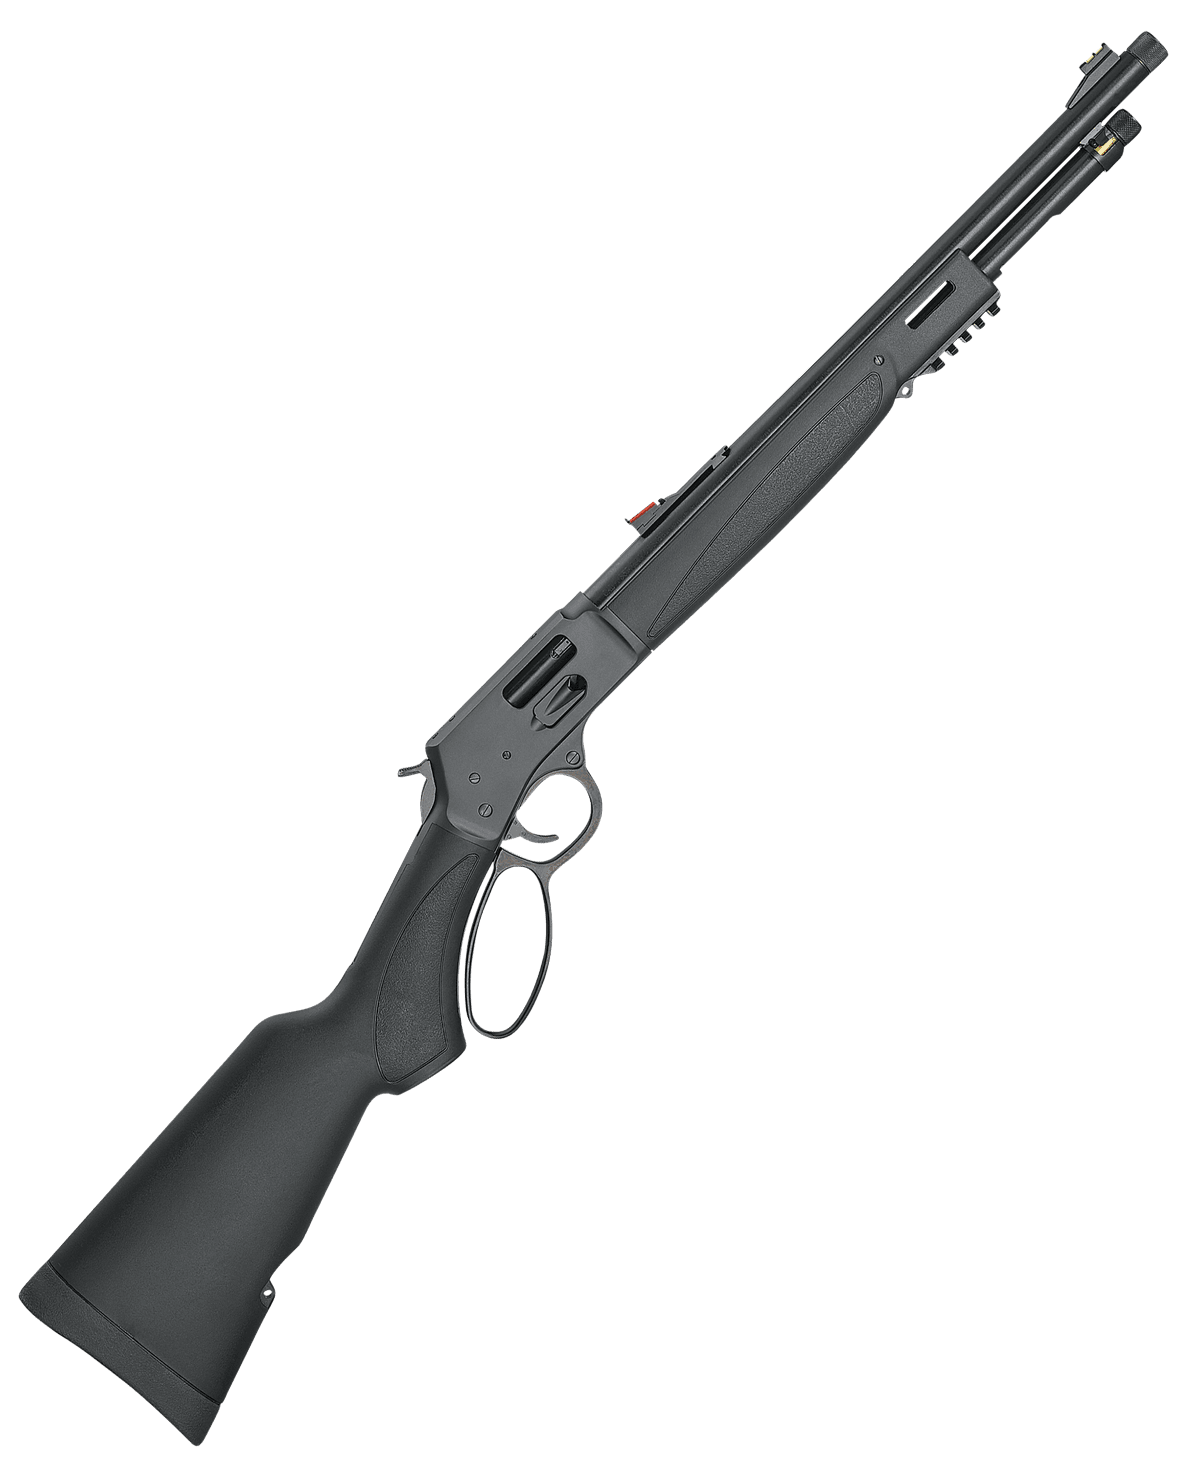
Henry Repeating Arms
Henry Big Boy X Model (.357 Magnum)
1 shared compatibility tags

Kalashnikov USA
Kalashnikov USA KR-103
1 shared compatibility tags
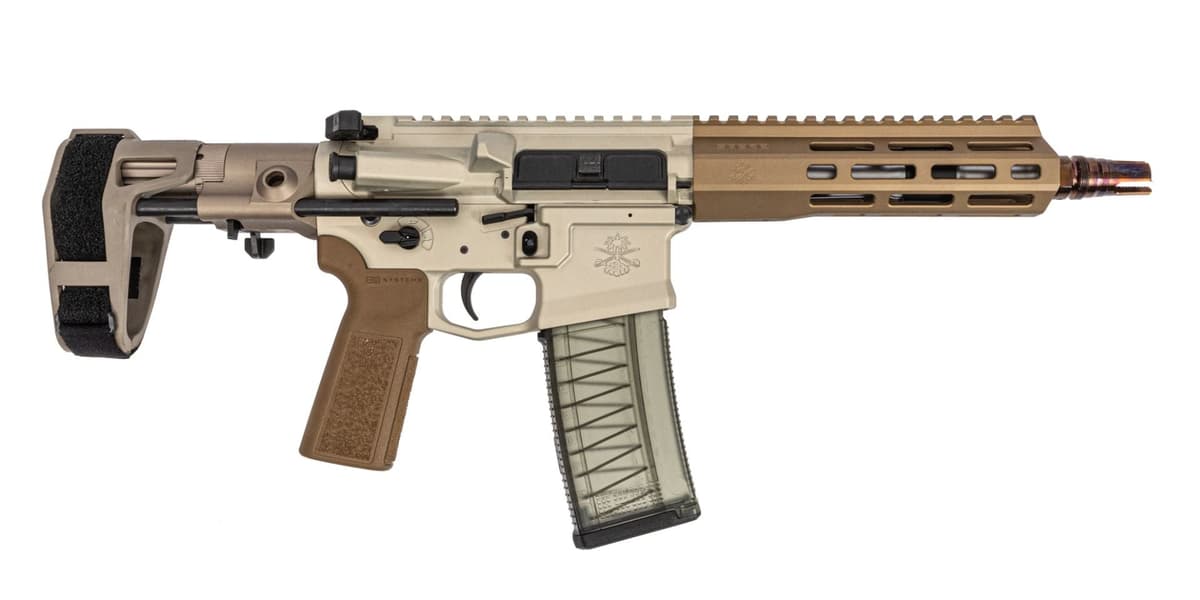
Palmetto State Armory
PSA Sabre Enhanced Mixtape Vol. 1 8" 300 BLK Pistol
1 shared compatibility tags
Palmetto State Armory
PSA Olcan 14.5" 5.56 KeyMo Rifle, FDE
1 shared compatibility tags
Similar Products
Compatible Platforms
+228 more

Compatibility Tags
Build Your Custom Configuration
Add the Holosun IRIS-GR3 to your build and see how it enhances your platform.