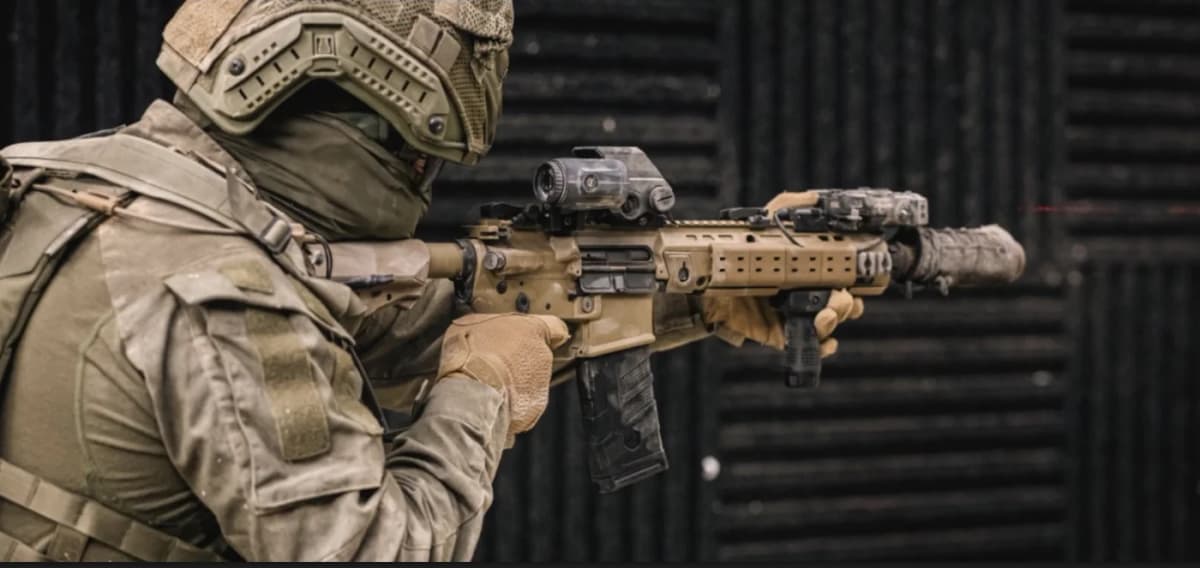
With red dot
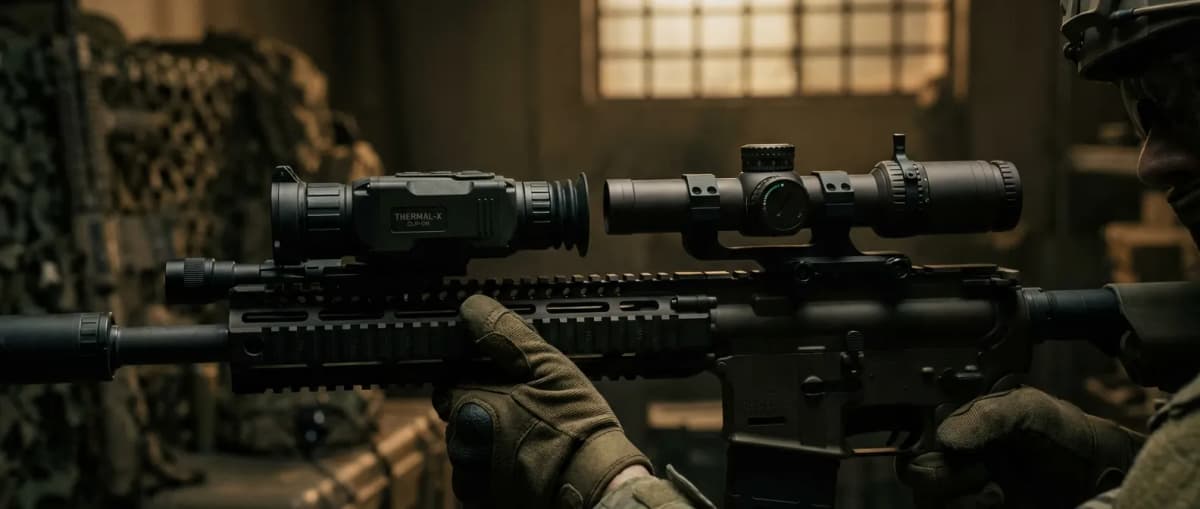
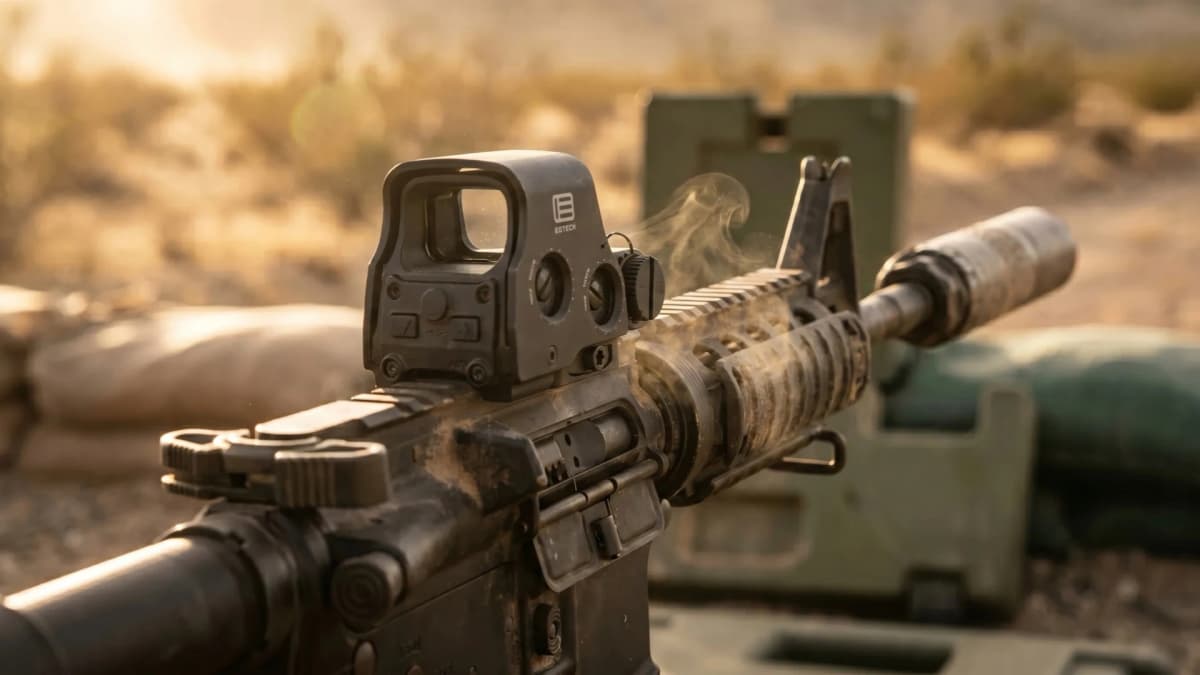
Simplest pairing. The red dot overlays on the thermal image for fast CQB target acquisition. Works best with 1.93-inch or higher mounts for proper clip-on alignment. Ideal for home defense or patrol rifles.
Best clip-on thermal optics for AR-15 compared against dedicated thermal scopes: Pulsar Krypton 2 and SIG ECHO CV25, plus dedicated alternatives like AGM Rattler V3 and Bering Super Yoter. Mounting guide, zero workflow, clip-on thermal vs dedicated scope, and NVG/red dot compatibility.
The best clip-on thermal optics for AR-15 let you add night capability to any rifle without sacrificing your day optic zero. We compare the top clip-on thermals, explain how to mount and zero them, and cover everything from red dot pairing to NVG compatibility so you can pick the right unit for your mission and budget.
Side-by-side comparison of the top clip-on thermal optics for AR-15. All four units use 640-class sensors for clear target identification. Weight, runtime, and detection range vary significantly by lens size and design.
| Model | Type | Sensor | Lens | Detection | Weight | Runtime | Price | Best For |
|---|---|---|---|---|---|---|---|---|
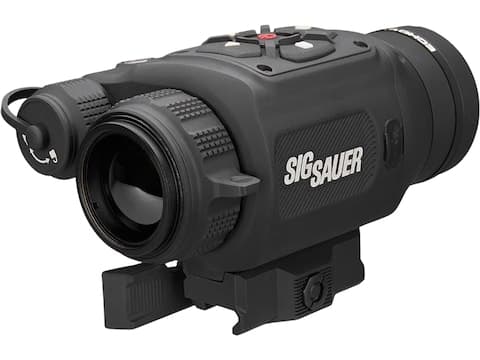
| SIG ECHO CV25 | Clip-on | 640x480 12µm | 25mm | 1,200 yd | 18.8 oz w/o battery | 9+ hr | $4,499.99 MSRP | Compact clip-on, BDX |
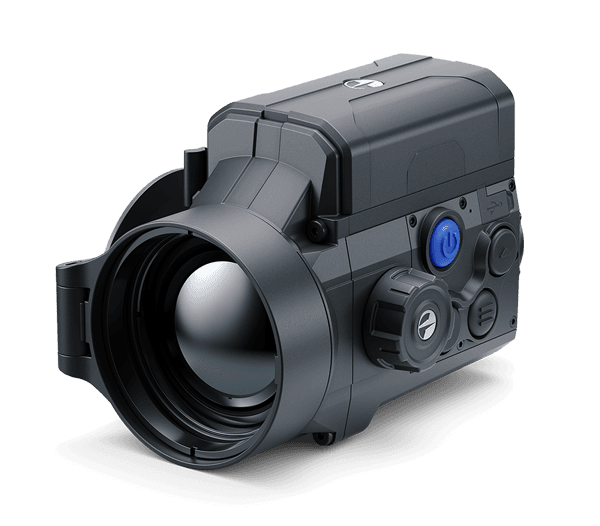
| Pulsar Krypton 2 FXG50 | Clip-on | 640x480 12µm | 50mm | 2,000 yd | 28 oz | 5 hr | $4,500 | Longest range |
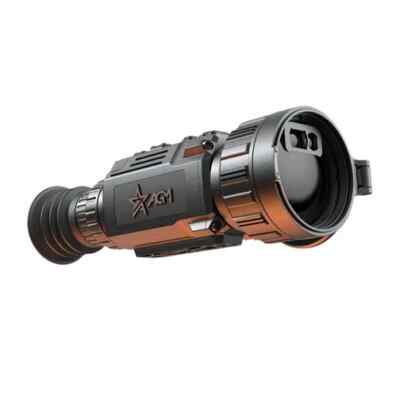
| AGM Rattler V3 LRF 35-640 | Dedicated scope | 640x512 12µm | 35mm | 1,600 yd | 22 oz | 6 hr | $4,200 | Dedicated thermal riflescope |
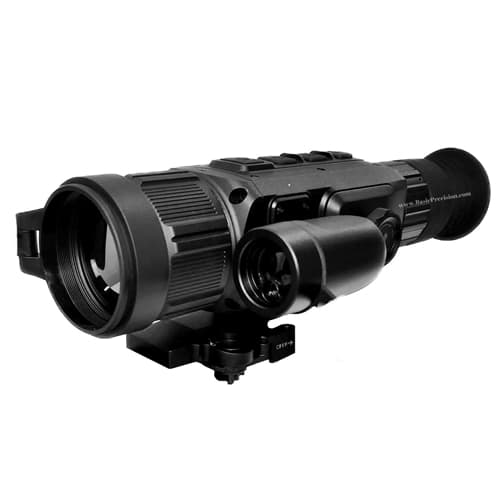
| Bering Super Yoter LRF | Dedicated scope | 640x480 12µm | 50mm | 1,800 yd | 26 oz | 5.5 hr | $3,800 | Dedicated thermal weapon sight |
New for May 2026: the ATN TICO 6 ships in 256x192, 384x288, and 640x512 sensor tiers with a new 6th-generation thermal core, SharpIR AI processing, and an entry MSRP of $1,205. The 640 model competes directly with the Krypton 2 and SIG Echo at a lower price point; the 256 tier opens up a sub-$1,500 current-gen clip-on bracket that did not exist 18 months ago.
Clip-on thermals and dedicated thermal scopes serve different missions. Understanding the tradeoffs helps you pick the right approach for your AR-15.
| Factor | Clip-On Thermal | Dedicated Thermal Scope |
|---|---|---|
| Day optic zero | Preserved: remove and shoot day optic | Lost: thermal replaces day optic |
| Image quality | Good (passthrough adds slight loss) | Better (direct sensor-to-eye path) |
| Multi-rifle use | Easy: move between rifles | Dedicated to one rifle |
| Setup complexity | Moderate (alignment + POI check) | Simple (mount and zero once) |
| Price range | $3,000-$4,500 | $3,000-$8,000+ |
| Best for | Multi-purpose AR-15 owners | Dedicated night hunting rigs |
Bottom line: If your AR-15 serves double duty (day and night), a clip-on thermal is the better investment. If you have a dedicated night hunting rifle, a thermal scope offers simpler operation and better image quality. For a budget-to-premium cross-shopping breakdown of both designs aimed at predator hunters, see our thermal clip-on vs scope picks for coyote hunting, or jump straight to our best thermal scope rankings if you have already settled on a standalone night sight.
New clip-on thermal reviews, NVG pairing guides, and night shooting setups when published.
Clip-on thermals work with most day optics, but pairing matters. Here is how each combination performs, plus how thermal fits with your night vision setup.
Simplest pairing. The red dot overlays on the thermal image for fast CQB target acquisition. Works best with 1.93-inch or higher mounts for proper clip-on alignment. Ideal for home defense or patrol rifles.
Magnified thermal imaging at higher power settings. The Pulsar Krypton 2 FXG50 pairs especially well with 1-6x or 1-8x LPVOs for mid-to-long-range thermal detection.
Clip-on thermal and helmet-mounted NVGs serve different roles. Use NVGs for movement and awareness, thermal for scanning and engaging at distance. See our IR illuminator guide for aiming devices, the ballistic helmet and helmet setup guide for the NVG-side stack, or the Vortex Veil 400 or the ATN Blaze Series Gen 6 for a handheld thermal scanner.
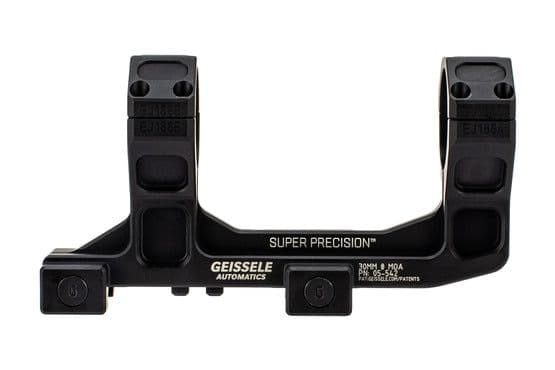
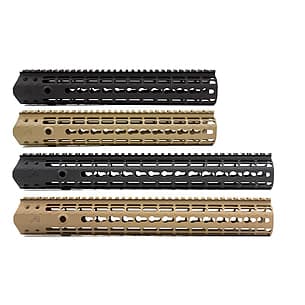
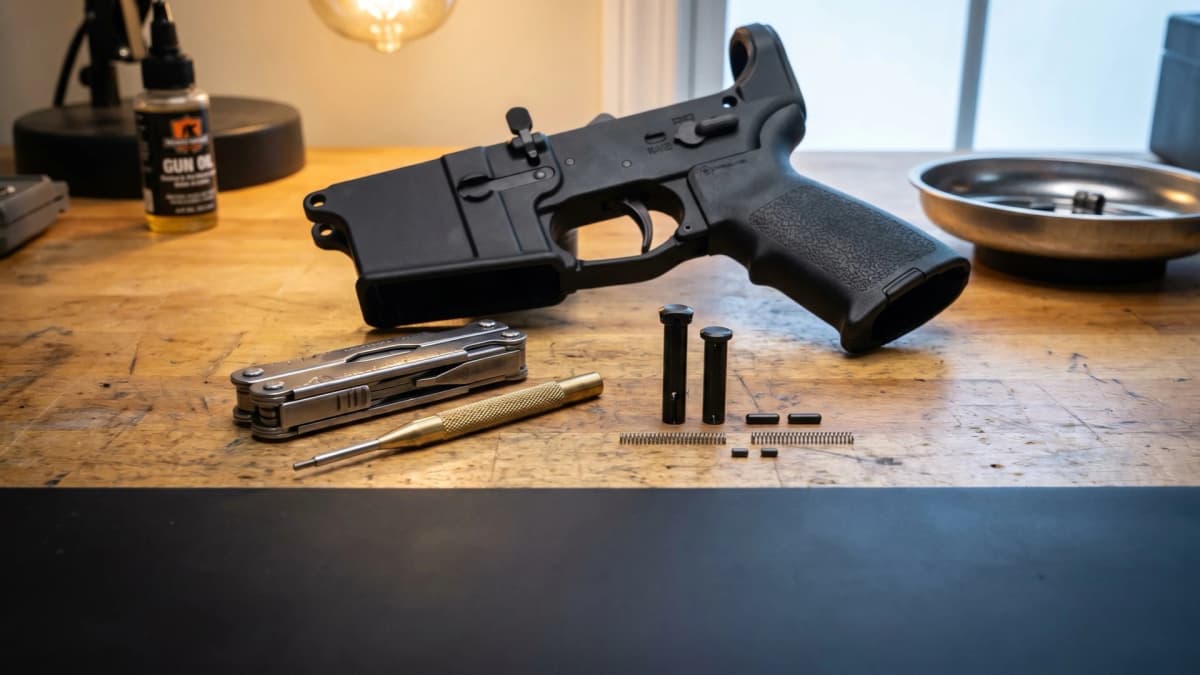
Start with a rigid host so the thermal device repeats. Rail length, optic height, and blast control all influence image quality and point of impact stability. For rail selection, see our handguard guide.
Treat the clip-on as part of your mount stack. Establish a baseline day optic zero, then layer in repeatable attachment, alignment, and POI tracking steps. Our optic zeroing guide covers the day optic zero process in detail.
POI drift guardrails
Clip-on units add weight and crave power. Plan for runtime, sling balance, and lens care so the device is always ready when you clip it on.
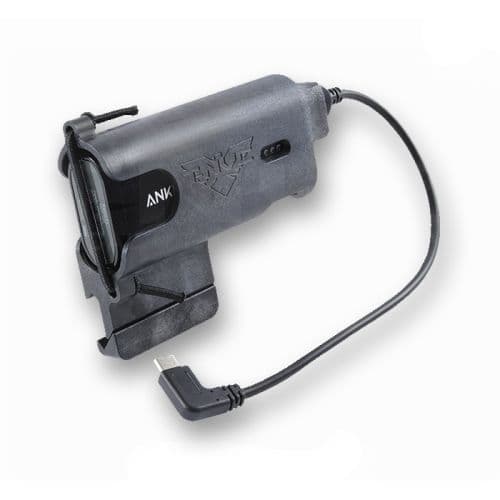
Use fresh 18650/CR123 cells or external battery packs with strain relief. Cold weather cuts runtime, so pre-warm spares.
Clip-ons shift balance forward. Adjust sling QD points and tension so the rifle hangs flat and doesn't torque your wrist.
Store the clip-on in a padded pouch with lens caps closed. Keep microfiber cloths and a lens pen in the same pocket.
Battery safety
Use protected cells or manufacturer-approved batteries. Secure cable routing for external packs so sling movement cannot tug on connectors mid-recoil. A suppressor also reduces flash and blast that can degrade sensor lenses on shorter barrels.
Always verify export controls and local regulations before ordering.
Affiliate links - purchases support this site at no extra cost to you. (?)
Affiliate links - purchases support this site at no extra cost to you. (?)

Avid shooter with 10+ years of experience including competition shooting, and an associate member of the Professional Outdoor Media Association (POMA). Built 10+ AR-pattern rifles and several handgun platforms for home defense, competition, and suppressed night shooting.
This page contains affiliate links. Purchases through these links support the site at no extra cost to you. Read the affiliate disclosure
Ready to continue? Here's the recommended next guide:
Set up AR-15 suppressors correctly. Learn host preparation, backpressure management, POI shift tracking, mount selection, and overgassing fixes for reliable suppressed operation.
Or explore a related topic:
AR-15 Build Guide 2026->Continue exploring with these related resources
Suppressed AR-15 blowback hits your eyes and airway through the charging handle gap. These ported, sealed, and raised-lip gas-busting handles fix it. Ranked by mechanism and value.
The AR-15's factory takedown and pivot pins sit nearly flush, so most shooters fight them with a punch every time. Ranked extended, easy-install, and titanium sets from Battle Arms, Strike Industries, V Seven and more.

Extended buttons, ambidextrous catches, and oversized controls that make AR-15 reloads faster. Ranked picks for every budget, from a $18 Magpul button to the proven Norgon Ambi-Catch.
Related articles and industry updates
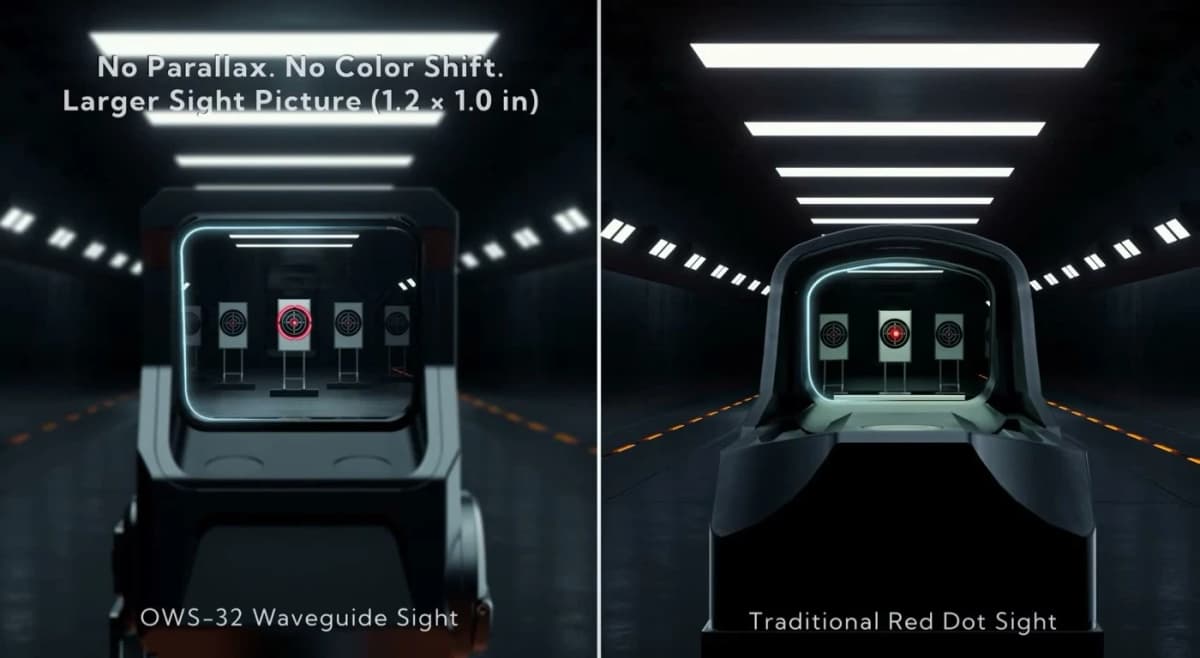
The INFITAC OWS-32 optical waveguide sight is now officially available at $549: a 1.26 x 1.0 inch window, seven user-selectable reticles, 1500-hour CR123A runtime, IP67 waterproof to 33 ft, and zero forward light signature. Positioned as a third category beyond red dot and holographic.
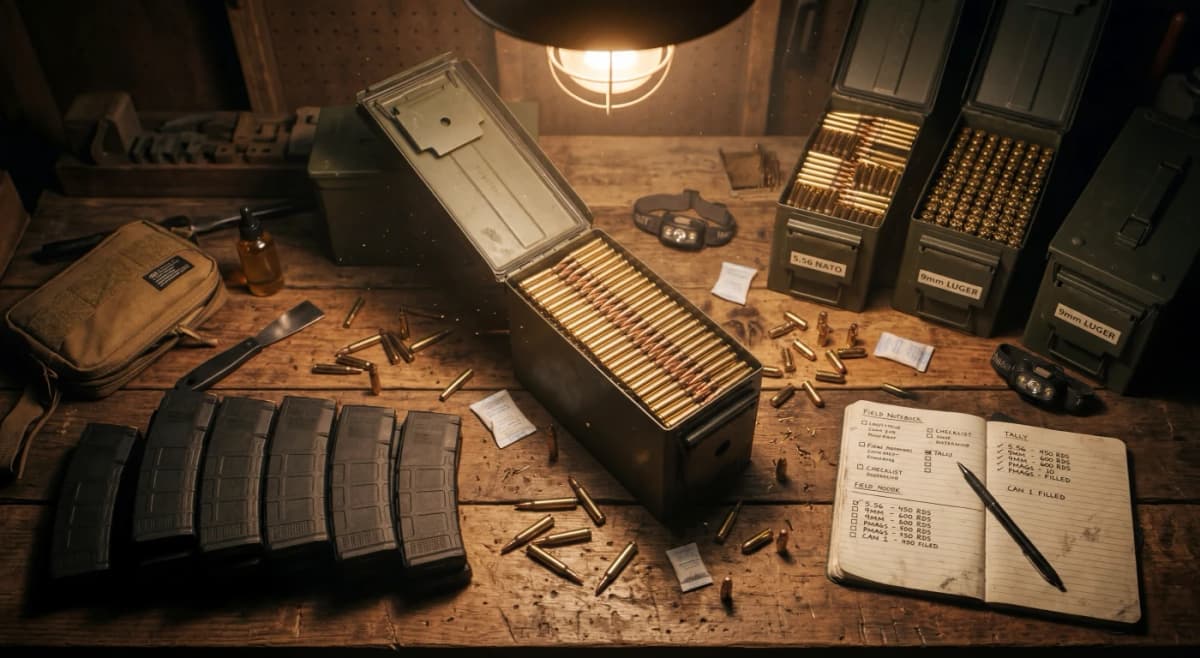
Oil infrastructure attacks, AI-driven semiconductor demand, and geopolitical instability are creating supply chain pressure on ammunition, optics, and emergency gear. Prioritized buying checklist: ammunition, magazines, optics, spare parts, and general emergency preparedness.
Meprolight introduces the STING Lumina, a compact dual-wavelength laser pointer combining visible laser, IR laser, and adjustable IR illuminator in a MIL-STD-810-rated package under 250g. Powered by a single AA battery.