EOTech OGL-C Commercial Power
Commercial-power On-Gun Laser with VCSEL IR illuminator, green visible laser, and IR aiming laser
- Price
- $1,999
- Weight
- 8 oz
- Brand
- EOTech
- Category
- Lasers
Features
- •VCSEL IR illuminator
- •515nm green visible laser
- •830nm IR laser
- •30-105 MRAD adjustable
Capability Boosts
Recommended For
+14 more
Where to Buy
Compare current prices and availability from retailers we work with.
EOTech OGL Commercial Power Green Visible IR Laser Sight Black
Price History
90-day low $1909.00 · at low nowMore rifle guides & articles
Guides


Overview
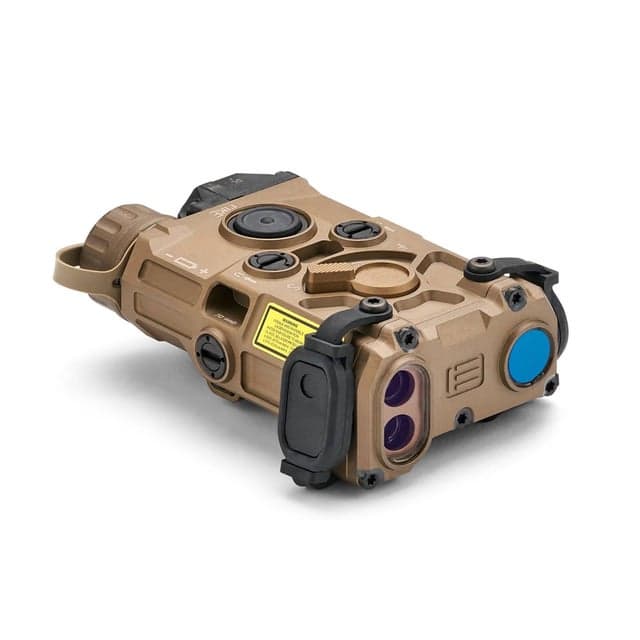
The EOTech OGL-C Commercial Power is the consumer-available version of EOTech's On-Gun Laser platform. It keeps the OGL's compact aluminum housing, top-rail-oriented layout, co-aligned aiming lasers, and sliding VCSEL illuminator control while using commercial-power, eye-safe output levels for the general market.
The OGL-C combines a 515nm green visible aiming laser rated at 5mW on high, an 830nm IR aiming laser rated up to 0.67mW, and an 850nm VCSEL IR illuminator rated up to 30mW. The illuminator shifts from roughly a 30 MRAD spot to a 105 MRAD flood using EOTech's sliding adjustment lever, letting users tune the beam for distance or close-range flood without a separate illuminator head.
Powered by one CR123 lithium battery, the OGL-C is rated for up to 9 hours of runtime in an 8 oz package measuring 4.1" x 2.3" x 1.5". EOTech lists Black and Tan commercial variants and includes a Crane-type remote port with a Modlite 7-inch switch. The standard-power OGL remains a separate MIL/LE-oriented product, so use the OGL-C row for public catalog recommendations and commercial purchase paths.
Key Features
- High-performance VCSEL IR illuminator with clean beam quality
- Patent-pending ergonomic lever for instant spot-to-flood adjustment (30-105 MRAD)
- 515nm green visible laser rated at 5mW on high
- 830nm IR aiming laser rated up to 0.67mW
- 850nm IR VCSEL illuminator rated up to 30mW
- Single CR123 battery with 9 hours continuous runtime
- Compact size: 4.1" x 2.3" x 1.5"
- Machined aluminum housing for extreme durability
- Available in Black or Tan commercial variants
- Designed for human performance under extreme stress
- Crane-type remote port with Modlite 7-inch switch included
Pros
- +Consumer-available version of EOTech's OGL platform
- +VCSEL technology provides clean, speckle-free illumination
- +Unique ergonomic lever for instant illuminator adjustment
- +Excellent 9-hour battery life from single CR123
- +Compact form factor (4.1" × 2.3", 8 oz)
- +Professional-grade durability and construction
- +Intuitive operation optimized for stress conditions
Cons
- −Premium direct and street pricing
- −Commercial-power output is lower than standard-power MIL/LE OGL
- −Relatively new to market compared to MAWL/DBAL
- −Limited field history vs established competitors
Setup & Operation
Step-by-step procedures for setting up, operating, and maintaining the EOTech OGL-C Commercial Power.
- → Install the CR123 and Read the Function Indicator
- → Mount the OGL-C to a MIL-STD-1913 Rail
- → Read the 8-Position Mode Selection Switch
- → Activate the Lasers with the Fire Button
- → Install the Remote Cable Switch
- → Program the IR Aim Laser Pulse Rate
- → Focus the IR Illuminator from Spot to Flood
- → Boresight the Aim Lasers at 25 Meters
- → Zero the Aim Lasers and the IR Illuminator
- → Use the Blue Safety Screws and Protective Covers
- → Clean the OGL-C
Install the CR123 and Read the Function Indicator
One CR123 lithium cell powers the whole device. The battery cap is tethered, and a laser engraving on top of the housing shows the correct cell orientation, so there is no reason to guess at polarity in the dark.
The function indicator sits between the OFF and visible AL positions on the mode selection switch and tells you the state of both the emitter and the battery. Steady green means a laser is active and battery power is good. Red flashing twice every four seconds means the cell is under roughly 10 percent. A steady red for two seconds every time you change modes is the one to act on: it means the device has limited itself to factory default power levels and needs EOTech service.
- • One CR123 lithium battery
- • Cotton swab and clean cloth for the O-ring
- 01
Clear the weapon and set the switch to OFF
Clear and make the host weapon safe, then rotate the mode switch to OFF and close both protective covers before touching the battery compartment.
- 02
Remove the battery cap counterclockwise
Turn the battery cap counterclockwise until it pulls away from the battery compartment. The cap is tethered by a lanyard ring, so it will not fall into the grass.
- 03
Inspect the O-ring before the new cell goes in
Check the battery O-ring for damage, remove any debris with a cotton swab, and confirm the O-ring is seated in its groove. The OGL-C is rated water resistant to 16 feet, and the O-ring is the only thing holding that.
- 04
Install the cell by the engraved orientation mark
Slide the new CR123 in following the orientation laser engraving on top of the housing. The positive end goes toward the inside of the battery compartment.
- 05
Thread the cap and verify immediately
Align the cap with the compartment and thread it clockwise, checking the threads before tightening so you do not cross-thread it. Rotate the mode switch to the visible AL setting, press the fire button, and confirm the function indicator illuminates.
Remove the battery whenever the OGL-C is not in use. EOTech makes this a standing caution: the cell comes out before the device is installed on or removed from a firearm, before it is transferred, before it ships, and for any long-term storage.
Mount the OGL-C to a MIL-STD-1913 Rail
The rail grabber uses a locking nut, a locking bar, and a small cross bolt that drops into a rail groove. EOTech specifies 5 plus or minus 0.5 Nm, which is 44 plus or minus 4.5 inch-pounds, on the locking nut. That is roughly 50 percent more clamp torque than most laser QD levers ask for, so use a torque wrench rather than the included multi-tool if you have one.
The OGL-C can sit on the top or either side of the rail, and the adjustment directions change with it. Decide the mounting position before you zero, because the windage and elevation tables in the manual are position-specific. What does not change is the requirement that the rail be parallel to the bore.
- • Included multi-tool or a flat screwdriver
- • Inch-pound torque wrench set to 44 in-lb
- 01
Clear the weapon and safe the device
Clear and make the host weapon safe, set the mode switch to OFF, close the aim laser and illuminator protective covers, and remove the battery before mounting.
- 02
Open the rail grabber
Turn the locking nut counterclockwise, then slide the locking bar outward toward the locking nut to create space for the rail.
- 03
Seat the cross bolt in a rail groove
With the front of the OGL-C facing the muzzle, set it on the rail at your chosen position and let the cross bolt rest fully in the closest groove. The cross bolt, not the nut, is what stops the device moving under recoil.
- 04
Push forward and torque the locking nut
Push the device as far forward as it will go and turn the locking nut clockwise. EOTech recommends 5 plus or minus 0.5 Nm, which is 44 plus or minus 4.5 inch-pounds.
- 05
Recheck the mount after the first string
Fire a few rounds, then check that the mount and device are still tight. A loose or improperly seated OGL-C shows up as a zero that will not hold rather than as obvious movement.
Do not tighten the blue safety screws with excessive force, and watch for scratches and dents when you have a tool near the housing. Both are explicit cautions in the manual.
Read the 8-Position Mode Selection Switch
The rear mode selection switch carries eight positions: three visible-side positions and five infrared. Reading right through OFF, the order is visible AH, visible AL, OFF, IR AL, IR DL, IR AH, IR IH, and IR DH. There is no low-power illuminator-only position; the illuminator runs alone only at IH, or paired with the IR aim laser at DL and DH.
EOTech built in tactile references so you can find the important positions blind. OFF is identified by the direction of the switch knob, which points to 9 o'clock, and a lug on the switch marks the three high-power positions you are most likely to want in the dark: visible AH, IR AH, and DH.
- 01
AH and AL, visible side
Positions 1 and 2 select the visible aim laser at high and low power. The 515 nm green beam is what you use for daylight work, boresighting, and any time a night vision device is not practical.
- 02
OFF
Position 3 powers no laser. This is the storage and transport position, and it is also where the IR aim laser pulse rate is programmed.
- 03
AL and AH, infrared aim laser
Positions 4 and 6 select the 830 nm IR aim laser at low and high power. The aim laser shares an optical bench with the visible laser, so both move together when you adjust the aim laser turrets.
- 04
IH, infrared illuminator
Position 7 runs the 850 nm VCSEL illuminator alone at high power. The illuminator sits on its own optical bench with its own windage and elevation adjusters, which is what lets you offset it from the aim laser deliberately.
- 05
DL and DH, dual infrared
Positions 5 and 8 run the IR aim laser and the IR illuminator together at low and high power. DL is also the mode the manual uses to zero the illuminator to the aim laser, because you can see both beams at once.
The OGL-C is a Class 3R laser product. EOTech's warnings are explicit: do not stare or even glance into the laser beams, do not expose anyone's eyes to them, do not view the lasers with ANY optical instruments, and do not direct them at mirrors or reflective surfaces. Terminate emissions immediately if optical aids are in use near the beam. The manual lists the unaided nominal ocular hazard distance for the visible aim laser on high at 70 m, extending to 465 m through 7x50 magnifying optics.
Install the Remote Cable Switch
The OGL-C ships with a Modlite ModButton Lite and a Crane standard receptacle at the bottom of the mode switch. The remote fire button behaves identically to the one on the housing, momentary and continuous and override all included, so nothing about your manual of arms changes when you move to the pad.
EOTech calls for 5 inch-pounds on the remote's rail grabber bolts using the T10 wrench in the multi-tool. That is a deliberately low number; the pad clamps a polymer body to a rail and does not need carbine-mount torque.
- • Included multi-tool with T10 wrench
- • Inch-pound driver set to 5 in-lb
- 01
Set the mode selector to OFF
The manual requires the mode selector to be at OFF whenever the remote switch is installed or removed.
- 02
Pull the jack plug
Remove the jack plug at the bottom of the mode switch. Keep it; when you run without a remote, the plug is what keeps debris out of the receptacle.
- 03
Seat the remote plug
Insert the plug of the remote cable switch into the jack and press firmly until it is fully seated. A partially seated Crane plug reads as an intermittent switch.
- 04
Clamp the pad at 5 in-lb
Attach the remote switch to the weapon rail using the included multi-tool T10 wrench and tighten the rail grabber bolts to 5 inch-pounds.
- 05
Organize the cable
Route the cable so it cannot be caught by hands, equipment, or external factors. When you disconnect the remote, pull from the plug and never from the wire.
Program the IR Aim Laser Pulse Rate
The IR aim laser runs continuous wave by default and can be switched to pulse at 2, 4, or 8 pulses per second. The programming sequence reuses the mode switch positions as a menu, which is why it starts with the switch at OFF and the fire button already held down.
Whatever rate you set survives a power cycle and a battery change, so this is a set-once operation rather than something to redo before each session.
- 01
Hold the fire button from OFF
Set the mode switch to the OFF position, then press and hold the fire button. Keep holding it through the next step.
- 02
Rotate to the position for the rate you want
While still holding the fire button, rotate the mode switch to the position that corresponds to the rate: AL for continuous wave, DL for 2 pulses per second, AH for 4 pulses per second, and IH for 8 pulses per second.
- 03
Watch the green indicator
The green LED flashes in a cycle matching the mode switch position you selected, which confirms the device registered the choice before you commit it.
- 04
Release to commit
Release the fire button. The program completes and the green indicator flashes three times after one second.
The programmed rate is retained until you set a new one, including through a power-off and a battery replacement. If the aim laser is flashing when you expect a steady dot, the device is in pulse mode, not failing.
Focus the IR Illuminator from Spot to Flood
The focus lever on top of the housing varies illuminator beam divergence between S for spot, the narrowest setting at 30 mrad or wider, and F for flood at 105 mrad or wider. The exit port for the illuminator is on the front left of the device, on its own optical bench separate from the aim lasers.
The illuminator protective cover carries a diffuser. Flipped closed over the port, it spreads the beam to light a wide area, and EOTech notes it is most effective with the focus lever already at the flood setting. Flip the cover to the side of the housing when you want the raw beam.
Pattern generators for the IR aim laser are sold separately and are not included. They install in place of the aim laser protective cover, come in four shapes embossed on the cover for identification, and do not block the visible aim laser.
Boresight the Aim Lasers at 25 Meters
Boresighting gets the aim laser close enough that live-fire zeroing takes one or two groups instead of a box of ammunition. It works because the visible and IR aim lasers share an optical bench: align the visible beam in daylight and the infrared beam comes with it.
The adjusters are slotted and take the included multi-tool, a screwdriver, or a piece of spent brass. Each click is approximately 0.2 mrad, which is 0.5 cm at 25 m, 1 cm at 50 m, and 2 cm at 100 m. Total travel is 25 mrad either side of center.
- • Included multi-tool, a flat screwdriver, or spent brass
- • 25 meter zeroing target
- • A zeroed optic or iron sights on the host weapon
- 01
Select an aim laser on low power
Use the mode selector to pick the visible aim laser at AL for daylight, or the IR aim laser at AL if you are working through a night vision device.
- 02
Aim with the weapon's own zeroed sight
Using the weapon's zeroed optic or sights, aim at a 25 meter zeroing target and hold the rifle steady.
- 03
Turn the laser on and walk it to the sight
Double tap the fire button to latch the laser on, then adjust the aim laser until it co-witnesses with the weapon's sight. A second person makes this substantially easier.
- 04
Shut down and move to live fire
Tap the fire button to turn the laser off and return the mode selector to OFF. The OGL-C is now boresighted and ready for live-fire confirmation.
If resistance increases while you are turning an adjuster, you have reached the end of the adjustment range. Do not turn it any farther; EOTech warns that serious damage to the device may occur. If you used a laser borelight, remove it from the weapon before firing.
Zero the Aim Lasers and the IR Illuminator
Zeroing moves the visible and IR aim lasers together, so you only do it once. The illuminator is zeroed separately afterward, because it has its own windage and elevation adjusters and because a deliberate offset is sometimes what you want.
Adjustment direction depends on where the device is mounted. Top mounted, clockwise on the aim laser elevation adjuster moves the shot group up and clockwise on the side windage adjuster moves it right. The illuminator adjusters run the opposite way in elevation: clockwise on the top elevation adjuster moves the illuminator beam down. Side-mounted installations swap the roles of the two adjusters entirely, so check the table for your mounting position before you count clicks.
- • Included multi-tool, a flat screwdriver, or spent brass
- • Stable rest
- • Night vision device to see the IR aim laser and illuminator
- 01
Select an aim laser at low power and latch it on
Set the mode switch to visible AL or IR AL, then double tap the fire button to select continuous mode so you are not holding a button through the string.
- 02
Fire a three-shot group
Using the same ammunition you plan to shoot or hunt with, fire a three-shot group at your preferred zero distance.
- 03
Move the beam to the group, not the group to the beam
Keeping the barrel steady on your aiming point, adjust the aim laser windage and elevation so the beam aligns with the approximate center of the three-shot group.
- 04
Confirm with a second group
Fire another three-shot group to check that it now centers on the bullseye, and repeat the adjustment as needed. Each click is 0.5 cm at 25 m, 1 cm at 50 m, and 2 cm at 100 m.
- 05
Switch to DL to zero the illuminator
With the aim lasers zeroed, set the mode switch to IR DL. Dual low power shows the IR aim laser and the illuminator at once through a night vision device.
- 06
Center the aim laser in the illuminator beam
Dial the illuminator windage and elevation adjusters until the IR aim laser beam sits in the center of the illuminator beam, or at whatever offset you prefer. Return the mode switch to OFF when you are done.
A night vision device is required to see the IR aim laser and the IR illuminator at all. In direct sunlight the visible aim laser can be hard to pick up at distance or against some backgrounds, which is the argument for doing the fine work at dusk.
Use the Blue Safety Screws and Protective Covers
Two blue safety screws physically block access to the high-power laser positions on the mode selection switch. They come out with the 2 mm hex wrench in the included multi-tool, and when they are not blocking the switch they store in a dedicated holder on the left side of the housing.
The tethered protective covers do more than keep dust off the glass. The aim laser cover blocks the beam from being emitted if the device is activated unintentionally, which is why EOTech wants it closed for storage, battery replacement, mounting, removal, and maintenance.
For storage and transport, set the mode switch to OFF, install the blue safety screws, close both protective covers, and remove the battery. For force-on-force training, the manual permits only the laser modes classified as Class 1 or Class 3R, and only when personnel are beyond the nominal ocular hazard distances listed in its safety table.
Clean the OGL-C
Blow the dirt and dust off the laser ports first. The glass is coated with anti-reflection material, so wipe fingerprints and lubricants off only with lens tissue or a soft cotton cloth that has been moistened with lens cleaning fluid or glass cleaner. Never clean the glass with a dry cloth.
For the housing, an occasional wipe with a damp soft cloth is the whole maintenance program. Use only water-based cleaners such as glass cleaner, ammonia, or soap and water. Never use a solvent-type cleaner such as alcohol or acetone, and never use gun cleaner to clean or lubricate the device.
Never disassemble the OGL-C optical assembly. There are no user-serviceable components inside, and disassembly voids the warranty and damages the device. Operator-level maintenance is limited to the protective covers, hinges, blue safety screws, jack plug, battery O-ring, and battery cap.
Detailed Specifications
- visibleLaser
- 515nm green, <=5mW high output, Class 3R
- irLaser
- 830nm, <=0.67mW high output, Class 1
- irIlluminator
- 850nm VCSEL, <=30mW high output, 30-105 MRAD divergence, Class 3R
- Battery Type
- Single CR123 lithium
- Battery Life
- Up to 9 hours
- dimensions
- 4.1 x 2.3 x 1.5 inches
- weight
- 8 oz
- Mount Type
- Picatinny rail
- Material
- Machined aluminum
- Finish
- Black or Tan
- Switch Type
- Crane-type remote jack; Modlite 7-inch switch included
- restrictions
- Commercial-power OGL-C is consumer available; standard-power OGL is separate
Pairs Well With
Top matches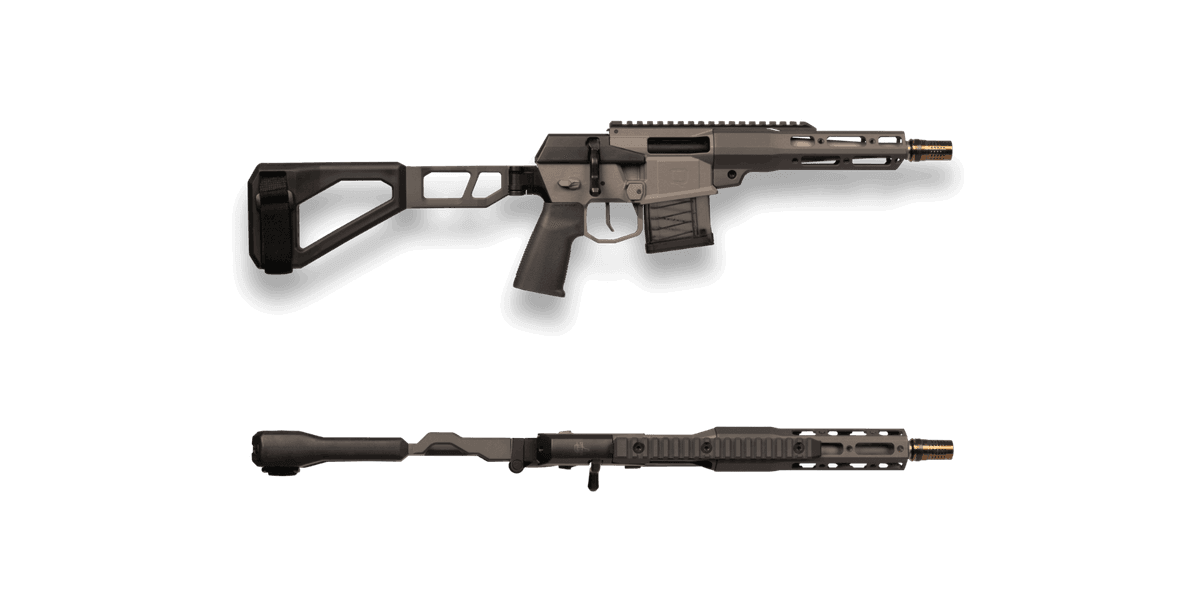
Q LLC
Q Mini Fix 300 BLK Pistol
1 shared compatibility tags
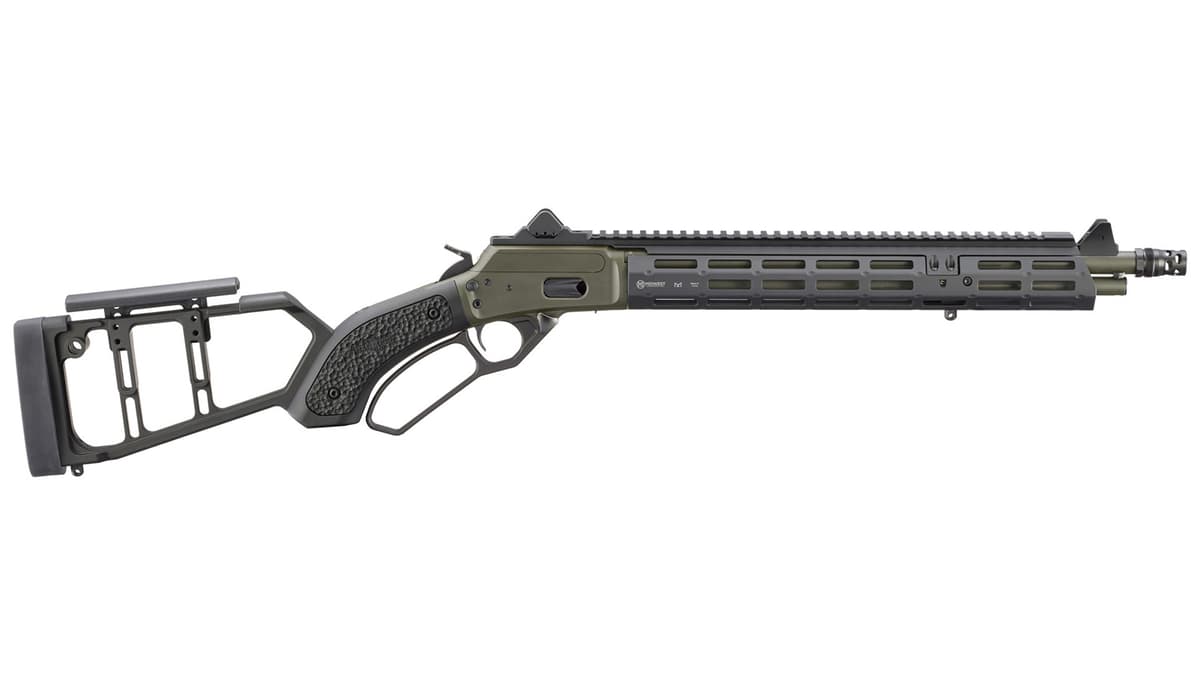
Marlin
Marlin Mad Pig Customs Model 1894
1 shared compatibility tags
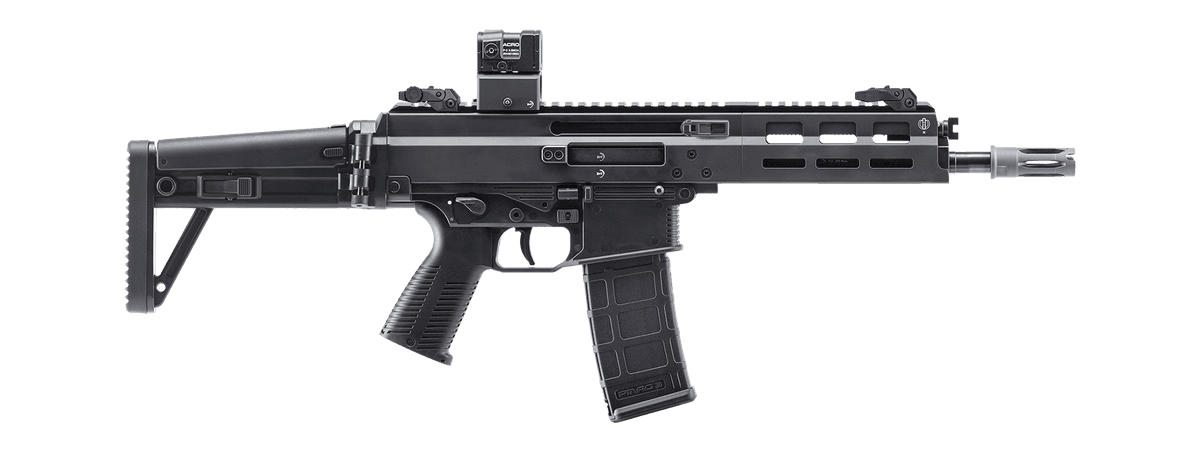
B&T
B&T APC223 PRO 420 mm
1 shared compatibility tags
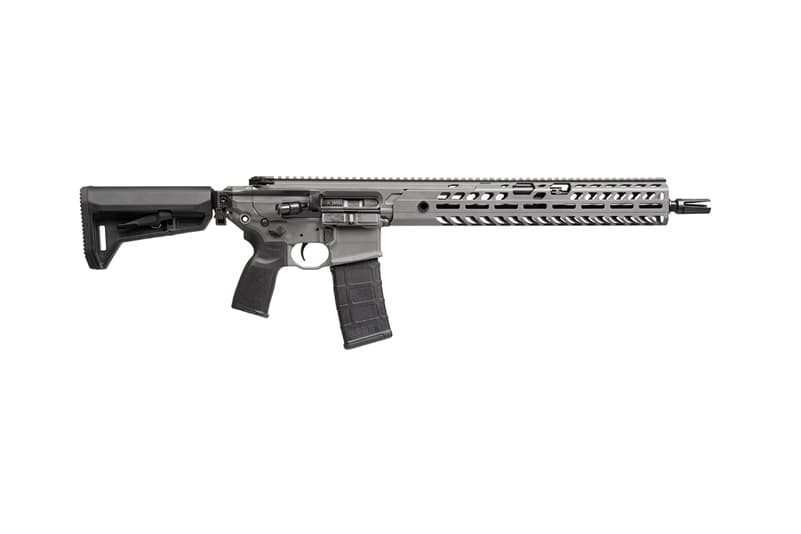
Sig Sauer
Sig MCX Virtus Patrol 16"
1 shared compatibility tags
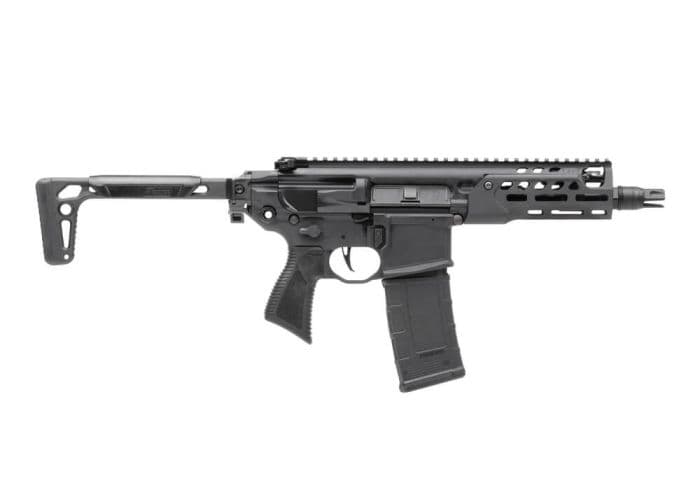
Sig Sauer
Sig MCX Rattler LT 6.75"
1 shared compatibility tags
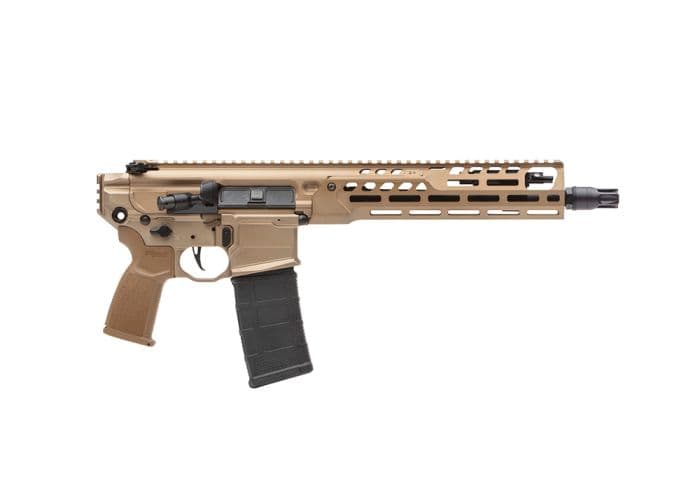
Sig Sauer
Sig MCX Spear-LT 11.5"
1 shared compatibility tags
Similar Products
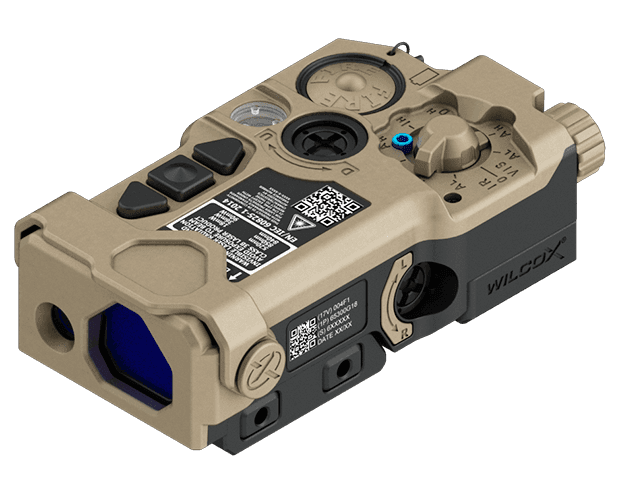
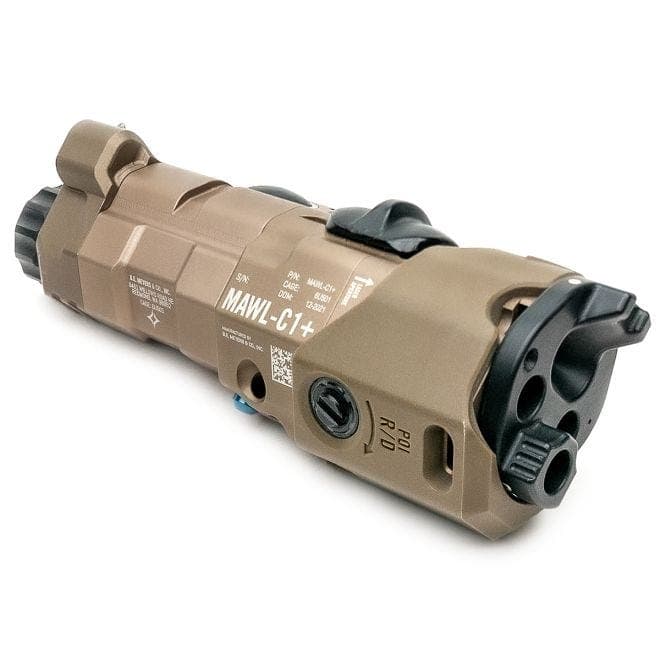
Compatible Platforms
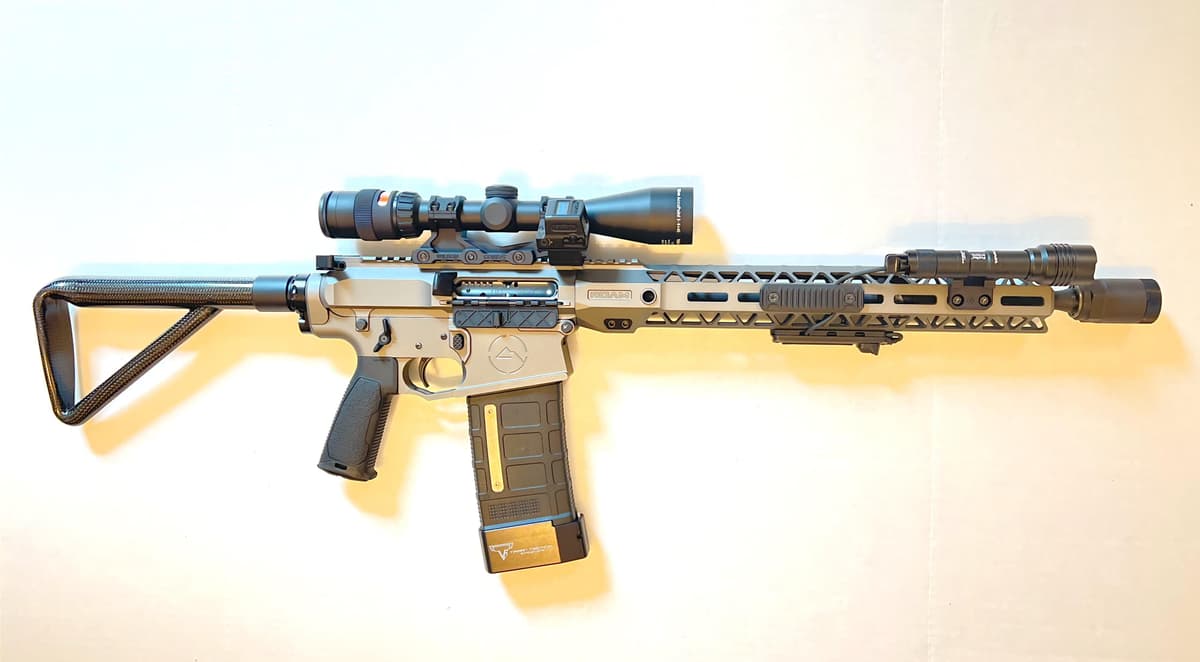
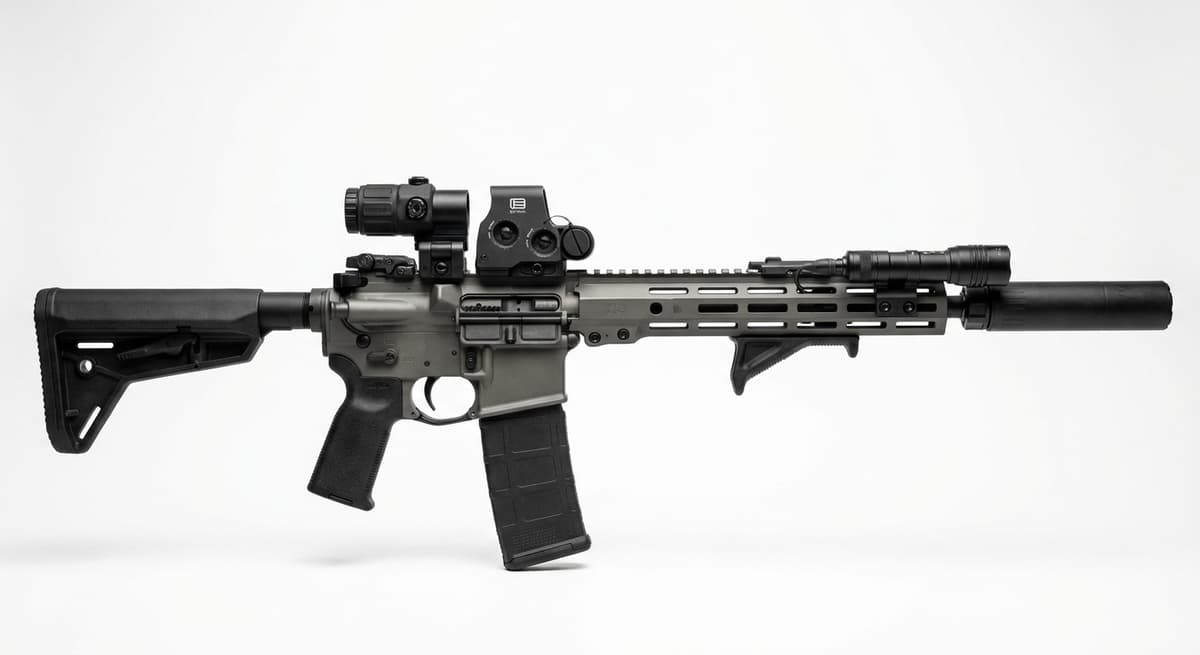
Compatibility Tags
Build Your Custom Configuration
Add the EOTech OGL-C Commercial Power to your build and see how it enhances your platform.