Wilcox RAID Xe Low Power
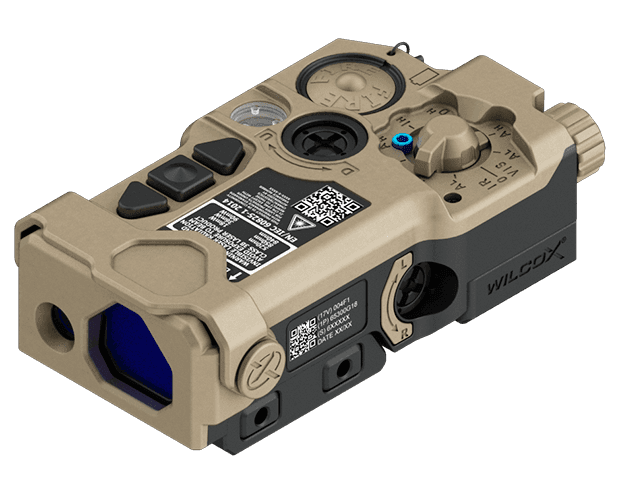
Low-power RAID Xe laser/illuminator with co-aligned optical bench and ERGOCTO controls
- Price
- $3,353
- Weight
- 6.9 oz
- Brand
- Wilcox
- Category
- Lasers
Featured in

Features
- •Co-aligned visible/NIR lasers
- •VCSEL IR illuminator
- •40° NIR room illuminator
- •ERGOCTO remote support
Capability Boosts
Recommended For
+14 more
Where to Buy
Compare current prices and availability from retailers we work with.
Wilcox RAID Xe Aiming/Illumination Laser, Red Beam Low Power, Black, 65300G12-B
Price History
90-day low $3352.52More rifle guides & articles
Guides



Overview
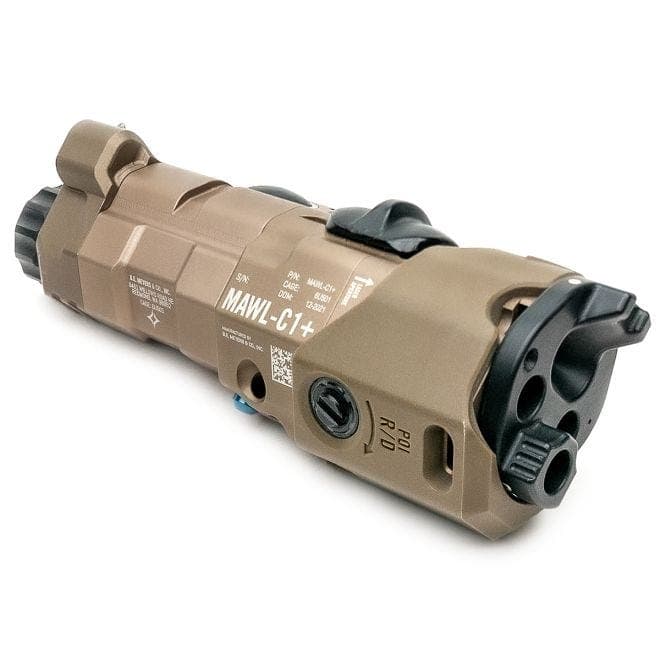
The Wilcox RAID Xe Low Power is the lower-output version of Wilcox's Rugged Aiming and Illumination Device family. It is a MIL/LE-oriented aiming module with a co-aligned optical bench, visible and near-infrared aiming lasers, VCSEL illumination, a fixed 40-degree NIR room illuminator, and ERGOCTO remote capability. Treat it as a professional laser system where exact part number, connector, visible-laser color, and purchase eligibility matter.
The RAID Xe manual lists a sub-195g / 6.88 oz operational weight with battery, one CR123 power source, waterproofing to 1 meter for 60 minutes, and selectable laser/illuminator modes through the onboard OLED controls. The variable NIR illuminator can be adjusted from tight PID work to wider flood, while the fixed room illuminator gives a dedicated wide-area CQB option without changing the main illuminator setting.
The RAID Xe Low Power sits at the premium end of laser aiming modules. Its advantage is not raw simplicity; it is a compact, highly configurable control system with one-zero optical alignment, adjustable output, and remote-control integration. Users investing in high-end night vision should verify the exact low-power SKU and connector configuration before buying.
Key Features
- Co-aligned optical bench keeps VIS and NIR lasers on one zero
- VCSEL variable NIR illuminator for spot-to-flood adjustment
- Fixed 40° NIR room illuminator for CQB flood
- ERGOCTO remote switch compatibility
- OLED-backed onboard controls with selectable pulse modes
- One CR123 battery power source
- Waterproof to 1 meter for 60 minutes
Pros
- +Co-aligned optical bench simplifies visible/IR zeroing
- +Variable VCSEL illuminator plus fixed room illuminator covers more use cases
- +Compact 6.88 oz operating weight for a premium LAM
- +Premium build quality matches high-end night vision systems
- +ERGOCTO ecosystem supports advanced remote control setups
- +OLED controls allow more configuration than simple rotary-switch units
Cons
- −Premium pricing limits accessibility
- −Wilcox current page frames the product for MIL/LE operators, so purchase eligibility can vary by dealer/SKU
- −Complex feature set requires training for optimal use
- −Limited availability compared to mainstream alternatives
- −Overkill for users with entry-level night vision
Setup & Operation
Step-by-step procedures for setting up, operating, and maintaining the Wilcox RAID Xe Low Power.
- → Install the CR123 and Read the Battery Indicator
- → Mount the RAID Xe to a MIL-STD-1913 Rail
- → Install the Blue High Power Lockout Screw
- → Read the Mode Selection Knob Positions
- → Fire the Selected Laser and Adjust Power in Steps
- → Attach and Program the ERGOCTO Xe Three-Button Pad
- → Focus the IR Distance Illuminator
- → Set a Laser Identification Blink Pattern
- → Run the Built-In Test and the Pre-Operation Checklist
- → Clean the RAID Xe and Service the O-Ring
Install the CR123 and Read the Battery Indicator
The RAID Xe runs on one CR123, and the OLED display gives you a real state of charge instead of a warning light. The battery indicator shows up to four bars, roughly 20 percent of remaining life each, and the About screen in the function menu reports battery percentage directly.
Plan around the runtime figures rather than the bar count. Wilcox rates total run time at under 4 hours in dual high mode across the full temperature range, and once the low battery indicator appears you have 6 minutes left at room temperature, stretching to about an hour at minus 20 C. The low battery warning also announces itself: every active laser flashes five fast blinks.
- • One CR123 battery
- • Silicone grease
- • Pick tool for O-ring replacement
- 01
Clear the weapon and power off
Make sure the weapon is CLEAR and on SAFE, the RAID Xe mode selection knob is at OFF, and the laser safety cover is in place.
- 02
Remove the battery cap with a quarter turn
Turn the battery cap CCW one quarter turn and lift it off.
- 03
Install the cell positive end first
Install one fresh CR123, positive side first. If the cell goes in backward the positive post cannot make contact and the device will not power on at all.
- 04
Inspect the O-ring before you close it
Check the Buna O-ring in the battery compartment for cracks, pinches, hardness, dryness, or a tacky feel. Lubricate it with a small amount of silicone grease. Wilcox advises replacing an O-ring any time it is removed, because the material overstretches during inspection.
- 05
Seat the cap and confirm the display
Reinstall the battery cap and make sure it and the O-ring are tightly sealed and free of sand and dirt. Rotate the mode knob to any mode; the display should illuminate and show the active mode with the battery indicator.
Do not store the RAID Xe with the battery installed, and remove the battery before mounting, dismounting, or servicing. If the battery compartment becomes hot to the touch and you hear a hissing sound, turn the device off immediately, let the cell cool, and replace it. Never use a battery that looks bulged or has burst.
Mount the RAID Xe to a MIL-STD-1913 Rail
The built-in rail mount uses two thumbnuts and a floating rail grabber, and Wilcox specifies 30 inch-pounds with the thumbnuts tightened alternately for even clamp distribution. The device will sit at the 9, 12, or 3 o'clock rail position, and Wilcox recommends 12 o'clock.
Mounting position is a zeroing event, not a preference. Wilcox states that moving the RAID Xe to a weapon or to a new rail position requires boresighting it again.
- • Xe Utility Tool, a screwdriver, or a coin
- • Inch-pound driver set to 30 in-lb
- 01
Clear the weapon and strip the device
Confirm the weapon is CLEAR and on SAFE, the RAID Xe is powered off with the laser safety cover on, and the battery is removed before installation.
- 02
Unthread both thumbnuts
Fully unthread the two thumbnuts CCW with the Xe Utility Tool, a screwdriver, or a coin to loosen the rail grabber.
- 03
Hook the floating rail and pivot down
Attach the RAID Xe floating rail to the outer edge of the weapon's MIL-STD-1913 rail, then pivot the device downward so it sits flat on the rail and the opposite rail grabber is positioned to engage.
- 04
Torque the thumbnuts alternately to 30 in-lb
Turn the thumbnuts CW, alternating between them for even distribution. Wilcox recommends 30 inch-pounds.
- 05
Pull test before you walk away
Try to pull the RAID Xe off the rail by hand. If it moves, retighten. Then boresight the device to the weapon, because the previous zero does not carry to a new rail position.
To dismount, grasp the RAID Xe and unthread the thumbnuts CCW to let the locking plate slide, taking care not to release the thumbnuts from the screw, then pivot the device away from the rail.
Install the Blue High Power Lockout Screw
The blue lockout screw is a mechanical stop that physically prevents the mode selection knob from rotating into the high power positions, AH, IH, and DH. With it installed, the knob only reaches the low power side of the dial.
When the screw is out, it threads into a dedicated storage port on the housing so it does not get lost. That storage port is the reason to take the screw out deliberately rather than leaving it in a pocket.
- • Xe Utility Tool or a 5/64 inch hex key
- 01
Set the mode selection switch to OFF
Rotate the mode selection knob to the OFF position before touching the lockout screw.
- 02
Drive the screw with the Xe Utility Tool or a 5/64 hex key
Install the blue high power lockout screw into the mode selection switch using the Xe Utility Tool, which Wilcox recommends, or a 5/64 inch hex key. Do not overtighten it.
- 03
Store the screw in its port when removed
When high power operation is intended and the screw comes out, thread it into the lockout screw storage port on the housing so it cannot be lost.
Removing the blue lockout screw allows accidental exposure to high power lasers. When high power operation is not intended, always keep the lockout screw in place.
Read the Mode Selection Knob Positions
The knob is the whole control scheme. Every position maps to one emitter combination at one power tier, and the OLED display names the active mode so you are never guessing in the dark. Reading around the dial: OFF, then AL I for the low power IR aiming laser, IL I for the low power IR illuminator, DL I for both, then the three high power positions AH I, IH I, and DH I, plus AH V and AL V for the visible aiming laser at high and low power.
The greyed positions on Wilcox's own chart, AH, IH, and DH, are the ones the blue lockout screw blocks. The low power positions stay available with the screw installed.
- 01
OFF
Powers the RAID Xe off. Wilcox notes that leaving the knob off OFF when the device is not in use is how the battery drains inadvertently.
- 02
AL I and AH I, infrared aiming laser
Low and high power IR aiming laser. On the low power models the pulsed IR aim laser runs under 0.7 mW on low and a nominal 3.5 mW on high.
- 03
IL I and IH I, infrared illuminator
Low and high power IR illumination. In the low power illuminator positions, the function menu's Illum option decides whether you get the short range room illuminator or the long range focusable illuminator.
- 04
DL I and DH I, dual infrared
Aiming laser and illuminator together at low and high power. This is the default working mode under night vision, and it is also the mode Wilcox's runtime figures are measured in.
- 05
AL V and AH V, visible aiming laser
Low and high power visible aiming laser. Wilcox recommends using only the low power visible laser when boresighting the RAID Xe to a target.
The low power RAID Xe models are Class 3R laser products with a maximum output power of 32 mW. Wilcox lists a 52 m nominal ocular hazard distance for the visible aiming laser on high and 83 m for the IR aiming laser on high, both extending far further through 7x50 optics. Never stare into a laser, never point one at anyone's eyes or at mirrored surfaces, and do not look at a laser through telescopes, binoculars, scopes, or image intensifiers. Direct eye exposure may cause permanent eye damage including blindness. Immediately terminate laser emissions if optical aids are in use near the beam path.
Fire the Selected Laser and Adjust Power in Steps
The FIRE button handles both activation styles: a single tap emits the selected laser until you release the button, and a double tap latches it on until another press turns it off. Wilcox notes that the laser activates most reliably when you press the center of the fire button rather than an edge.
What sets the RAID Xe apart from a two-power-level laser is that output is a stepped value you set per emitter and the device remembers. High power modes run steps 1 through 10, low power modes run steps 1 through 3, and the IR room illuminator runs steps 1 through 5 at any point. Those settings persist through a power cycle.
- 01
Select the mode on the knob
Turn the mode selection knob to the position you want. The selected mode appears on the OLED display along with the battery indicator.
- 02
Fire momentary or latched
Single tap the FIRE button to emit the selected laser until you release it. Double tap to latch it on until you press FIRE again.
- 03
Enter adjust mode
With a laser active, push the Enter button to enter laser power adjustment mode, then use the Up and Down buttons to move the output one step at a time.
- 04
Adjust the pointer first, then the illuminator
In a dual mode the IR pointer is adjusted first. Push the Enter button again to move to the illuminator. Step 10 is the highest in a high power mode and step 3 is the ceiling in a low power mode, which is the calibrated low power range.
- 05
Exit and let the setting persist
Exiting power adjustment saves the levels, and they carry through power cycling. Returning the knob to OFF does not reset them; the Deflt function in the menu does.
After 5 minutes of inactivity the RAID Xe laser timer deactivates the lasers. Pressing the FIRE button reactivates them. The separate sleep timer under ScrnSv only powers down the display and non-essential functions, and any button press, a knob change, or a detected weapon fire wakes it.
Focus the IR Distance Illuminator
The focus wheel varies the distance illuminator's beam aperture between a wide field of view for close work and a 20 milliradian near field of view spot, which is half a degree, for reaching out. The wide end differs between the two low power generations: the 65300G07 opens to 110 milliradians, roughly 6 degrees, while the 65300G12 opens to 70 milliradians, roughly 4 degrees. Check your part number before assuming a figure from a review or a spec sheet applies to your unit.
The distance illuminator is separate from the short range room illuminator. Which one the low power illuminator positions drive is set under the Illum option in the function menu, where Short selects the room illuminator and Long selects the focusable long range illuminator.
The room illuminator has its own power range, steps 1 through 5, independent of the 1 through 3 low power ceiling that applies to the pointers and the long range illuminator.
Set a Laser Identification Blink Pattern
The Blink function assigns a custom identification pattern to the pointer lasers so that a team running several RAID Xe units under night vision can tell whose beam is whose. Six patterns are available and the default is off.
The lasers have to be off to reach the setting, which is deliberate: this is a pre-mission configuration step, not something to fumble with mid-engagement.
- 01
Turn the lasers off and open the menu
With the lasers off, push the Up and Down buttons simultaneously to access the function menu.
- 02
Select Blink
Push Up or Down until Blink is highlighted, then press Enter.
- 03
Pick a pattern
Choose from ID:OFF for no blinking, ID:1 fast, ID:2 medium fast, ID:3 medium slow, ID:4 slow, ID:5 fast with a double blink, or ID:6 slow with a double blink. Press Enter to select.
- 04
Exit the menu
Push the Up and Down buttons simultaneously to exit. The pattern persists until you change it or reset factory defaults.
Run the Built-In Test and the Pre-Operation Checklist
The RAID Xe self-tests its own hardware, which is the practical reason to run through the menu before a session rather than finding a fault in the field. The Test function steps through multiple internal checks and ends on a pass or fail screen.
Wilcox also tracks laser activations and weapon fire in a maintenance counter, and the counter is more accurate if you tell it what kind of action the host rifle uses.
- 01
Install a fresh CR123
Wilcox recommends replacing the battery and running the activation procedure before operation. The built-in test in particular expects a fresh cell.
- 02
Run the built-in test
Push Up and Down simultaneously to open the function menu, scroll to Test, press Enter, then step through with Up or Down until the final screen reads Done All Passed or Done with a failure count. Press Enter to exit.
- 03
Set the weapon type on the maintenance counter
Scroll to Maint, press Enter to see the current shot count, then highlight Config and choose GasImp for gas impingement or Piston for a piston-driven action. Matching the weapon signature makes the shot count accurate.
- 04
Log the pre-operation count
Note and record the maintenance count so you can compare it to the post-operation count and know how many activations the session actually put on the device.
- 05
Uncover, mount, and boresight
Remove the lens covers and store them under the device, mount the RAID Xe to the weapon, verify the weapon is level to the horizon, and boresight. Wilcox recommends using only the low power visible laser for boresighting, and following with live fire whenever possible to verify aiming accuracy.
In the event of a detected built-in test failure, contact Wilcox Industries at 603-431-1331 and do not use the product. The RAID Xe contains no serviceable internal parts and is programmable only by a Wilcox factory technician; repairs beyond those described in the manual void the warranty.
Clean the RAID Xe and Service the O-Ring
Flush the exterior with fresh water to clear debris, especially after exposure to salt water. Blow residual dirt and dust off the lenses, then wipe them with the clean lens cloth provided. If the lenses still need work after that, use the lens cloth with a small amount of isopropyl alcohol. The brush in the cleaning kit is for the mounting rails and controls only, never for the optic glass or the laser port apertures.
Keep the lens covers and battery cap fully installed whenever the device is not in use. That is what keeps debris out of the port, prevents corrosion, and keeps the lenses from being scratched.
Do not use harsh abrasives or chemicals such as acetone on the RAID Xe. Inspect the battery compartment O-ring periodically, and if it is cut, nicked, or torn, replace it or notify the unit armorer. Laser covers are meant to be removed from the laser port in use but never untethered from the device; do not operate the RAID Xe if a cover is missing or if the port cover or seal is damaged.
Detailed Specifications
- Laser Class
- Low Power RAID Xe; verify exact SKU and visible-laser color
- visibleLaser
- Red or green depending on SKU; low-power and high-power modes vary by part number
- irLaser
- 850nm NIR pointer; low-power mode <0.7mW in manual table
- irIlluminator
- 840nm variable illuminator plus 870nm fixed 40° room illuminator
- Battery Type
- One CR123 lithium
- weight
- Less than 195g / 6.88 oz with battery
- Waterproof Rating
- 1 meter for 60 minutes
- Mount Type
- 1913 Picatinny rail
- Switch Type
- Onboard controls plus ERGOCTO remote connector
- operatingTemp
- -20°C to 60°C
Pairs Well With
Top matches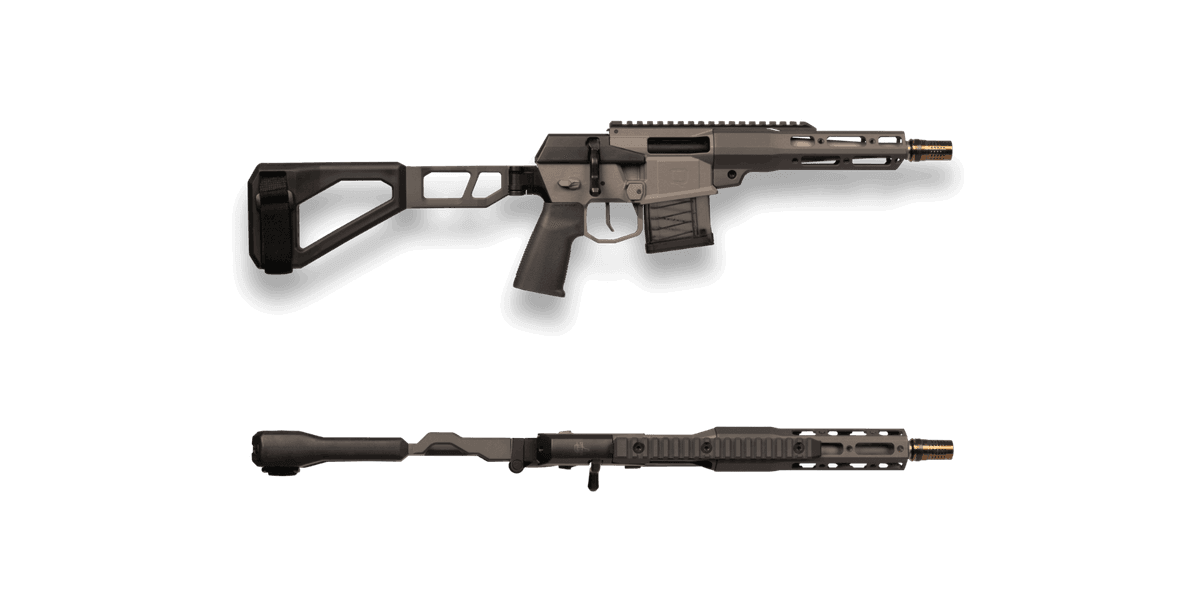
Q LLC
Q Mini Fix 300 BLK Pistol
1 shared compatibility tags
Marlin
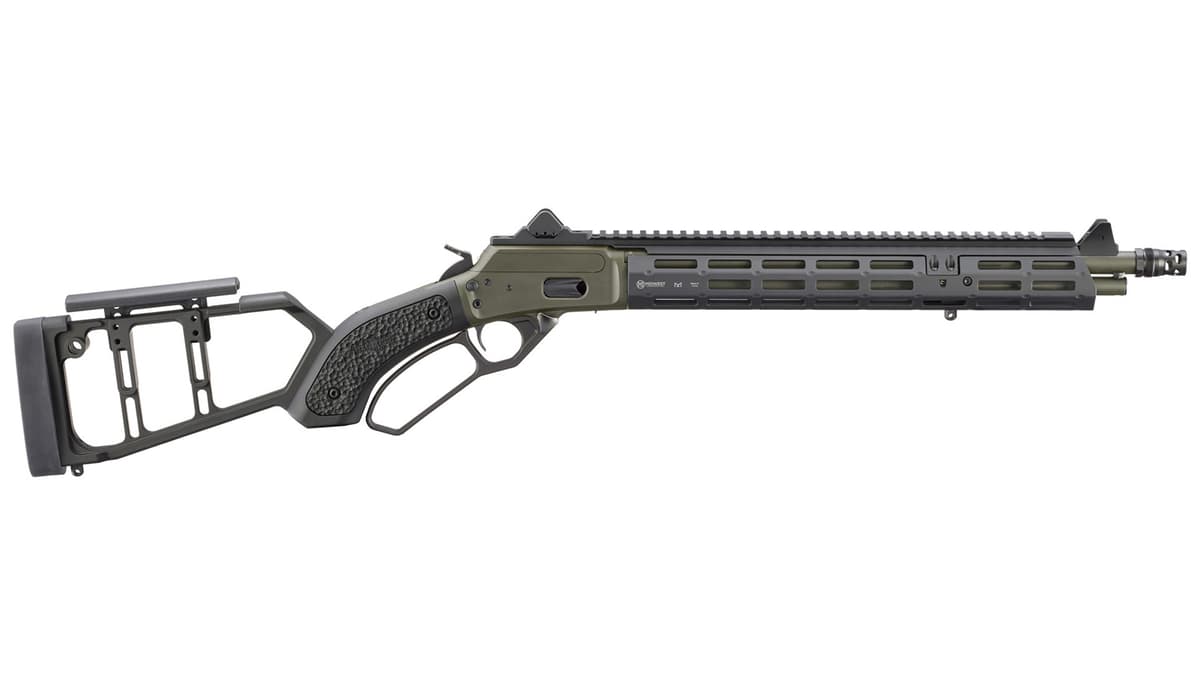
Marlin Mad Pig Customs Model 1894
1 shared compatibility tags
B&T
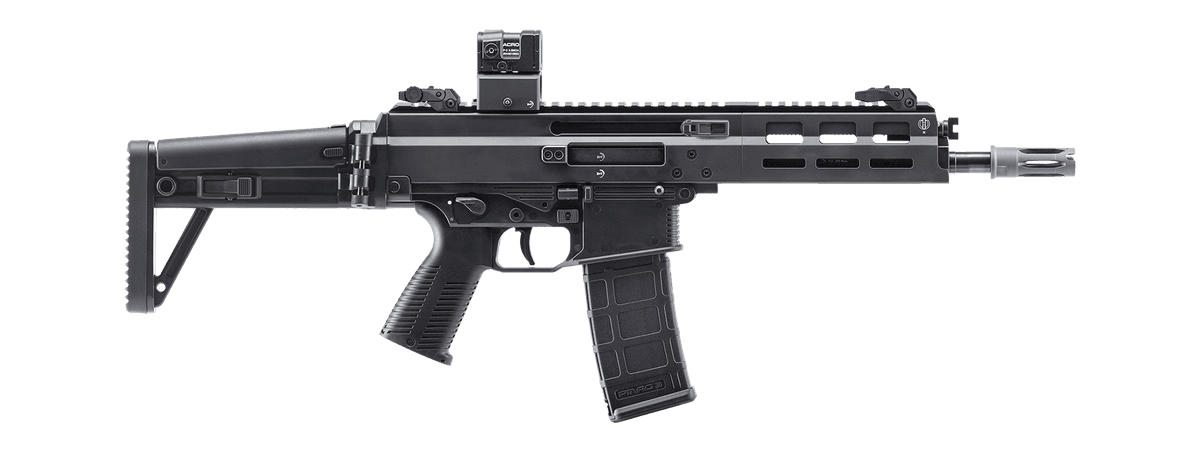
B&T APC223 PRO 420 mm
1 shared compatibility tags
Sig Sauer
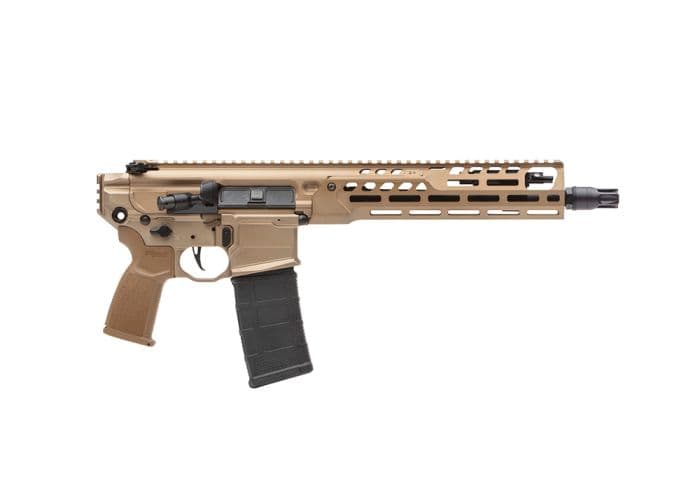
Sig MCX Spear-LT 11.5"
1 shared compatibility tags

Sig Sauer
Sig MCX Spear-LT 9" .300BLK
1 shared compatibility tags

Sig Sauer
Sig Sauer MCX-SPEAR LT 16" 5.56
1 shared compatibility tags
Similar Products
Compatible Platforms
+228 more

Compatibility Tags
Build Your Custom Configuration
Add the Wilcox RAID Xe Low Power to your build and see how it enhances your platform.