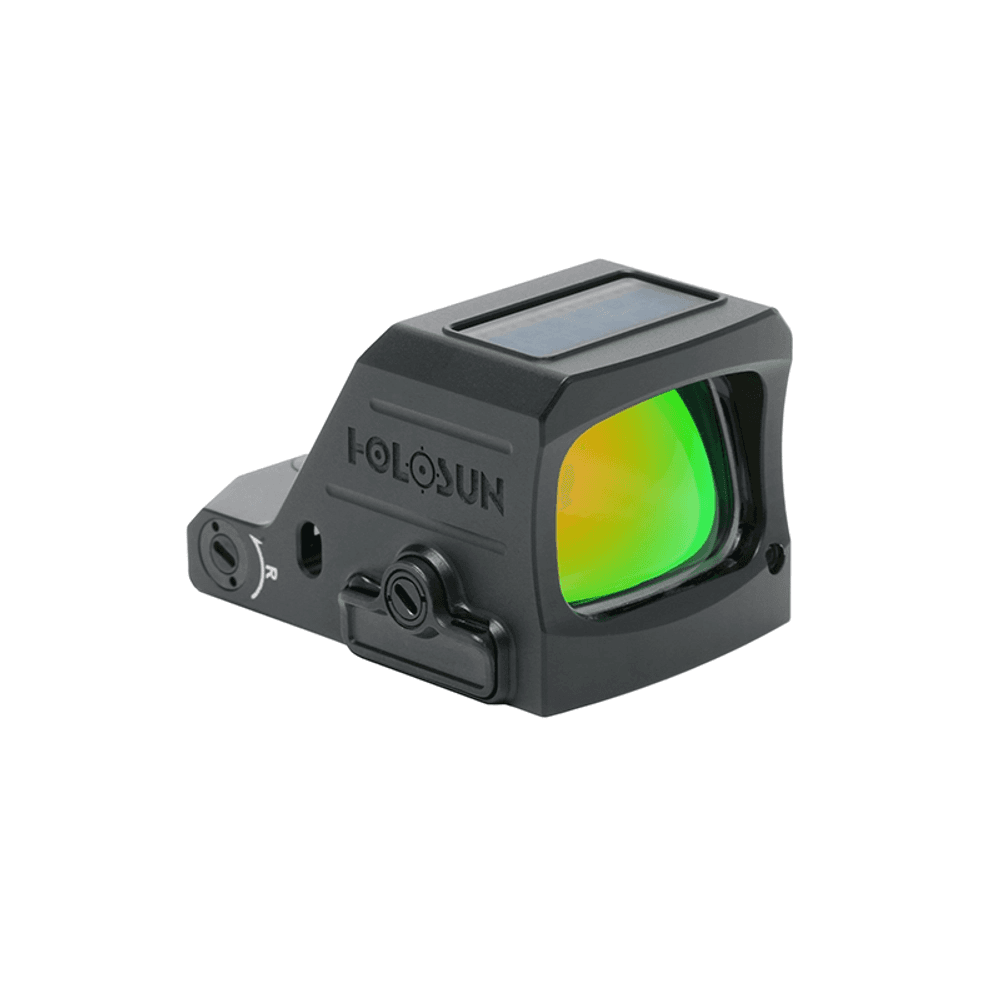
Holosun 507C X3
Third-gen multi-reticle pistol dot with photodiode sensor, Solar Failsafe, and RMR footprint
- Price
- $300
- Weight
- 1.5 oz
- Brand
- Holosun
- Category
- Pistol Optics
Featured in
Best Pistol Red Dots 2026: RMR Footprint & Astigmatism Picks
guide · gear · 15 min read
Glock 19 Accessories & Upgrades: Gen 5 and Gen 6
guide · gear · 18 min read
Best Glock Gen 6 Upgrades 2026: Plates, Triggers, Optics
guide · gear · 10 min read
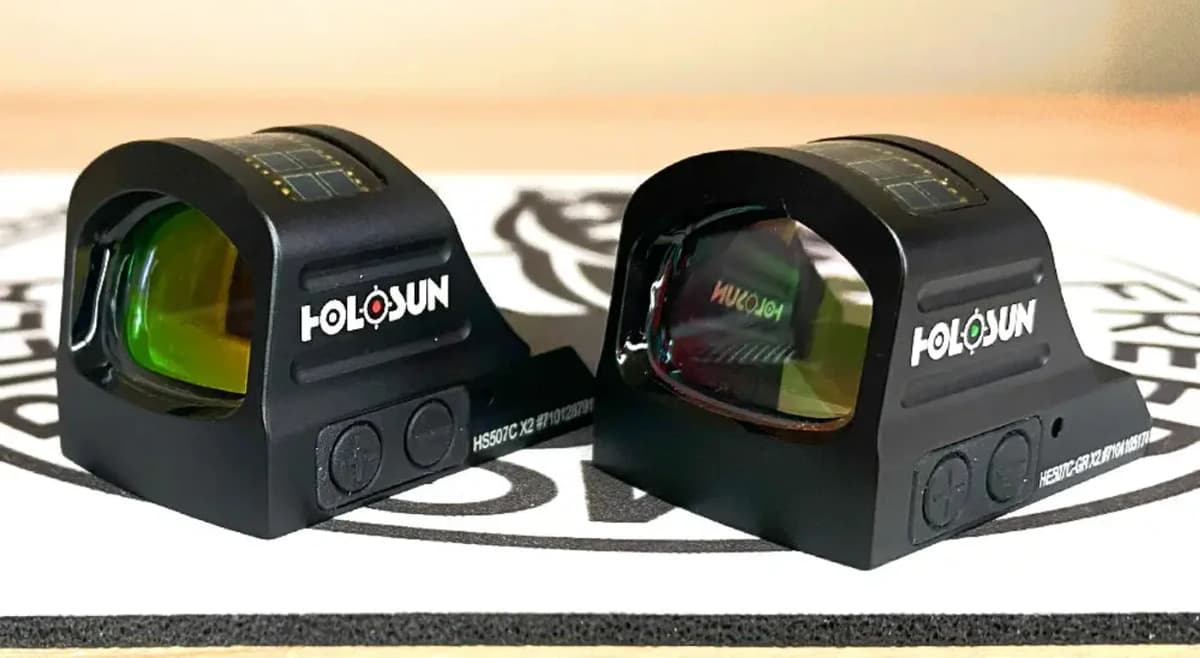
Holosun 2026 Optics Retail Rollout: 507C-X3, 407COMP, Full Lineup Pricing
article · news · Feb 28, 2026
Features
- •2 MOA dot + 32 MOA circle
- •Forward light sensor
- •Solar Failsafe
- •RMR footprint
Capability Boosts
Recommended For
+14 more
Where to Buy
Compare current prices and availability from retailers we work with.
Holosun 1x 0.91x0.67 in Reflex Red Dot Sight Red 2 MOA Dot 32 MOA Circle Black
Price History
90-day low $299.99 · at low nowMore Glock guides & articles
Guides
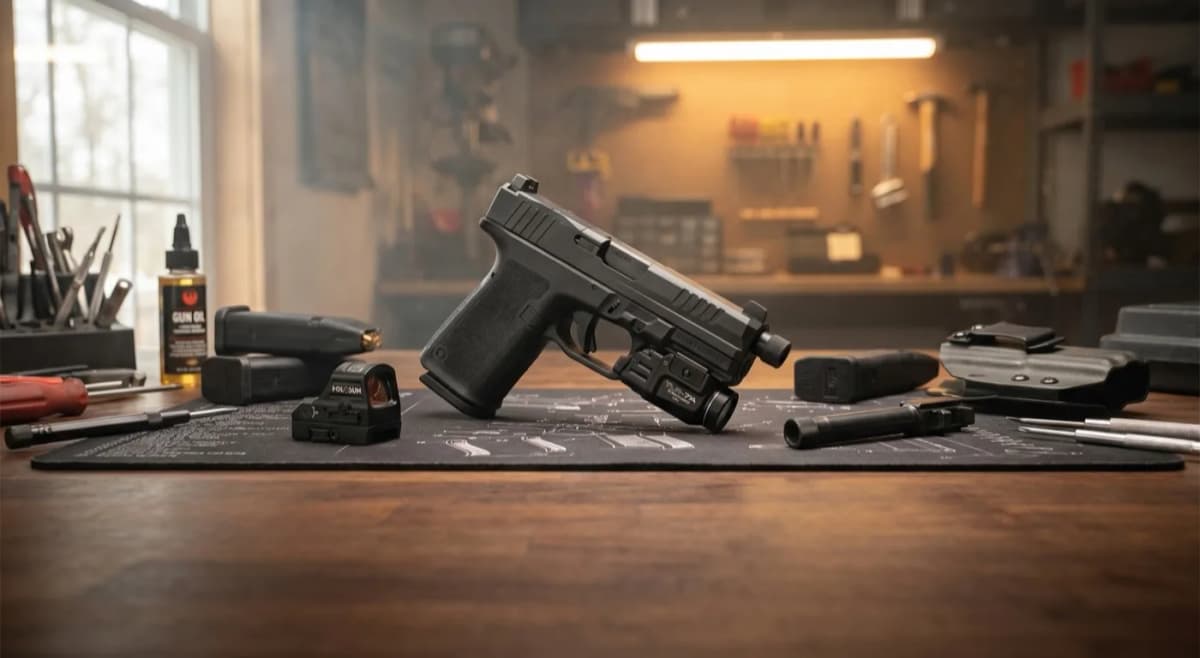
Best Ruger RXM Accessories 2026: Glock-Compatible Parts, Optics, Triggers & Holsters Ranked
guide · gear · 15 min read
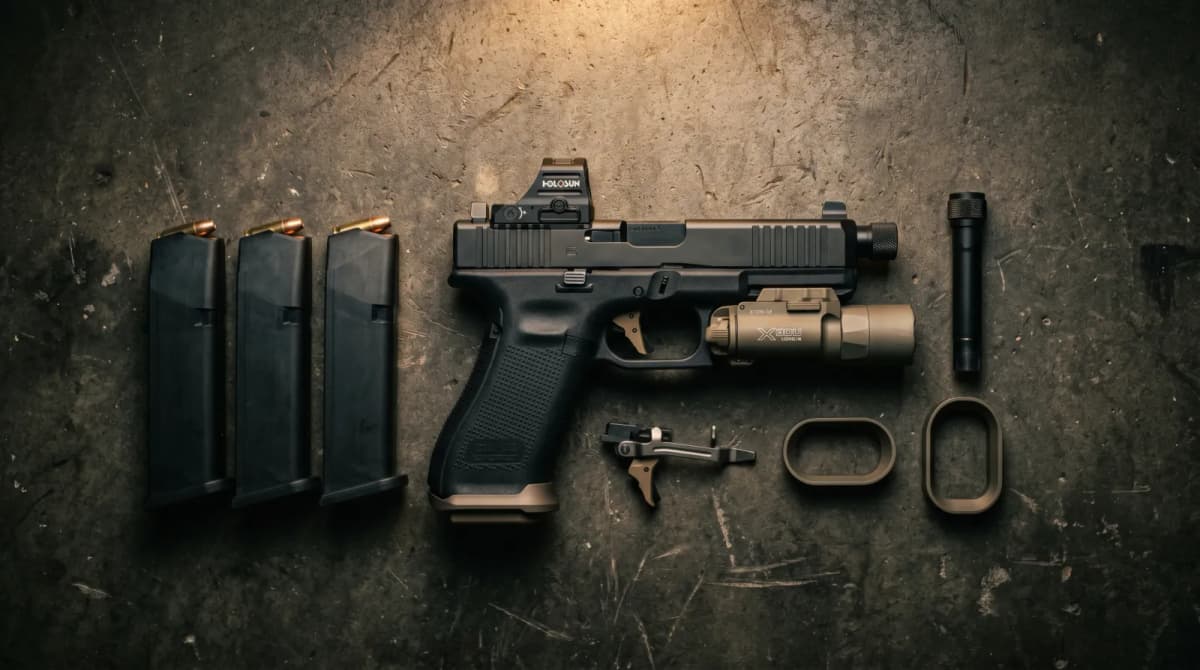
Best Glock 17 Upgrades 2026: Triggers, Barrels, Slides & Optics Ranked
guide · gear · 17 min read
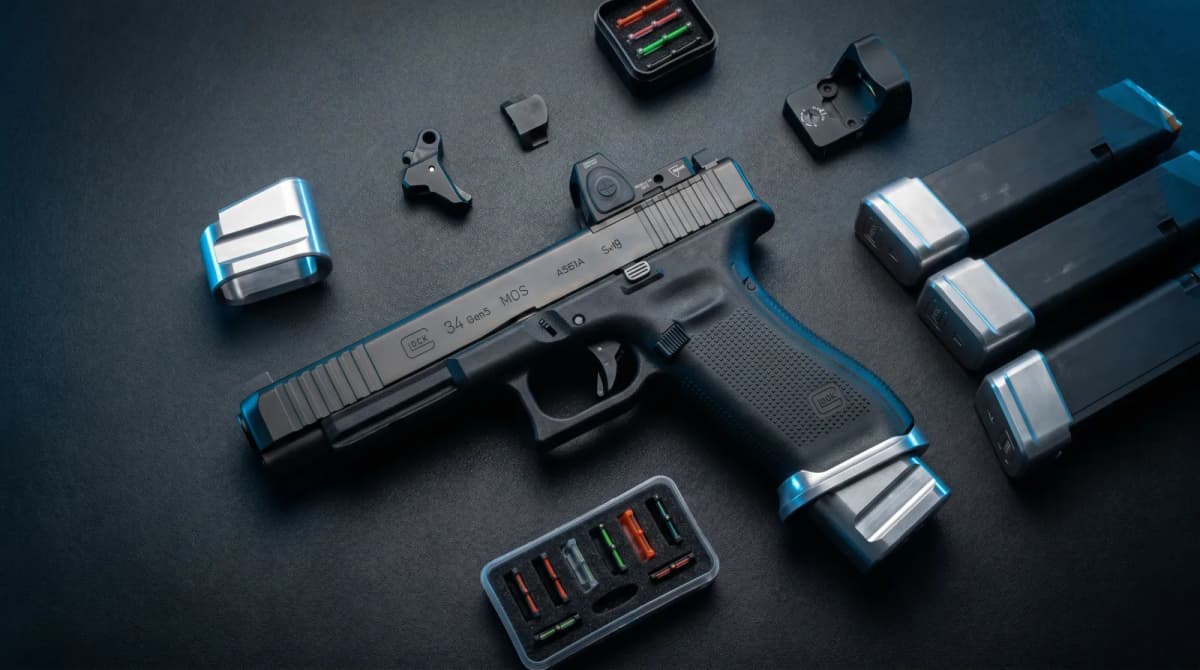
Best Glock 34 Upgrades 2026: Competition Optics, Triggers, Basepads & Magwells Ranked
guide · gear · 13 min read
Overview
The Holosun 507C X3 is the third generation of Holosun's most popular full-size pistol optic, announced at SHOT Show 2026. The headline hardware change is a forward-facing light sensor: in auto mode the sight sets reticle brightness from the solar cell plus that sensor, which adjusts faster as you move between light conditions.
The 0.91 x 0.67-inch window retains the same general full-size 507C sight picture, and the Multi-Reticle System carries over with the same 2 MOA dot, 32 MOA circle, or combined reticle. The RMR footprint keeps compatibility with the broadest pistol-slide ecosystem.
The X3 is available in red, green, and gold reticle colors from launch. The side-loading CR1632 battery delivers up to 50,000 hours of runtime at setting 6, backed by Solar Failsafe for daylight backup power.
Key Features
- Forward light sensor for faster auto brightness adjustment
- Multi-reticle system: 2 MOA dot, 32 MOA circle, or both
- Available in red, green, and gold reticle colors
- Solar Failsafe backup power
- Shake Awake motion-activated power management
- Side-loading CR1632 battery
- RMR footprint for universal slide compatibility
- Improved lens geometry with reduced tint
Pros
- +Updated X3 housing and lens package over the X2 generation
- +Three reticle color options (red, green, gold) from launch
- +Forward light sensor speeds up auto brightness in changing light
- +Same proven RMR footprint as 507C X2
- +Solar Failsafe provides dead-battery insurance
- +Side-loading battery without unmounting optic
Cons
- −Modest price increase over outgoing 507C X2
- −Open emitter design still vulnerable to debris
Setup & Operation
Step-by-step procedures for setting up, operating, and maintaining the Holosun 507C X3.
Mount the 507C-X3 on an RMR-Pattern Cut
The 507C-X3 uses the Trijicon RMR footprint and bolts straight to any slide cut or adapter plate on that pattern. Holosun specifies 1.7 Nm on the mounting screws, which works out to roughly 15 inch-pounds.
Screw length is the part of this job that actually fails guns. Holosun's safety notice is explicit: use only screws that are long enough for the threads to grip deep into the slide, or the sight can come loose under recoil. That means matching the screw to your specific cut depth rather than grabbing whichever pair is closest to hand, and it means a screw so long it bottoms out before the optic clamps is just as wrong as one too short.
- • Torque driver capable of 1.7 Nm (about 15 in-lbs)
- • Mounting screws of the correct length for your slide cut
- • Cleared, unloaded pistol
- 01
Clear the pistol and check screw engagement
Drop the magazine, lock the slide back, and confirm the chamber is empty before the optic goes near the gun. Then dry-fit your mounting screws in the cut without the optic in place to confirm the threads engage deep enough to hold under recoil.
- 02
Seat the optic on the cut or plate
Place the 507C-X3 on the RMR-pattern slide cut, or on an adapter plate if your slide uses a different pattern. Make sure the sight sits flat on the cut with no gap at the front or rear before any screw is tightened.
- 03
Torque both screws to 1.7 Nm
Use the screws included with the sight, the screws that came with your slide, or ones supplied by your gunsmith, and tighten each to 1.7 Nm, about 15 inch-pounds. Alternate between the two screws in small increments so the optic pulls down square.
- 04
Confirm fit and function before firing
Check that the optic is properly seated and cannot be rocked by hand, then cycle the action and confirm the pistol functions normally before you shoot it.
Holosun's own safety notice: screws that are not long enough for the threads to grip sufficiently deep can let the sight come loose when the gun is fired. Verify thread engagement in your specific cut before torquing, not after.
Install the CR1632 Battery
The 507C-X3 takes a single CR1632 3V lithium cell in a side-loading tray, so the cell changes without unbolting the sight and without disturbing zero. Holosun rates runtime at up to 100,000 hours on one battery at brightness setting 6.
One CR1632 ships attached to the second page of the printed manual. Holosun specifies CR1632 as the only acceptable power source for this sight, and the tray carries a seal ring that is what earns the housing its IP67 rating, so look at it every time the tray is out.
- • Included Holosun tool
- • One CR1632 3V lithium battery
- 01
Remove the compartment screw
Use the included tool to back out the screw on the battery compartment on the side of the sight.
- 02
Pull the battery tray
Use the included tool to draw the battery tray out of the compartment. The tray has a slot at the top that the tool engages for this.
- 03
Seat the new cell to the marked polarity
Drop a fresh CR1632 into the tray oriented to the polarity marked in the compartment. Check the seal ring for cuts, grit, or a missing ring while the tray is out, since a damaged seal is what lets water in.
- 04
Reinsert the tray and tighten the screw
Push the tray back to its original position until it is fully seated, then tighten the compartment screw with the included tool.
Use CR1632 only. Holosun lists no substitute chemistry or size for this sight. Do not short-circuit the cell, swallow it, or throw it in a fire.
Zero the 507C-X3
Elevation sits on top of the housing and windage on the right side. Both are slotted screws, and the included double-ended tool has a Torx end and a slot end: the slot end is the one that turns the turrets. Each click is 1 MOA, which Holosun quotes as 29 mm at 100 m, so roughly 1 inch at 100 yards, 1/2 inch at 50 yards, and 1/4 inch at 25 yards. Total travel is 50 MOA from center in each axis.
Turret direction on this sight runs opposite to the habit most shooters carry over from rifle scopes, and it is worth reading twice. Clockwise on elevation LOWERS point of impact. Clockwise on windage moves point of impact LEFT. Turning the way that feels correct will walk your group further from where you want it.
- • Included double-ended tool (use the slot end for the turrets)
- • Zeroing target
- 01
Fire a group at your zero distance
Shoot a 3 to 5 round group from a stable position at the distance you intend to zero. Ten to 25 yards covers most defensive pistol use, and at 25 yards each click moves point of impact 1/4 inch.
- 02
Correct elevation
Put the slot end of the included tool in the elevation screw on top of the housing. Turn COUNTERCLOCKWISE to raise point of impact and clockwise to lower it. At 25 yards a group printing 1 inch low needs 4 clicks counterclockwise.
- 03
Correct windage
Move to the windage screw on the right side of the housing. Turn COUNTERCLOCKWISE to move point of impact right and clockwise to move it left. At 25 yards a group printing 1 inch left needs 4 clicks counterclockwise.
- 04
Confirm with a fresh group
Fire another group and repeat until the group centers on point of aim. Confirm from the grip and stance you actually shoot from, since a zero verified off a rest and then run freestyle will show the difference.
If a turret stops turning, you have hit the 50 MOA mechanical limit. Holosun warns the sight can be damaged by over-rotation, so do not force it. Running out of travel before you reach zero points at the slide cut or plate not being square to the bore, not at a defective optic.
Cycle the Reticle and Set the Sleep Timer
The 507C-X3 carries Holosun's Multi-Reticle System: a 2 MOA dot, a 32 MOA circle, or both together. Holding the "-" button for three seconds advances one step, and each additional three-second hold advances another, so you cycle until the reticle you want appears.
Shake Awake drops the sight into sleep after 10 minutes without movement and wakes it instantly on motion. That delay is programmable across four steps, and the fourth turns the behavior off entirely.
- 01
Cycle the reticle
Hold the "-" button for 3 seconds. Each hold advances one step through dot, circle, and the combined circle-dot. Keep holding for another 3 seconds at a time until your preferred reticle appears.
- 02
Enter sleep-timer programming
Hold the "+" button for 10 seconds. The reticle starts blinking, and the number of blinks reports the step currently selected.
- 03
Pick the delay
Press "+" or "-" to step through the four options: sleep after 10 minutes, after 1 hour, after 12 hours, or 0, which disables sleep altogether. The LED blinks once to confirm each press.
- 04
Save and exit
Press "+" and "-" simultaneously to confirm the new delay and leave time adjustment mode.
Setting the delay to 0 disables the auto-sleep behavior, so the sight stays lit until you power it off by hand. That is the right call for a nightstand gun and the wrong one for a safe queen, since it is also the setting that drains the CR1632 fastest.
Detailed Specifications
- Reticle
- 2 MOA dot / 32 MOA circle / Both
- Magnification
- 1x
- Battery Type
- CR1632 (side-loading)
- Battery Life
- 50,000 hours at setting 6
- Waterproof Rating
- IP67
- weight
- 1.55 oz
- Length
- 1.78 inches
- windowSize
- 0.91 x 0.67 inches
- dimensions
- 1.78 x 1.31 x 1.1 inches
- Adjustment Type
- 1 MOA per click
- Adjustment Range
- ±50 MOA windage/elevation
- Mount Type
- RMR footprint
Pairs Well With
Top matches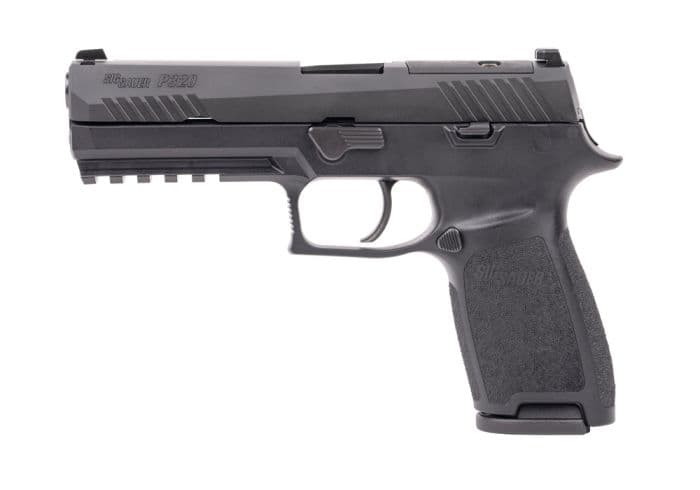
SIG Sauer
SIG P320 Full Size
2 shared compatibility tags
SIG Sauer
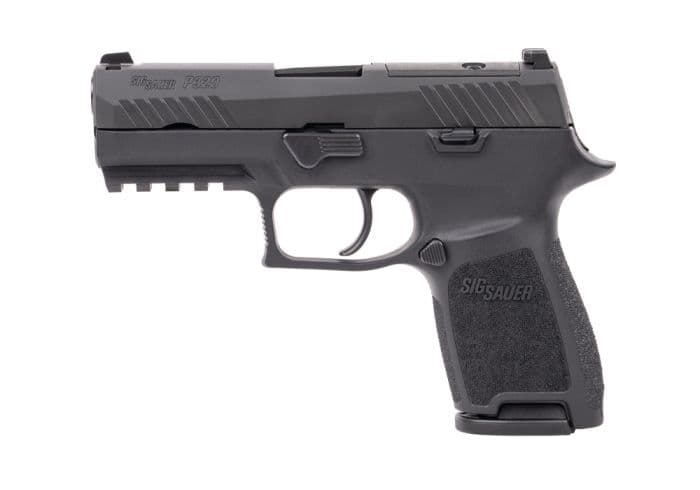
SIG P320 Compact
2 shared compatibility tags
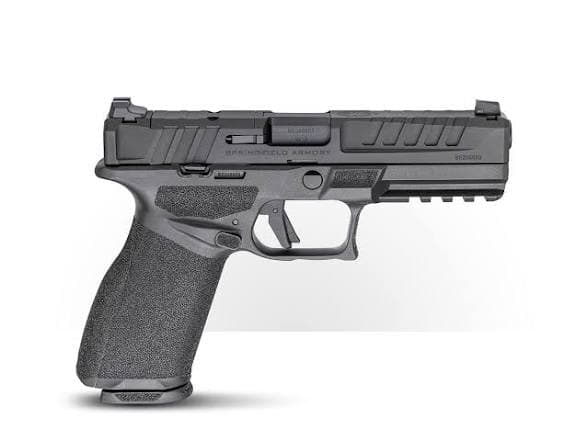
Springfield Armory
Springfield Echelon
2 shared compatibility tags
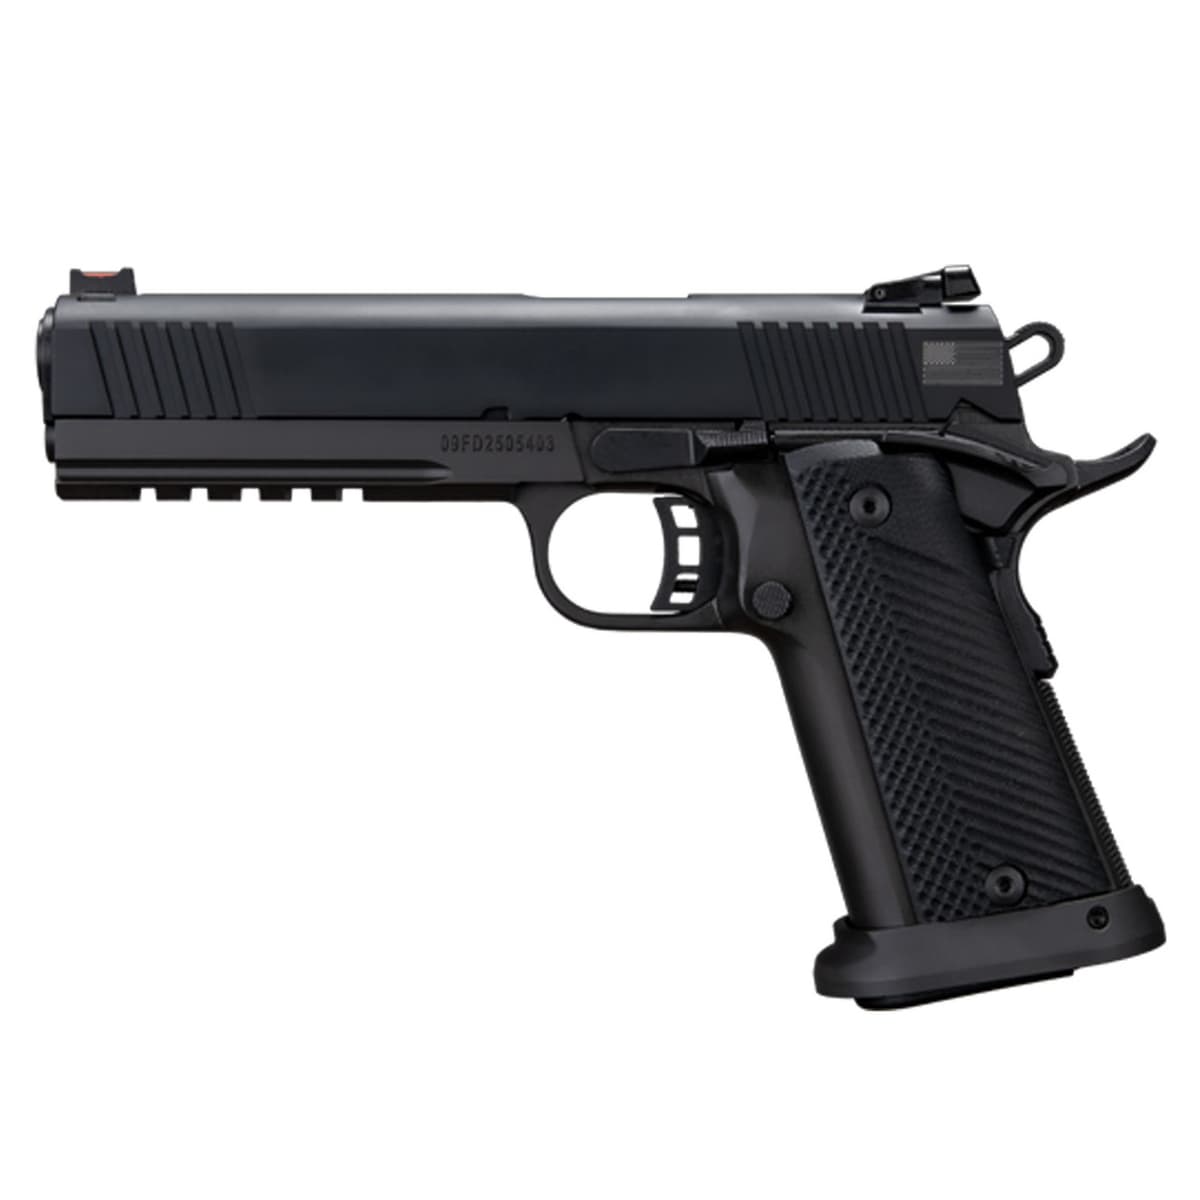
Rock Island Armory
Rock Island Armory TAC Ultra FS HC
2 shared compatibility tags
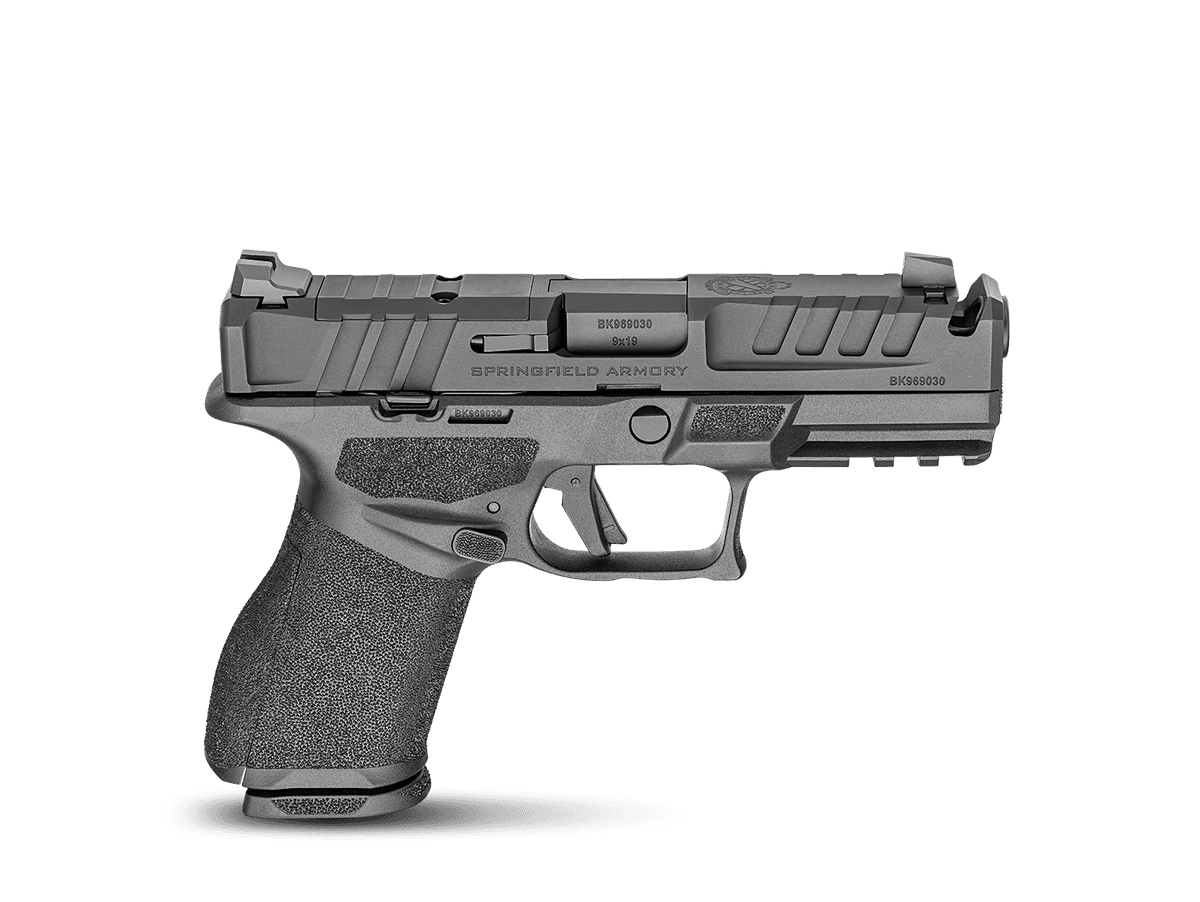
Springfield Armory
Springfield Echelon 4.0C Comp
2 shared compatibility tags
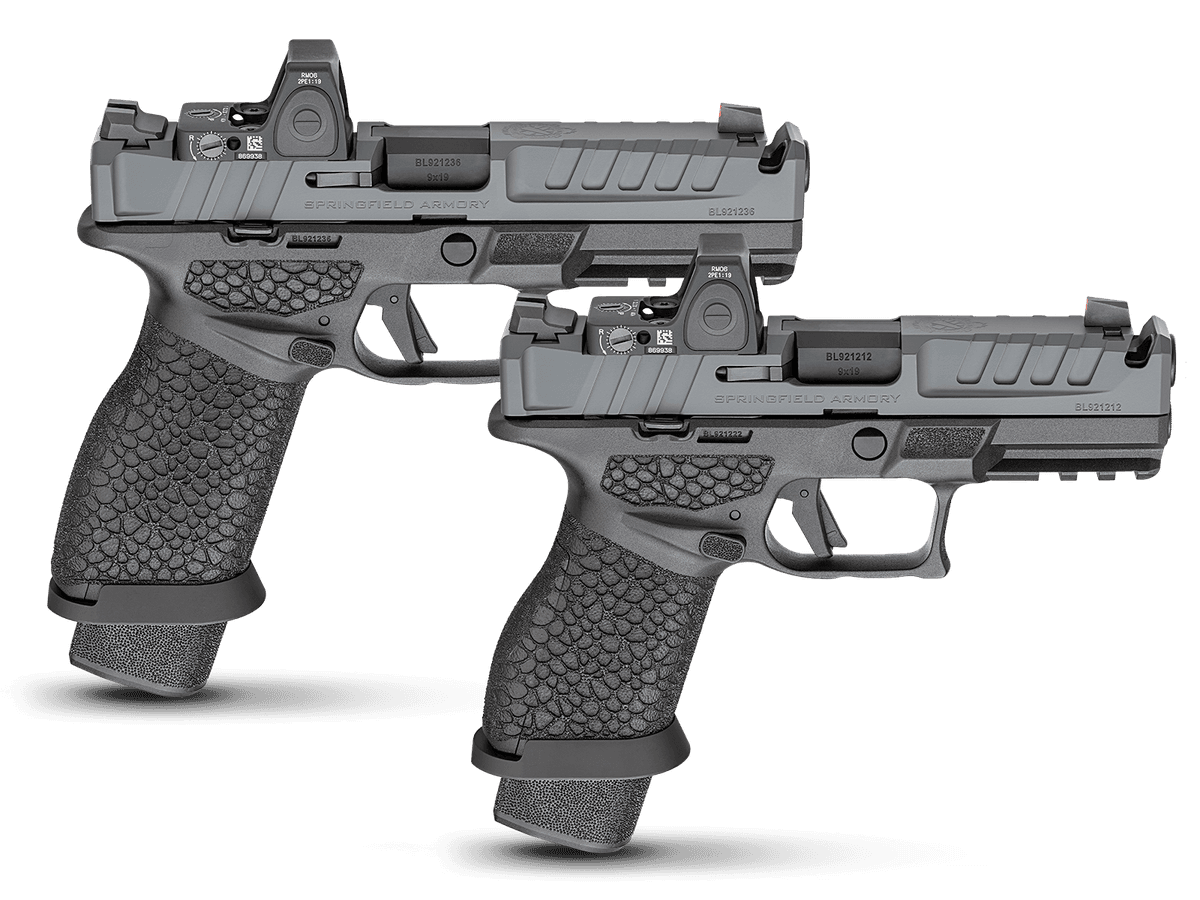
Springfield Armory
Springfield Echelon Pro 4.0C Comp
2 shared compatibility tags
Similar Products
Compatible Platforms
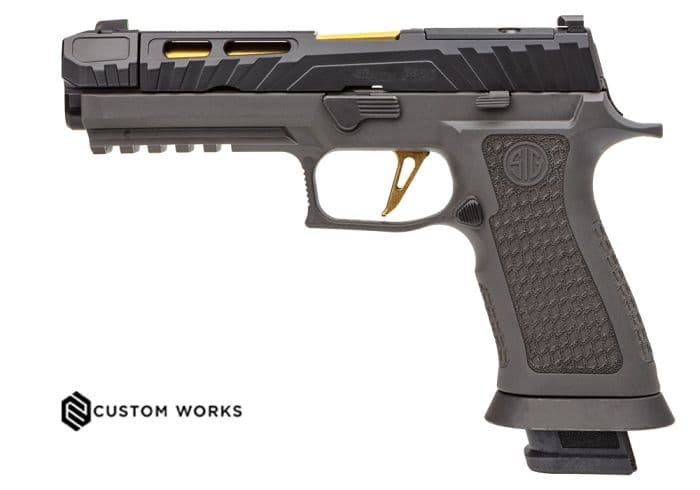
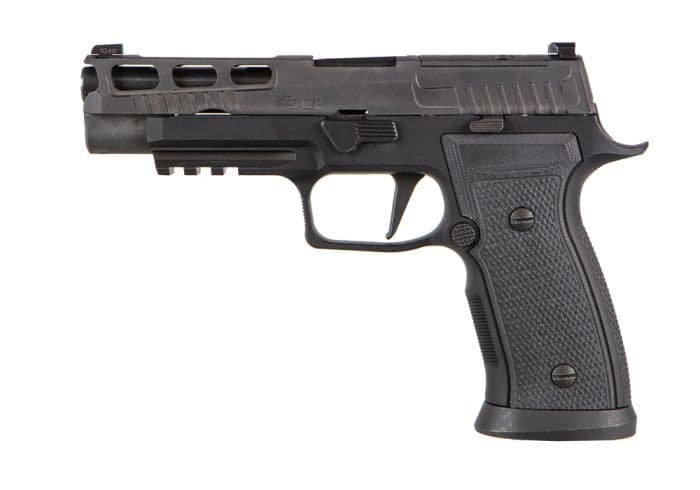
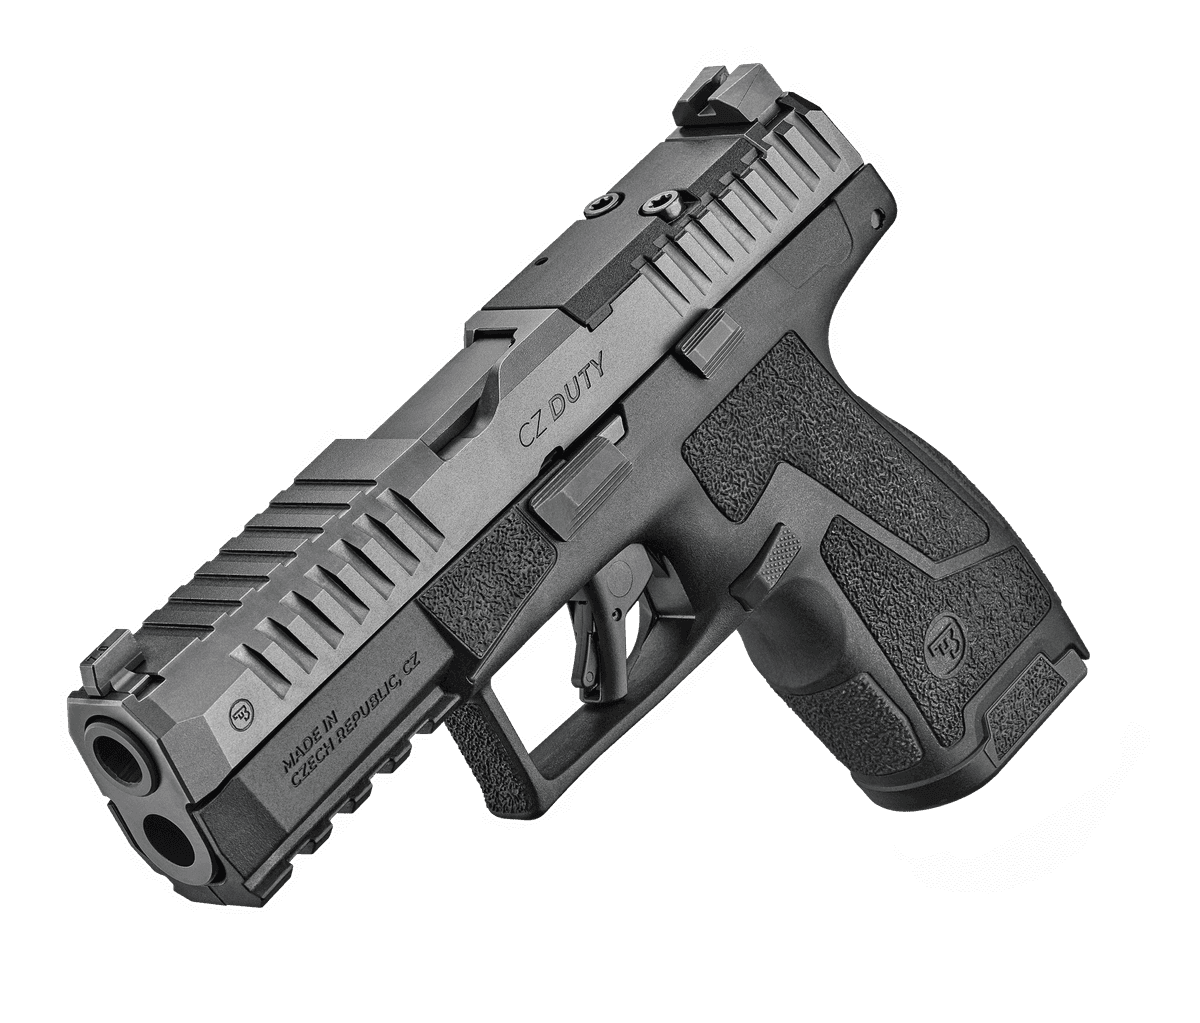
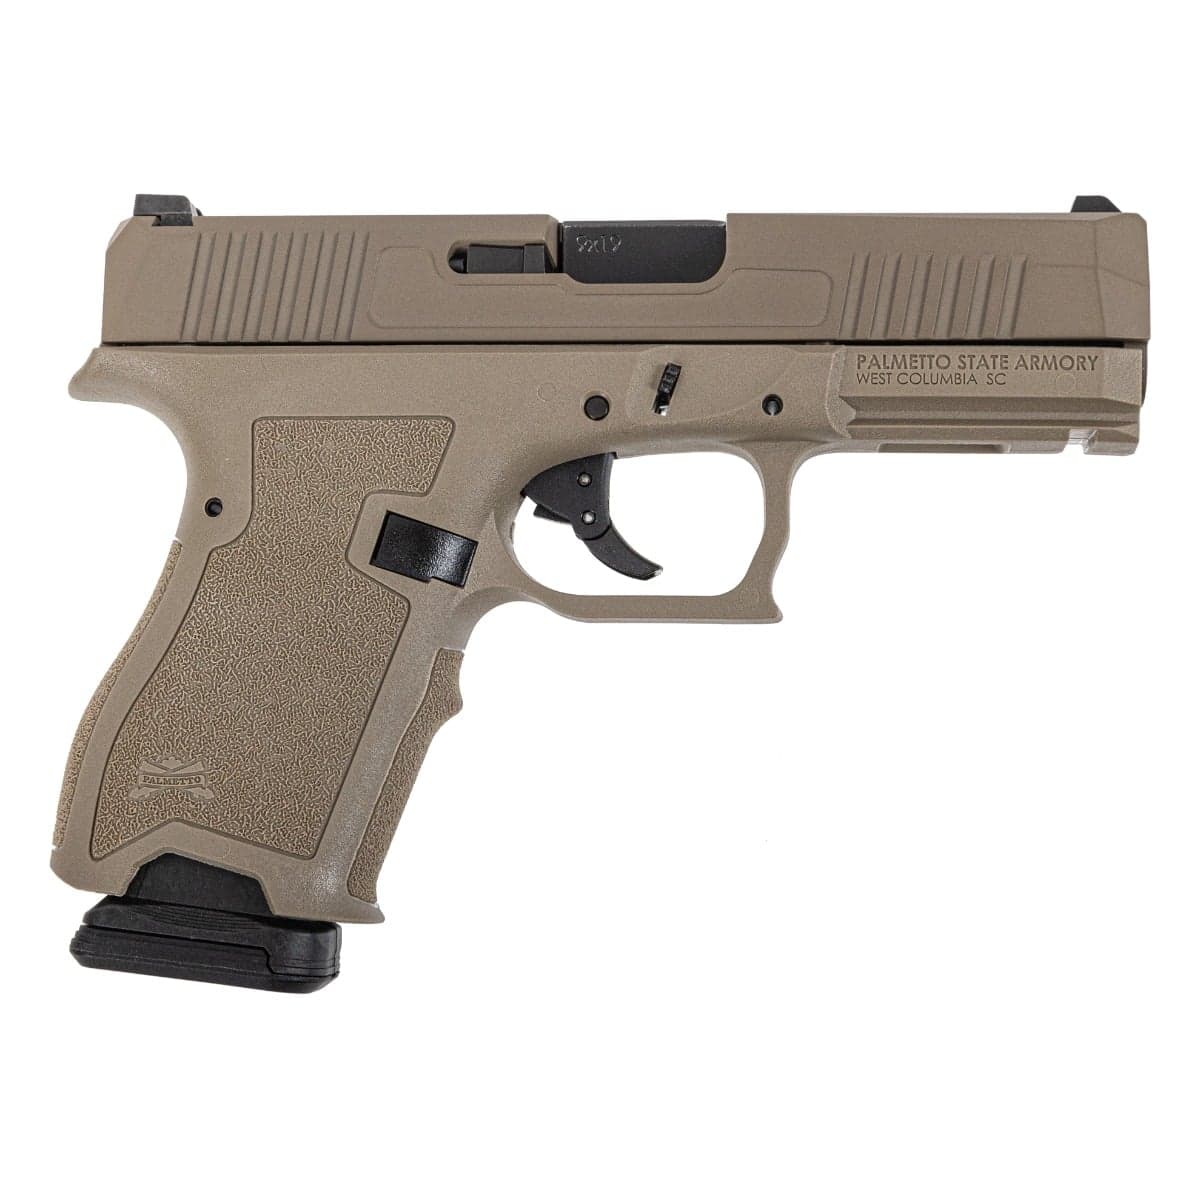
Compatibility Tags
Build Your Custom Configuration
Add the Holosun 507C X3 to your build and see how it enhances your platform.