How to Build an FPV Drone: 5-Inch Parts List & Kits
There are two honest ways into FPV and only one of them starts with a soldering iron. Path one is a bind-and-fly trainer kit that arrives with the quad, the radio, the goggles, and four batteries in one box, and has you flying within a week. Path two is a scratch-built 5-inch analog freestyle quad, which costs more than twice as much, takes about thirty solder joints, and is the aircraft nearly every experienced pilot actually flies. This guide covers both, names a specific verified part for every slot in the build, and finishes with the FAA rules that apply to the moment you put the goggles on.
Key Takeaways
- →Start in a simulator, not in a field. Ten hours of free crash practice on a radio that doubles as a USB game controller is the cheapest insurance in this hobby.
- →Buy the radio once and keep it forever. A RadioMaster Pocket with hall gimbals and internal ExpressLRS runs under $100 and binds to every quad you will ever build.
- →Motor KV must match cell count. The XING2 2207 is 1855KV for 6S and 2755KV for 4S; running the 4S wind on a 6S pack overspeeds the motor and cooks the ESC.
- →A 5-inch quad is not exempt from registration. The 250 gram waiver in 14 CFR 48.15 covers recreational flights only, and a 6S 5-inch build weighs roughly 600 to 700 grams.
- →Goggles do not count as visual line of sight. A legal recreational FPV flight needs a co-located spotter watching the aircraft under 49 U.S.C. 44809.
Fly a Simulator Before You Buy Anything
The first ten hours of FPV should cost nothing but time. Every modern FPV simulator, including the free DRL sim and the paid Liftoff and Uncrashed titles, reads a real radio over USB, and a RadioMaster Pocket enumerates as a plain game controller the moment you plug it in. That means the sticks you practice on are the sticks you fly with, and the muscle memory transfers one to one.
Fly Acro mode in the simulator from the beginning. Acro gives you direct control of rotation rate on all three axes and does not return the quad to level when you let go of the sticks, which is how every freestyle quad flies. Self-leveling modes feel friendlier for an afternoon and then leave you with reflexes that fight you for months. Three drills cover most of what a new pilot needs: hold a stable hover at eye height using throttle alone, fly a clean figure eight coordinating yaw with roll, and recover deliberately from inverted rather than panicking into full throttle.
The reason to be this insistent about it is arithmetic. A 5-inch quad hits a tree at 60 mph and turns $600 of parts into a repair session. The simulator hits the same tree for free, and the crash teaches the identical lesson.
Path One: The Ready-to-Fly Kit
A bind-and-fly kit is the right first purchase for almost everyone, and the reason is not cost. It is that a kit removes every variable except flying. The BETAFPV Cetus X kit at $254.99 ships a 55 gram brushless quad, a LiteRadio 3 ExpressLRS transmitter, VR03 goggles with a DVR, four batteries, a charger, and spare props. Nothing needs to be bound, soldered, or configured before the first flight.
Take the Betaflight flight controller version rather than the closed Cetus FC version. The Betaflight board runs stock open-source firmware and connects to Betaflight Configurator exactly like a self-built quad, so the configurator work you do here is the configurator work you will do later. The closed version adds barometric altitude hold, which is comforting on day one and a dead end after that.
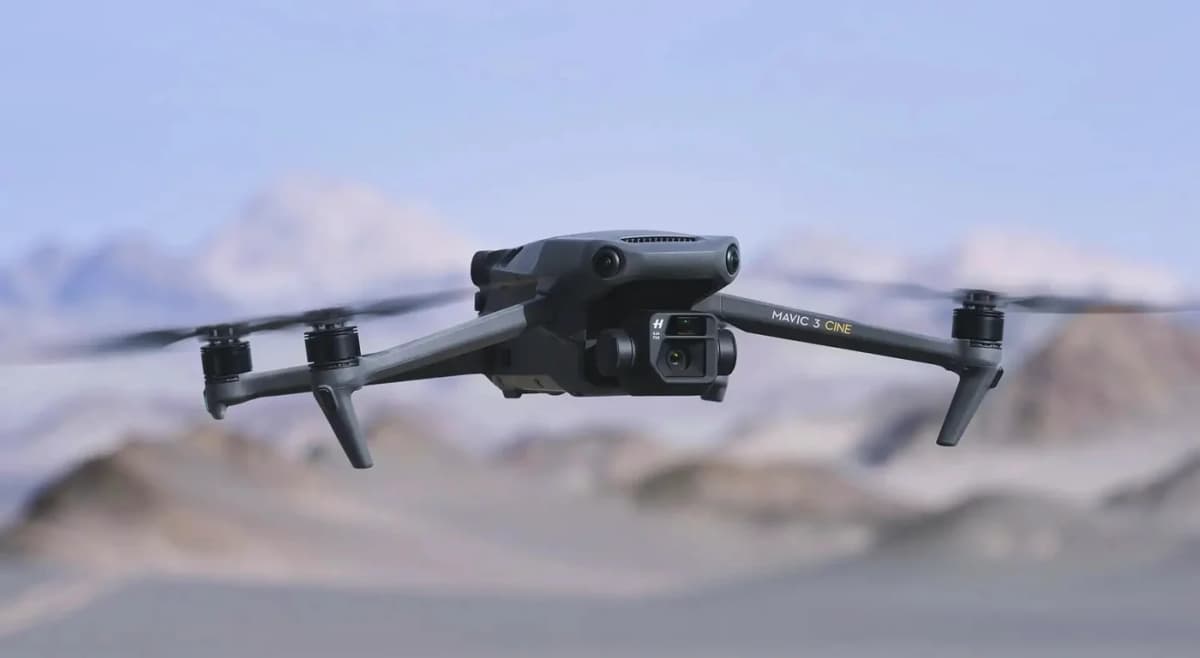
Goggles are the one kit component worth replacing early. The SoloGood EV800D at $149.99 is a 5-inch box goggle with a 40-channel analog receiver that will see any 5.8GHz video transmitter, which is the format a self-built quad will use. If your flying is going to be inside DJI's digital ecosystem instead, the DJI Goggles N3 at $229 is the cheapest way into a 1080p feed, with the caveat that it will not receive an analog transmitter at all. And if what you actually want is stabilized aerial video rather than acro flying, the DJI Mini 4K at $299 is a different aircraft for a different job: GPS hover, a 3-axis mechanical gimbal, and a 246 gram takeoff weight that keeps recreational flights out of the registration system entirely.
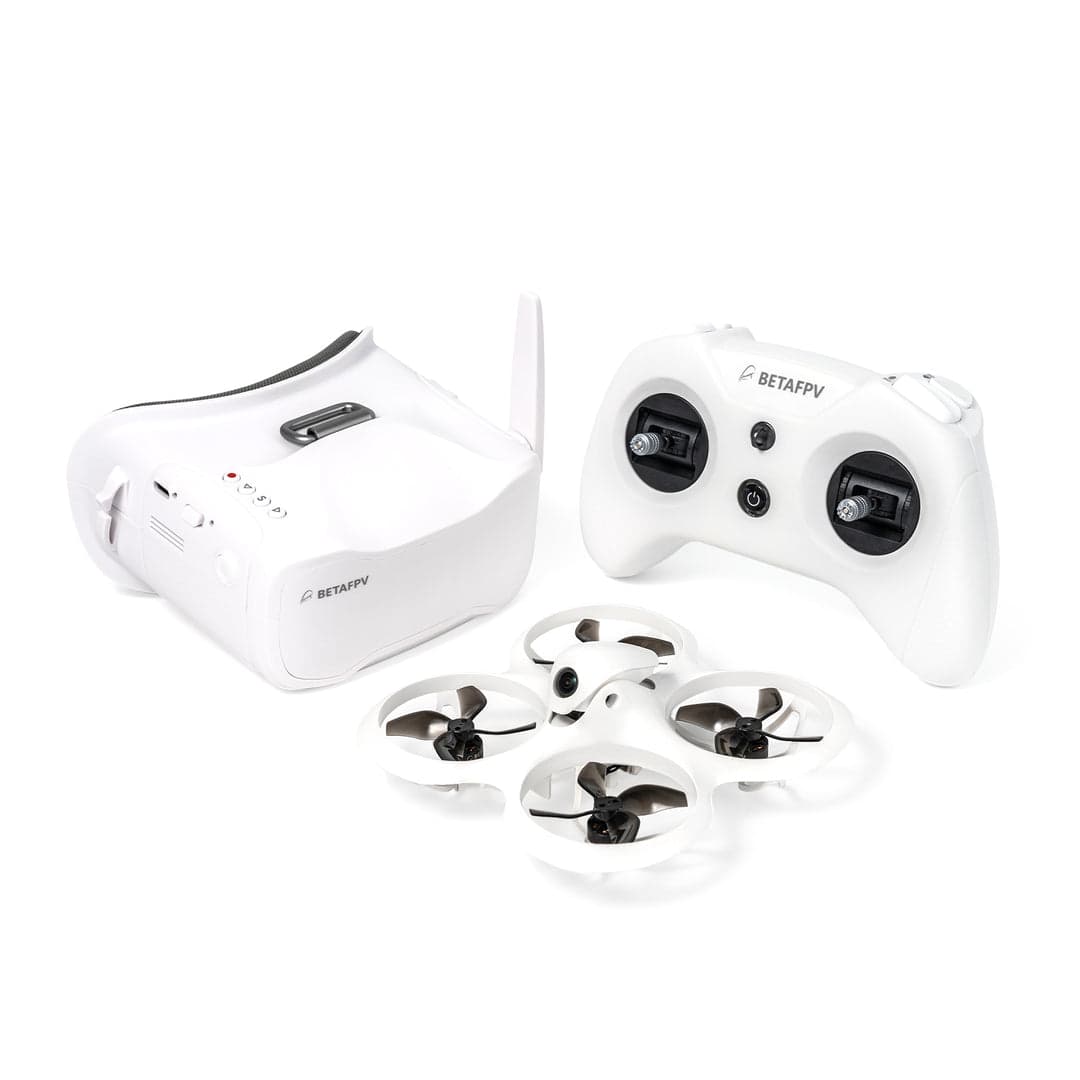
BETAFPV Cetus X FPV Kit (Betaflight FC)
- Betaflight FC version runs the same firmware a self-built quad does
- Radio doubles as a USB simulator controller
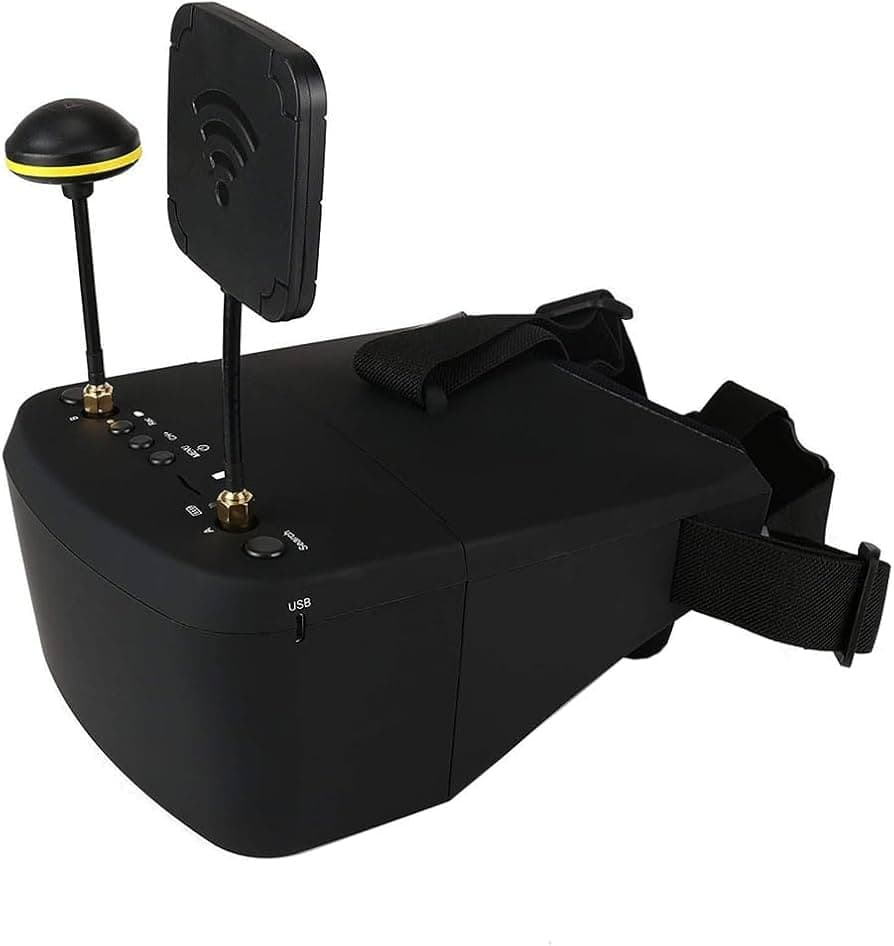
SoloGood EV800D FPV Goggles
- Receives any 5.8 GHz analog VTX, no ecosystem lock
- Built-in DVR helps you find a lost quad
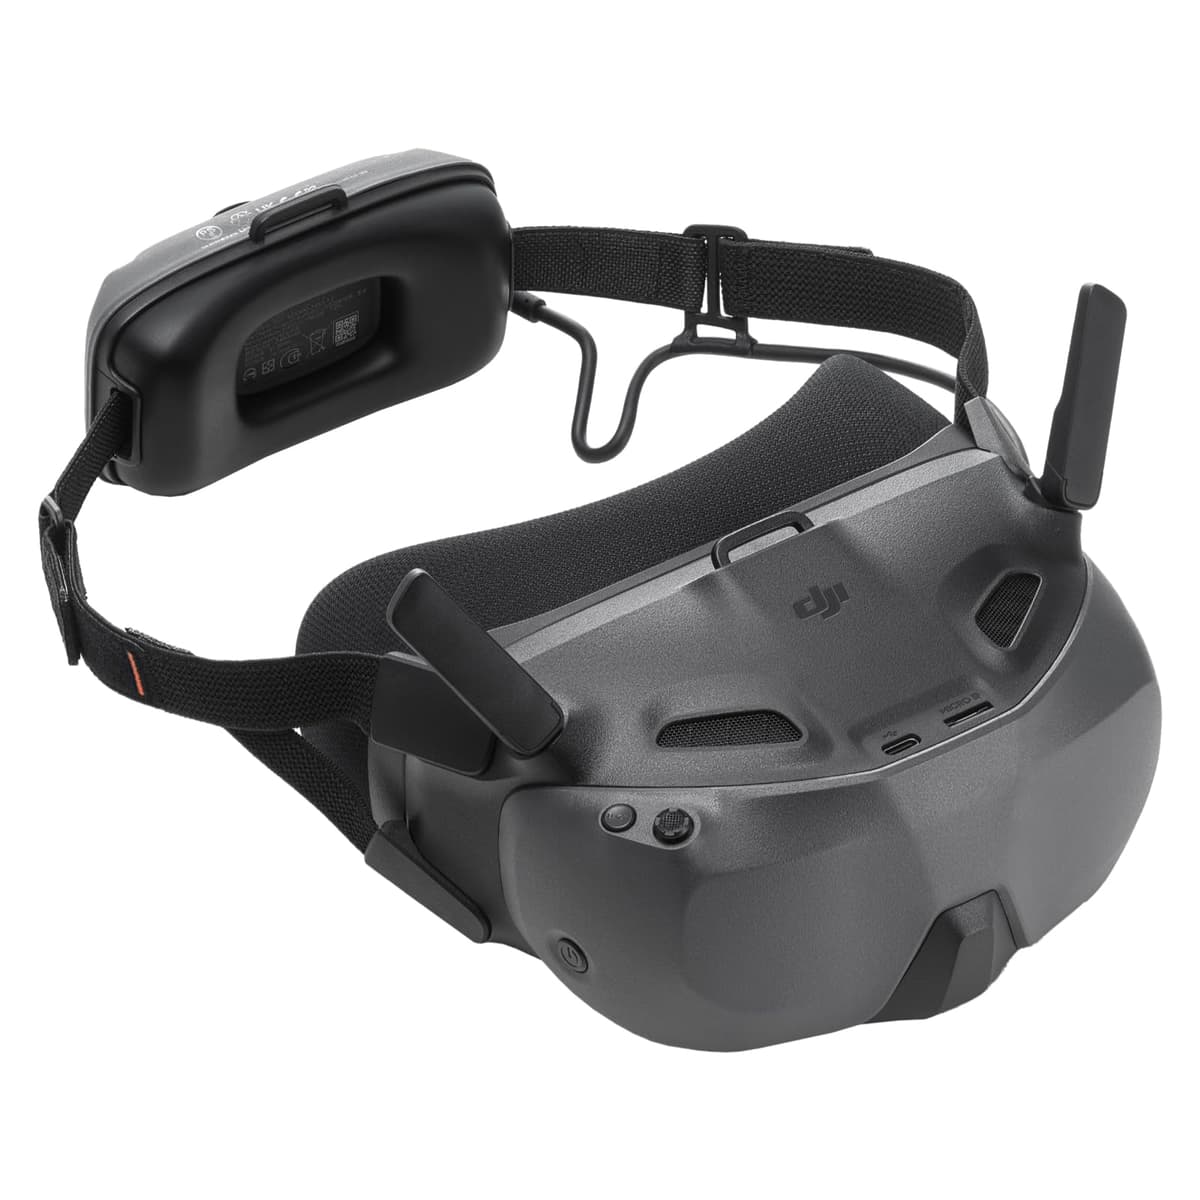
DJI Goggles N3
- 1080p feed on DJI aircraft and O4 air units
- Fits prescription eyeglasses inside the shell
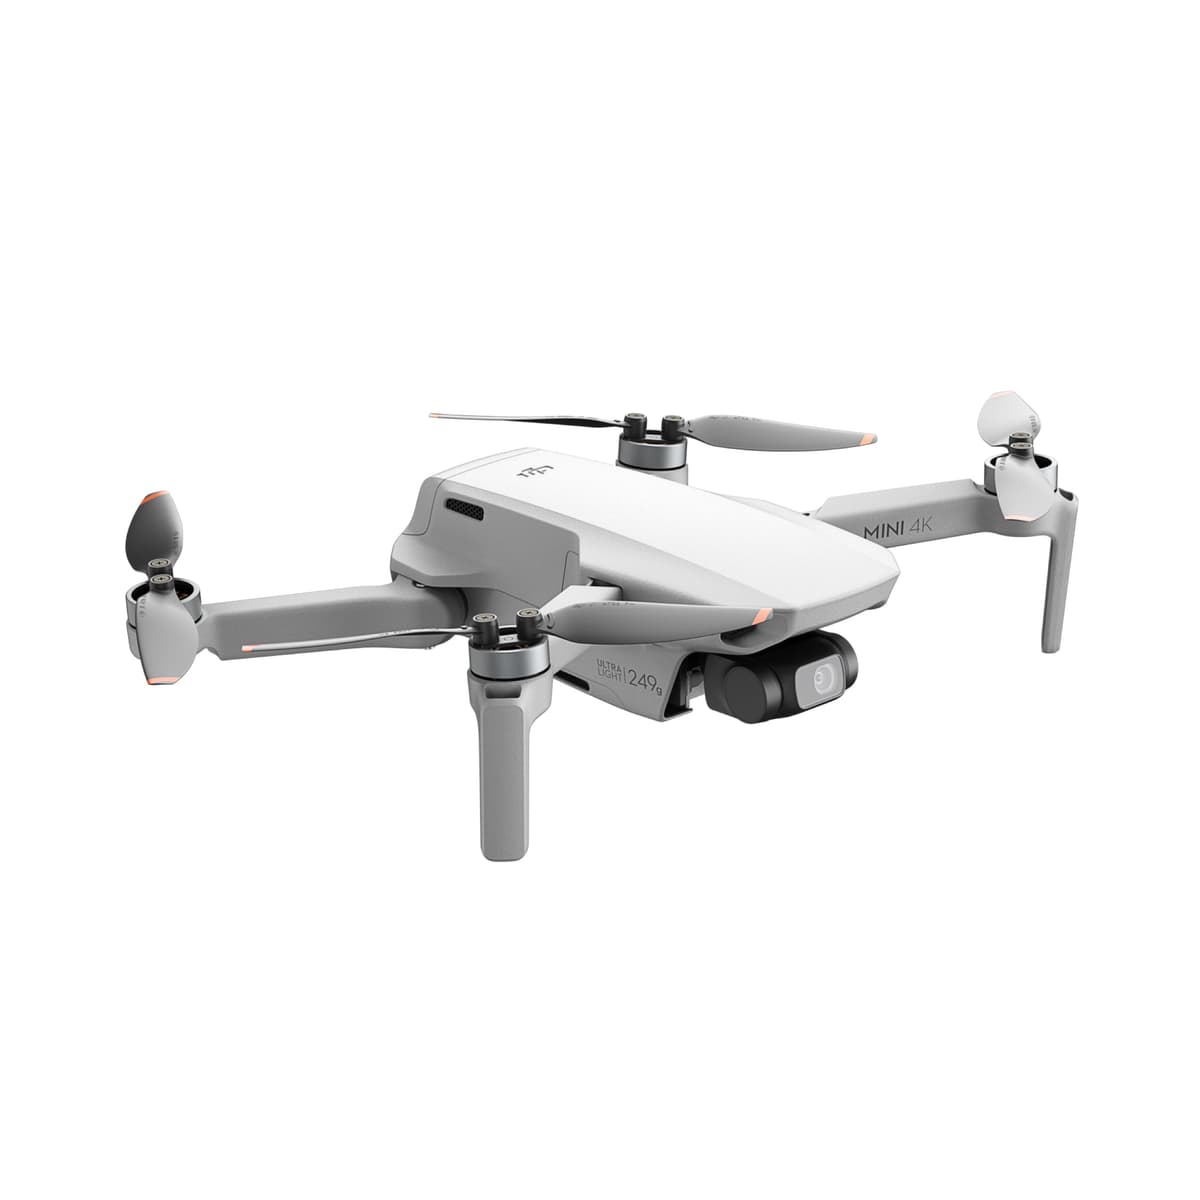
DJI Mini 4K
- 3-axis mechanical gimbal, 4K/30fps
- Under 250 g, flown from a phone rather than goggles
Affiliate links - purchases support this site at no extra cost to you. (?)
Analog or Digital Video
Build the first quad analog. A camera and video transmitter together cost about $67, the parts work with any 5.8GHz goggle from any brand, and the picture degrades into static at the edge of range rather than freezing into a black screen. That last property is the one that matters while you are still learning where the link holds: analog tells you how much margin is left, continuously, in a way a digital feed does not.
Digital is genuinely better looking and genuinely more expensive, and it couples the airframe to one manufacturer's air unit and goggles. That is a reasonable trade for a pilot who already knows what they want. It is a bad trade for a first build, where the aircraft is going to be disassembled and rebuilt several times.
- Camera and VTX costAnalog 5.8GHzAbout $67 for a Ratel 2 and a Zeus NanoDigitalSeveral times higher, air unit plus matched goggles
- Goggle compatibilityAnalog 5.8GHzAny 5.8GHz goggle, any brandDigitalLocked to the manufacturer's goggle
- Behavior at range limitAnalog 5.8GHzProgressive static, warns you before it failsDigitalHolds clean, then breaks up abruptly
- Crash replacementAnalog 5.8GHz$27 to $40 per partDigitalAir unit replacement costs more than the frame
- Best forAnalog 5.8GHzFirst self-build, racing, cheap repairsDigitalCinematic footage once the flying is dialed
| Factor | Analog 5.8GHz | Digital |
|---|---|---|
| Camera and VTX cost | About $67 for a Ratel 2 and a Zeus Nano | Several times higher, air unit plus matched goggles |
| Goggle compatibility | Any 5.8GHz goggle, any brand | Locked to the manufacturer's goggle |
| Behavior at range limit | Progressive static, warns you before it fails | Holds clean, then breaks up abruptly |
| Crash replacement | $27 to $40 per part | Air unit replacement costs more than the frame |
| Best for | First self-build, racing, cheap repairs | Cinematic footage once the flying is dialed |
Path Two: Airframe, Motors, and the Stack
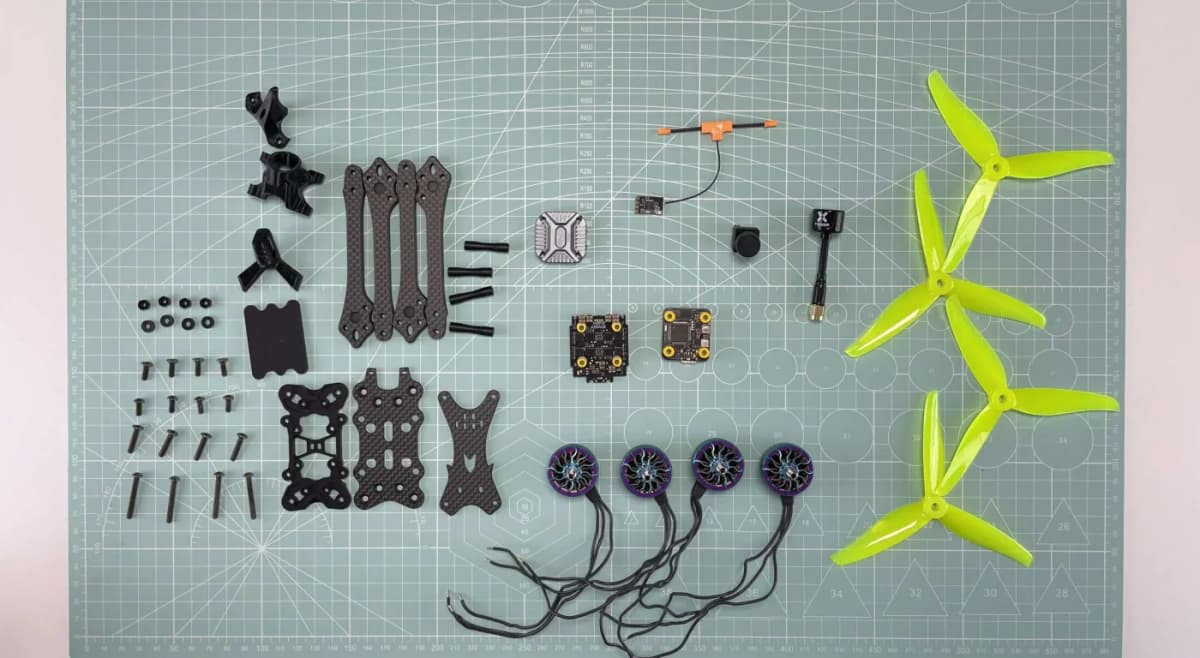
A 5-inch freestyle quad is three decisions: a 245mm True-X frame with thick arms, 2207 motors wound for your pack count, and a four-in-one ESC with enough current headroom that the motors never reach it. Get those three right and the rest of the build is wiring.
Arm thickness is the durability spec. The iFlight Nazgul XL5 ECO at $78.99 runs 5mm arms on a 245mm wheelbase in True-X geometry, which is the layout Betaflight's defaults were written around. Arms replace individually, so a tree strike costs one part rather than an airframe. Buy two spare arms in the same order.
Motor KV is the number that decides whether the build flies or melts. KV multiplied by pack voltage sets unloaded rotor speed, so a 6S pack at 22.2 volts nominal needs roughly two thirds the KV that a 4S pack does. The iFlight XING2 2207 set at $97.99 is the 1855KV wind, which is the 6S number; the same motor exists in 2755KV for 4S and the two do not substitute for each other. iFlight rates each motor at 35.08 amps peak, which sets the ESC requirement.
That current figure is why the DYS F7 stack at $89.99 belongs here instead of a cheaper 40 amp board. It pairs an STM32F722 flight controller carrying an ICM42688P gyro with a 65 amp continuous four-in-one ESC rated across 2 to 8 cells, running AM32 open-source firmware. AM32 brings bidirectional DShot, which feeds motor rpm back to the flight controller for RPM filtering, and RPM filtering is the single largest improvement available to a modern Betaflight tune. Sixteen megabytes of onboard flash log blackbox data without an SD card, and the 12 volt regulator feeds an analog video transmitter directly.
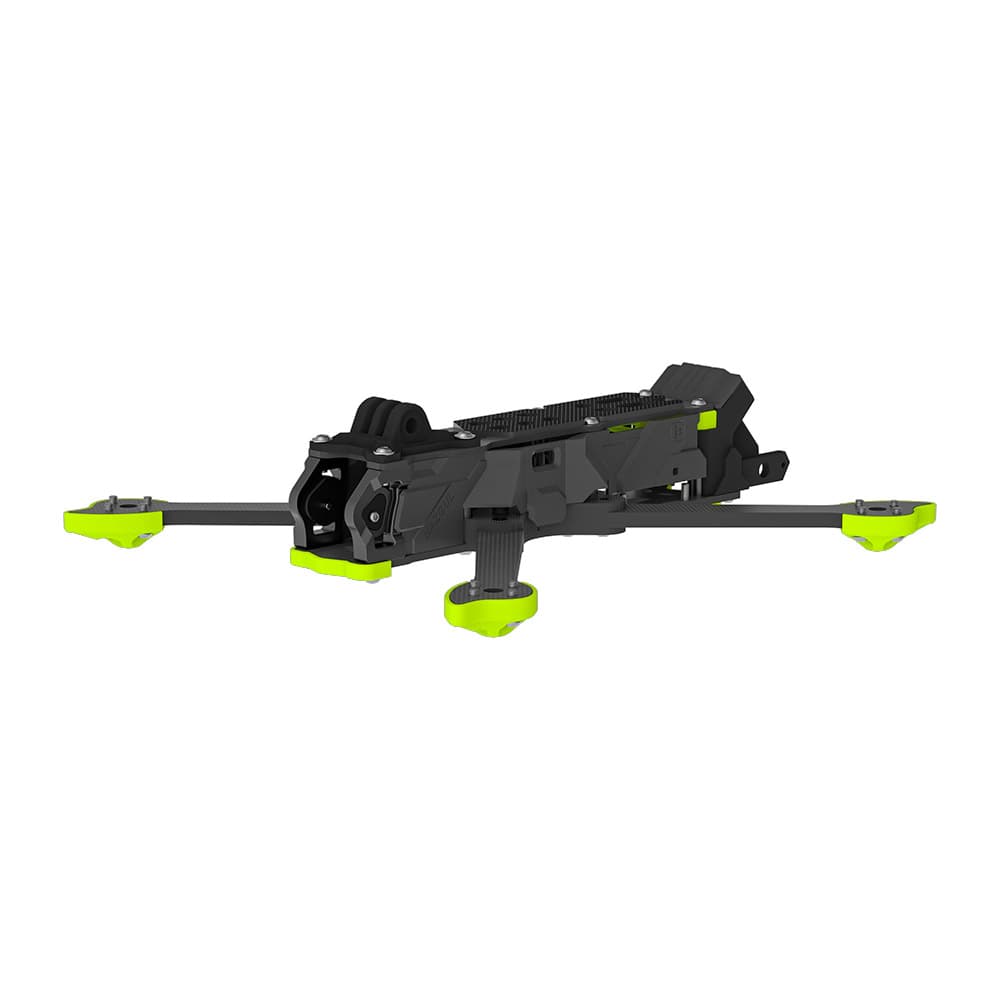
iFlight Nazgul XL5 ECO V1.1 Frame Kit
- 5 mm arms, replaceable individually
- 16x16 mm motor mounting, 30.5 mm stack pattern
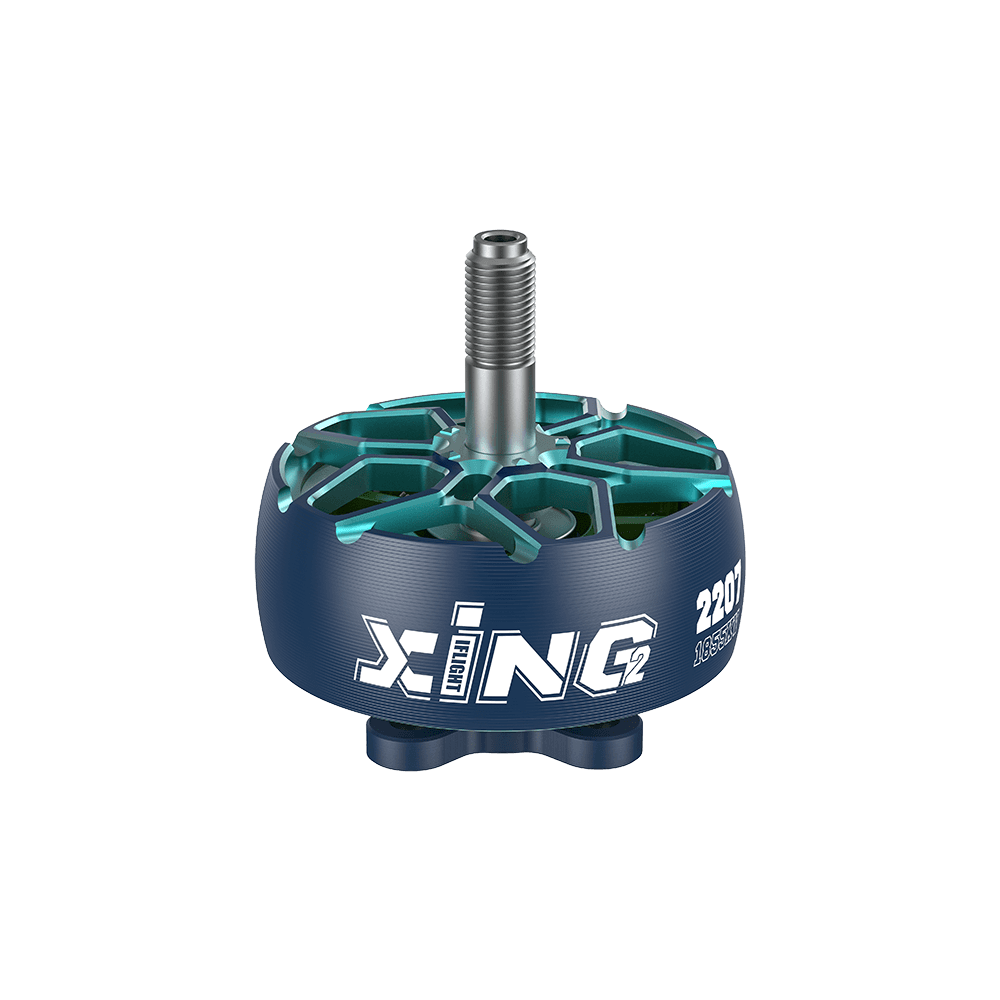
iFlight XING2 2207 1855KV Motors (4-Pack)
- 5 mm titanium shaft resists crash bending
- 35.08 A peak per motor at 24 V
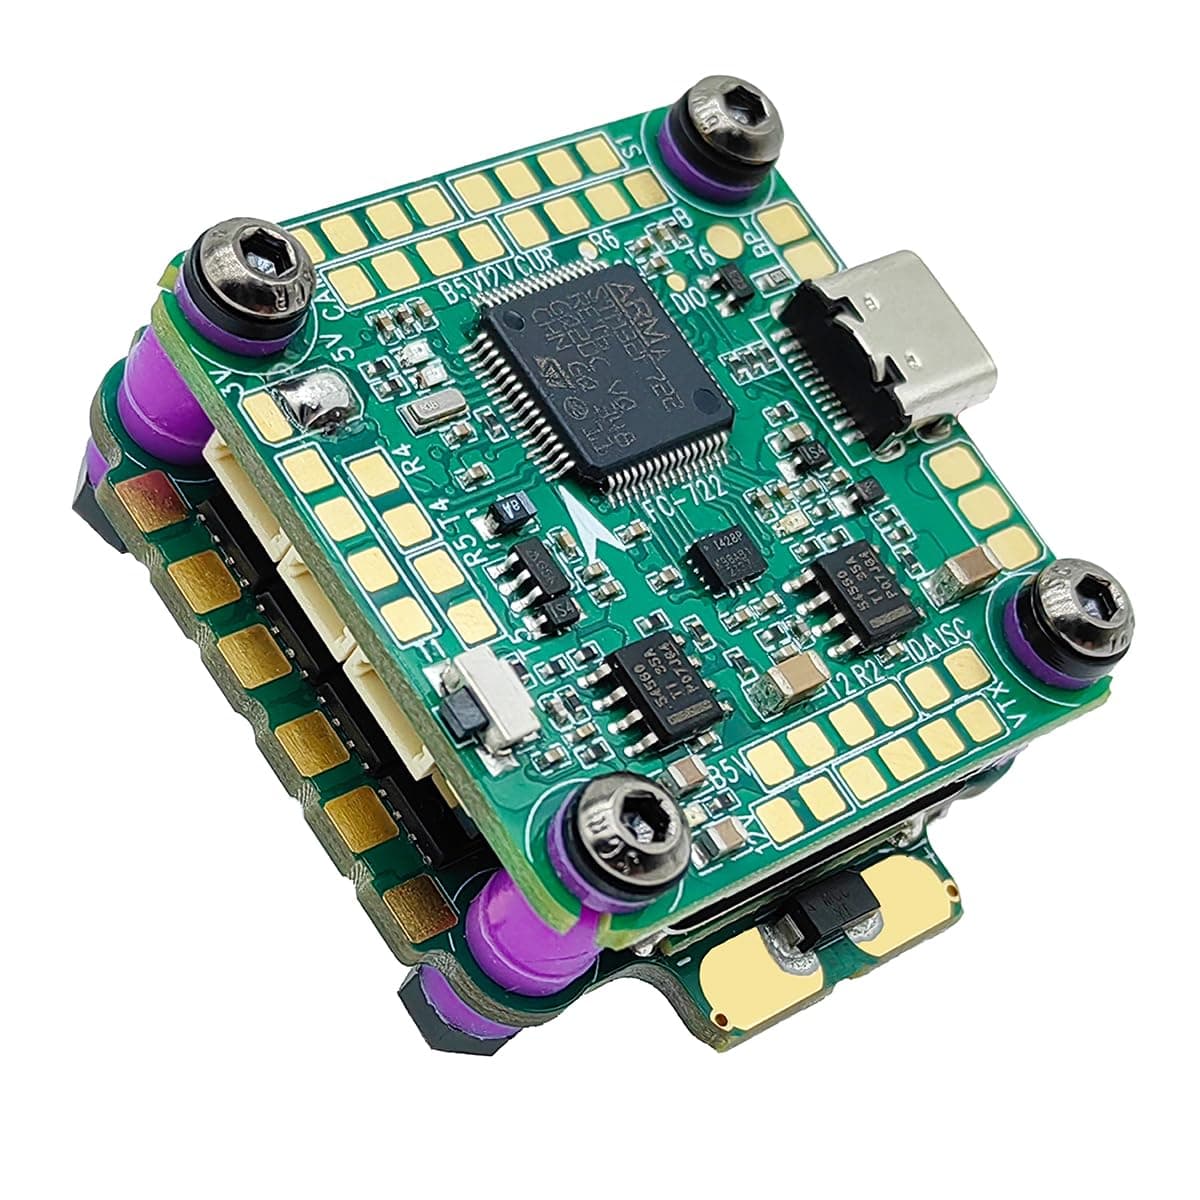
DYS F7 Stack (F722 FC + 65A AM32 4-in-1 ESC)
- 65 A continuous per channel across 2-8S
- 16 MB blackbox flash and a 12 V rail for the VTX
Motor KV must match cell count. 1855KV is the 6S wind of this motor; the 2755KV wind is for 4S.
Affiliate links - purchases support this site at no extra cost to you. (?)
Camera and Video Transmitter
Buy the camera for its sensor and the transmitter for its pit mode. The Caddx Ratel 2 at $39.99 uses a 1/1.8-inch starlight sensor rated to 0.0001 lux behind a 2.1mm lens at a 165 degree field of view, which is the standard freestyle framing. Its 5 to 40 volt input range means it runs off the 5 volt or 12 volt rail on the stack without a separate regulator, and super WDR keeps the exposure sane flying out of a shaded treeline into open sky.
On the transmitter side, the HGLRC Zeus Nano at $26.99 is 2.4 grams, covers 40 channels, and steps from pit mode through 25, 100, 200, and 350 milliwatts. Pit mode is the feature that matters on a shared field: it drops output to nearly nothing so you can boot the quad, read the OSD, and confirm your channel without wiping out whoever is currently in the air. Powering up live on an occupied channel is the fastest way to make enemies at a flying site.
Antennas are a separate purchase and the connector has to match the transmitter you bought. Right-hand circular polarized stubby antennas on both the quad and the goggles are the default freestyle answer; a linear whip on one end and circular on the other loses most of the link before it starts. This is also the point where the goggle decision from path one comes back: an analog transmitter needs an analog goggle, and the harness that holds it matters more than people expect once you are wearing it for a full session. Our coverage of the Adaptiv F.L.I. goggle harness walks through mounting goggles to helmet ARC rails without blocking the NVG shroud.
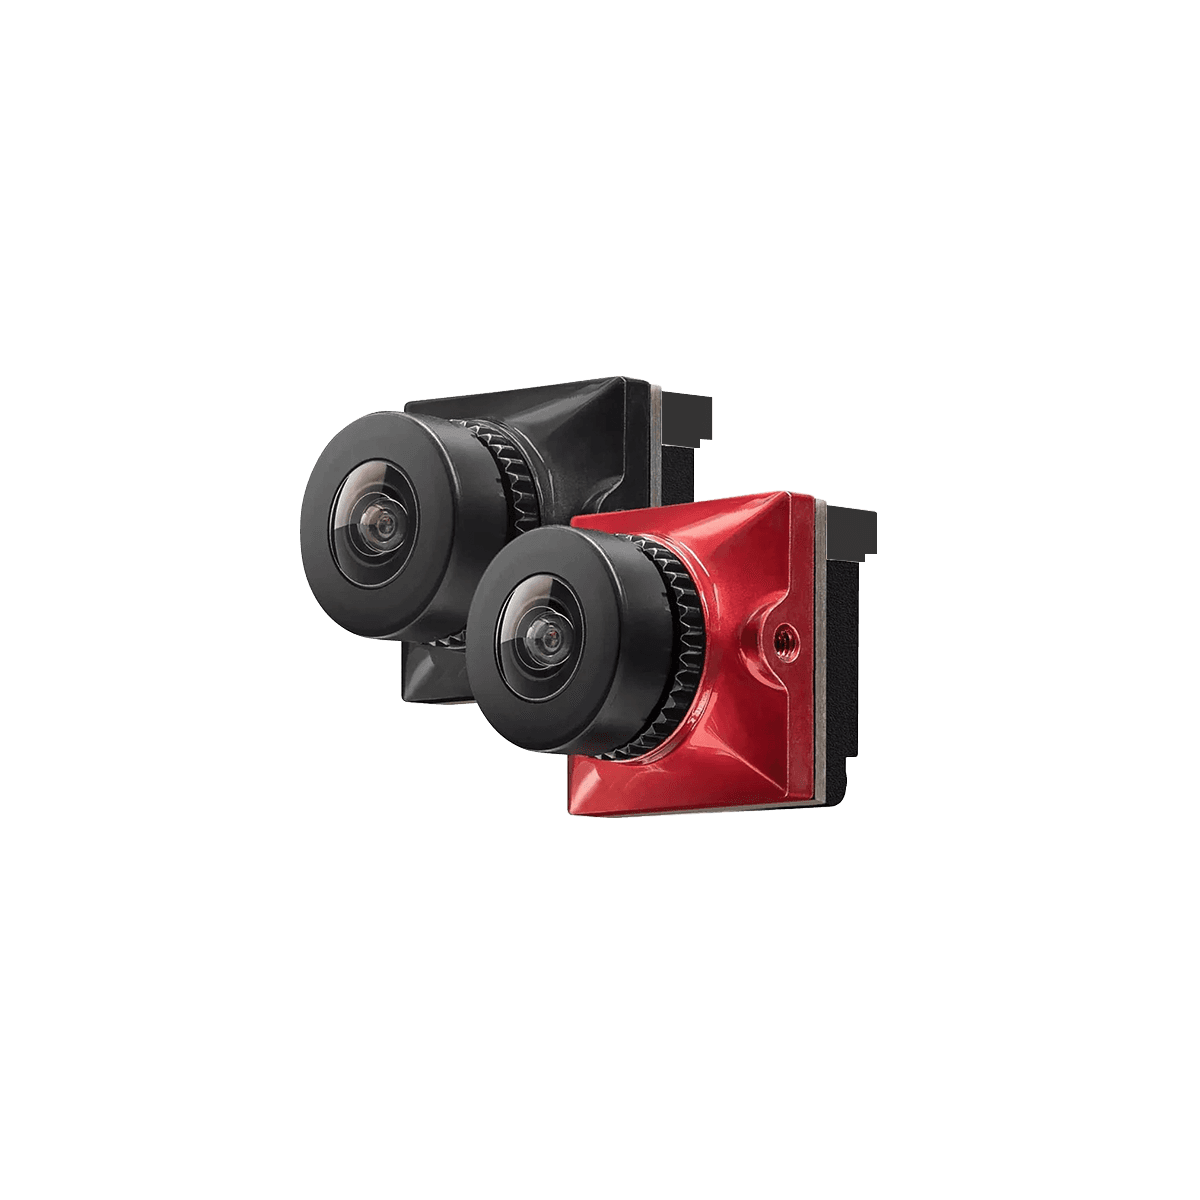
Caddx Ratel 2 Analog FPV Camera
- 1/1.8-inch sensor at 0.0001 lux
- 5-40 V input runs off any rail on the stack
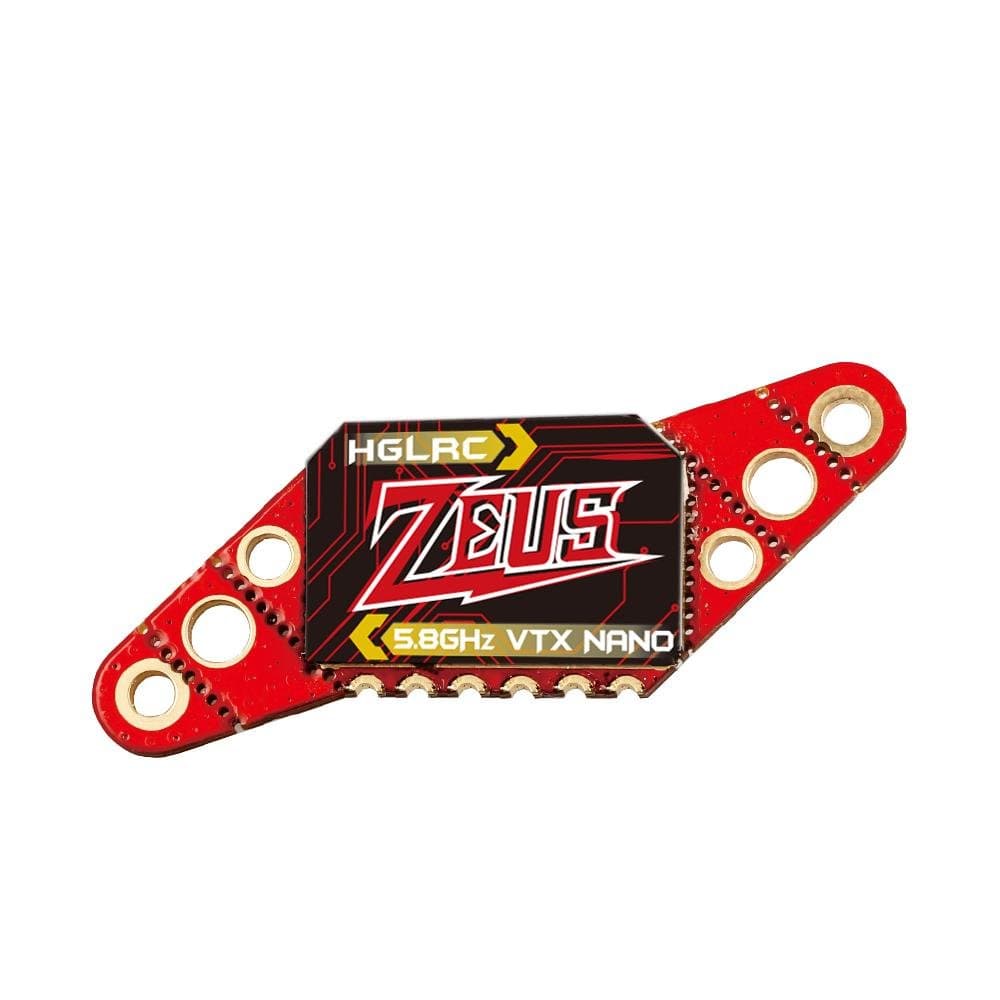
HGLRC Zeus Nano 350mW VTX
- Pit mode powers up without breaking anyone's feed
- 2.4 g board with three mounting patterns
Affiliate links - purchases support this site at no extra cost to you. (?)
Radio and Receiver
Buy the radio first and buy it once. It outlives every quad you own and binds to everything you build. The RadioMaster Pocket at $79.99 runs EdgeTX, the open-source firmware every FPV tutorial assumes, on X5 hall-effect gimbals with quad ball bearings. Hall sensors read stick position magnetically instead of through a wiper on a resistive track, which is why they hold center after thousands of flights while potentiometer gimbals develop the jitter that ends their service life.
Internal ExpressLRS on 2.4GHz at up to 250 milliwatts is the current standard link, and an external nano module bay leaves a 900MHz long-range path open later. Power is two 18650 cells you supply yourself, charged in the radio over USB-C, which keeps the radio airline-friendly and the cells replaceable.
On the quad, the RadioMaster RP1 V2 at $21.99 is 2.2 grams including its 65mm T antenna and carries a TCXO, a temperature-compensated crystal oscillator. Without one, the receiver's reference frequency drifts as the board heats up under the stack, and a drifting reference is what turns a link that worked on the bench into a failsafe at range. Set packet rate to 250Hz to start; lower rates buy sensitivity, higher rates buy latency and stick resolution. Get both antenna legs out of the carbon, ideally at ninety degrees to each other, because antenna placement beats every setting in the configurator.
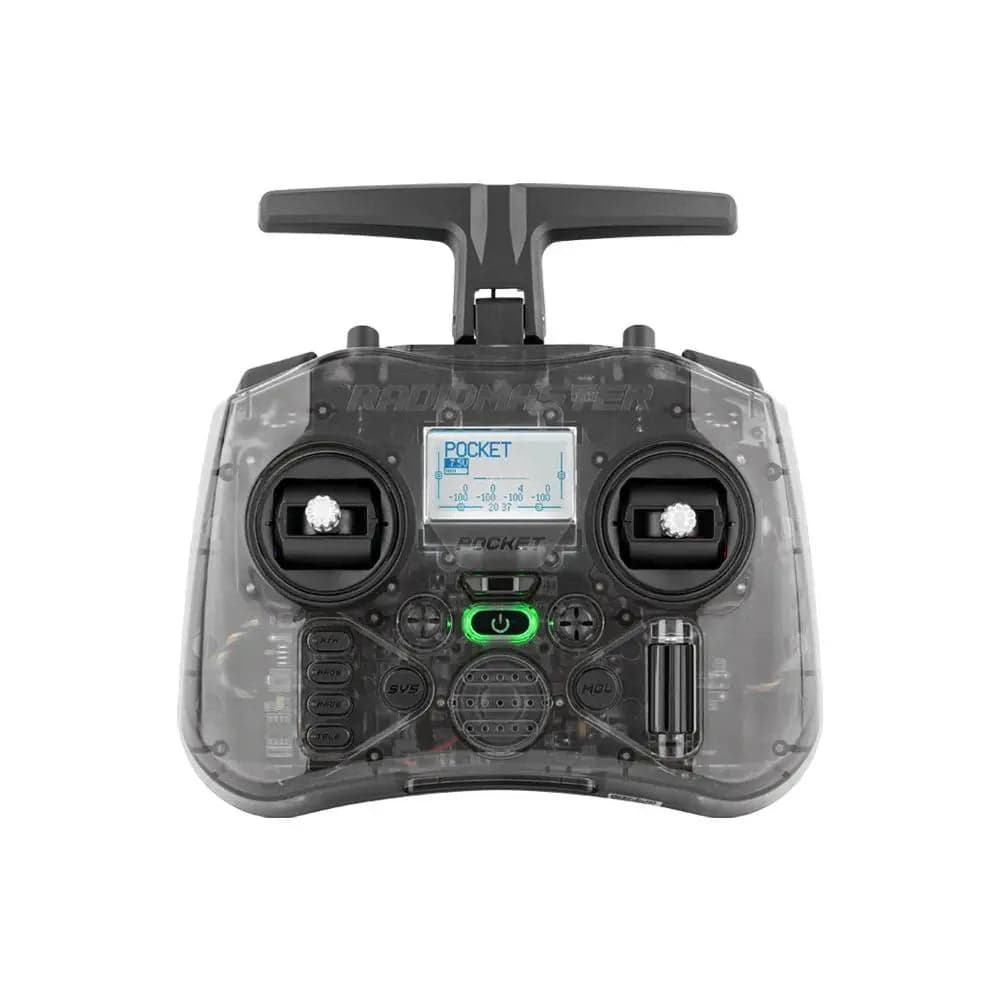
RadioMaster Pocket ELRS Radio Controller
- Hall-effect gimbals that do not develop center drift
- Enumerates as a USB controller for simulators
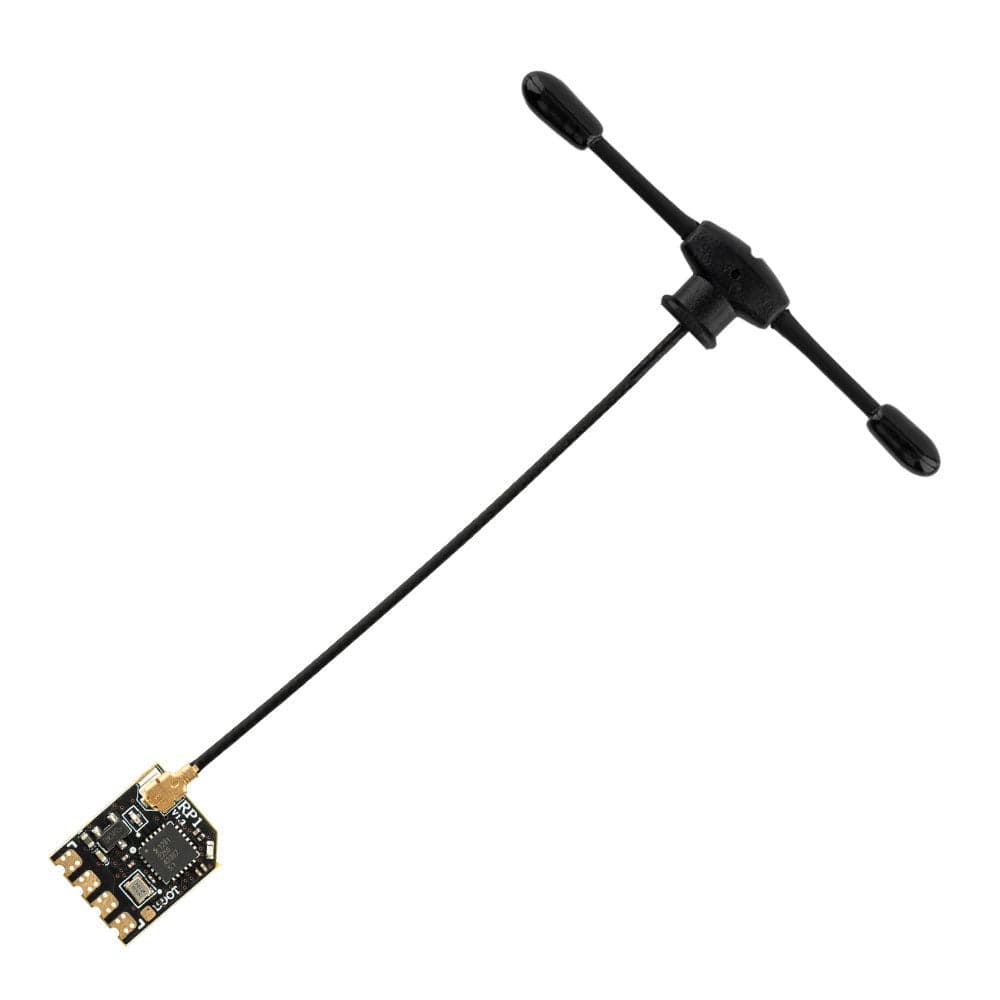
RadioMaster RP1 V2 ExpressLRS Nano Receiver
- TCXO removes temperature-driven link failures
- 2.2 g including its 65 mm T antenna
Affiliate links - purchases support this site at no extra cost to you. (?)
Batteries, Charger, and Bench Tools
Six cells at 1300 milliamp hours is the 5-inch freestyle standard, and it is standard because it is the point where added pack weight stops paying for itself. The CNHL Black Series 6S 1300mAh two-pack at $31.50 weighs about 223 grams per pack, which is roughly a third of a loaded quad. Expect three to four minutes of hard flying per pack. Six packs is a starting inventory, eight is a comfortable session, and that arithmetic is the real argument for a dual-channel charger.
The HOTA D6 Pro at $119.99 has AC input built in, which is the detail that separates it from the cheaper chargers next to it on the shelf. A DC-only charger arrives and does nothing until a separate server power supply shows up. This one plugs into the wall at up to 200 watts and will take 325 watts per channel from a DC source later. Two independent channels at up to 15 amps each halve the turnaround between sessions, and the storage program is the function to learn on day one: LiPo packs degrade quickly at full charge, and storage mode takes them to about 3.8 volts per cell from either direction.
A self-built quad is roughly thirty solder joints and every one of them carries flight-critical current or signal. Cold joints fail under vibration in the air rather than on the bench, which is why the iron is not the place to save $20. The Pinecil at $39.99 reaches working temperature in 12 seconds, boosts on demand when a fat ground pad tries to sink all the heat, and runs the open-source IronOS firmware with a 100 to 400 degree Celsius range. The power supply is a separate purchase and it matters: use a 60 watt or larger USB-C PD brick, not a phone charger.
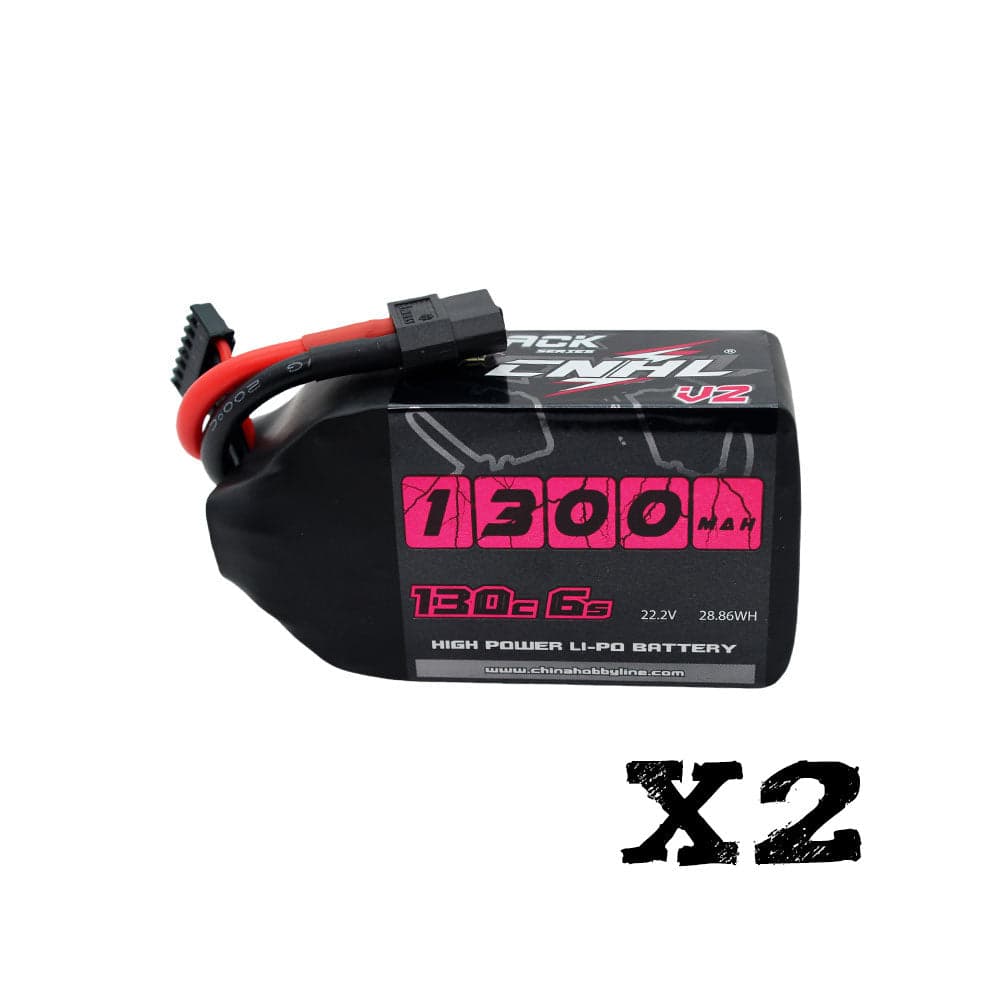
CNHL Black Series 1300mAh 6S 130C LiPo (2-Pack)
- Three to four minutes per pack on a 5-inch build
- XT60 and JST-XH, the connectors everything expects
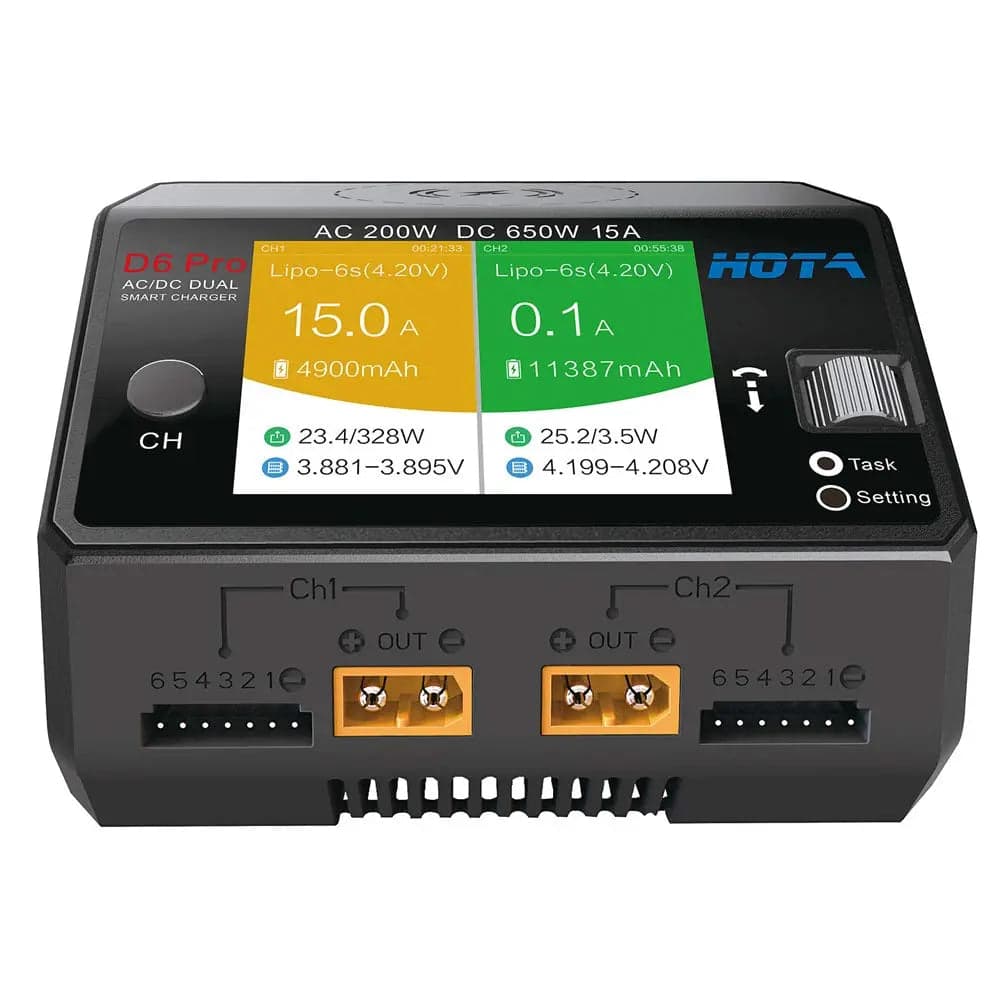
HOTA D6 Pro Dual-Channel Charger
- AC input built in, so no separate power supply is needed
- Storage mode is what keeps a pack inventory alive
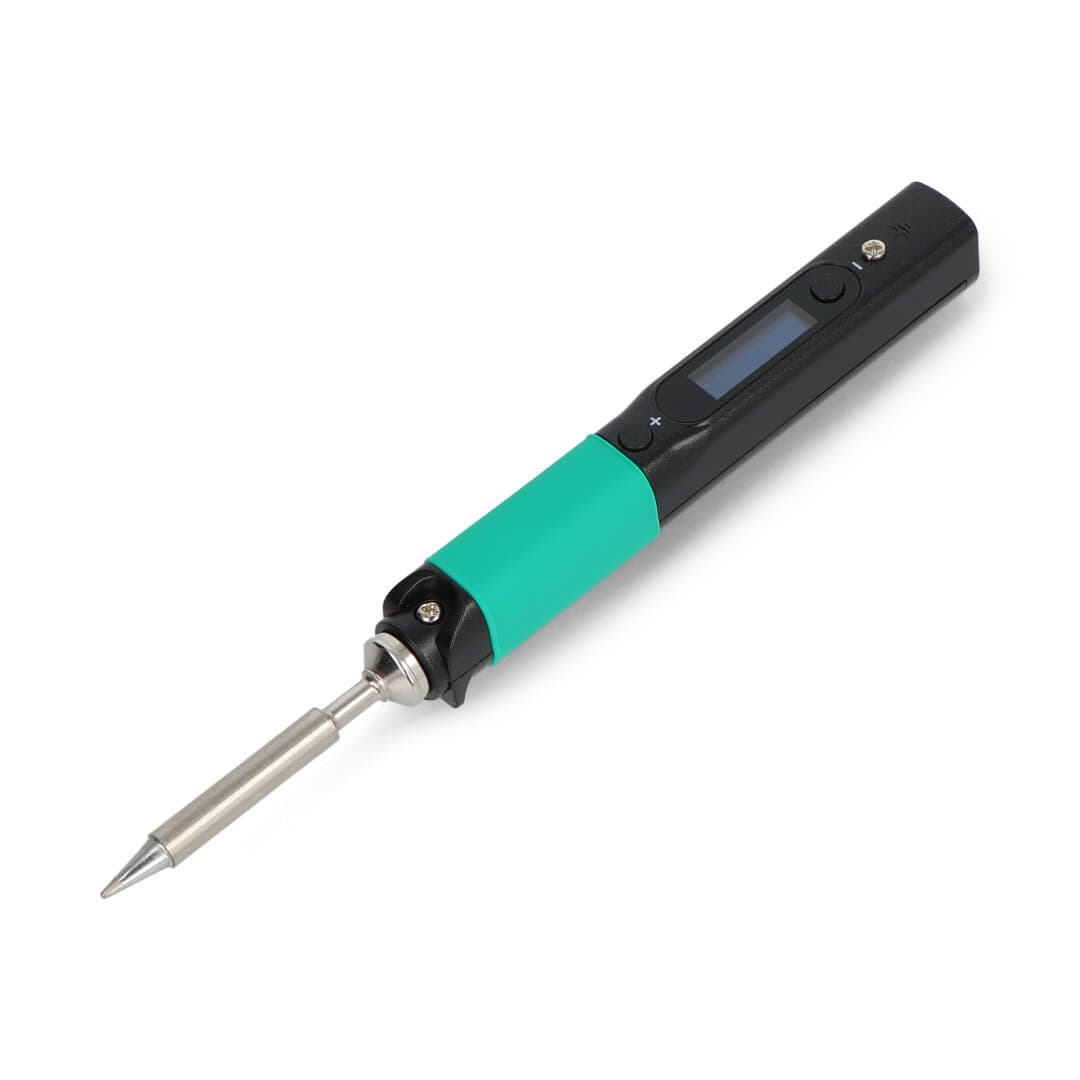
PINE64 Pinecil Portable Soldering Iron
- 12-second warmup with real recovery on ESC pads
- Open IronOS firmware, 100-400 degrees C
Charge LiPo packs in a fire-resistant bag on a non-flammable surface, never unattended, and store them at 3.8 V per cell.
Affiliate links - purchases support this site at no extra cost to you. (?)
Build Order and the First Power-Up
Assemble in an order that lets you test as you go. Motors onto arms first, with the leads routed to the center and cut to length rather than coiled. Solder the four motor sets to the ESC pads, then the battery leads and the capacitor, then the flight controller onto the ESC with the supplied ribbon. Camera and video transmitter go in last, because they are the parts you will be swapping most often. Tin every wire and every pad separately before joining them. That single habit produces most of the difference between a build that flies and one that browns out in a hard turn.
Buy a smoke stopper before the first power-up. It is a small inline fuse board with XT60 and XT30 connectors that limits current on the first connection, so a solder bridge between a battery pad and ground trips a buzzer instead of destroying the ESC. It costs about $10 and it pays for itself the first time you use it.
Then, with props off, work through Betaflight in this order: flash current firmware, set the correct ESC protocol and enable bidirectional DShot, verify motor direction and order in the motors tab, bind the receiver and confirm every channel moves the right way, set the arm switch, configure the OSD, and set your cell-count voltage warnings. Only after all of that goes on the props. A quad that arms with a reversed motor and props installed is how people lose fingers.
FAA Rules That Apply to a 5-Inch Quad
A self-built 5-inch freestyle quad has to be registered. 14 CFR 48.15 waives registration only for aircraft flown exclusively under 49 U.S.C. 44809 that weigh 0.55 pounds, or 250 grams, or less at takeoff including everything attached, and a 6S 5-inch build lands closer to 600 to 700 grams with a pack in it. Registration costs $5. A recreational flyer registers once under 14 CFR 48.105 and that single certificate covers every aircraft they own, while a Part 107 operator registers each aircraft separately under 14 CFR 48.100. Either certificate expires three years after the date of issue.
Recreational flying runs under 49 U.S.C. 44809, which is a list of eight conditions rather than a license. The flight has to be strictly recreational, follow a community-based organization's safety guidelines, stay within visual line of sight, yield to manned aircraft, stay at or below 400 feet above ground level in Class G airspace, get prior authorization before operating in controlled airspace, and use a registered and marked aircraft, and the operator has to have passed the aeronautical knowledge and safety test and carry proof of it. That test is TRUST, The Recreational UAS Safety Test. It is free, it takes under an hour online, and the completion certificate is the document you show if asked.
The visual line of sight condition is the one FPV pilots break without noticing. The statute requires the aircraft to remain within the visual line of sight of the person operating it or of a visual observer who is co-located with and in direct communication with that person. Goggles end your own line of sight the second they go on, so a legal recreational FPV flight needs a spotter standing next to you. Fly with someone anyway: the spotter sees the branch and the incoming manned traffic the camera never shows you.
Remote ID under 14 CFR Part 89 applies to any unmanned aircraft registered or required to be registered, which means it applies to this build. Since September 16, 2023 an operation has to satisfy either 14 CFR 89.110 or 89.115. A self-built quad is not a standard remote ID aircraft, so it complies through 89.115: a remote ID broadcast module whose serial number appears on an FAA-accepted declaration of compliance, or by flying entirely inside an FAA-recognized identification area. Broadcast modules are small, they mount to the frame, and they are the practical answer for a home-built airframe.
For controlled airspace, LAANC is the automated route. Low Altitude Authorization and Notification Capability is an FAA and industry partnership that issues near-real-time airspace authorizations at pre-approved altitudes through FAA-approved service suppliers, and recreational flyers use it as well as Part 107 operators. Most requests return in seconds. Flying near an airport without that authorization is the violation that ends hobbies.
None of this touches the other side of the drone question, which is what happens when someone else's aircraft is over your property. Drones are aircraft in federal law and shooting one down can be charged as a federal felony under 18 U.S.C. 32, with a penalty ceiling of a fine and up to 20 years. Our breakdown of the law on shooting down a drone covers what the statutes actually say and the remedies that do not involve a shotgun.
Where the Hobby Goes From Here
A first 5-inch build is the on-ramp to a much larger hobby. The same airframe scales down to 3-inch and 2-inch cinewhoops for indoor and tight-space flying, up to 7-inch and 10-inch long-range builds that trade agility for endurance, and sideways into fixed-wing. The electronics knowledge transfers completely; only the numbers change.
It is also the entry point to understanding what small drones have become outside the hobby. The radio link that a spotter and a 250-milliwatt transmitter make routine is the exact thing being jammed at scale in Ukraine, which is why fiber optic drones replaced the radio with a spool of glass fiber thinner than fishing line. The wider picture of how these aircraft reshaped ground combat is in our drone warfare coverage.
On the bench side, the habits are the same ones that make a rifle build come out right: buy the tool once, torque to spec, and test before you trust. Our AR-15 tool guide covers the other half of that bench, and the rifle builder is where to spec a host if the counter-drone side of this subject is what brought you here.
Drone and Counter-Drone Coverage, Weekly
New builds, verified parts pricing, and the legal and battlefield reporting that surrounds small unmanned aircraft. One email a week.
Frequently Asked Questions
▶How much does it cost to build an FPV drone?
▶Should I buy an FPV kit or build one from parts?
▶What parts do I need to build a 5-inch FPV drone?
▶What motor KV should I use for a 6S 5-inch FPV drone?
▶Do I need a license to fly an FPV drone in the US?
▶Does a 5-inch FPV drone need FAA registration and Remote ID?
▶Can I fly FPV with goggles by myself?
▶Is analog or digital better for a first FPV build?
▶How long does an FPV drone battery last?
▶How many hours should I fly in a simulator before my first pack?
Bottom Line
Simulate first, fly a kit second, build third. That order costs the least and teaches the most.
Ten hours in a free simulator on a RadioMaster Pocket costs nothing but time and removes most of the crashes from the first month. A BETAFPV Cetus X kit answers the only question that matters next, which is whether you actually enjoy this, and its radio and goggles carry straight into the self-build. Then the scratch 5-inch: a 245mm frame with 5mm arms, 1855KV 2207 motors matched to 6S packs, a 65 amp stack with room over the motors, an analog camera and a video transmitter with pit mode, and an ExpressLRS link on both ends. Register the aircraft, pass TRUST, add a Remote ID broadcast module, and fly it with a spotter.