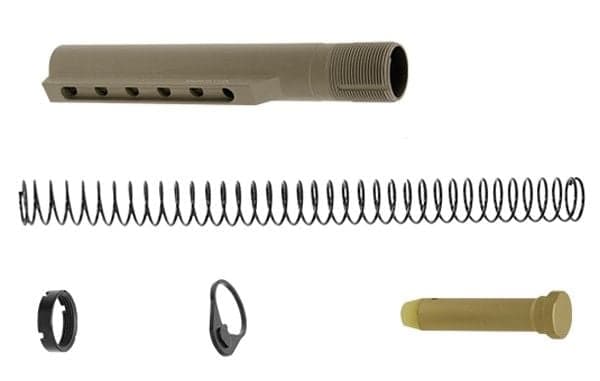
Buffer · Baseline weight
Various H2 Buffer (4.6-4.7 oz)
- Good starting weight for 5.56
- Fine-tune with gas-system-buffer-tuning guide
$119.49
View at OpticsPlanet
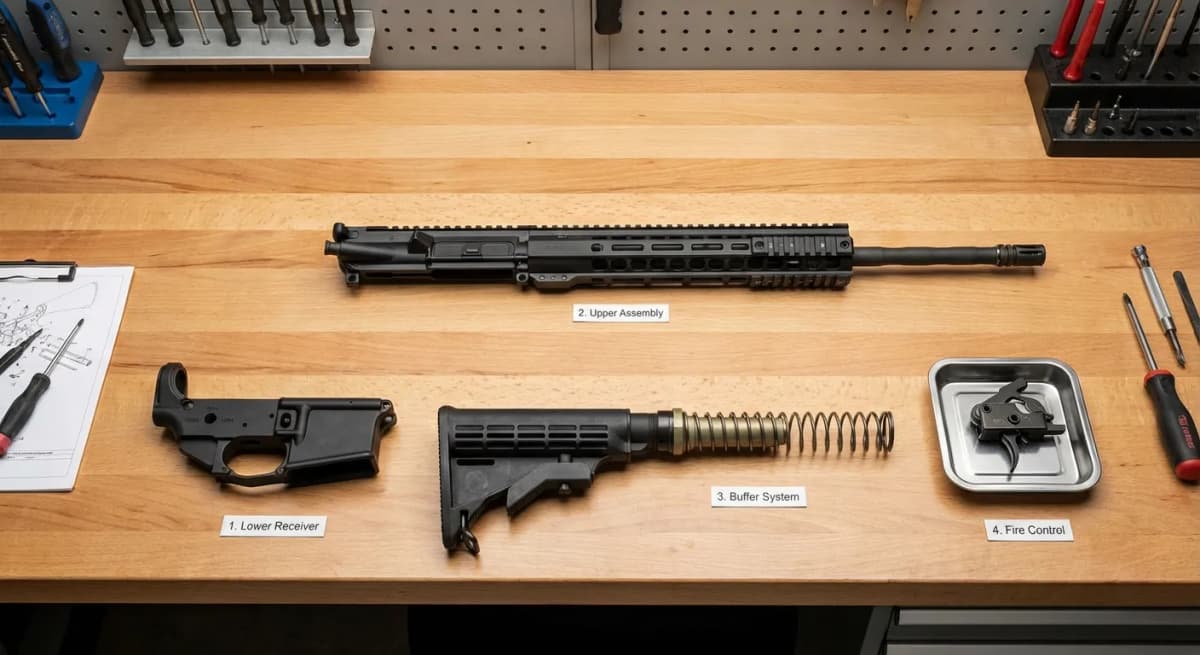
Complete 2026 guide on how to build an AR-15 from a stripped lower with full parts list, tools needed, and step-by-step assembly. Budget tiers from PSA to Geissele with FFL transfer, lower parts kit, and complete upper selection.
Affiliate links (?)
Complete parts list, tools, and step-by-step assembly. Your first build should be dead simple: quality parts, zero custom headspace work, and a clear upgrade path.
First time building? Review the Common Beginner Mistakes guide before you start, it'll save you time and frustration. If any part name below is unfamiliar, our interactive AR-15 parts diagram shows every one of them on a clickable rifle. Then open the AR builder to plan your parts list, verify compatibility, and see a running budget before you buy anything. On a tight budget? The budget AR-15 build parts list names the exact lowest-reliable-price part for every slot with a total under $700.
The rifle in the strip below is a mil-spec M4-pattern AR-15 drawn from real part geometry. It starts as a bare lower receiver and gains parts as you read down the steps. Tap any step to jump there, tap a part on the rifle to jump to the step that installs it, and switch to the exploded view to see how the parts you have installed so far fit together.
Loading the 3D rifle...
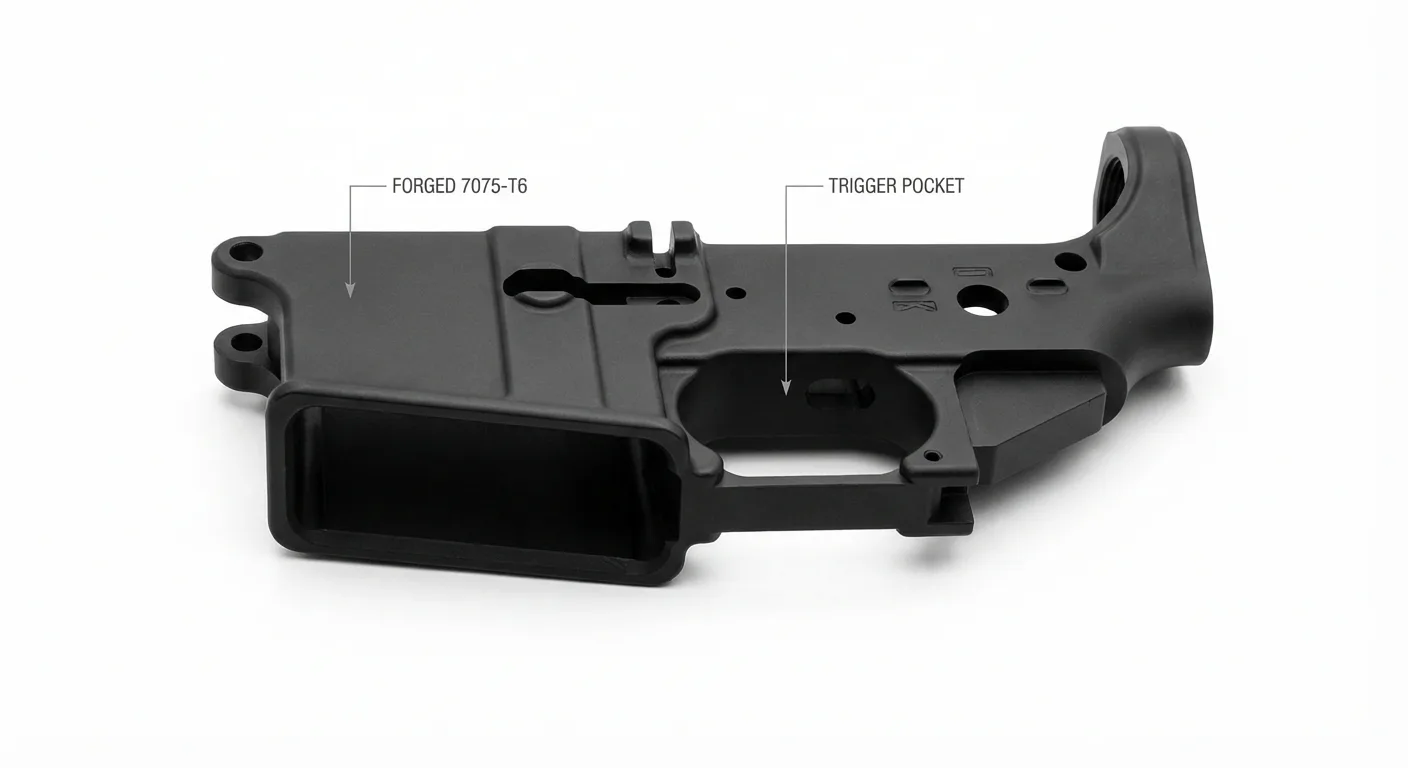
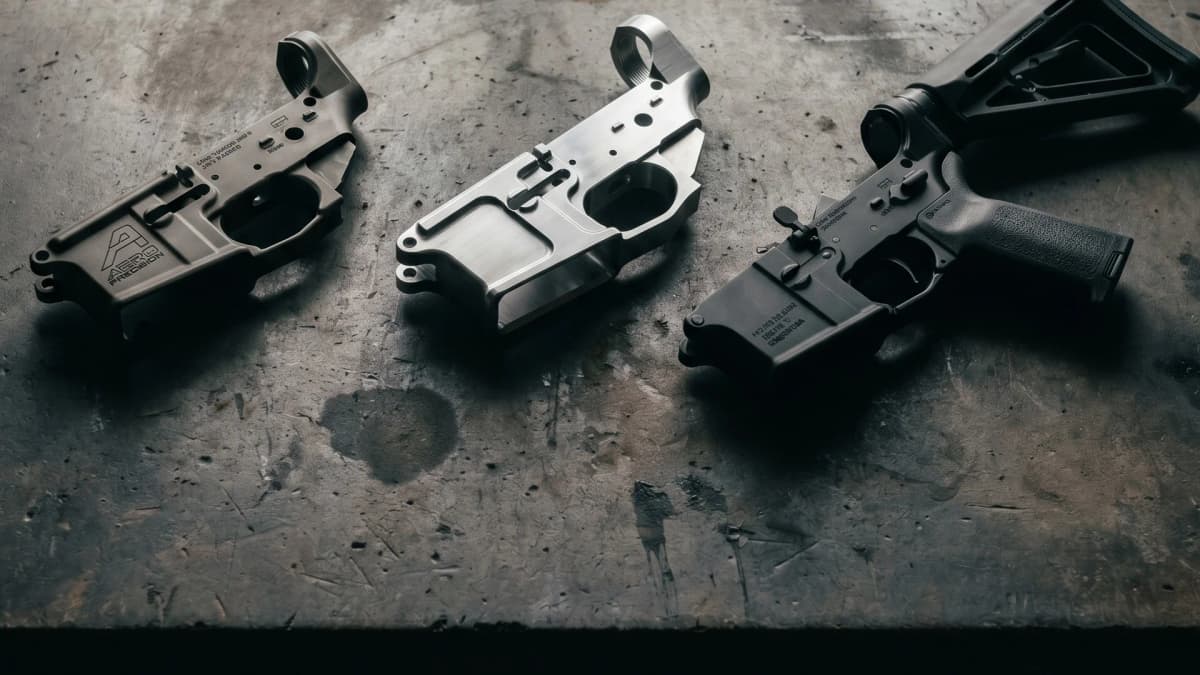
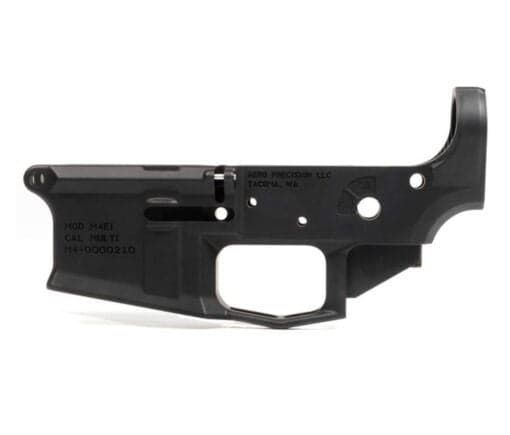
The lower receiver is the regulated part. Order a stripped lower online from a reputable manufacturer and ship it to your local FFL for transfer, or buy one directly at the shop. Bring ID, complete the 4473, and keep the receipt with your serial number for records.
Avoid bargain-bin or polymer lowers (unless it's a reinforced KP-15). Stick with forged 7075-T6 from brands like Aero, BCM, Geissele, or PSA. Check that the takedown pins move smoothly before you leave the counter.
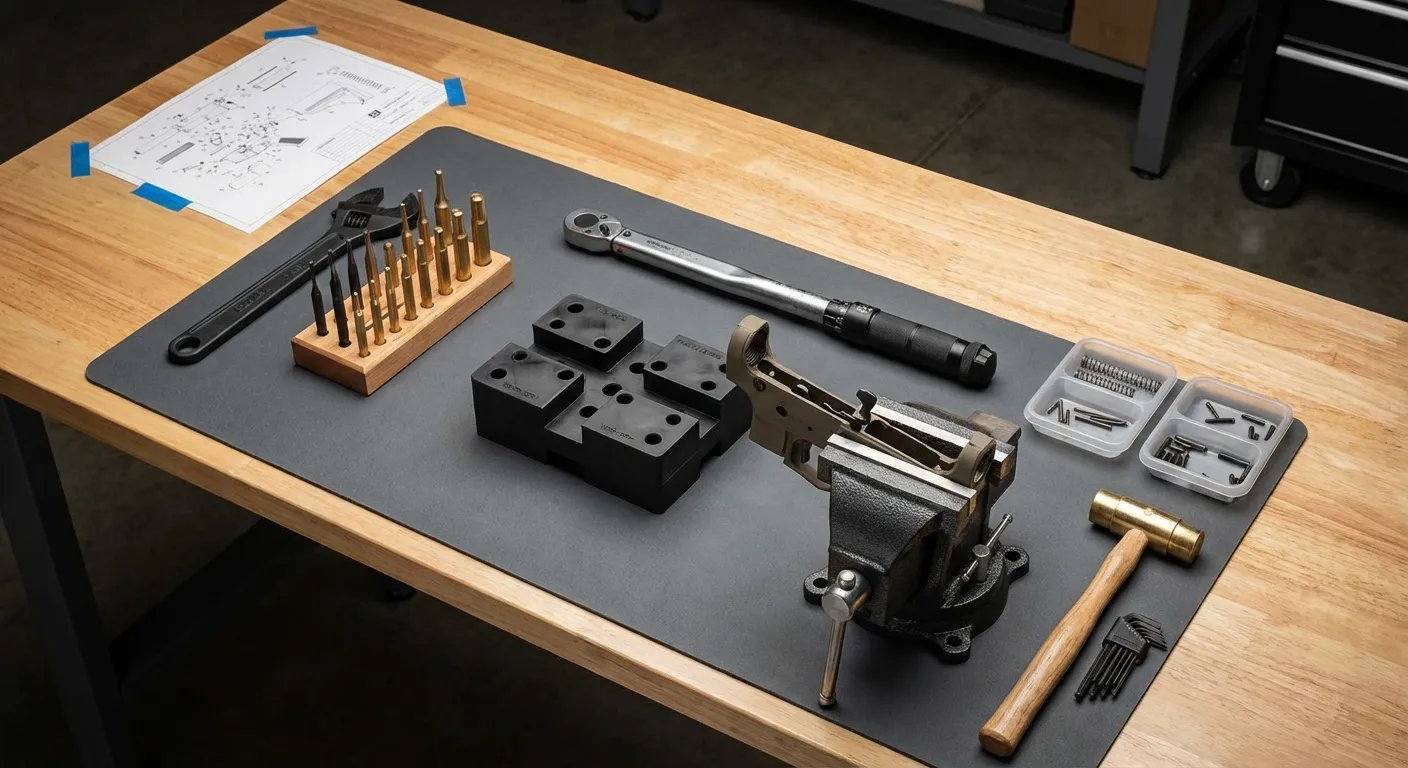
Tools needed: Armorer's wrench, punch set, torque wrench (in-lb and ft-lb), vise block, and a clean workspace. See our AR Tools Guide for the complete list and recommendations. Torque specs and threadlocker guidance are in the reference section below.
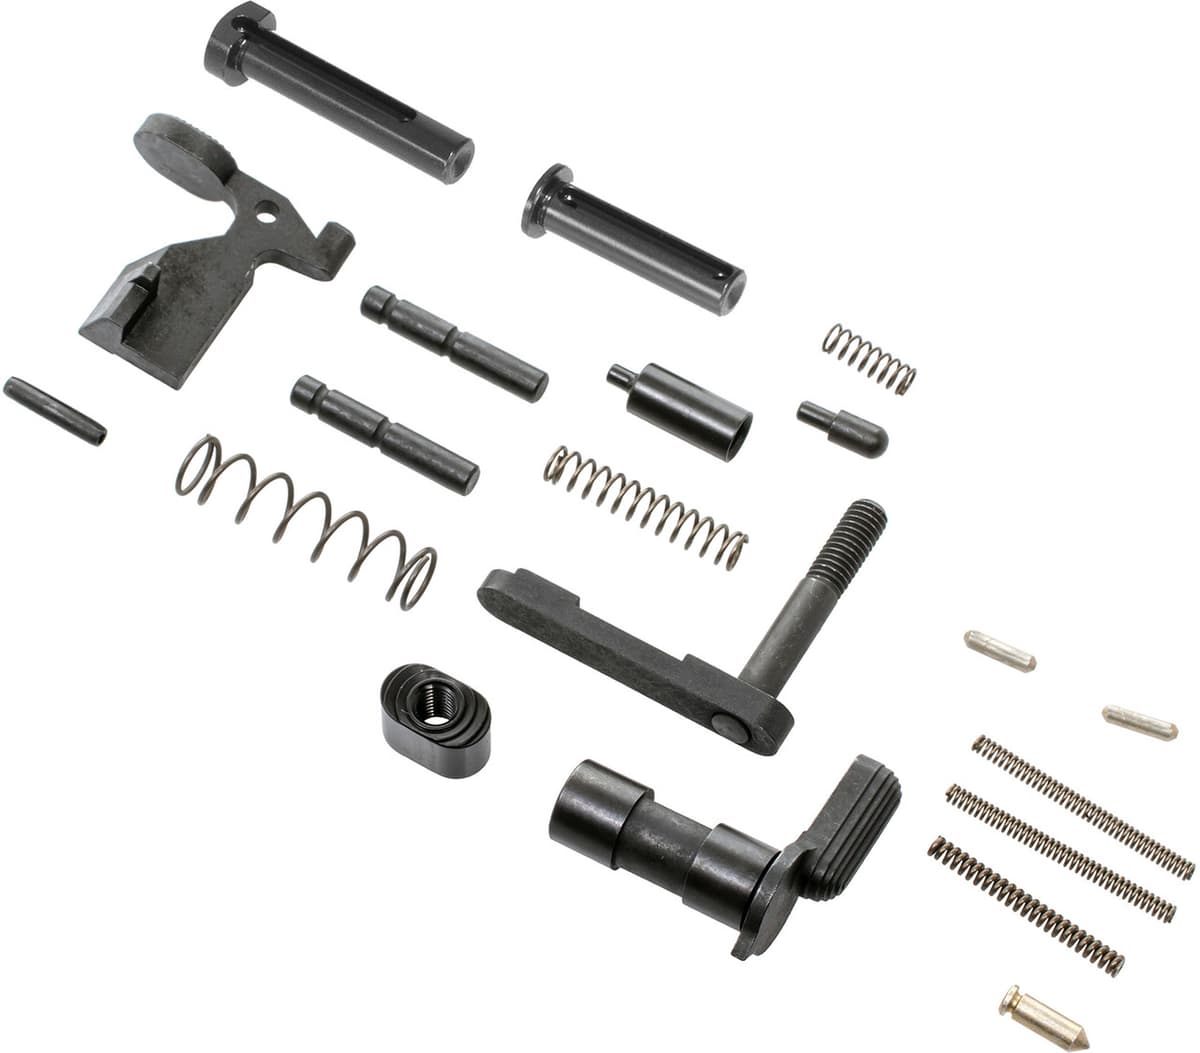
A solid lower parts kit gives you reliable springs, detents, and controls. Avoid no-name kits; pick PSA, Aero, BCM, SOLGW, or Forward Controls–sourced components. Reference the Lower Parts Quality Guide for vetted options.
Select the trigger that matches your mission (mil-spec for duty durability, or a known single-stage/2-stage upgrade like ALG ACT, Geissele SSA, or LaRue MBT). Install the trigger and hammer with their pins, then the selector, and finish with the bolt catch and magazine catch. The 3D view slides those controls out of the receiver so you can see where each one seats. For help choosing between the two most popular upgrades, see our Geissele SSA vs LaRue MBT-2S trigger comparison.
For a step-by-step visual walkthrough, check out Pew Pew Tactical's lower assembly guide, it has detailed photos for every step.
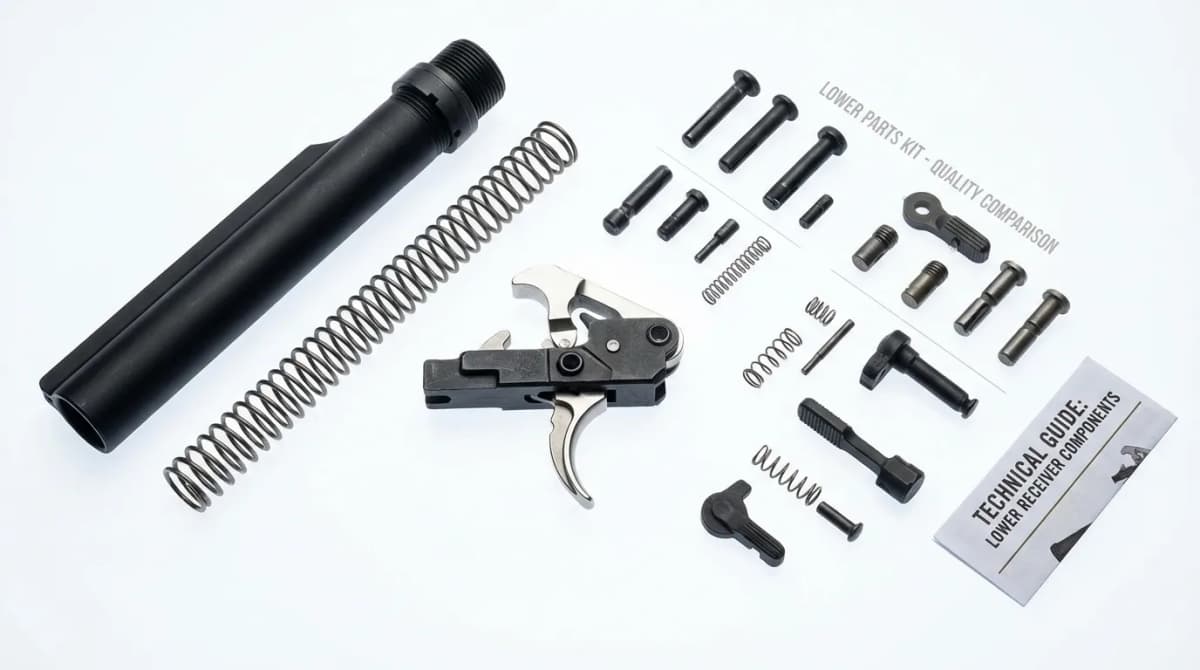
Best AR-15 lower parts kits ranked for 2026: SOLGW Liberty best overall, Daniel Defense best complete, CMMG best budget, Aero best for trigger upgraders, CMC for a kit with the drop-in trigger already in the box. Comparison table, upgrade priorities, and LPK cost calculator.
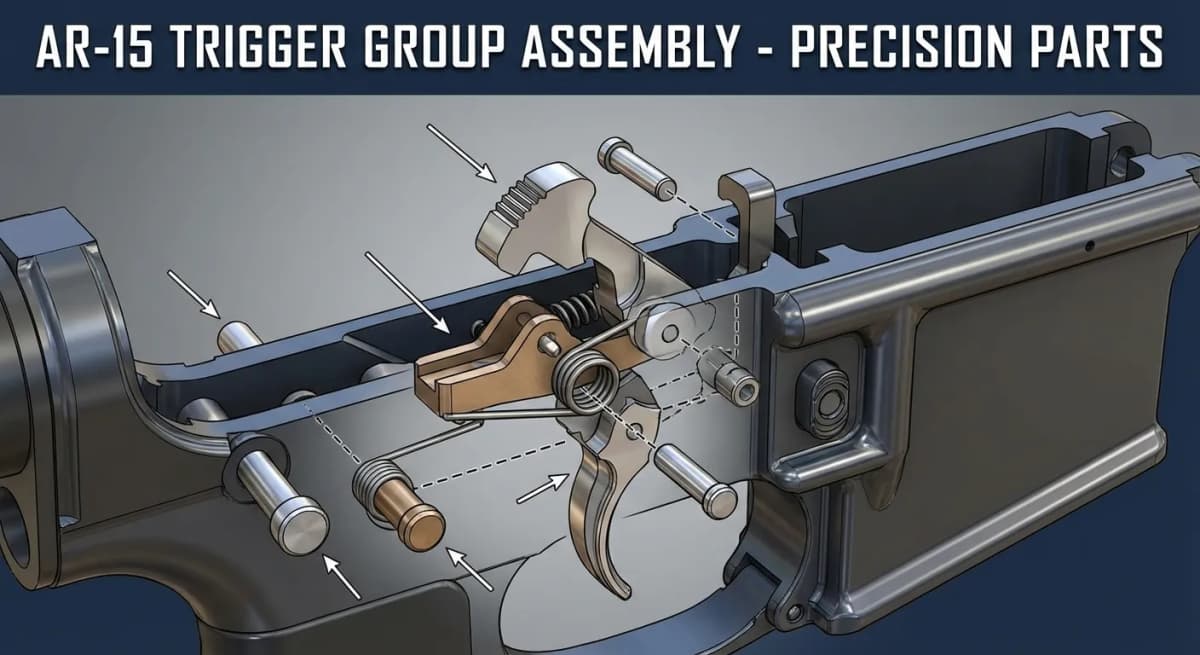
Best AR-15 triggers ranked: LaRue MBT-2S best value, ALG ACT budget king, Geissele SSA duty proven. Honest assessment of diminishing returns and why reset speed matters more than break quality.
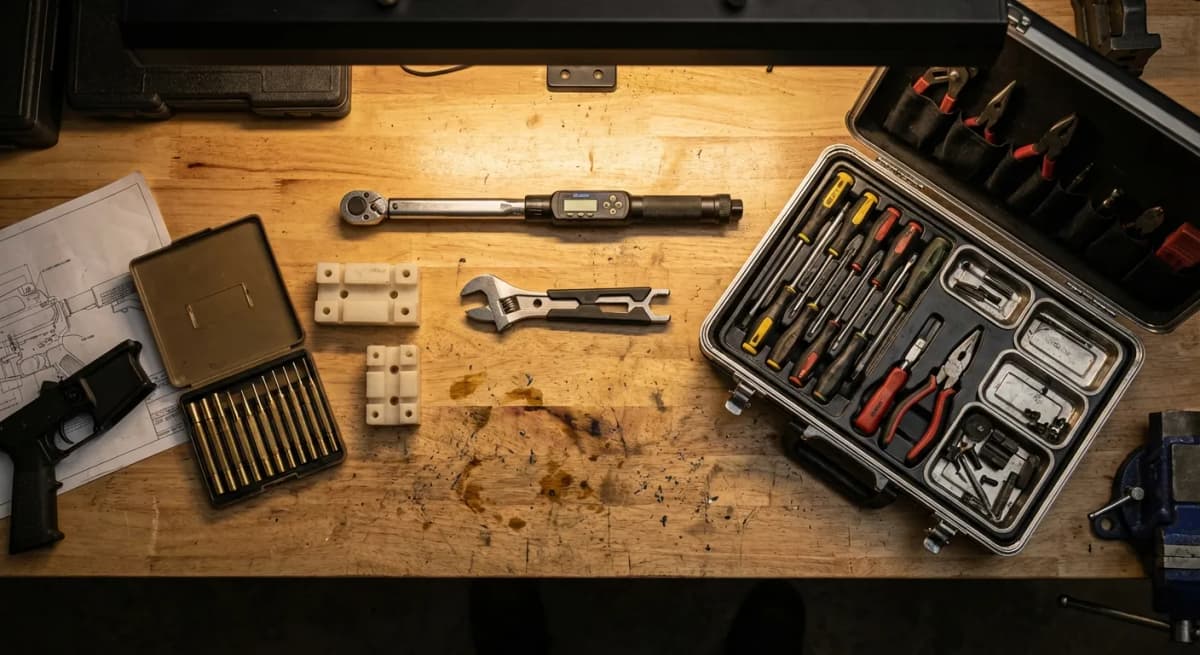
Essential tools for AR-15 builds, maintenance, and optic mounting. Covers armorer wrenches, torque wrenches, punch sets, vise blocks, headspace gauges, and proper usage techniques.
Three parts turn the finished lower into something you can shoulder. Start with the pistol grip: drop the selector detent spring into its hole in the grip, then drive the grip screw and lock washer to 25-35 in-lbs. If the selector will not click between SAFE and FIRE afterward, the detent spring is pinched or missing.
Next the buffer tube. Thread the castle nut and end plate onto the tube, screw the tube into the receiver until it captures the buffer retainer, then torque the castle nut to 38-42 ft-lbs and stake it into the end plate. Staking is what keeps it tight; an unstaked castle nut is the most common way a first build loosens up. Drop in the spring and buffer: a carbine H2 buffer is the right start for most 16" 5.56 setups, and the Gas System & Buffer Tuning guide covers adjusting weight or springs only after live fire.
Last, slide a mil-spec stock onto the tube (rifle build) or a brace (pistol build). Pick one that locks up without rattle; a Magpul MOE SL or CTR is the safe first choice. Which of the two you can legally fit depends on the barrel length you choose in the next step, so read the NFA note below before buying a brace.
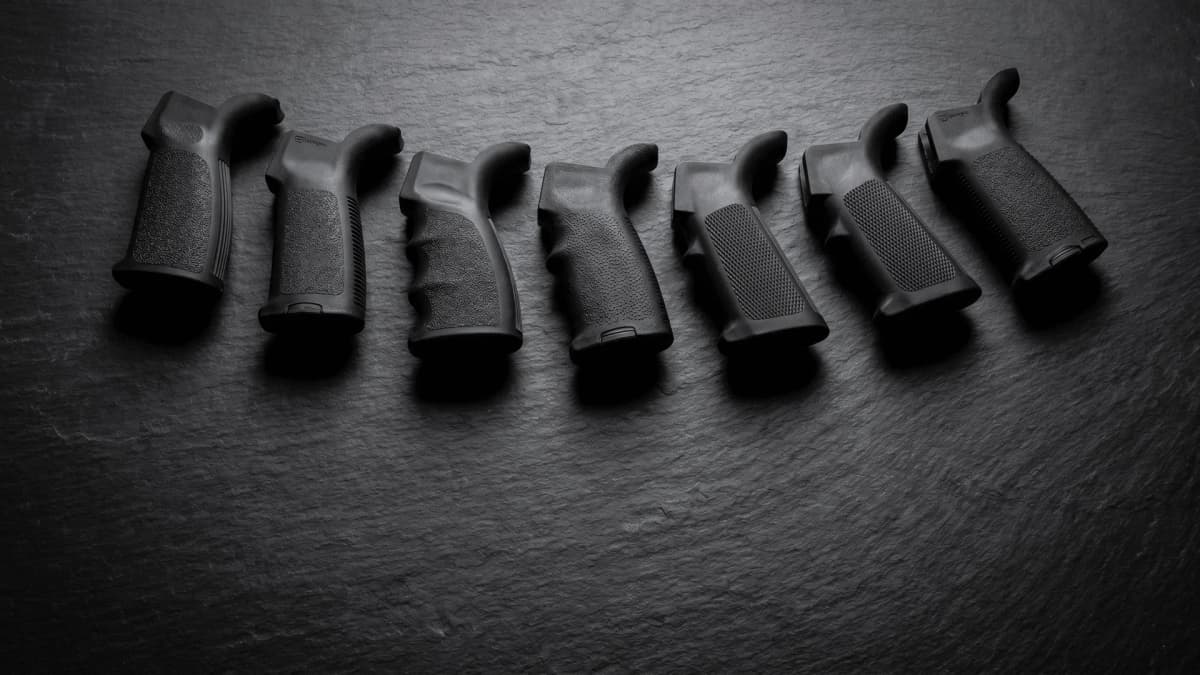
Best AR-15 pistol grips ranked: Magpul MOE-K2+ best overall, BCM Gunfighter Mod 3 best duty, B5 Type 23 most vertical. Grip angles, rubber overmold, storage, and the grips to skip.
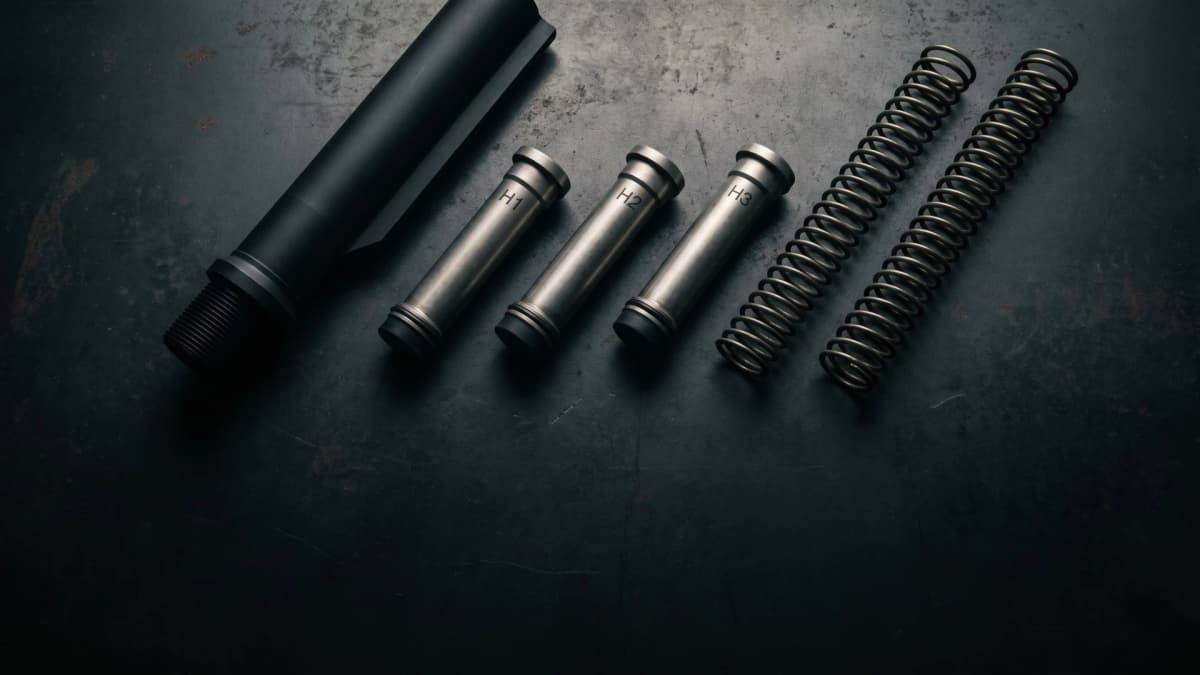
Which AR-15 buffer, spring, or A5/MK2 system to buy for a 16-inch carbine, 14.5-inch midlength, 11.5-inch SBR, suppressed rifle, or 300 BLK build, with a weight chart and reliability starting points.
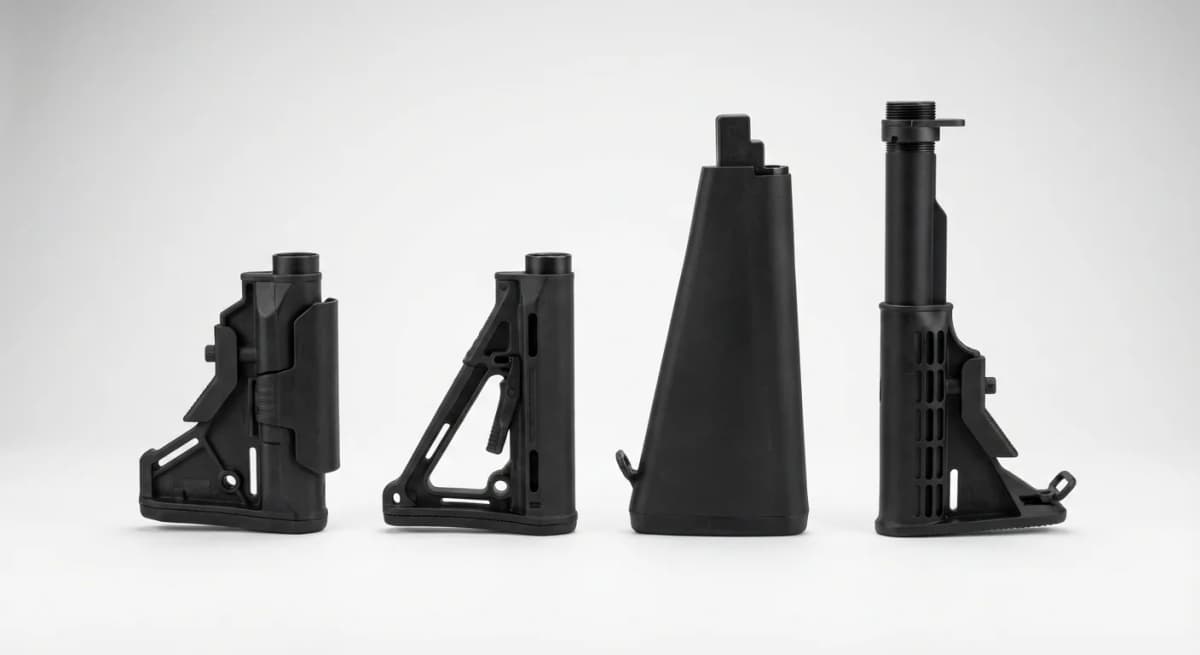
The definitive guide to the best AR15 stocks in 2026. We rank Magpul CTR, B5 Bravo, BCM Gunfighter, and more. Includes friction lock explained, stocks to avoid, and why you should never buy the MOE or UBR.
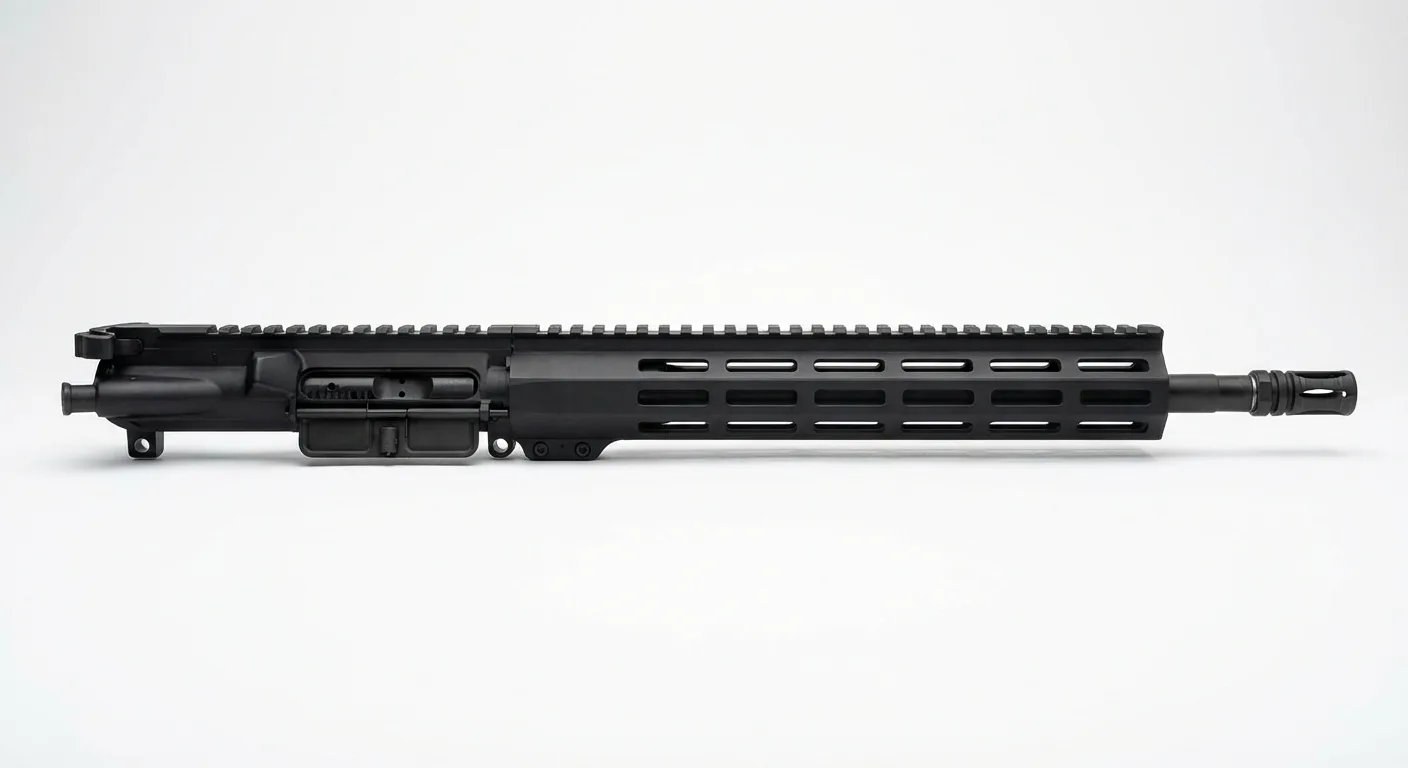
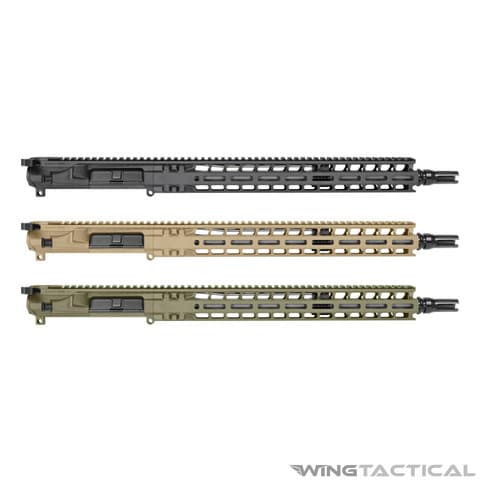
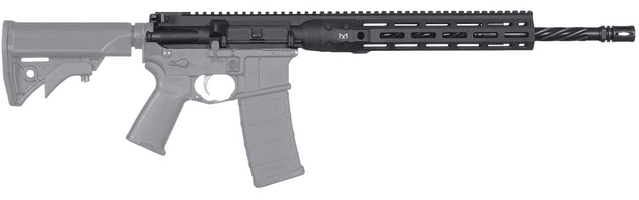
A factory complete upper is the whole top half of the rifle in one box: receiver, barrel, gas block and tube, handguard, and muzzle device already assembled, headspaced, and gas-timed. That is the work a first-time builder should not be doing with a vise and a torque wrench. Pick the tier that matches your budget: PSA (entry), Aero Precision (mid-range), BCM (duty-grade), or Geissele (top tier). All four run reliably when the lower is built right, and the complete upper receiver guide below ranks the specific SKUs.
Read the listing carefully for two words: bolt carrier group and charging handle. Many uppers ship without one or both, and a "complete" upper with no BCG will not fire. The PSA 16" nitride mid-length upper in the reference build below includes both; if yours does not, buy them from the same tier as the upper. The best AR-15 BCG guide and charging handle guide rank the options.
A 16" barrel with a mid-length gas system is the right first upper: it keeps the rifle out of NFA territory with a stock, cycles softer than carbine gas, and shoots every common 5.56 load. The barrel length guide breaks down velocity, dwell time, and handling from 10.5" to 20" if you want to go shorter or longer.
Mating the halves takes ten seconds: push the pivot pin (the front one) out, hook the upper's front lug into the lower, push the pivot pin through, close the upper, and push the takedown pin home. Both pins should move with thumb pressure and stay put. Building the upper half yourself instead? The stripped upper receiver guide starts that path, and the full parts checklist further down lists everything a from-scratch upper needs.
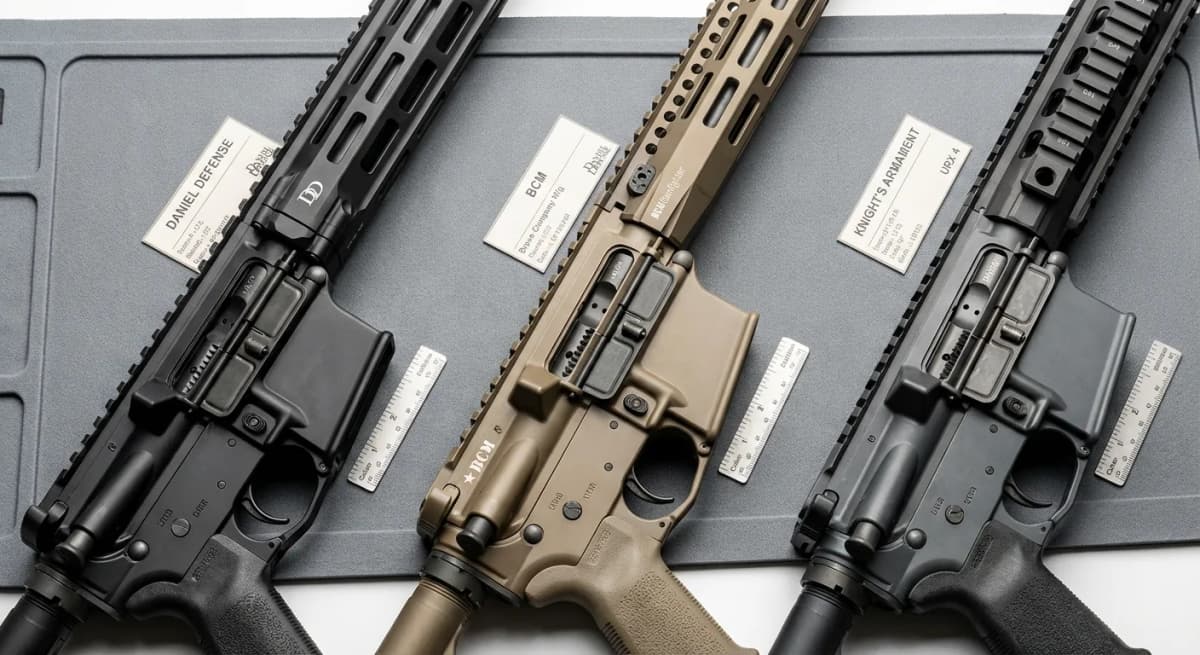
The definitive guide to AR-15 complete upper receivers in 2026. We rank BCM, Daniel Defense, Geissele, LMT, PSA, and Aero Precision. Includes CHF vs button-rifled barrels, chrome-lined vs nitride, and what features actually matter.
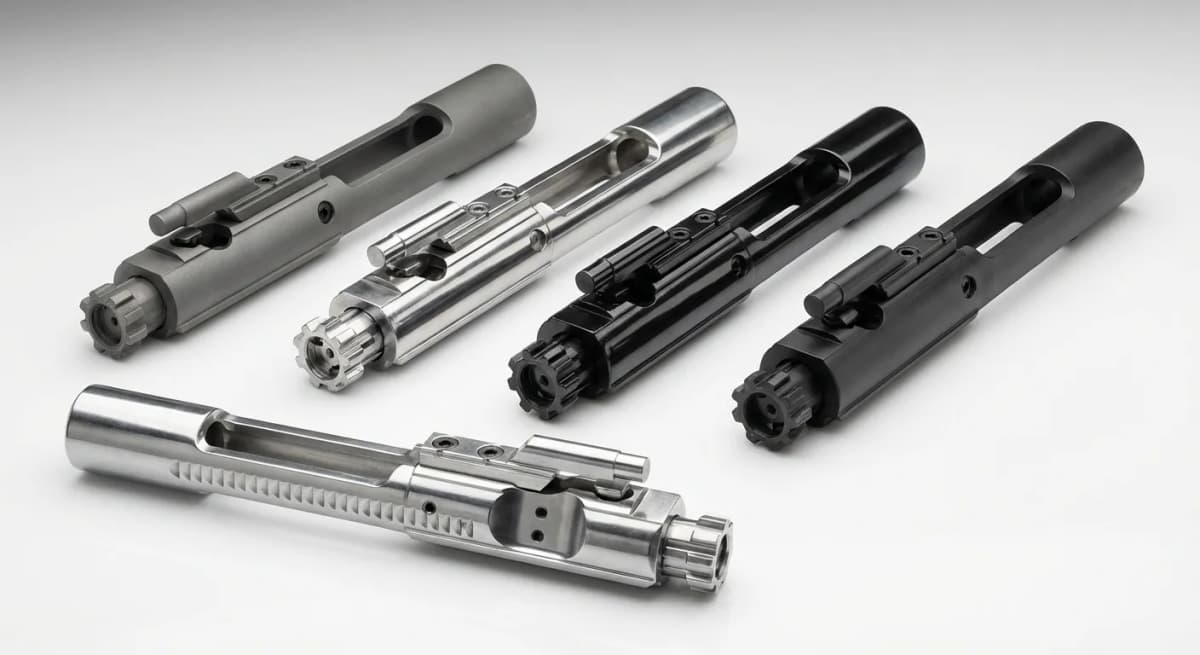
Fourteen AR-15 bolt carrier groups ranked on bolt steel, MPI/HPT testing and gas key staking, plus the down-vent, gas-pocket and adjustable-gas carriers built for suppressor back pressure and what a forced reset trigger actually requires.
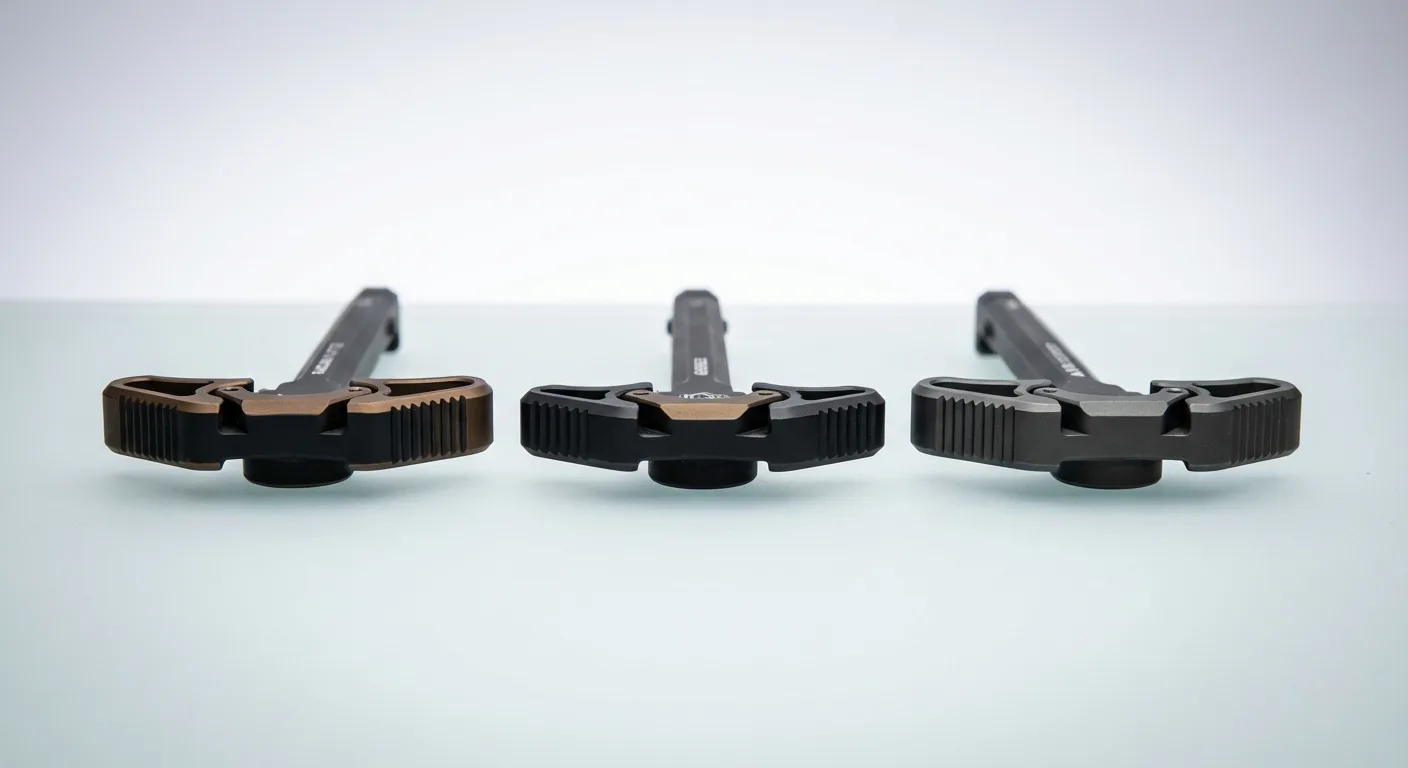
Don't settle for mil-spec. Compare the best ambidextrous charging handles: Radian Raptor, Geissele ACH, and BCM Gunfighter. we test gas deflection for suppressors, durability, and ergonomics.
Before loading any ammunition, verify your rifle functions correctly. Clear the weapon visually and physically: lock the bolt back and confirm the chamber is empty. The rifle in the strip runs the check for you on this step: the charging handle and bolt carrier go through a full stroke to cock the hammer, the trigger is pressed, and the hammer falls, with the controls you are about to test lit and the rest of the rifle faded.
Warning: Never drop the hammer on your lower receiver without the upper installed. The hammer striking the bare receiver can crack the aluminum over time. Always complete your upper/lower assembly before testing trigger function.
If any step fails, diagnose before live fire. Common issues include improperly installed safety detent springs, trigger pin walk, or a misaligned bolt catch. Double-check your lower parts installation.
Once every check passes, oil the bolt carrier group (bolt lugs, cam pin, carrier rails, and gas rings), load quality current production magazines from Magpul or DURAMAG, and head to the range for a zero and a 300-500 round shakedown.
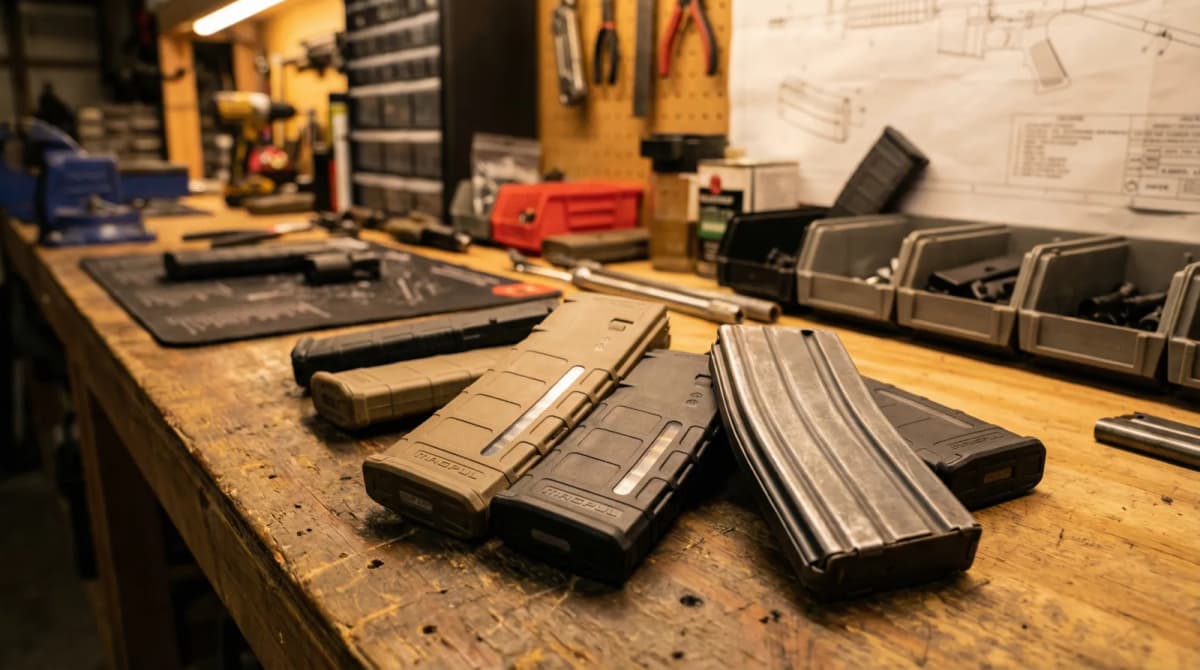
Data-driven AR-15 magazine guide covering PMAG and Duramag picks, 20 vs 30 round decisions, .300 BLK compatibility, and why this guide recommends skipping Lancer magazines.
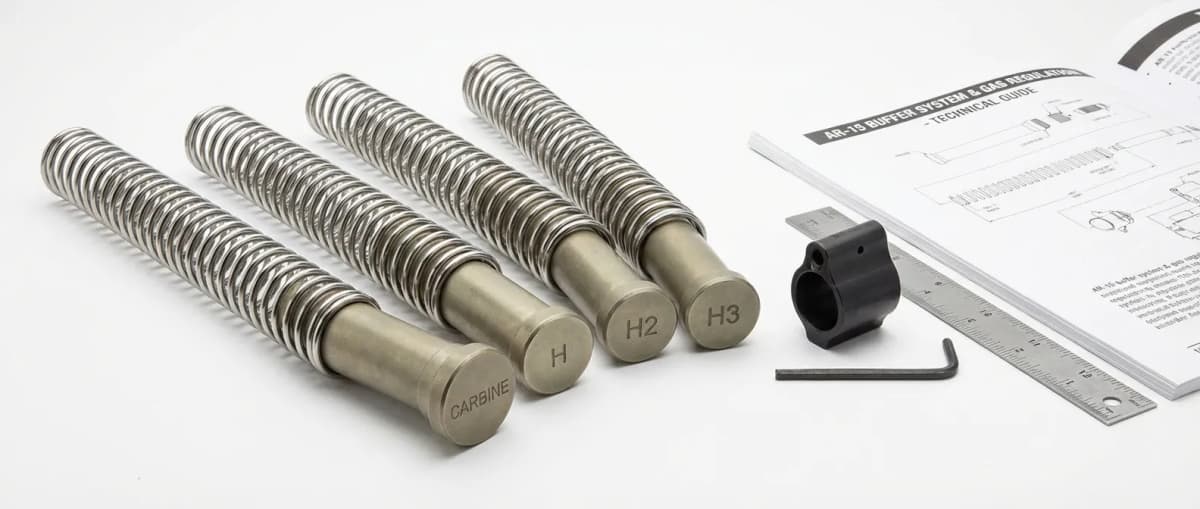
AR-15 gas system and buffer tuning guide with interactive calculators. Adjustable gas block setup, buffer weight chart (H1/H2/H3), ejection pattern diagnostics, and troubleshooting for suppressed and unsuppressed rifles.
Under federal law, a rifle with a barrel under 16 inches or overall length under 26 inches is a Short-Barreled Rifle (SBR) and regulated under the NFA. You need an approved Form 1 or Form 4 before assembling or possessing an SBR with a stock. If you want to run a sub-16" barrel without NFA paperwork, configure it as a pistol (no stock) or register it.
Pistol braces are currently permitted on AR pistols under the latest federal guidance, but you must still follow state laws and avoid adding a stock unless you have SBR approval. Easiest compliance path for beginners: stick with a 16"+ complete upper unless you have paperwork in hand or are staying in pistol configuration.
Important: A stripped lower receiver can be built into either a pistol or rifle configuration, you decide when you assemble it. However, a firearm originally manufactured or sold as a rifle can only ever be a rifle or SBR, never a pistol. This is why starting with a stripped lower gives you maximum flexibility.
Featured build
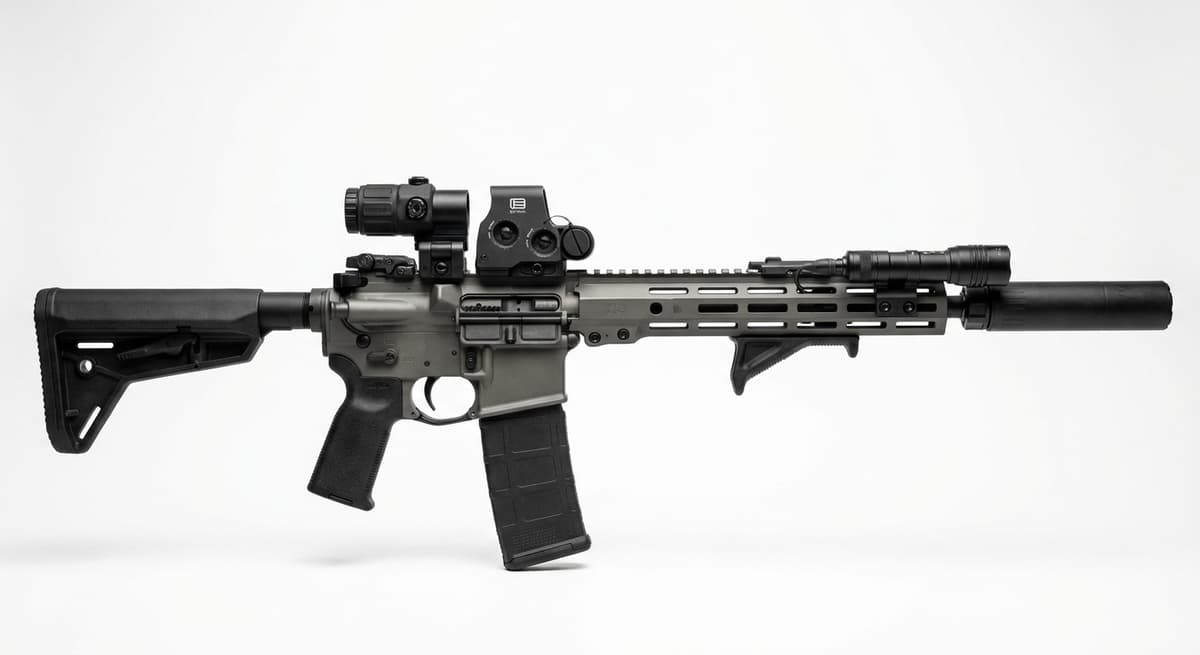
The guide's own picks assembled: Aero M4E1 stripped lower, CMMG Gunbuilder parts kit, LaRue MBT-2S trigger, Magpul MOE grip and MOE SL stock on a mil-spec buffer kit, PSA 16-inch nitride mid-length upper with BCG and charging handle, and a PMAG. Swap the lower or the upper to see the other tiers.
1 selected part is not shown in the preview.
Representative shapes: Aero Precision M4E1 Stripped Lower Receiver, PSA 16" Nitride Mid-Length Complete Upper, M-LOK rail (length not listed), Mil-Spec Buffer Tube Kit, LaRue MBT-2S Trigger, Magpul MOE SL Carbine Stock.
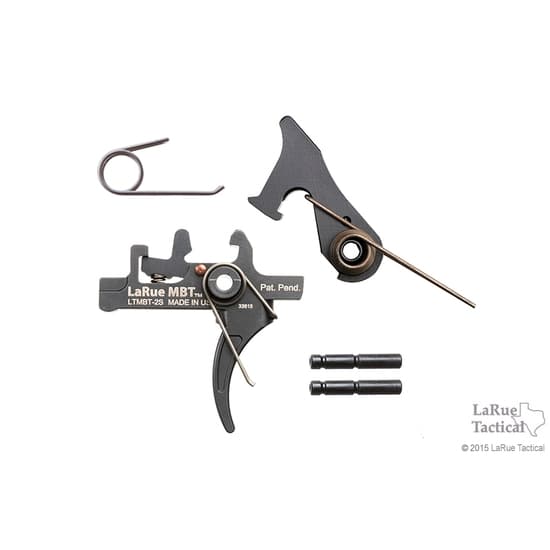
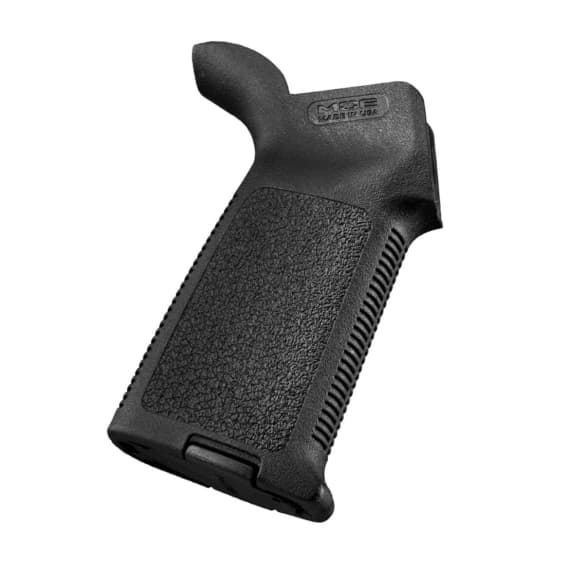
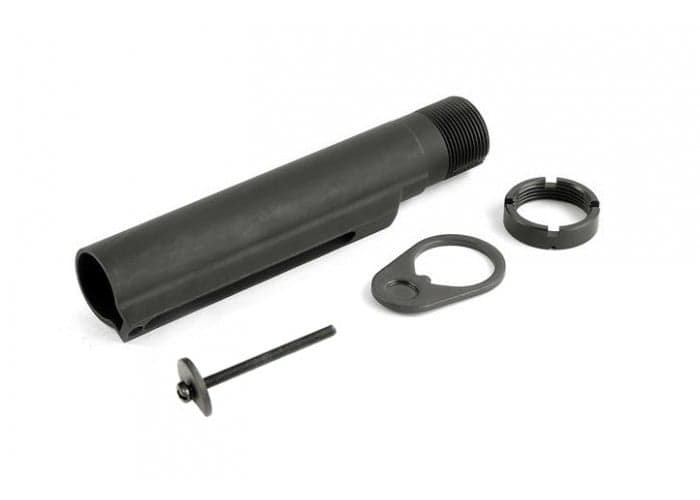
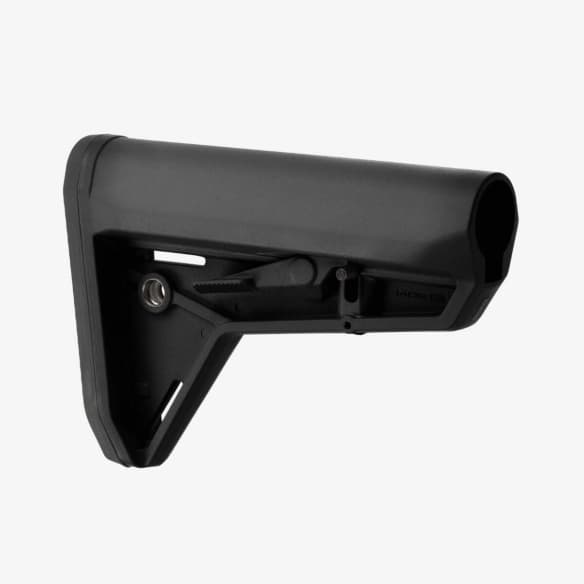
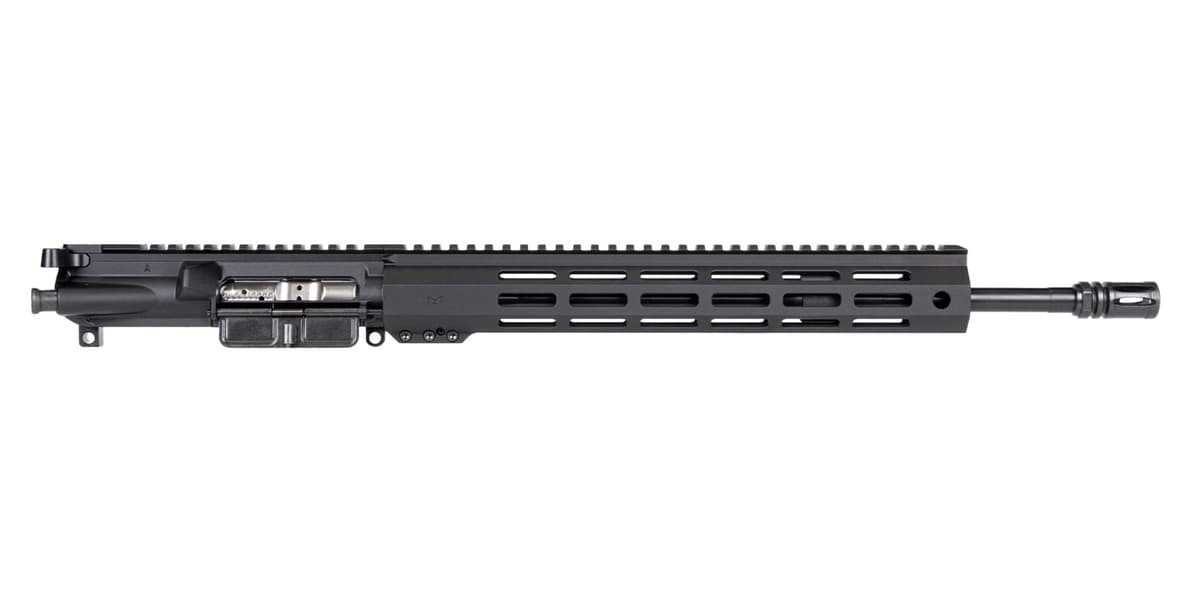
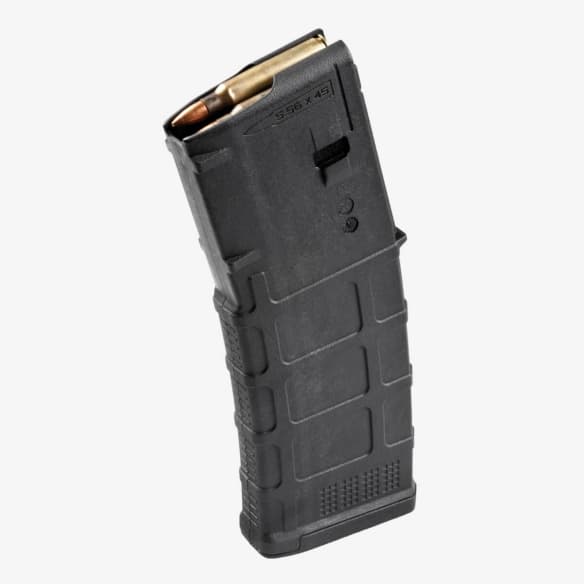
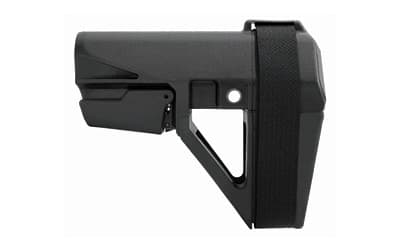
Verify compliance for any serialized parts and follow local/state laws.
Affiliate links - purchases support this site at no extra cost to you. (?)
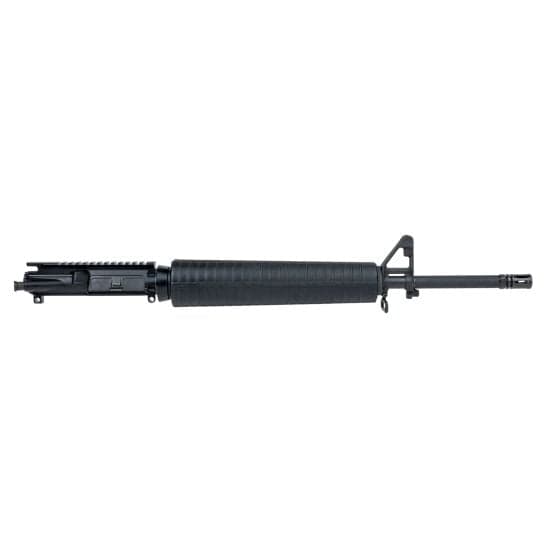
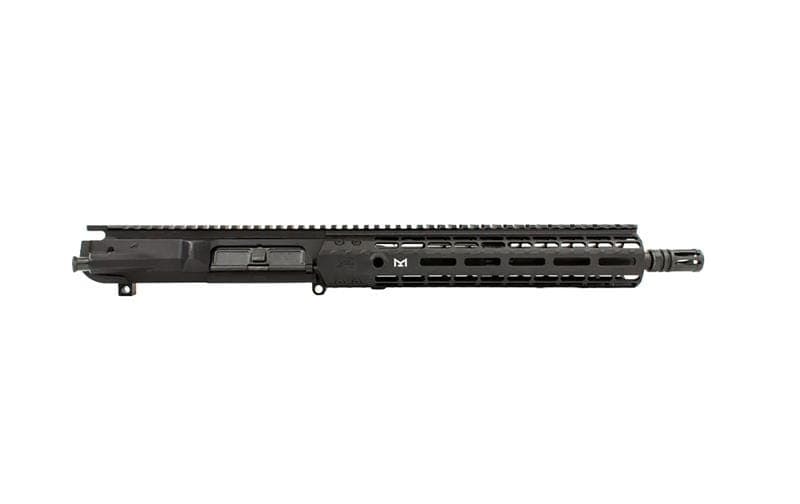
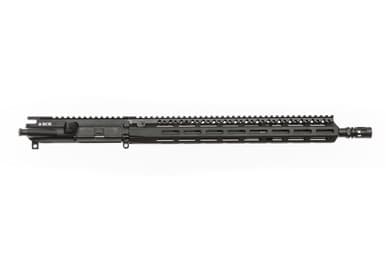
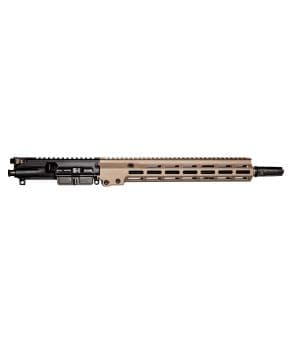
Confirm barrel length and muzzle device compliance (pin-and-weld or NFA paperwork) before ordering.
Affiliate links - purchases support this site at no extra cost to you. (?)
Not sure which barrel length to pick? Our barrel length guide breaks down velocity, dwell time, and handling from 10.5" to 20".
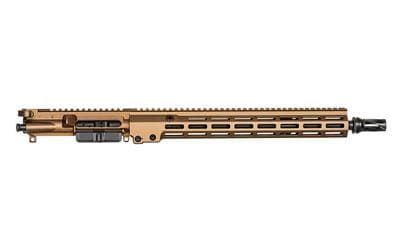
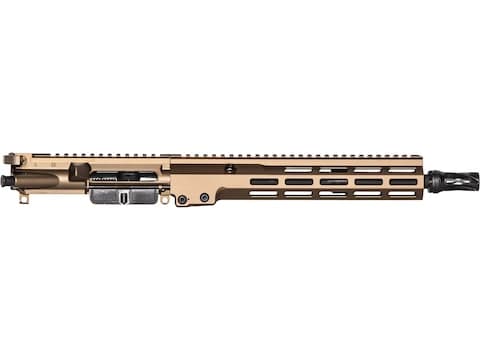
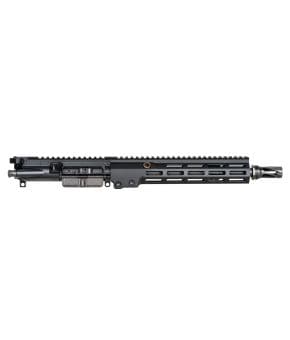
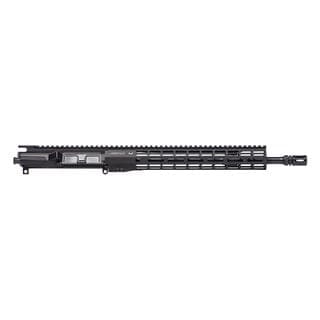
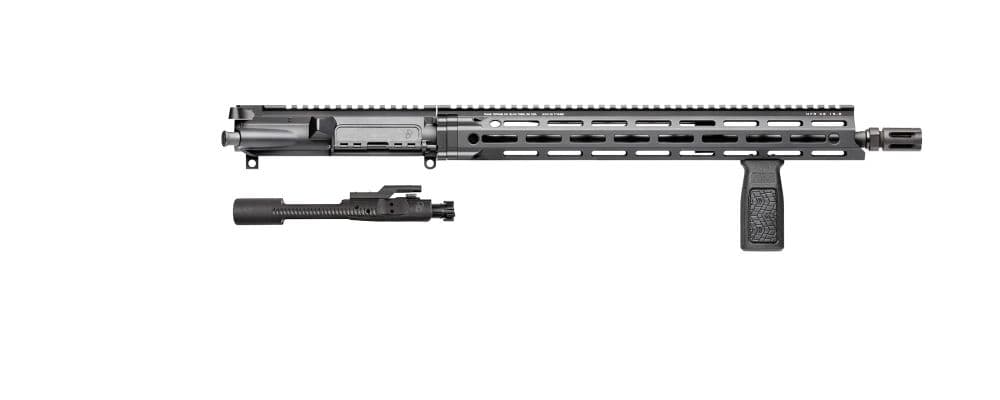
Affiliate links (?)
Every component in the rifle above, as a shopping checklist. We recommend buying a complete upper assembly (Step 4) to skip headspace and gas system complexity, but this list covers both paths. For a specific, vetted recipe with exact picks and a running cost tally, follow the mid-tier AR-15 build.
Recommended: Buy a complete upper (PSA, Aero, BCM) to skip this list. Building the upper half yourself starts with the receiver body: the stripped upper receiver guide ranks the forged, billet, and slick-side options.
For your first build, buy a factory complete upper (includes barrel, gas system, BCG, and charging handle pre-assembled). This eliminates headspace checks, gas port alignment, and barrel timing. You only need to build the lower receiver, which requires the left column above plus basic tools. See Step 4 for tier recommendations.
New lower receivers, complete upper drops, and LPK options reviewed as they release.
Clean threads with degreaser before applying. Blue Loctite is removable with heat; Rocksett requires soaking.
After assembly, run a 300–500 round shakedown with quality ammo and mags. Track malfunctions, then adjust buffer weight or springs only if needed, see the Gas System & Buffer Tuning guide for diagnostics.
For the parts that don't come on a factory upper, our ranked picks are in the best AR-15 BCG guide, best AR-15 stocks guide, and best AR-15 slings guide.
When you're ready to add glass, check out the Optic Selection Matrix to find the right optic for your use case, then follow the Optic Mounting Basics guide for proper installation. Planning to run suppressed? Start with the Suppressor Compatibility Basics guide. Building in California, New York, or another feature-restricted state? The parts list above changes: see our featureless AR-15 build guide for the state-specific featureless grip, stock, and muzzle device swaps that clear the assault-weapon feature test.
You are responsible for complying with all federal, state, and local laws, including NFA rules, pistol brace guidance, and transfer requirements. This guide is informational only and is not legal advice, consult an attorney or your FFL if you have questions about what is lawful in your jurisdiction.
Once your build is running, see our best lightweight AR-15 parts guide to trim weight where it matters most, with ranked handguards, stocks, lights, and a weight savings calculator.

Avid shooter with 10+ years of experience including competition shooting, an associate member of the Professional Outdoor Media Association (POMA), and a member of the National Shooting Sports Foundation (NSSF) and Safari Club International (SCI). Built 10+ AR-pattern rifles and several handgun platforms for home defense, competition, and suppressed night shooting.
This page contains affiliate links. Purchases through these links support the site at no extra cost to you. Read the affiliate disclosure
Ready to continue? Here's the recommended next guide:
10 AR-15 beginner mistakes to avoid: red anodized parts, Olight failures, Amazon counterfeit optics, short barrels for 5.56, skeletonized lowers, and more. What to buy instead at every budget tier.
Or explore a related topic:
AR-15 Build Tools 2026->Continue exploring with these related resources
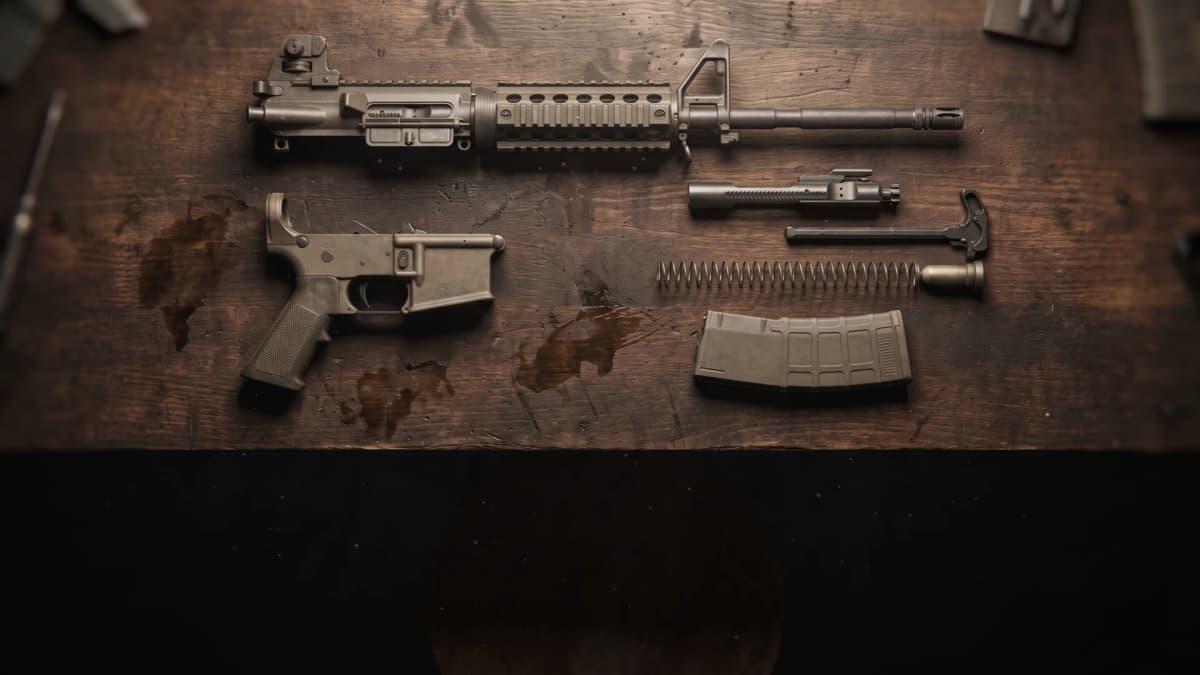
A clickable AR-15 parts diagram covering all 22 parts, from bolt carrier group to buffer tube, with an exploded view, a controls walkthrough for loading and reloading, and a first-time setup checklist.
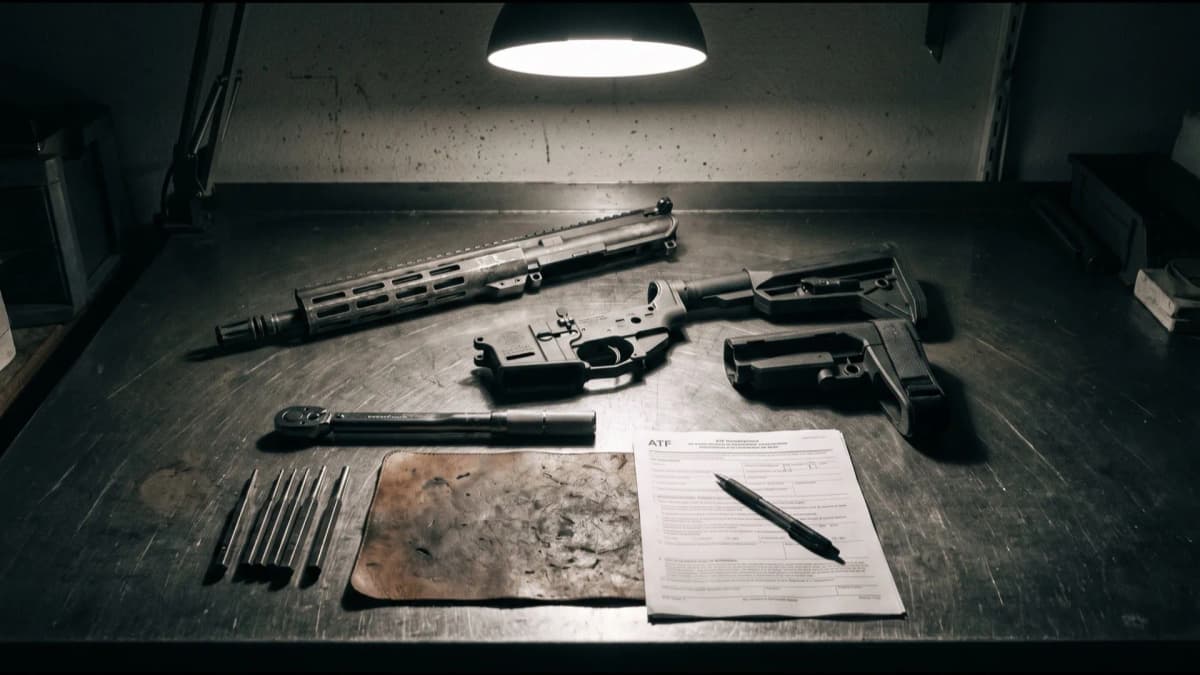
A step-by-step Form 1 walkthrough for converting a braced AR pistol into a registered short-barreled rifle, who the August 2026 NFA ruling lets skip the application, plus the stock, upper, barrel, and suppressor upgrades to run once your stamp clears.
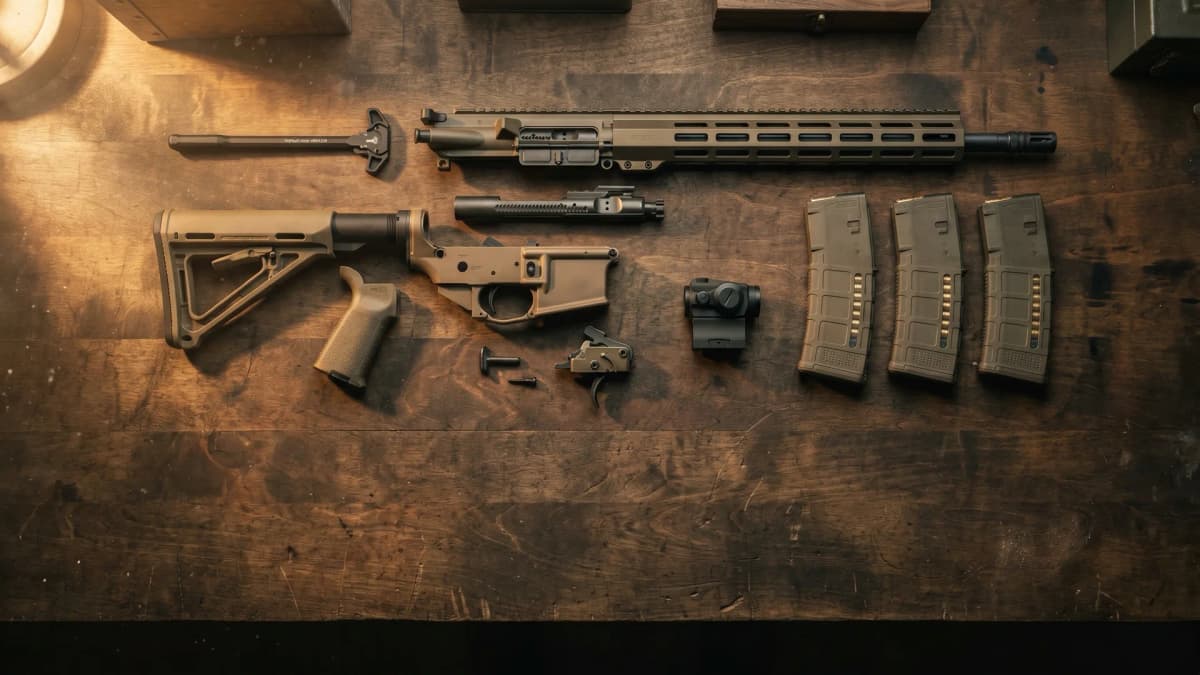
A single vetted mid-tier AR-15 build for the buyer stepping up from a budget rifle. Part-by-part picks for a ~$1,000-1,300 rifle that runs a class without babysitting, with a running cost tally, why each slot beats the budget pick, and a separate optic add-on tier.
Related articles and industry updates
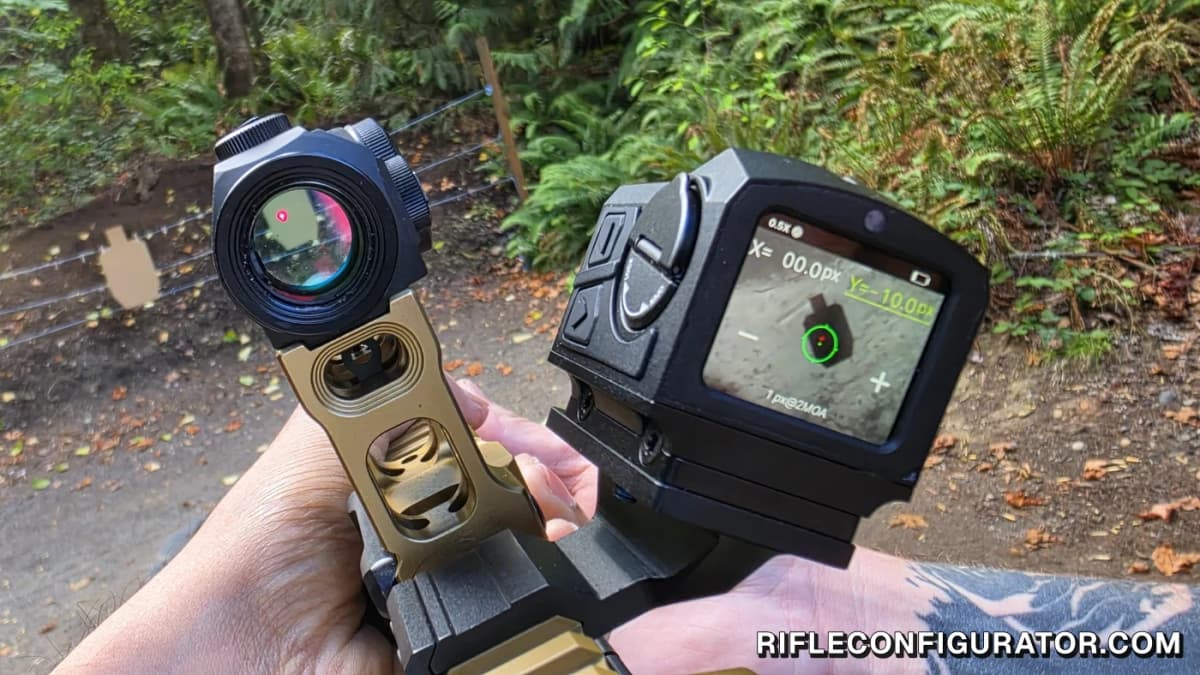
We ran the InfiTac FMP13 on a 45-degree offset beside a Holosun on a Unity FAST mount. The 256x192 mini thermal has an intuitive touchscreen and zeroed on plain cardboard, but the CR2 ran short of its 5-hour rating, so it belongs on an offset, not a pistol.
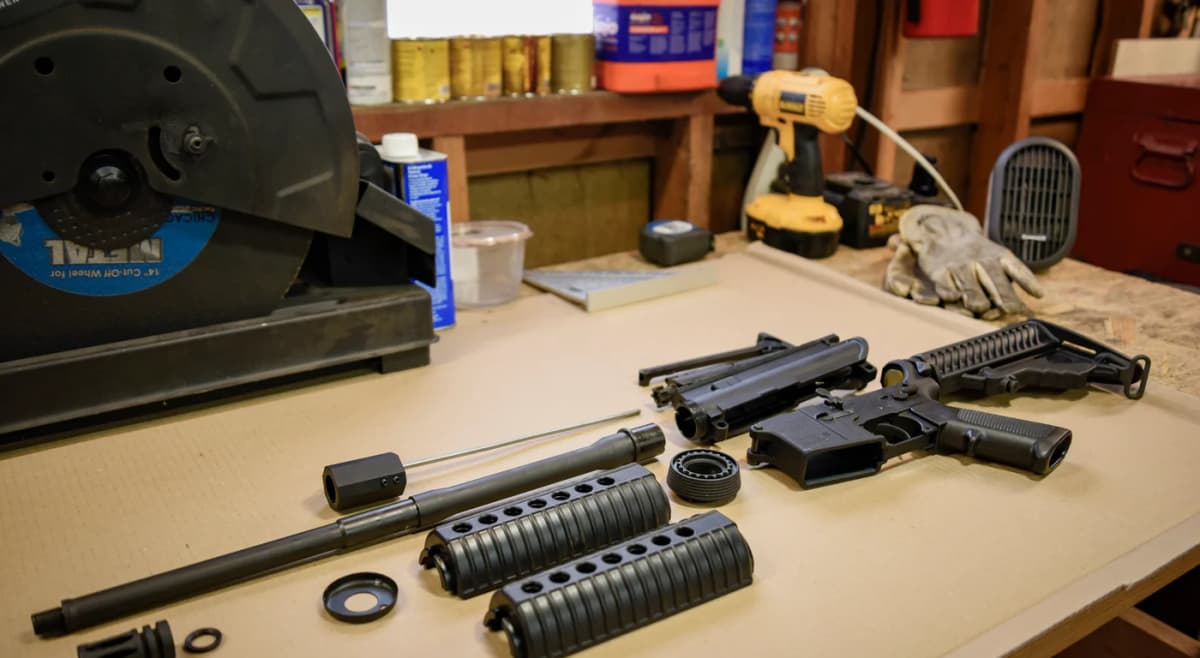
California already routes every standalone barrel sale through a licensed dealer, and a DOJ eligibility check starts July 1, 2027. The proposed rules make both check types free of charge and give the department 30 days on a Basic check.
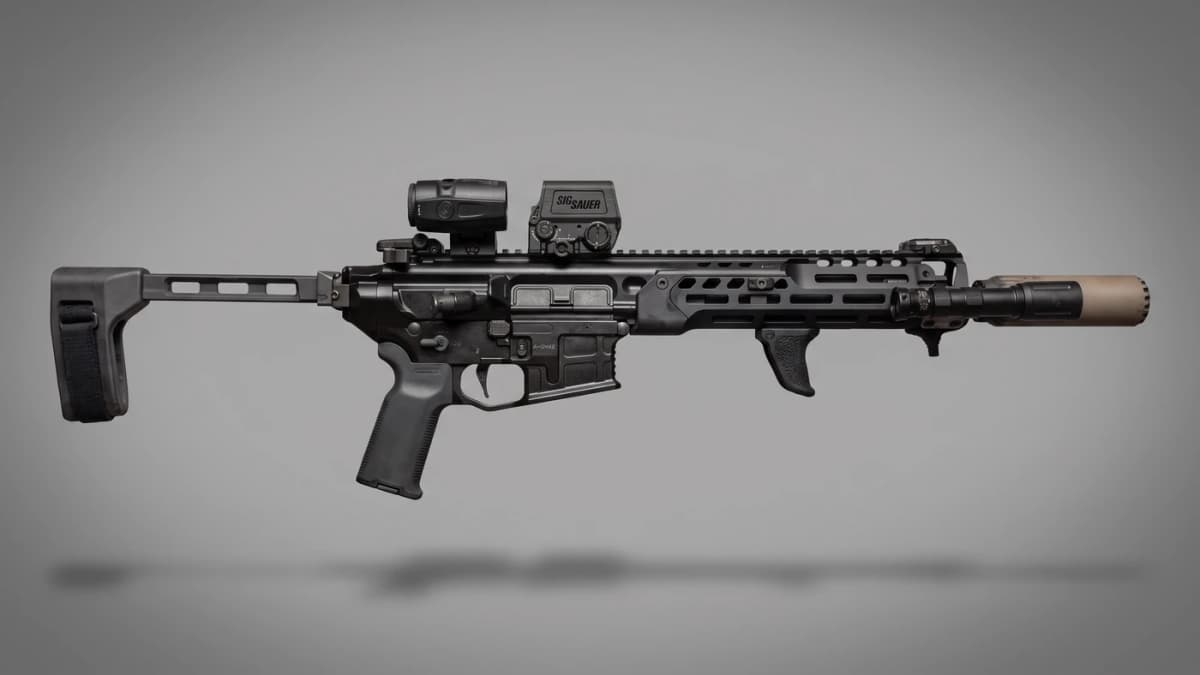
A magnet in the magnifier swaps the reticle for you. After 1,500 rounds on a suppressed SIG MCX SPEAR LT across several 2-gun matches: how AMR actually works, the 40mm Mangin objective nobody talks about, and why the feature is dead without SIG's own magnifier.