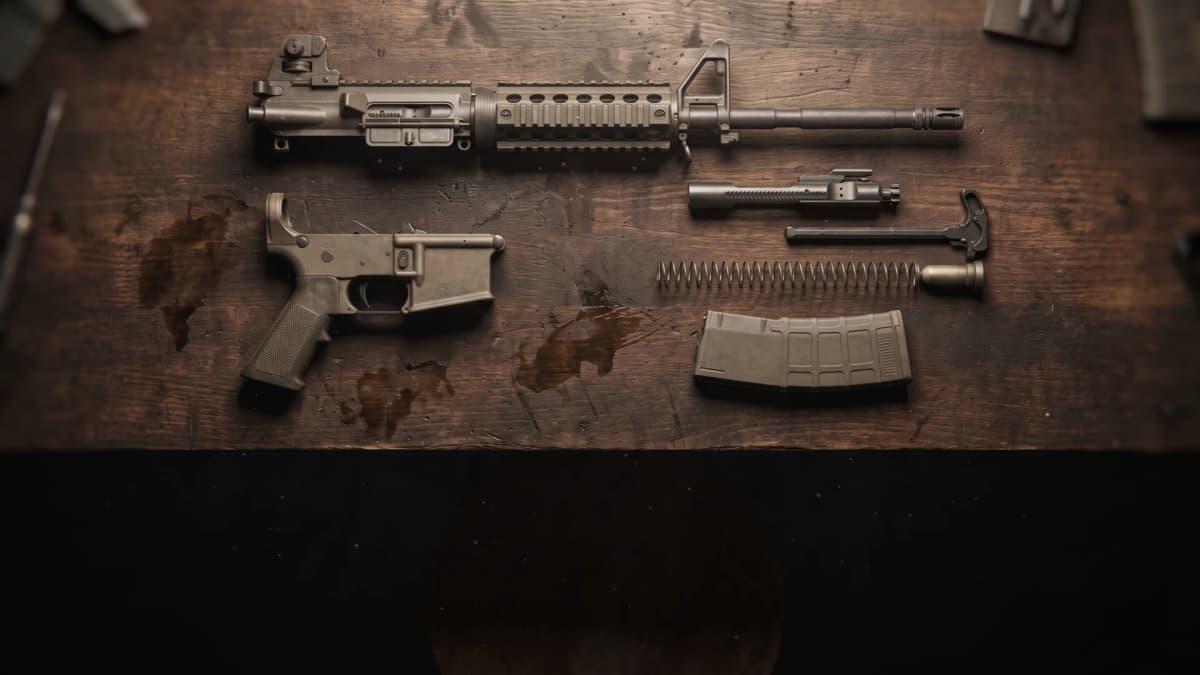
A clickable AR-15 parts diagram covering all 22 parts, from bolt carrier group to buffer tube, with an exploded view, a controls walkthrough for loading and reloading, and a first-time setup checklist.
Our Top Picks
- #1 Sig Sauer Romeo5 ($139.99): The first optic for a first AR: 40,000-hour battery, shake-awake, holds zero
- #2 Magpul PMAG 30 GEN M3 ($15): The magazine standard; buy six before any other upgrade
- #3 Magpul MS1 Sling ($36.75): The rifle's holster: quick-adjust two-point that belongs in the first order
Our Top Picks
Affiliate links (?)
AR-15 Parts Diagram: Interactive Guide to Every Part
This is the AR-15 parts diagram we wish existed when we bought our first rifle: click any part of the rifle below and get a plain-English breakdown of what it does, which parts it works with, and when it is worth upgrading. Then keep scrolling for the three skills every new owner needs, running the controls, setting the rifle up, and buying the right first accessories.
Key Takeaways
- →Two halves, two pins: every AR-15 splits into a serialized lower receiver and a non-serialized upper; two push pins separate them in 15 seconds with no tools.
- →22 parts to learn: the interactive diagram below covers all of them, including the bolt carrier group, gas system, and buffer hidden inside the rifle. Use the exploded view to see them.
- →6 controls run the rifle: charging handle, safety selector, trigger, magazine release, bolt catch, and forward assist. The walkthrough drills loading, reloading, and clearing with each one highlighted.
- →Setup takes one evening: function check, BCG lube, optic torqued to spec, and a 50-yard zero plan. The 10-step checklist tracks your progress.
- →First money goes to mags and glass: six PMAGs, a sling, and a quality red dot before any internal upgrade.
The Interactive AR-15 Parts Diagram
The main parts of an AR-15 are the upper receiver group (barrel, handguard, bolt carrier group, charging handle, and gas system), the lower receiver group (trigger, safety selector, grip, and magazine well), and the recoil system (buffer tube, buffer, and stock). Click or tap any part on the diagram to jump to its breakdown; switch to the exploded view to see the parts that live inside the rifle, or controls mode to isolate the six parts your hands actually operate.
Upper Receiver
The upper receiver is the aluminum housing that holds the bolt carrier group and locks the barrel in place. Every cycle of the action happens inside it: the bolt strips a round from the magazine, chambers it, locks into the barrel extension, and ejects the spent case out the port on the right side. The flat-top Picatinny rail on top is where your optic mounts.
Uppers attach to the lower receiver with two push pins, which is why AR owners can swap complete uppers in seconds with no tools. The upper is not the serialized part; the lower is, so 16-inch-and-longer uppers in any caliber ship straight to your door. The one legal catch: putting an upper with a barrel under 16 inches on a rifle lower makes it a short-barreled rifle, which requires an approved ATF Form 1 first (now a $0 tax and a wait measured in days).
Works with: Barrel, Bolt Carrier Group, Charging Handle, Lower Receiver, Optic and Sights
Barrel
The barrel does more for practical accuracy and terminal performance than any other component. Length sets your muzzle velocity: a 16 inch barrel pushes 5.56 to roughly 3,000 fps, while shorter barrels trade velocity for maneuverability. The twist rate, 1:7 or 1:8 on most modern barrels, stabilizes the 55 to 77 grain bullets you will actually shoot.
For a first rifle, 16 inches is the answer. It is the shortest barrel length that stays a standard rifle under federal law with a normal muzzle device, and it keeps 5.56 effective past 400 yards. Chrome-lined or nitrided barrels from reputable makers run tens of thousands of rounds before accuracy degrades.
Works with: Upper Receiver, Gas Block, Muzzle Device, Handguard
Muzzle Device
The muzzle device threads onto the end of the barrel (1/2x28 thread on 5.56 barrels) and shapes what happens to the gas exiting behind the bullet. Flash hiders like the standard A2 birdcage kill visible flash so you keep your night vision. Muzzle brakes redirect gas sideways and back to cut recoil, at the cost of severe concussion for anyone beside you. Compensators push gas upward to fight muzzle rise.
Most factory rifles ship with an A2 flash hider, and it remains genuinely hard to beat for the money. Upgrade when you have a specific need: a brake for competition, or a suppressor-mount device once you commit to a can.
Works with: Barrel
Gas Block
InternalThe gas block clamps around the barrel over the gas port, a small hole drilled into the bore. As the bullet passes the port, high-pressure gas bleeds through the block and into the gas tube, heading back toward the action. This is what makes the AR-15 self-loading: the rifle uses its own combustion gas to eject the spent case and chamber the next round.
Most modern rifles run a low-profile gas block hidden under the handguard. Adjustable gas blocks let you tune how much gas reaches the action, which matters when you add a suppressor and suddenly have more gas than the rifle needs.
Gas Tube
InternalThe gas tube is a thin stainless line running from the gas block back over the barrel and into the upper receiver, where it enters the gas key on top of the bolt carrier. Gas travels down this tube and expands inside the carrier, driving it rearward. This direct impingement layout is why the AR-15 has so few moving parts up front: no piston, no op-rod, just a tube.
Gas tube length (carbine, mid-length, or rifle) is set by the barrel's gas port position. Mid-length systems on 16 inch barrels cycle noticeably softer than carbine-length, which is one reason mid-length is the modern default recommendation. The tube itself almost never needs cleaning or replacement.
Works with: Gas Block, Bolt Carrier Group, Upper Receiver
Handguard
The handguard wraps the barrel and gas system so you have somewhere to hold that is not a hot barrel. Modern free-float handguards attach only to the upper receiver and never touch the barrel, which removes pressure points that shift your zero. Nearly all current handguards use M-LOK slots for mounting lights, hand stops, and bipods exactly where you want them.
If your rifle came with a plastic drop-in handguard, a free-float M-LOK handguard is one of the highest-value upgrades available, improving both accuracy potential and accessory mounting. Length matters: a handguard that covers the gas block lets you grip further out for better control.
Works with: Upper Receiver, Barrel, Gas Block
Bolt Carrier Group
InternalThe bolt carrier group is the reciprocating heart of the rifle. Every shot, it unlocks the bolt from the barrel extension, travels rearward to extract and eject the spent case, cocks the hammer on the way back, then rides the buffer spring forward to strip a fresh round from the magazine and lock up again. All of that happens in about a tenth of a second.
A mil-spec phosphate BCG with a properly staked gas key, MPI-tested bolt, and Carpenter 158 or 9310 steel is all you need; this is a part where mil-spec means proven, not cheap. Keep it lubricated. A wet BCG is the single most reliable thing you can do for an AR-15.
Works with: Upper Receiver, Charging Handle, Gas Tube, Buffer and Spring
Charging Handle
ControlThe charging handle is the T-shaped handle at the rear of the upper receiver. Pulling it fully rearward and releasing it chambers the first round from a fresh magazine. You also use it to clear malfunctions and to lock the bolt open. It does not reciprocate when firing; it stays put until you need it.
The mil-spec charging handle works but is built for a dainty two-finger pull. An ambidextrous handle with extended latches, like the Radian Raptor, lets you run the rifle hard from either side and is a common early upgrade for shooters who train seriously.
Works with: Upper Receiver, Bolt Carrier Group
Forward Assist
ControlThe forward assist is the ribbed plunger on the right rear of the upper receiver. Pressing it engages serrations on the bolt carrier and forces the bolt the last fraction of an inch into battery when a dirty chamber or a gentle chambering (easing the charging handle forward instead of releasing it) leaves the bolt slightly out of position.
Honest guidance: you will rarely use it, and forcing a round that does not want to chamber can make a malfunction worse. If the bolt will not close, the better habit is usually to work the charging handle and chamber a fresh round. Many high-end uppers now omit the forward assist entirely.
Works with: Upper Receiver, Bolt Carrier Group
Ejection Port Cover
The ejection port cover, usually called the dust cover, is the spring-loaded door over the ejection port on the right side of the upper receiver. Closed, it keeps sand and debris out of the action during storage and transport. It snaps open automatically the first time the bolt carrier moves, so you never have to think about it while shooting.
This is a purely protective part with no effect on function, which makes it the classic canvas for engraved custom covers. Spend money here last, if ever.
Works with: Upper Receiver, Bolt Carrier Group
Optic and Sights
The optic is how you aim, and for a first AR-15 the answer is a quality red dot sight. A red dot is parallax-forgiving, works with both eyes open, and is fast at the close-to-moderate ranges where most shooting actually happens. Mount it on the flat-top rail, zero it at 50 yards, and it will hold that zero for years.
Buy the optic from a proven maker (Sig, Holosun, Aimpoint, Trijicon) even if it means a cheaper rifle. An entry-level Sig Romeo5 outperforms every no-name Amazon optic made. Add backup iron sights once the budget allows, and consider a magnified LPVO only after you know how you actually use the rifle.
Works with: Upper Receiver
Lower Receiver
The lower receiver is the part the law considers the firearm. It carries the serial number, it is the part the FFL transfers on a background check, and everything else is just parts you can order to your door. The lower houses the trigger group, the safety selector, the magazine well, and the buffer tube tower at the rear.
Functionally, forged 7075-T6 lowers from reputable makers are interchangeable commodities; a budget lower and a boutique lower shoot identically. The premium buys you ambidextrous controls, tighter fitment, or a brand name on the magwell. Spend the difference on the barrel and optic.
Works with: Upper Receiver, Trigger, Pistol Grip, Magazine, Buffer Tube, Takedown and Pivot Pins
Trigger
ControlThe trigger group (trigger, hammer, disconnector, and springs) sits in the lower receiver, and pressing the trigger releases the hammer to strike the firing pin. A standard mil-spec trigger breaks somewhere between 5.5 and 8.5 pounds with grit and creep. It works forever, but it fights you on precise shots.
A quality drop-in or two-stage trigger, like the LaRue MBT-2S, transforms how the rifle shoots more than any other affordable part. It installs with two pins and a punch in about twenty minutes. This is the first upgrade we recommend for nearly every factory rifle.
Works with: Lower Receiver, Safety Selector, Pistol Grip
Safety Selector
ControlThe safety selector is the lever above the grip on the left side of the lower receiver. On SAFE, it physically blocks the trigger from releasing the hammer. Rotated 90 degrees to FIRE, the rifle will discharge when you press the trigger. Your thumb should ride the selector naturally when your hand is on the grip; sweeping it off as you mount the rifle becomes muscle memory fast.
The safety only engages when the hammer is cocked, so a rifle that has not been charged will not click to SAFE. That surprises almost every new owner once. Ambidextrous selectors add a lever on the right side and are a cheap, worthwhile upgrade for left-handed shooters.
Works with: Lower Receiver, Trigger, Pistol Grip
Pistol Grip
The pistol grip bolts to the lower receiver and is where your firing hand lives. Grip angle matters more than most owners expect: the steep A2-style grip that ships on many factory rifles was designed for bladed, old-school stances. Modern squared-up shooting favors a more vertical grip angle, which keeps your wrist straight and your trigger finger landing naturally.
A Magpul K2 or BCM Gunfighter is the cheapest ergonomic upgrade on the rifle. One screw, five minutes, and most grips add a waterproof storage core for batteries or a spare bolt.
Works with: Lower Receiver, Trigger, Safety Selector
Magazine Release
ControlThe magazine release is the round button on the right side of the lower, just forward of the trigger. Press it and the magazine falls free under its own weight; there is no need to strip it out by hand with quality mags. Right-handed shooters hit it with the trigger finger without breaking their firing grip, which is why the AR reloads faster than almost any other rifle design.
The button sits inside a raised fence machined into the receiver so bumping the rifle against gear will not dump your magazine. The standard release is genuinely good; extended releases mostly serve competition shooters chasing tenths.
Works with: Lower Receiver, Magazine
Bolt Catch
ControlThe bolt catch is the paddle on the left side of the lower receiver. When you fire the last round, the magazine follower pushes the catch up and locks the bolt to the rear, which is your unmistakable signal that the rifle is empty. After inserting a fresh magazine, slap the big upper paddle with your support hand and the bolt slams home, chambering a round.
That bolt-release reload is the fastest way to get an AR running again and is a core skill to build early. You can also lock the bolt open manually: press and hold the small lower portion of the catch, pull the charging handle fully rearward, and ease the handle forward.
Works with: Lower Receiver, Magazine, Charging Handle
Takedown and Pivot Pins
The pivot pin (front) and takedown pin (rear) join the upper and lower receivers. Push the rear pin out with a thumb or a cartridge tip and the rifle hinges open like a shotgun for cleaning; push both out and the halves separate completely. The pins are captive, so they stay in the lower and cannot get lost on the range floor.
This two-pin design is the reason field-stripping an AR-15 takes fifteen seconds with no tools, and it is what makes the platform so easy to maintain and reconfigure. Extended-tab pins make fieldstripping easier with gloves but are strictly a convenience.
Works with: Lower Receiver, Upper Receiver
Magazine
The magazine is a spring-loaded box that presents each round to the bolt. It is also the number one cause of malfunctions in any AR-15: a worn spring, cracked feed lips, or a bad follower will choke an otherwise perfect rifle. That is why serious shooters treat magazines as consumables and number them, retiring any mag that causes repeated stoppages.
The standard is the Magpul PMAG Gen M3. Buy at least six; a range session burns through magazines faster than new owners expect, and loading mags at the bench eats range time. Aluminum USGI mags with modern anti-tilt followers also run well.
Works with: Lower Receiver, Magazine Release, Bolt Catch, Bolt Carrier Group
Buffer Tube
The buffer tube, formally the receiver extension, is the aluminum tube extending from the rear of the lower receiver. Inside it live the buffer and action spring; outside, the stock clamps onto it and adjusts along its length. Every time you fire, the bolt carrier drives several inches back into this tube before the spring returns it.
That rearward travel is why a standard AR-15 cannot take a folding stock without a special adapter: the action needs the tube. Carbine tubes come in mil-spec and commercial diameters. Buy mil-spec; nearly every quality stock is sized for it.
Works with: Lower Receiver, Buffer and Spring, Stock
Buffer and Spring
InternalThe buffer is a weighted piston, and with the action spring behind it, it catches the bolt carrier at the end of its rearward travel, soaks up the impact, and shoves everything forward again to chamber the next round. Buffer weight (H1 at 3.8 oz, H2 at 4.6 oz, H3 at 5.4 oz) tunes how the rifle cycles.
A heavier buffer slows the action down, smoothing recoil and fixing overgassed rifles that throw brass forward at 1 o'clock. If your carbine feels snappy or beats up its brass, an H2 buffer is a cheap experiment that usually pays off. Change one variable at a time and test.
Works with: Buffer Tube, Bolt Carrier Group
Stock
The stock slides over the buffer tube and gives you three contact points: shoulder pocket, cheek weld, and (with practice) a consistent head position behind the optic. Adjustable carbine stocks collapse for storage and extend to fit your length of pull; a consistent cheek weld matters more for hitting than most gear on the rifle.
Factory M4-style stocks rattle and flex. A Magpul CTR or B5 Bravo locks up solid and fixes the wobble permanently. Add a quality two-point sling and QD mount at the same time; the sling is the rifle's holster and belongs in your first accessory order.
Works with: Buffer Tube
How an AR-15 Works: The Firing Cycle
An AR-15 runs on its own exhaust. When the trigger releases the hammer, the hammer strikes the firing pin and the round fires. As the bullet passes the gas port partway down the barrel, high-pressure gas bleeds into the gas block, races back down the gas tube, and expands inside the bolt carrier. The carrier drives rearward, unlocking the bolt, dragging the spent case out of the chamber, and flinging it clear off the brass deflector.
On the way back, the carrier cocks the hammer and compresses the buffer spring inside the buffer tube. The spring then returns the whole assembly forward, stripping the next round out of the magazine, chambering it, and rotating the bolt lugs back into the barrel extension. The rifle is ready to fire again, and the entire cycle took roughly a tenth of a second. This direct-impingement layout is what our DI vs piston comparison breaks down against piston guns.
Two practical consequences for a new owner: first, the system dumps hot, dirty gas into the action, so the bolt carrier group runs best wet with oil. Second, everything about cycling is a spring-and-gas balance, which is why suppressors, buffer weights, and short barrels all interact. When you are ready to go deeper, the gas system and buffer tuning guide covers that balance in detail.
How to Run Your AR-15: Load, Reload, Clear
Running an AR-15 comes down to four sequences: load and make ready, reload when the bolt locks back, unload and show clear, and fix a dead trigger. Step through each one below; the diagram highlights exactly which control your hands should be on. Practice each sequence slowly with a verified empty rifle before your first range trip, and they will be automatic by your first thousand rounds.
Load and Make Ready
Loading an AR-15 takes three actions: seat the magazine, run the charging handle, and put the selector on SAFE.
Reload When Empty
On the last shot the bolt locks open. Drop the empty with the mag release, seat a fresh magazine, and slap the bolt catch paddle to send the bolt home.
Unload and Show Clear
Unloading is the loading sequence in reverse: selector to SAFE, magazine out, then lock the bolt open and inspect the chamber.
Fix a Dead Trigger
For a click or dead trigger when you expected a bang, run tap-rack-reassess: tap the magazine, rack the charging handle, and get back on the sights.
First-Time Setup: From Box to Range Ready
A new AR-15 needs about an evening of work before its first range day: a function check, real lubrication (rifles ship dry), an optic mounted at the right height and torque, and a zero plan. Work through the checklist below; it saves your progress, so you can pick it up where you left off. Steps 1 and 2 matter most, and our new-owner mistakes guide covers the traps each step is protecting you from.
- 1. Verify the rifle is clear
Magazine out, bolt locked to the rear, visual and physical chamber check. Do this before every step below, every cleaning, and every dry-fire session until it is reflex.
- 2. Run a function check
On the verified-empty rifle: charge to cock the hammer, selector to SAFE, press the trigger; nothing should happen. Selector to FIRE, press and hold the trigger; the hammer falls. Still holding the trigger, charge the rifle again, then release the trigger slowly until you feel the click of the disconnector handing off; that is the reset. Press again and the hammer should fall. Any step that fails means a trip to a gunsmith before ammo goes near the rifle.
- 3. Lubricate the bolt carrier group
New rifles ship dry or packed with preservative grease. Field strip, wipe the BCG down, and oil the four carrier rails, the cam pin, the bolt body, and the gas rings. A visibly wet BCG is correct; a dry AR-15 is the number one source of first-range-day stoppages.
Full cleaning walkthrough - 4. Mount your optic
Mount the red dot at absolute co-witness or lower 1/3 height, torque the mount to the manufacturer's printed inch-pound spec with a torque driver (never guess with a full-size wrench), and mark the screws with a paint pen so you can spot loosening later.
Optic mounting guide - 5. Set your length of pull
Extend the stock until, with the rifle shouldered and your head upright, your nose sits roughly a fist's width behind the charging handle. Most shooters land one or two clicks out from fully collapsed. Set it once and stop adjusting it every range trip; a consistent cheek weld is a zeroing input.
- 6. Attach a two-point sling
Rear QD point in the stock or receiver end plate, front point on the handguard around where your support hand lives. Adjust so the rifle hangs muzzle-down across your chest with both hands free. The sling is the rifle's holster; it belongs on the gun before the first class or match.
Best AR-15 slings - 7. Load and number your magazines
Load at least four magazines the night before your range trip and number every baseplate with a paint pen. When a stoppage happens, the number tells you whether one specific magazine is the culprit. Downloading PMAGs by two rounds is unnecessary; load them to capacity.
- 8. Zero your optic
Zero at 50 yards for a 5.56 carbine; with common 55-62 grain loads and a standard-height optic, the bullet stays within about 2 inches of your point of aim out to roughly 200 yards, then drops several inches by 250. Shoot 5-round groups from a rest, adjust to the group center, and confirm with a final group. Record the ammo you zeroed with.
Zeroing guide with printable targets - 9. Run your first structured range day
Bring 150-200 rounds, eye and ear protection, and a plan: confirm zero, then work the load, reload, and unload sequences from this page with live fire at 25-50 yards. Skip the max-speed drills; smooth manipulation on day one beats fast fumbling.
First 1000 rounds training plan - 10. Set up storage and a maintenance rhythm
Store the rifle locked and inaccessible to anyone who should not touch it, in whatever loaded condition your household situation calls for. Wipe it down and re-oil the BCG every few hundred rounds; a full detail clean every 1,000 rounds is plenty for a modern AR.
Cleaning kit buying guide
What to Buy First: Accessories That Matter
The first accessories for a new AR-15, in order: six or more magazines, a two-point sling, a quality red dot, then a weapon light if the rifle has a home-defense job. Only after those does an internal upgrade like a trigger make sense. Build that first order below with live prices, or read the full priority argument in our first-upgrades priority guide. When you want to see how every part fits a complete rifle, price out a full build in the rifle builder.
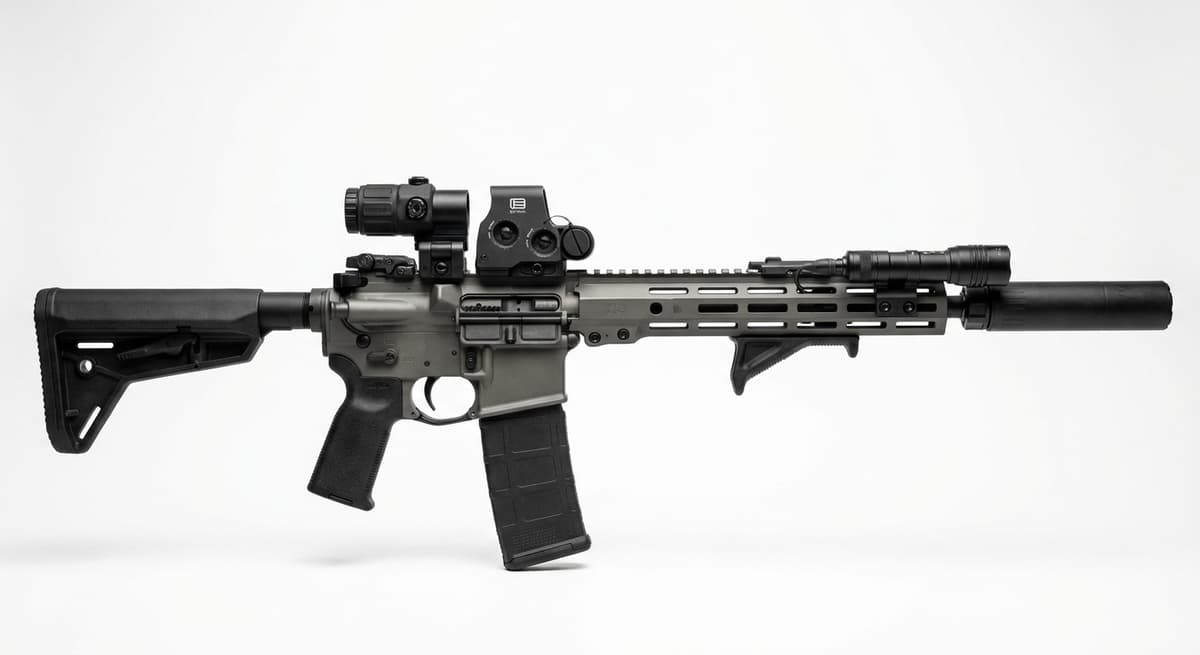
Base Platform
Custom AR-15 (Build From Scratch)
Custom / $1,100.00 base
Blank-slate AR-15 platform for selecting every upper, lower, and core component.
Upgrade Builder
Price Out Your Custom AR-15 (Build From Scratch) Upgrades
Open any slot to add an upgrade; the total updates in place and every part keeps its tracked retailer link.
Feed reliability and capacity, especially with duty mags.
No upgrade selected for this slot.
Red dots, LPVOs, and magnified optics for target acquisition.
No upgrade selected for this slot.
Illuminate targets and identify threats in low light.
No upgrade selected for this slot.
Stay Sharp on Your First Rifle
New-owner guides, tested upgrade picks, and deal alerts on the gear this page recommends. No spam, unsubscribe anytime.
Frequently Asked Questions
▶What are the main parts of an AR-15?
▶What AR-15 parts are essential?
▶What is the back part of an AR-15 called?
▶What parts do I need for an AR-15 build?
▶How does an AR-15 work?
▶What is the difference between the upper and lower receiver?
▶What should I upgrade first on a new AR-15?
Bottom Line
Learn the 22 parts, drill the 4 sequences, finish the 10-step checklist. Do that and you know your rifle better than most owners ever will.
The diagram is the map, not the destination. Once the nomenclature is second nature, pick your rifle with our first AR-15 buying guide if you have not bought yet, put rounds through it with the first 1000 rounds training plan, and when the upgrade itch hits, spend smart with the upgrade priority list.

Avid shooter with 10+ years of experience including competition shooting, an associate member of the Professional Outdoor Media Association (POMA), and a member of the National Shooting Sports Foundation (NSSF) and Safari Club International (SCI). Built 10+ AR-pattern rifles and several handgun platforms for home defense, competition, and suppressed night shooting.
This page contains affiliate links. Purchases through these links support the site at no extra cost to you. Read the affiliate disclosure
Related guides
Continue exploring with these related resources
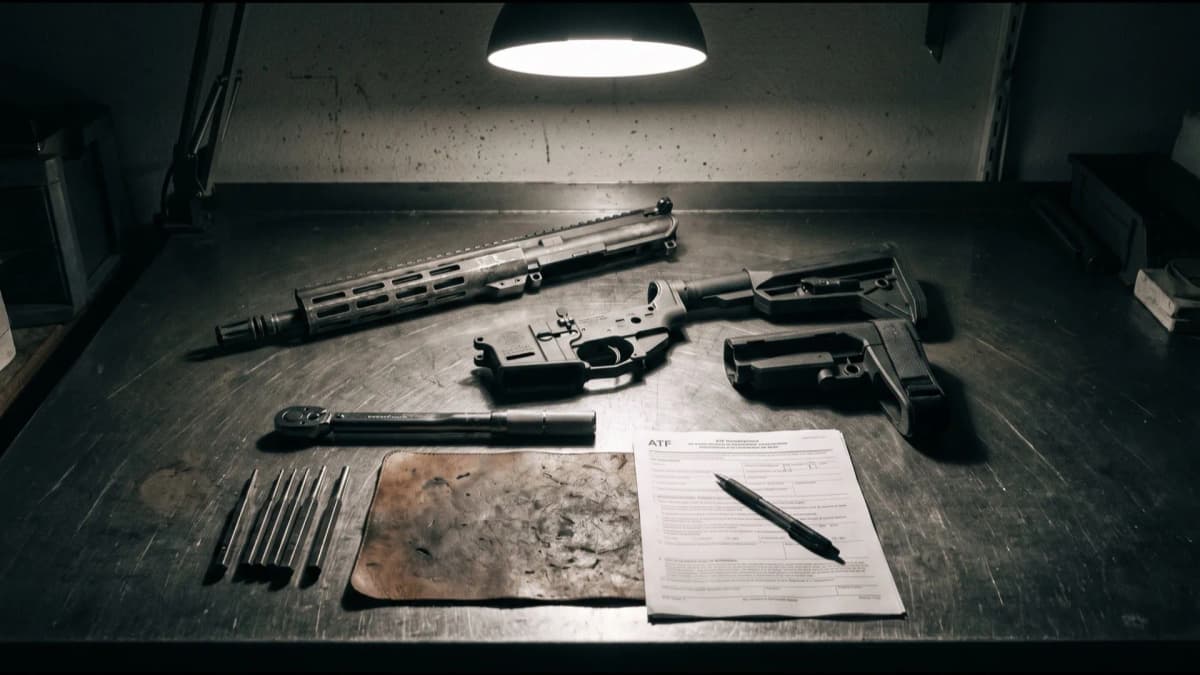
AR Pistol to SBR 2026: Add a Stock Without a Form 1
Converting a braced AR pistol into a short-barreled rifle after ATF stopped requiring Form 1 approval in October 2026: state law, Form 20 travel, when a voluntary $0 Form 1 still makes sense, plus the stock, upper, barrel, and suppressor upgrades to run.
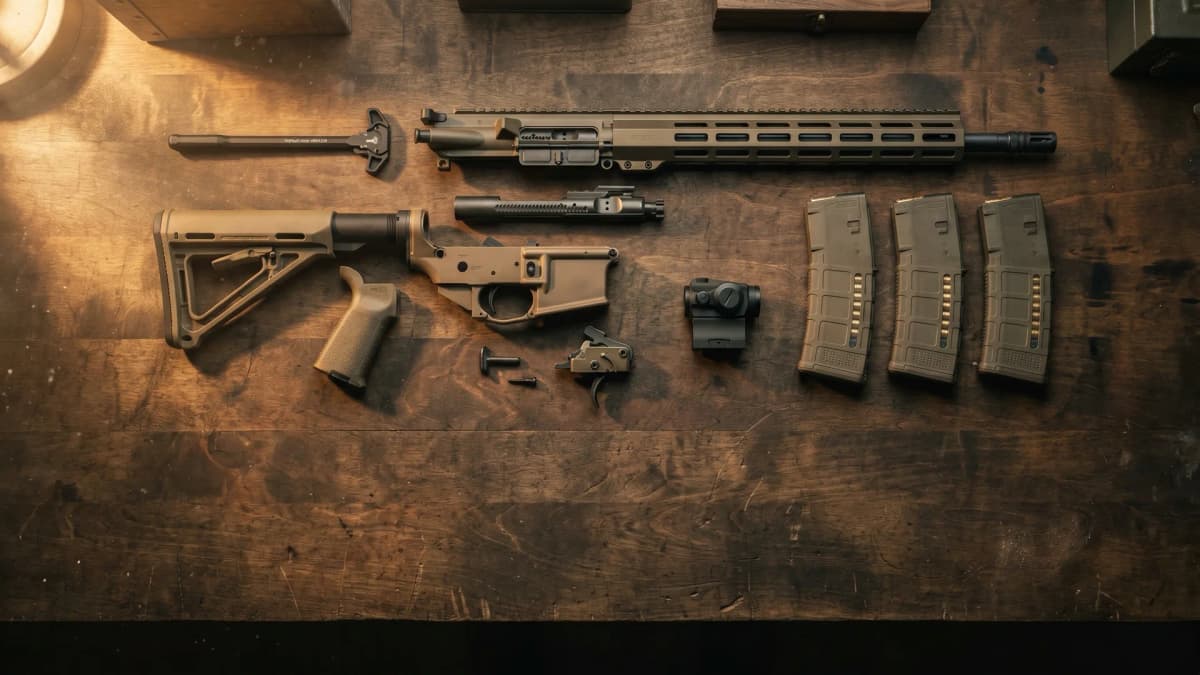
Best Mid-Tier AR-15 Build 2026: Complete $1,000-1,300 Parts List
A single vetted mid-tier AR-15 build for the buyer stepping up from a budget rifle. Part-by-part picks for a ~$1,000-1,300 rifle that runs a class without babysitting, with a running cost tally, why each slot beats the budget pick, and a separate optic add-on tier.
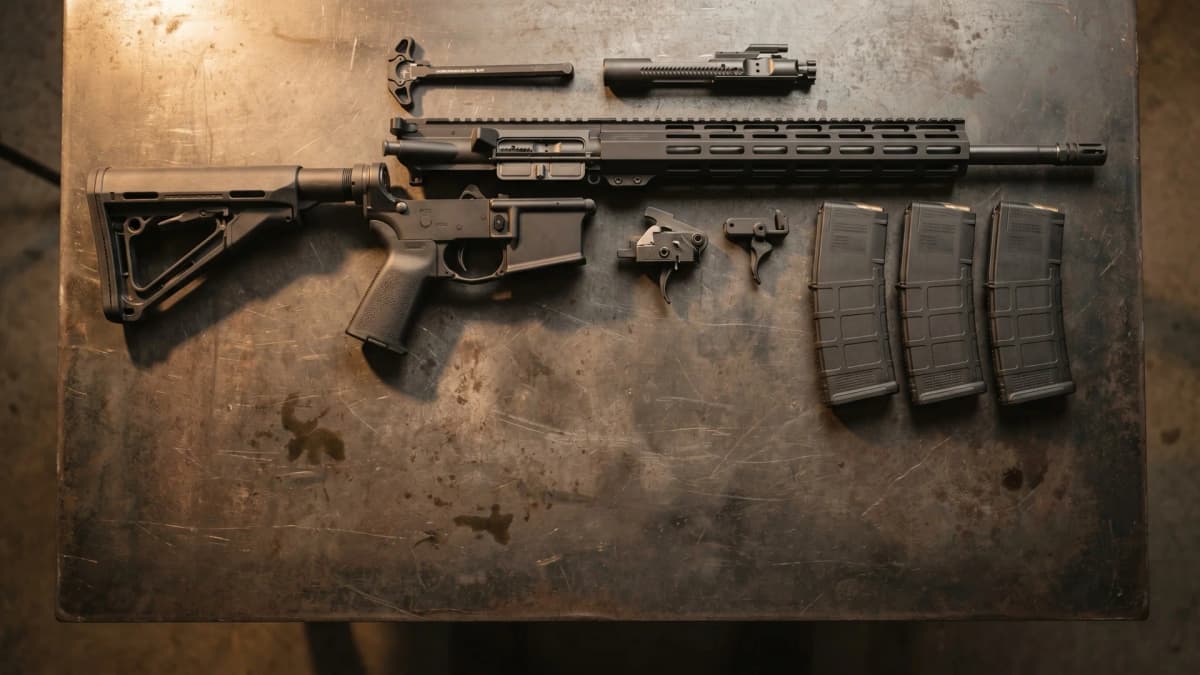
Best Upper-Mid-Tier AR-15 Build 2026: Complete $1,500-2,000 Parts List (BCM/DD/Geissele-Class)
A single vetted upper-mid-tier AR-15 build, part by part. BCM complete lower and upper, Daniel Defense BCG, Geissele SSA-E trigger, and a Radian Raptor, with a running cost tally and a callout for where this tier stops short of full Gucci.
Latest News & Reviews
Related articles and industry updates
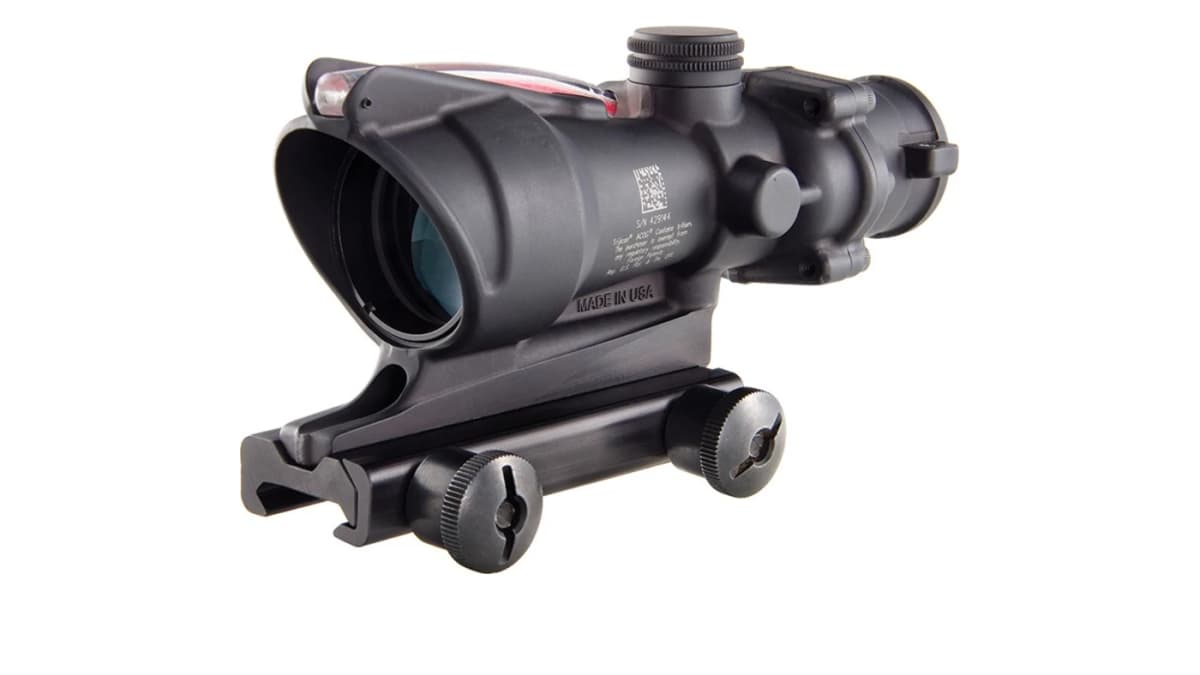
Trijicon ACOG MRAD Reticle: New 4x32 and 3.5x35 Models
Trijicon added an MRAD chevron tree reticle to the ACOG on October 14, 2026, in four models: the 4x32 TA31 and TA02 and the 3.5x35 TA11 and TA110, each dual-illuminated or LED. Specs, who it suits, and how it compares to the caliber-specific BDC ACOG.
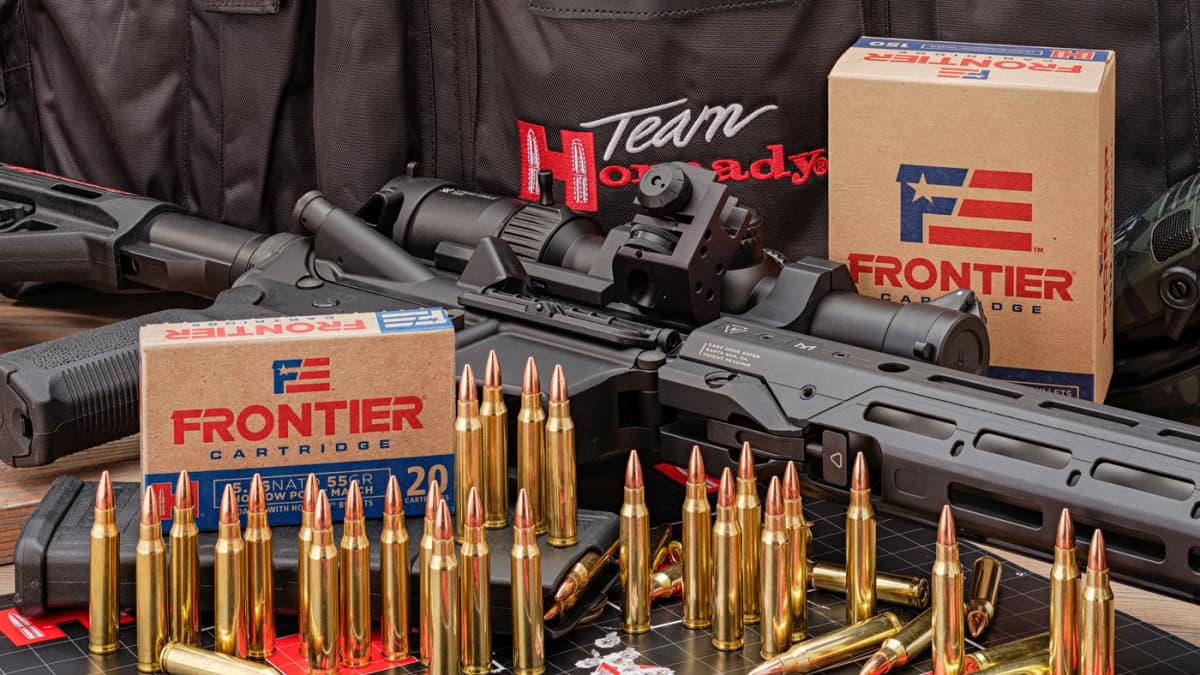
.223 vs 5.56 vs .223 Wylde: What SAAMI's 5.56 COMM Changes
SAAMI accepted Hornady's 5.56 Commercial (5.56 COMM) on October 12, 2026 at a 62,000 psi Maximum Average Pressure, versus 55,000 psi for .223 Remington. It is not a NATO spec, it is still unsafe in .223 Remington-only barrels, and no 5.56 COMM ammo or rifle is on sale yet. Which ammunition is safe in .223 Rem, 5.56 NATO, and .223 Wylde barrels.
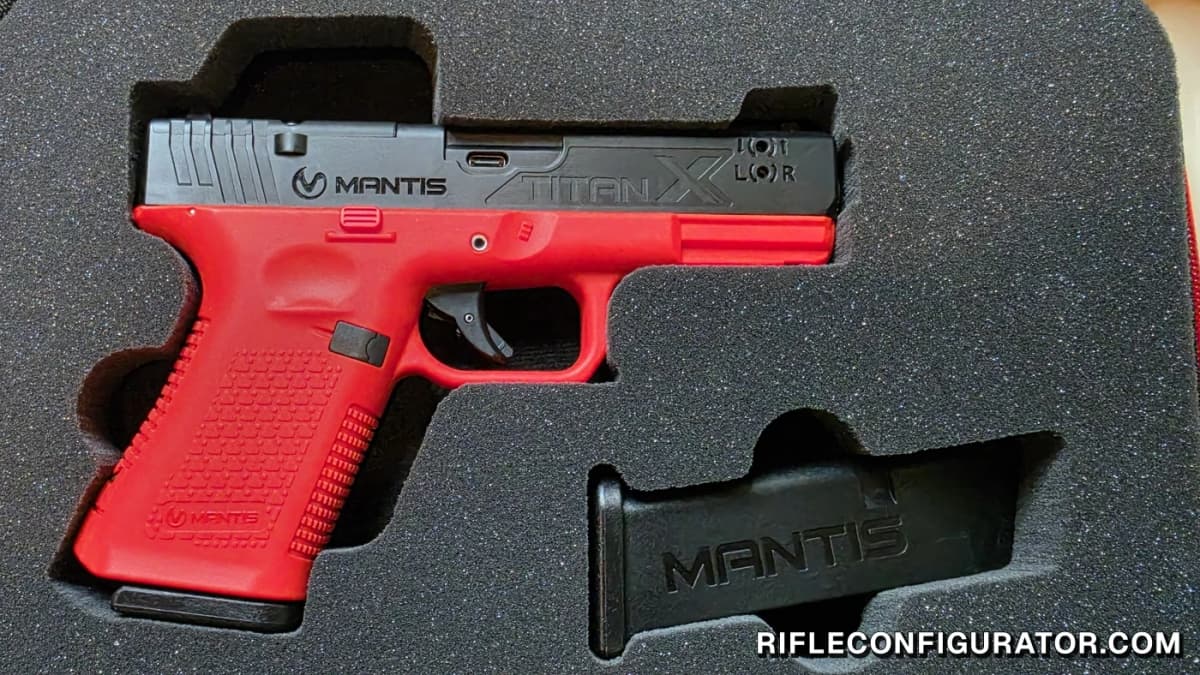
Mantis TitanX Review: Glock 19 Laser Trainer With a 4 lb Trigger
Hands-on with the Glock 19 Mantis TitanX: a 4 lb Glock-style trigger, droppable weighted mags, and MantisX trigger-press analytics in an inert trainer. The fixed slide is the one real limit.